Arch Linux is a lightweight, flexible, and independently developed Linux distribution that can be used for practically any role. By default, Arch Linux is installed as a minimal base system without a default desktop environment.
It provides a DIY approach in the sense that you can complete control over it, right from installation. During installation you have to configure everything from the ground up using the CLI for example the disk partitions, setting up the base environment, configuring time and date, etc.
To enhance your user experience, consider installing a desktop environment to simplify tasks. In our earlier guide, we detailed the process of installing XFCE on Arch Linux.
This tutorial demonstrates how to install the Cinnamon Desktop on Arch Linux. If you don’t have Arch Linux installed, check out our guide on how to install Arch Linux on UEFI machines.
Step 1: Upgrade Arch Linux
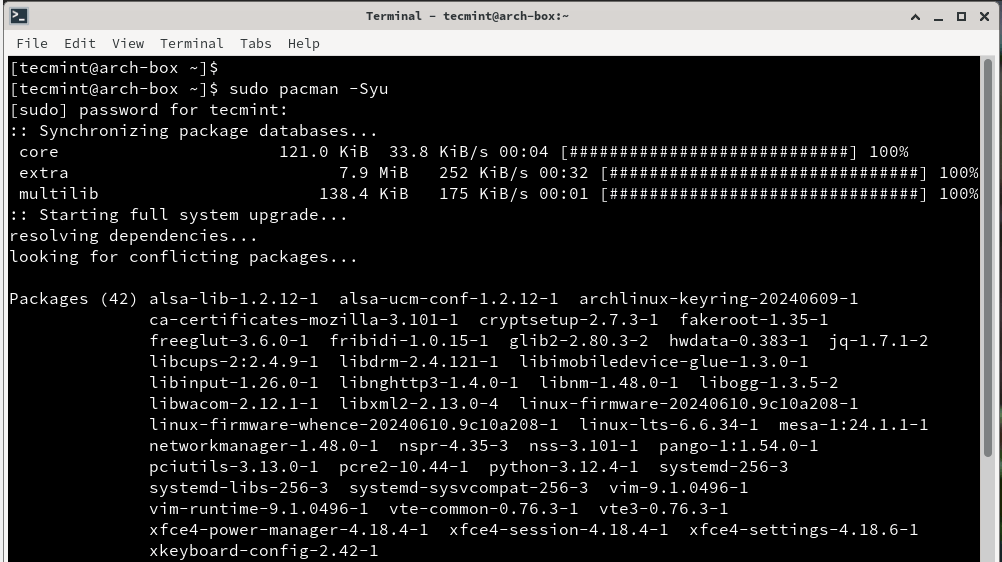
To get started, log into your system and carry out a full system upgrade using the following command.
sudo pacman -Syu
This might take some time depending on your internet connection.
Step 2: Install Cinnamon Desktop on Arch Linux
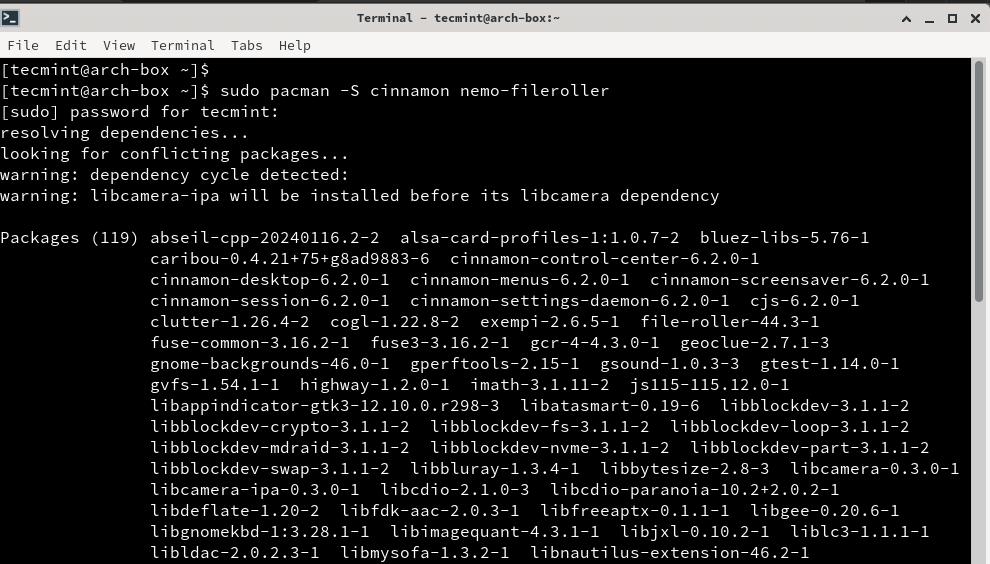
Once the system packages are up to date, the next step is to install the Cinnamon desktop environment.
sudo pacman -S cinnamon nemo-fileroller
The command installs the Cinnamon desktop and Nemo file manager which is free and open-source. It’s the official file manager of the Cinnamon desktop environment and a fork of Nautilus. The installation size is quite large so be patient.
Step 3: Install Display Manager in Arch Linux
The next step is to install a display manager, which is an application that provides a graphical user interface (GUI) for logging in. It allows you to seamlessly authenticate and select the preferred desktop environment to log into if multiple environments are installed.
To install the lightdm display manager alongside a Greeter, run the command:
sudo pacman -S lightdm lightdm-gtk-greeter
Once the lightdm display manager is installed, enable the daemon to start on system startup as shown.
sudo systemctl enable lightdm
For GDM (Gnome Display Manager) install it using the following command:
sudo pacman -S gdm
sudo systemctl enable gdm
Once you’ve installed your preferred display manager, reboot your system.
Step 4: Login to Arch Linux GUI
Once you reboot your system, you will get a graphical login display. In our case, we had already installed the XFCE environment. If you have multiple environments, click on the button provided and select ‘Cinnamon‘ as the desktop environment to log into.
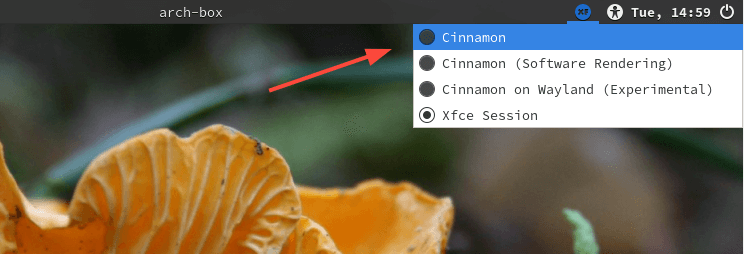
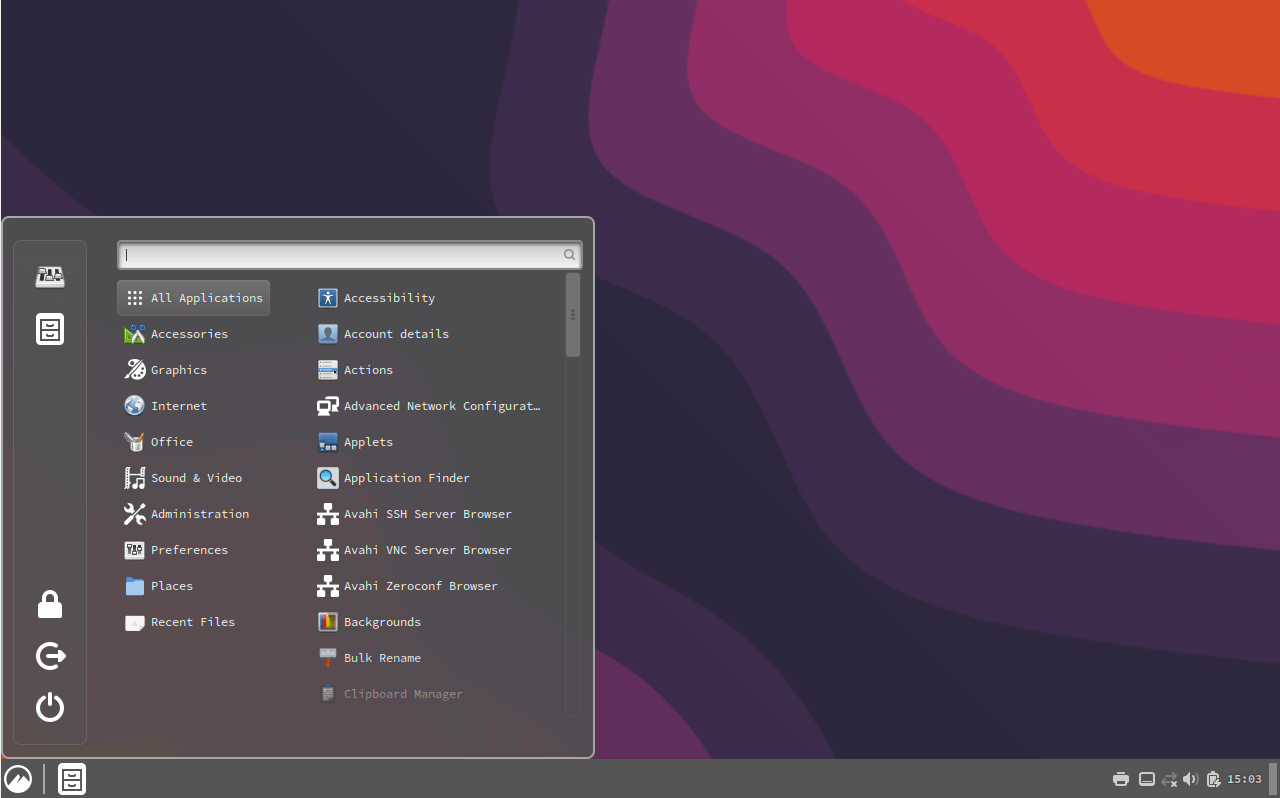
Next, provide your username and password to authenticate and log in. Once logged in, you will be ushered to the Cinnamon desktop as shown.
Step 5: Install Essential software on Arch Linux
So far, we have a functional Arch Linux instance with a Cinnamon desktop installed. Since Arch Linux provides just a base installation, you need to go a step further and install essential applications to make your experience seamless and smooth.
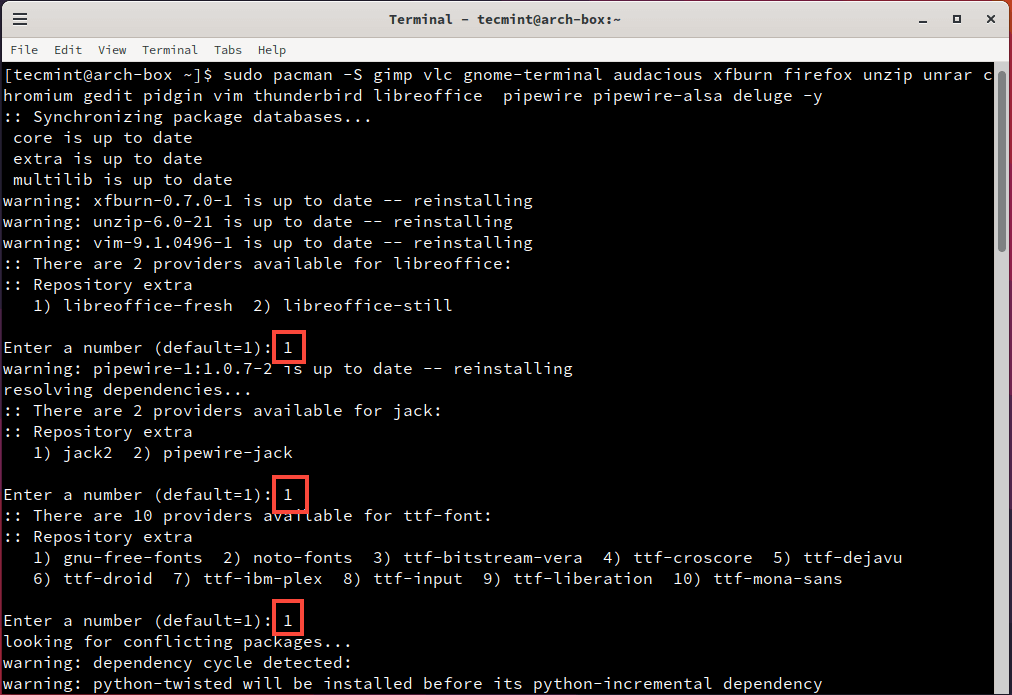
In the following command, we are installing basic applications including Firefox, Gimp, VLC media player, Thunderbird email client, and LibreOffice among other essential apps.
sudo pacman -S gimp vlc gnome-terminal audacious xfburn firefox unzip unrar chromium gedit pidgin vim thunderbird libreoffice pipewire pipewire-alsa deluge -y
When prompted, just type '1' or hit ENTER to accept the default selections.
Step 6: Customize Cinnamon Desktop in Arch Linux
The Cinnamon System Settings provide the interface through which you can adjust and customize Arch and the Cinnamon desktop environment to suit your needs.
Since some of the themes we’ll be installing are from the Arch User Repository (AUR), we’ll need to install the yay AUR helper.
sudo pacman -S --needed git base-devel
git clone https://aur.archlinux.org/yay.git
cd yay
makepkg -si
yay --version
Now, let’s install some popular Cinnamon themes such as Orchis Theme, WhiteSur Theme, and Cinnamon Big Sur as shown.
yay -S orchis-theme
yay -S whitesur-gtk-theme
yay -S cinnamon-big-sur-theme
Once the themes are installed, you can apply them using the Cinnamon Settings app. Open the app, go to the “Themes” section, and select the theme you want to use.
You can also install some matching icon packs to complete the look.
yay -S papirus-icon-theme
yay -S tela-icon-theme
Cinnamon offers many other customization options, such as changing the panel layout, adding desklets, and more. Explore the Cinnamon Settings app to find more options that suit your preferences.
Conclusion
You now have a functional Arch Linux Desktop with basic applications for running everyday tasks such as browsing the internet, listening to music, sending and receiving emails, and creating office documents.
Visit the Arch Linux wiki page for a complete Application List.
Build on a Rolling Release model Arch Linux also provides other Linux Desktop Environments, such as KDE, GNOME, Mate, LXDE, XFCE, and Enlightenment, from its official repositories, so choosing Cinnamon or another DE is just a pure simple personal choice, but, in my opinion, Cinnamon provides better flexibility (Themes, Applets, Desklets and Extensions) against complex customizations than its parent Gnome Shell.
That’s all for this guide. Your feedback will be appreciated.


xorg-utils and xorg-server-utils got moved into xorg-apps
i hope you update this.
Thanks.
how to install cinnamon on raspberry pi 3 ? ive been trying and just cant figure it out .
You need an operating system to run cinnamnon.
I can’t press TAB key at the Step 8.How can i do?
Maybe your TAB key is broken or you don’t have an autocompleter (bash-completion) installed on your machine. Visit official Arch Linux Xorg driver page: https://wiki.archlinux.org/index.php/Xorg
Love this tutorial but jesus this website has something weir…my internet explorer is consuming 800mb every time a fu1@#@13 open this web site. Sorry anyways thanks my men you deserve a cookie.
Ever heard of google chrome
thank you after a struggle i finally did it credits to you
My System Settings don’t seem to be working correctly..
Any ideas on what could have caused this issue?
It could be a bug in Cinnamon System Settings. Try capture the errors and reply on Arch mail list or forums.
Thankyou for the guide, it worked great!!
Finally I installed Arch linux with your complete easy step by step guide . Thank you so much
This is the third tutorial of yours that i go through and I just have to say how grateful I am, thanks!
I really appreciate your tutorials. The best of what I have seen for now on installing Arch. Thank you
Hi, I actually am trying to access cinnamon in a VM. MY computer is a windows laptop and i want to switch back and forth between the two would i be able to do that if i follow the steps above? I have installed cinnamon using the following steps:
yum grouplist
yum groupinstall “Cinnamon Desktop” –skip-broken
systemctl set-default graphical.target /// this last command is to make sure that the cinnamon launches in graphical mode, but when this is done i don’t see anything happen?
I’d appreciate if anyone could give me some help!
@Mesam,
Have you rebooted the machine after last command? if not, just reboot the machine and see its taking you into graphical mode..
nevermind, I’ve found a solution, thanks for the tutorial, very helpful.
um… I followed all the steps, but when I logged in to GDM, my username is not listed, so I have to log in as root as my username,, how can I make my user available? .__.
Amazing, thank you! Just what I needed.
thanks to your efforts i could start with arch
now i am trying to get the latest git for cinnamon to work
i get a compiling error.
is there an arch way to get the latest cinnamon?
Before disabling the dhcpcd services, you should also install gnome-keyring. I couldn’t connect to any network (wifi or cable) with the NetworkManager. Maybe mention it in the article?
@Rien,
Sure, but do let us know how you figured out and how you solved..It would be great if you could provide those steps here.so that I can mention it in the article..thanks in advance
Thanks a lot for providing this tutorial. Saves a lot of time instead of having to hunt down all applications that work nice together with Cinnamon. Btw in step 16 you list vlc twice.
Thanks for pointing out duplication, corrected in write-up..
@Paul Heine: Maybe a problem with your graphic card. Make sure you install the correct driver for for your card.
Run sudo pacman –Ss | grep xf86-video and see what kind of driver suits your Graphical Card.
Hi Matei. Thank you for a great tutorial. Unfortunately “startx” doesn’t work – problem with X server it seems. Do you have any insight on this. Nothing I’ve tried from Googling has worked so far. Many thanks.
Finally, all the steps in one place and in the correct order! :) Thanks a bunch for this post, I just knew I was gonna burn a Saturday setting this up. From following other tutorials and the Arch wiki, I didn’t have all the packages installed and didn’t know it. Your post filled in the blanks and all is well. Time to grab a beer! :)
@Wanto: If you have an ATI card you should install xf86-video-ati.
Many thanks for this useful post, but i’m still can’t install my VGA driver.
I’m install arch linux on my notebook with VGA AMD/ATI Radeon HD 8330, which driver that should I install ?
I love linux especially archlinux and gnome 3 , but installing citrix reciever which i use to connect to my work environment on 64bit is too much of a hassle and does not work well with gnome 3 .
Many thanks for sharing this tutorial.