Working remotely is not a new thing for Linux Administrators. Especially when he/she is not in front of the server. Generally, the GUI is not installed by default on Linux servers. But there may be some Linux Administrators who choose to install GUI on Linux servers.
When your server has a GUI, you may want to access the server remotely with a full desktop experience. To achieve this, you can install a VNC Server on the server.
In this article, we will cover about NoMachine as an alternate remote desktop tool.
What is NoMachine
NoMachine is a remote desktop tool. Just like VNC. So what is the difference between NoMachine with the other? The most important factor is speed. The NX protocol provides near-local speed responsiveness over high latency and low bandwidth links. So it feels like you were directly in front of your computer.
NoMachine Features
NoMachine version 8.0 has many key features. When you connect to a NoMachine-enabled computer, you can work with any content such as documents, music, or videos, as if you were in front of your computer. You can also have the same desktop environment from wherever you are connected.
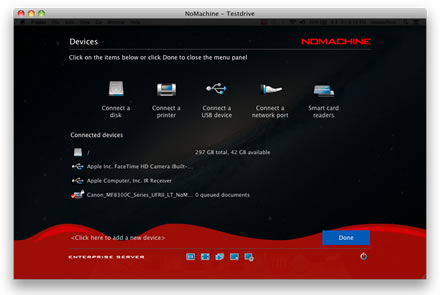
If you want to print files or documents on the remote computer, you can print them on the local computer. If you put your USB flash disk into your local computer, you can also put the files into the remote computer.
For more detailed features, you can visit the NoMachine website.
Scenario’s
Since the advantage of NX protocol is speed, you may see these scenarios work. Working remotely for mobile workers with full desktop experience Implement thin-client scenarios to reduce PC procurement costs. Users can work with a low-spec PC but gain a full desktop experience.
Installing NoMachine Remote Desktop Tool in Linux
It simplifies the installation process since you only need to download one single file. NoMachine supports Linux, Windows, Mac OS X, and even Android.
For Linux, NoMachine is available in RPM, DEB format, and TAR.GZ. Both in 32-bit and 64-bit.
NoMachine DEB format can be downloaded from its download page and can be installed on Debian, Ubuntu, and Linux Mint using the dpkg command.
On 32-Bit Systems
wget https://download.nomachine.com/download/8.11/Linux/nomachine_8.11.3_4_i386.deb
sudo dpkg -i nomachine_8.11.3_4_i386.deb
On 64-Bit Systems
wget https://download.nomachine.com/download/8.11/Linux/nomachine_8.11.3_4_amd64.deb
sudo dpkg -i nomachine_8.11.3_4_amd64.deb
On RHEL, CentOS, and Fedora, you may install it using the RPM command.
On 32-Bit Systems
wget https://download.nomachine.com/download/8.11/Linux/nomachine_8.11.3_4_i686.rpm
rpm -ivh nomachine_8.11.3_4_i686.rpm
On 64-Bit Systems
wget http://web04.nomachine.com/download/4.0/Linux/nomachine_8.11.3_4_x86_64.rpm
rpm -ivh nomachine_8.11.3_4_x86_64.rpm
Running NoMachine in Linux
Once NoMachine is installed, you will find it in your Start Menu. Or you may check it via CLI using the command.
/usr/NX/bin/nxplayer
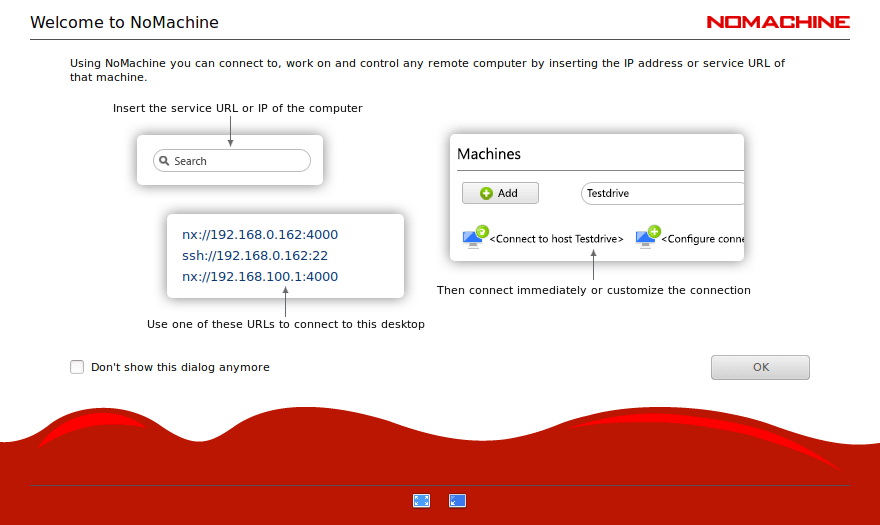
When you run NoMachine for the first time, there is a wizard to help you configure your first connection. Here are the steps:
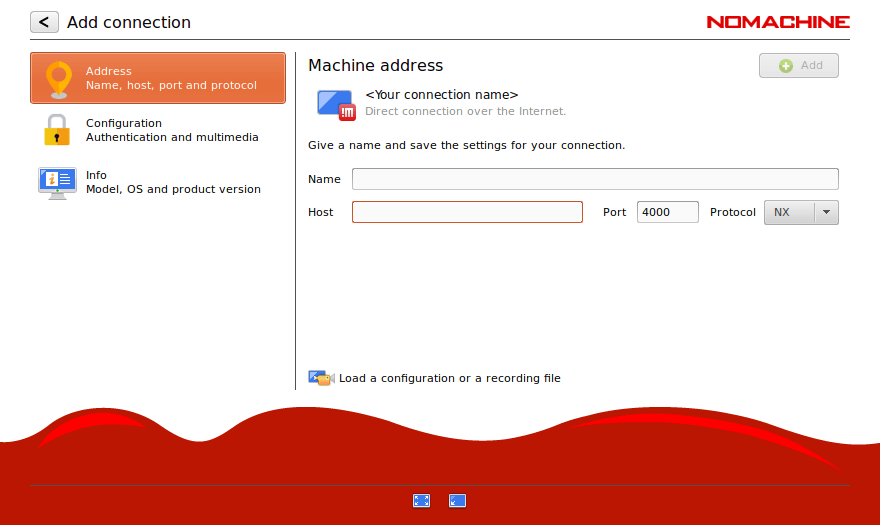
Create a Desktop Connection
You will be asked to create a connection, which will include Name (connection), Host (destination), Protocol, and Port. By default, the NX protocol will work on port 4000. But you can switch to SSH protocol if you want.
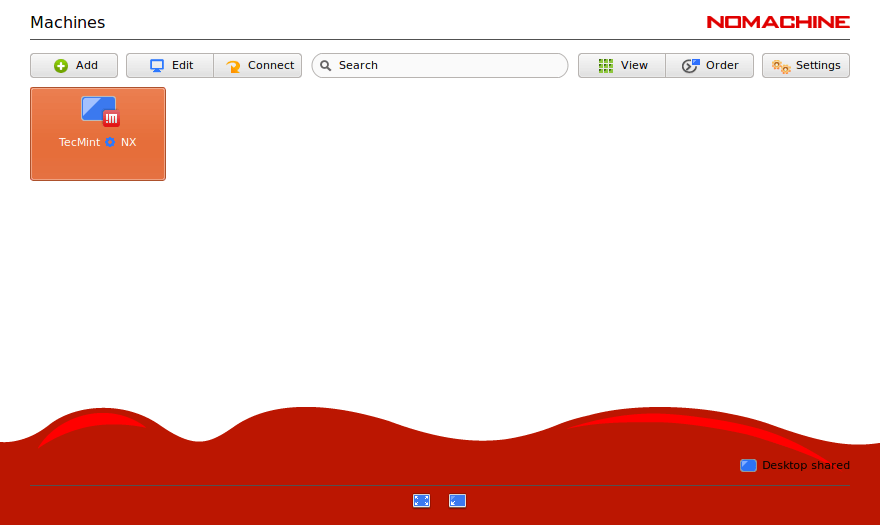
Then a confirmation screen will appear. You can press the Connect button to run the connection.
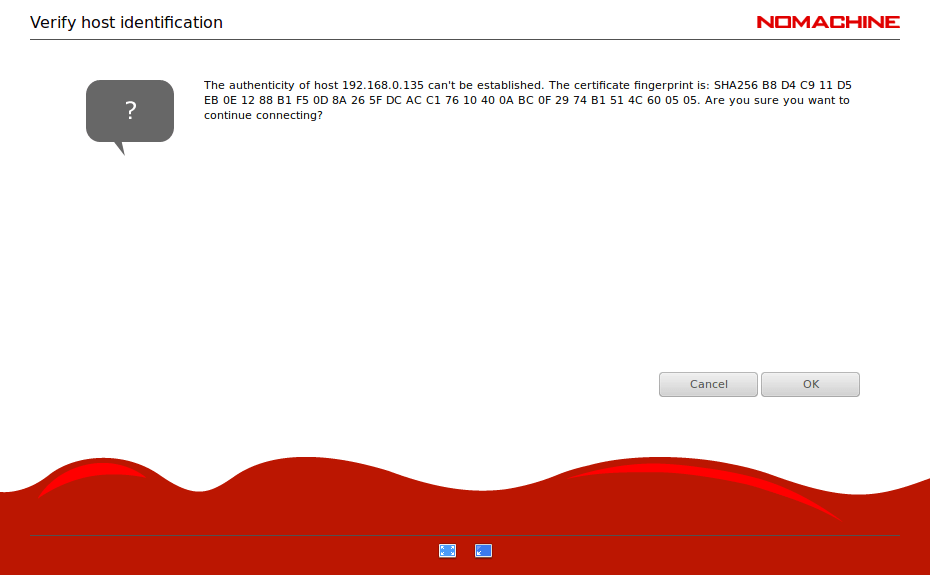
Verify Host Authenticity
When you run NoMachine for the first time, NoMachine will ask you to verify the destination host’s authenticity.
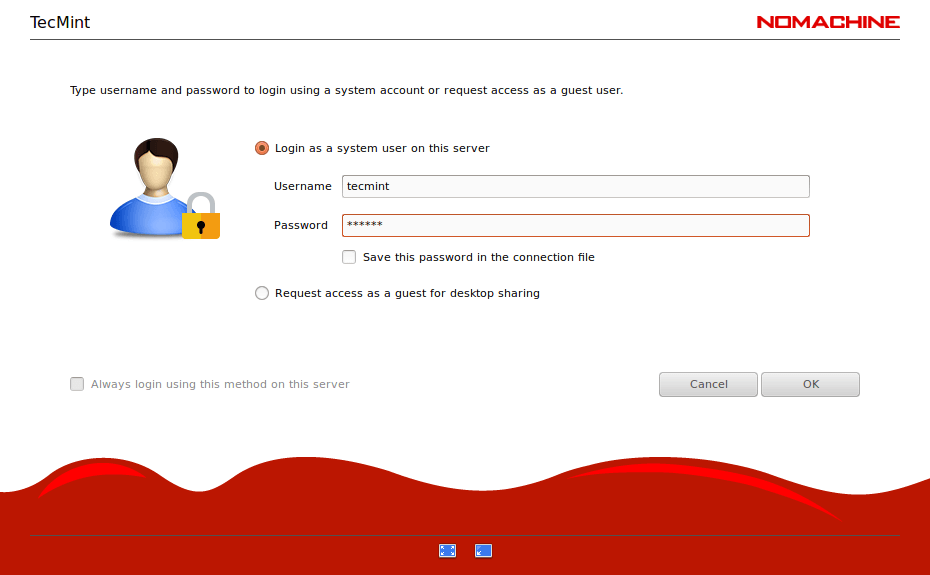
Provide User Credential to Login
Now you will be asked to provide a user credential to log in to the destination host. If the destination host allows Guest login, you may click the “Login as a guest user” parameter.
You can save the user password in the configuration file if you want. Just click “Save this password in the configuration file parameter”. Next time, you will not need to enter the password again to connect.
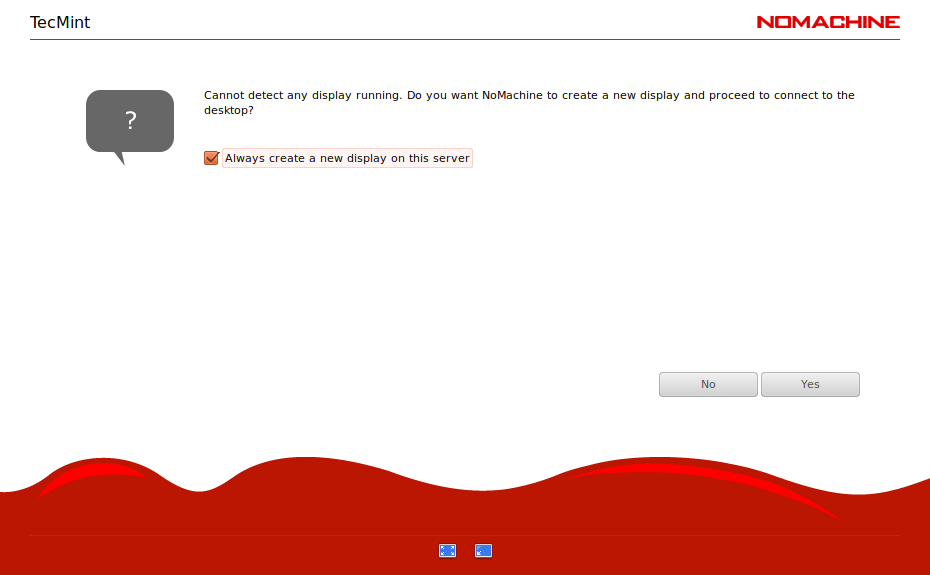
Connecting to Destination Host
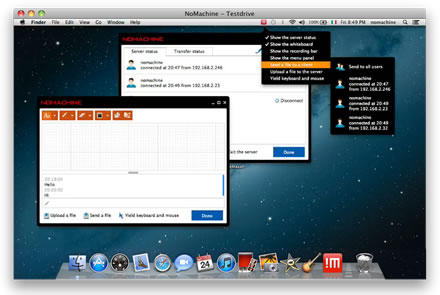
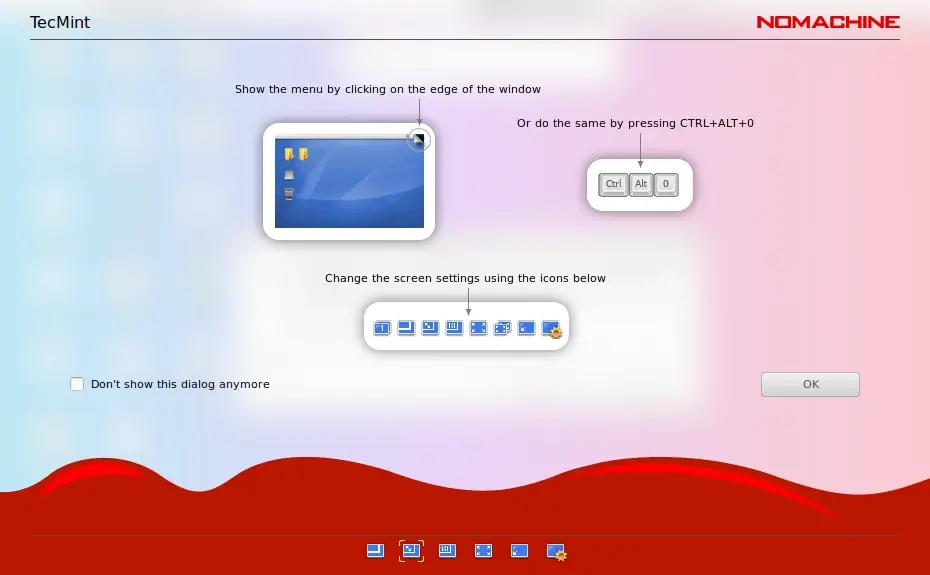
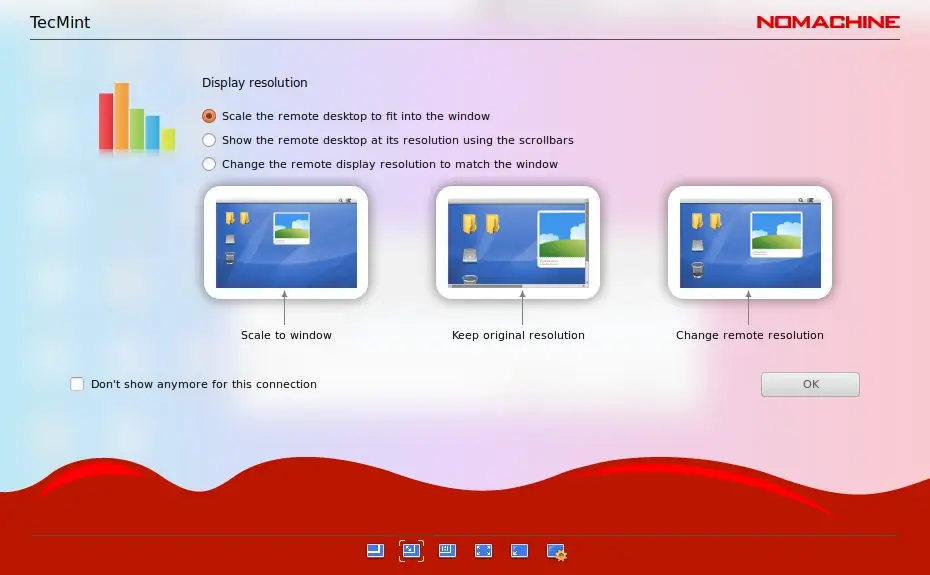
After providing user credentials, NX will show you a first guide to using NoMachine. There are a lot of icons that you can click on. It covers the screen, input, devices, display, audio, mic, recording and connection.
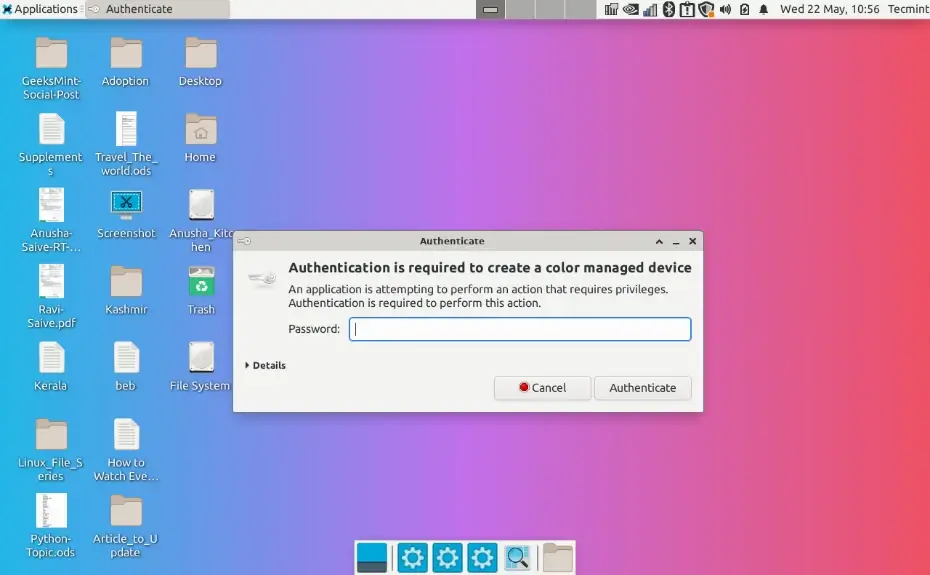
After you finish with the guide, then you will see your destination host appear with full desktop capacity. On the destination host, a notification will show if a user is connected or disconnected.
Although NoMachine is free, Free Edition has a limit of 2 concurrent connections only. If you need to have more concurrent connections, you may use the Enterprise Edition. Before you choose what solution you need, you should look at the NoMachine feature comparison.