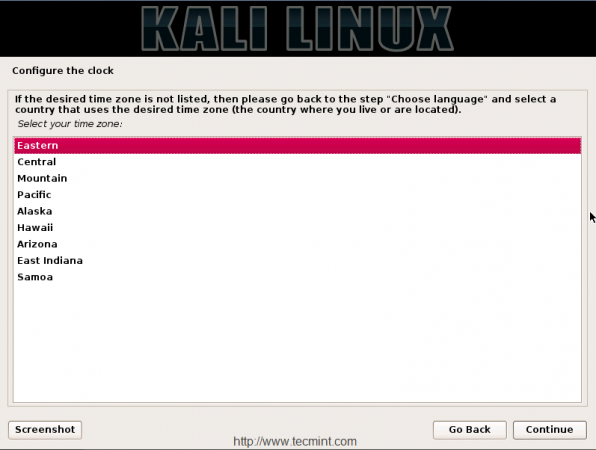
11. Configure the clock to match with the your chosen location, if you connected to internet this will set automatically as per your chosen location or set manually as described below.
12. Now it’s time to partition our disk for installation. Choosing LVM will be good option, If you need to extend more space in near future. Here i have selected Guided-Use enter disk and setup LVM.

13. Choose the Disk from the list, here we have only one disk to choose, click continue to move forward for the installation.

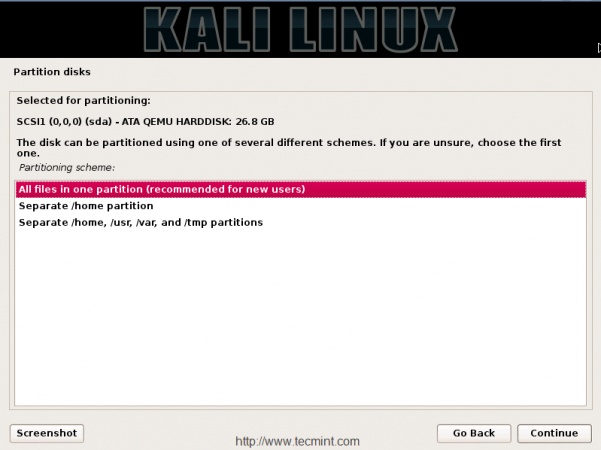
14. For simplifying our installation and easy to setup, we can choose All files in one partition. This will be recommended for new users to Kali. For advance user’s they can choose manually for separate partition for each /home, /var, /usr, etc.
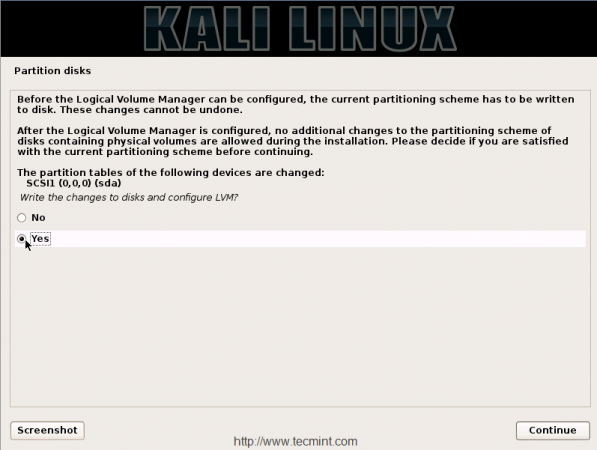
15. Before the LVM configured, the proper partitioning scheme has to be written to disk and these changes cannot be reverted back. So, make sure to take backup, if you have any or choose YES to confirm the changes to the disk and configure LVM.
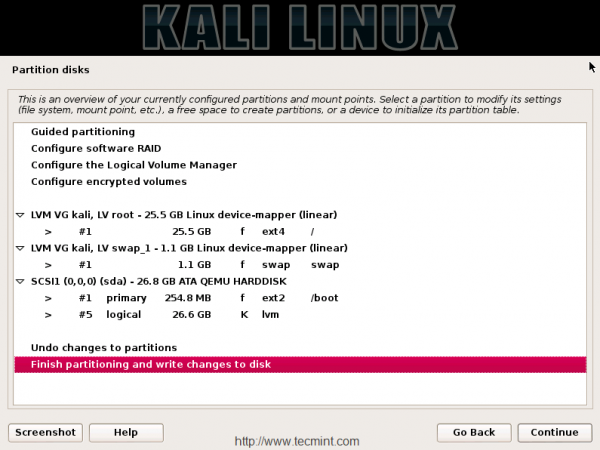
16. Here, you will get a overview of your current partition layout and mount points, which configured automatically from the installer. If you wish to change any settings, you can or else select Finish partition and write changes to disk and choose continue to move forward for the next step.
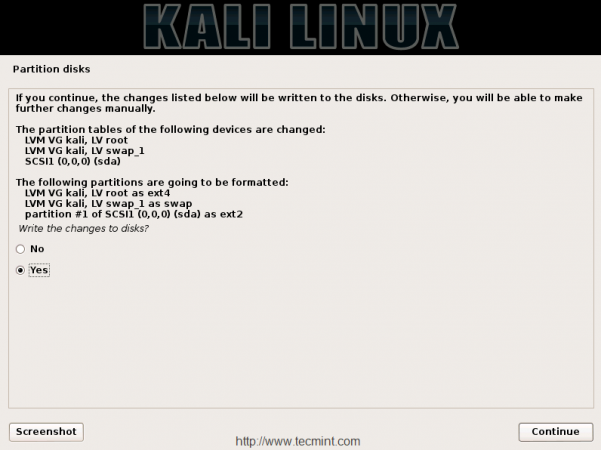
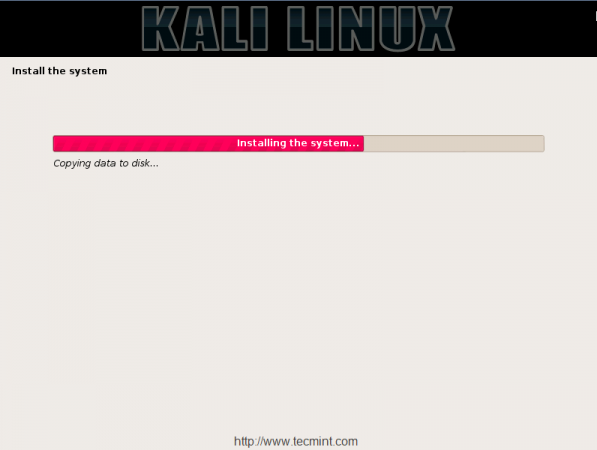
17. Partitions are created and asking to format the disk by using below file-system types. With root and swap. Choose YES and click on Continue. This will start to copy the files from media to disk and get install Kali Linux.
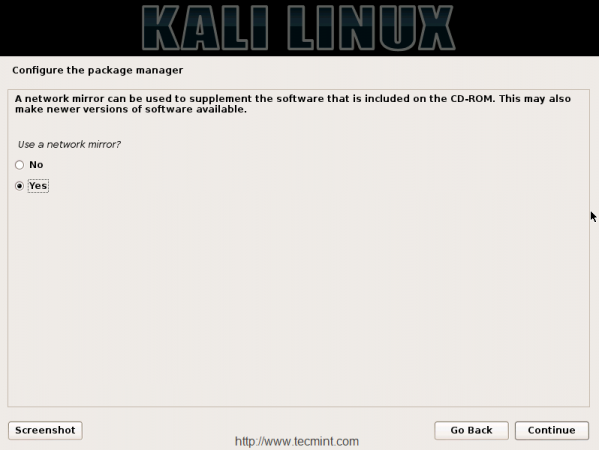
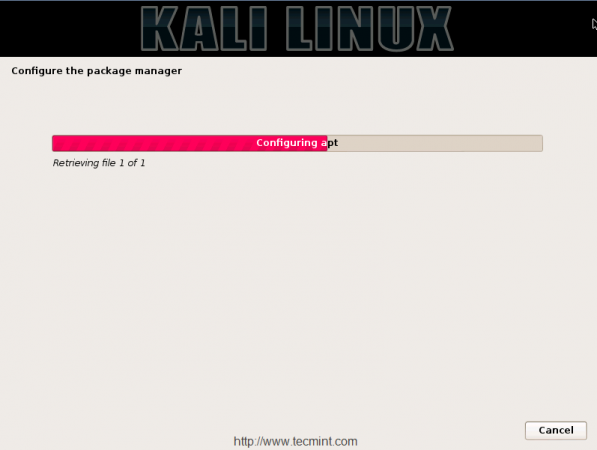
18. After copying files, you will be asked to configuring package manager. In this step, we’re going to configure the mirror network to get the packages for the future installations. If you don’t have a internet connection, you can choose NO, to depend on media repo, if you choose a network mirror to YES, it will get prepared to use the available nearby repository mirror.
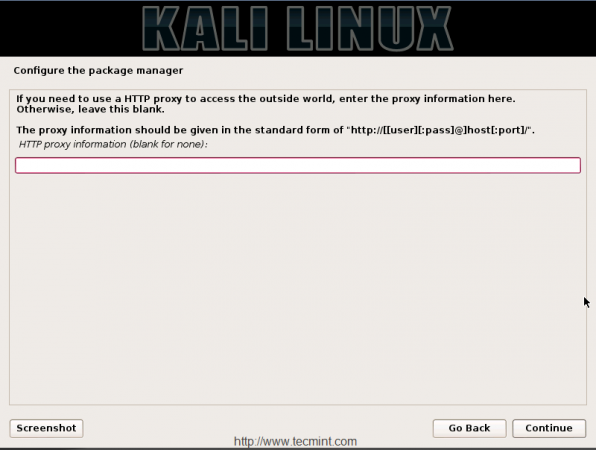
In some organizations they have there local mirror, in such case, you can enter the information of your local mirror URL here, or else just click on Continue to move forward for the further installation.
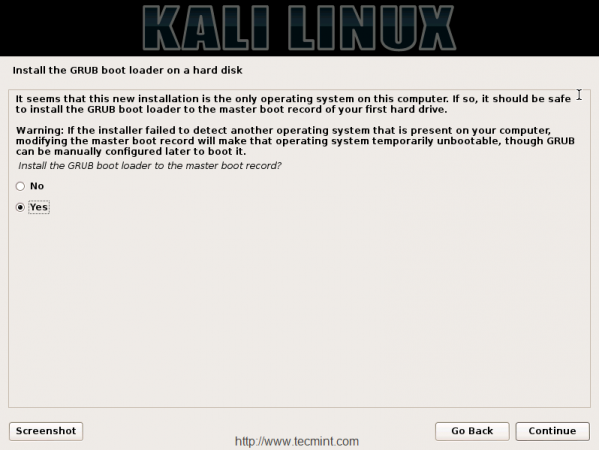
19. After configuring package manager, it will download and install packages from chosen mirror, and then choose YES to install the GRUB boot loader in our system.
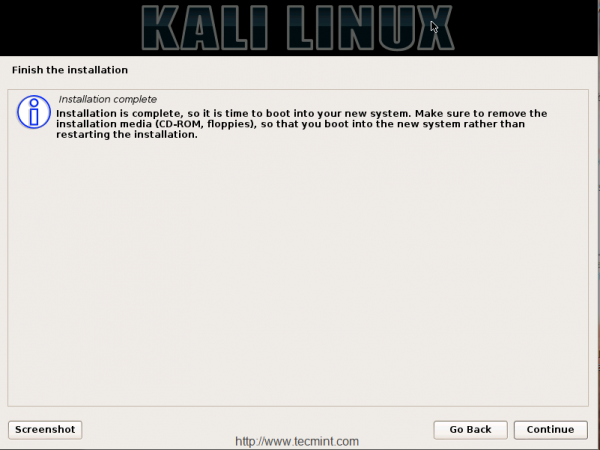
20. After installation completes, click on Continue to finish installation, and make sure to remove the installation media, before rebooting the machine.
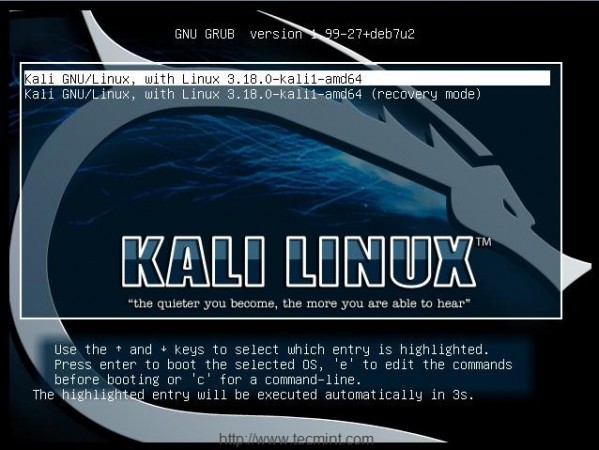
21. After rebooting machine, you will be prompted with Kali Linux boot menu, from the list choose Kali GNU/Linux without recovery mode to boot normally to system.
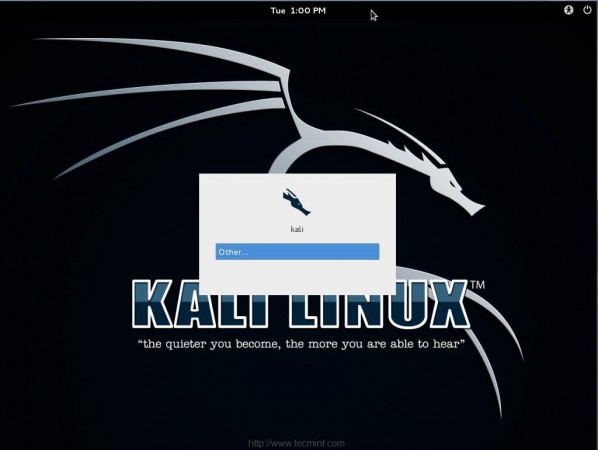
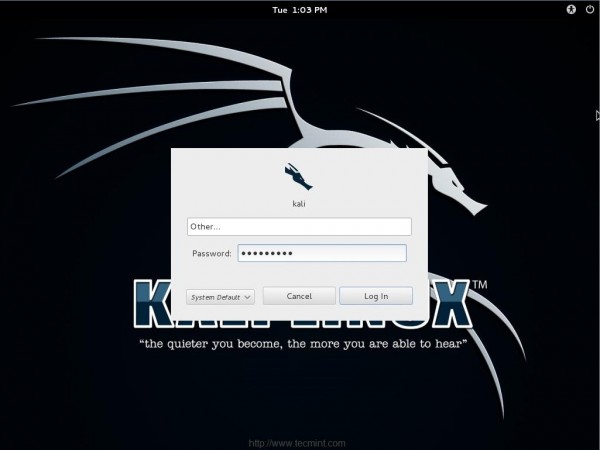
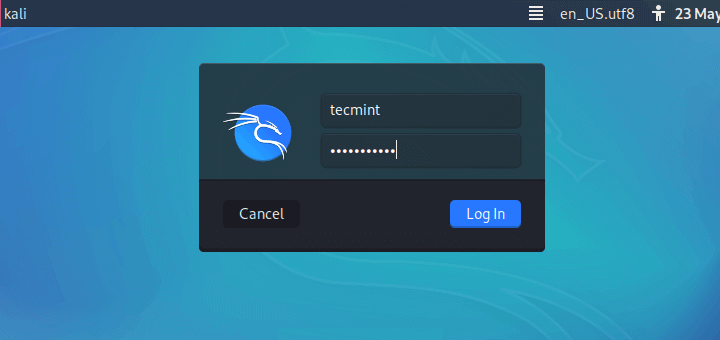
22. After system booting, you will get the login screen for KALI Linux 1.1.0, use the default username as ‘root’ and password which you’ve set during the installation time at #step 10.
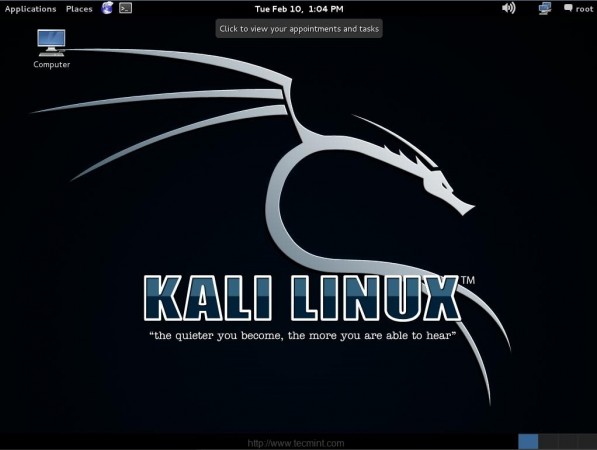
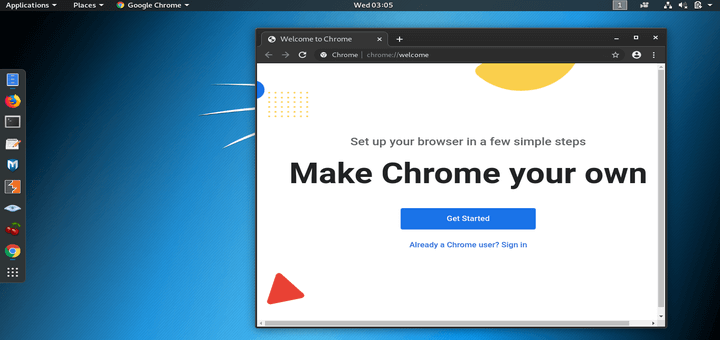
That’s it we’ve successfully installed Kali Linux 1.1.0 and your system is ready to customize as per your requirements.
Updating Kali Linux from Older Version to 1.1.0
To upgrade Kali from older versions to newer 1.1.0, you can use the simple apt-get commands. We don’t have to download the ISO files and have a fresh new installation, just issue the following commands to upgrade the running system into newer version.
# sudo apt-get update
# sudo apt-get dist-upgrade
Conclusion
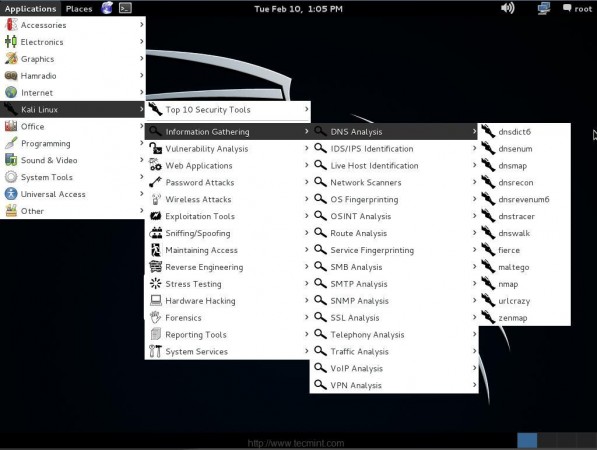
Here we have seen how to install and upgrade Kali Linux to 1.1.0, in our next upcoming articles, we will discuss some useful tools in Kali Linux, till then stay tuned to updates and don’t forget to add your questions or comments about the Kali Linux.
Resource Links
- https://www.kali.org/
- https://www.kali.org/official-documentation/
- http://tools.kali.org/tools-listing
alert (‘This guy has worked very hard. Make sure to comment and check out his comment’).
Hello Sir,
I have followed your instruction but after clicking graphic install, my computer is stocked in black screen and has no response what should I do in this case? I am using HP desktop.
I guess the RAM provided is not enough to configure it.
Sir i have downloaded it but in the package managing section I am facing problem I am in India and want to to Indian network, after doing so it shows three Debian archive and I choose the default, then it shows error
I have windows 8 hp notebook with AMD graphics 2gb ram and 250gb harddisk.
Can i install it.
@Akshay,
Yes, you can install Kali Linux without any issues…
it wont install any bootloader. i get error “grub-pc failed to install” or something of that nature
oh, also, i choose continue without bootloader and it mentioned something like ” you can boot manually with vmlinuz ” and something else that i forgot. could you please help me asap because my pc came with no OS and i happened to have my kali 1.1.0 usb drive sitting around from my pentesting days as an adolescent . i am posting this with the barbones pc through a live session.
HELLO Sir.
My system can’t install the Kali Linux 32 bit, I plugged USB pendrive, but not process click after graphic install.
My pc intel corei3 @3.07GHz processor and 2 gb ram win 7 32bit.
PLEASE help me..
@Pankaj,
i3 Processor will support, What’s your mother board model?
You can get 64 bit from below URL.
http://cdimage.kali.org/kali-2016.2/kali-linux-2016.2-amd64.iso
Regards,
hi i want to install kali in my window 8 laptop i3 5u 1.75 ghz Intel processor ,4 gb ram and enough hard disk cani install kali in my window laptop and which version is suitable for it
@Nitin,
Yes, you can install any Linux distribution along side with Windows 8 or 10, go the official Kali Linux download site, and download the most recent version and follow the below guide for Windows dual-boot with Linux..
https://www.tecmint.com/install-ubuntu-16-04-alongside-with-windows-10-or-8-in-dual-boot/
problem with the configuration packet manager
@Kevin,
What error you getting?
hi,
i have some problem after installation.
record my desktop is not working properly and when i am tring to upgrade or update them it show look like this error:– plz solve the problem
Reading package lists… Done
Building dependency tree
Reading state information… Done
You might want to run ‘apt-get -f install’ to correct these.
The following packages have unmet dependencies:
libobasis5.1-base : Depends: libobasis5.1-core (>= 5.1.0.1) but it is not installable
Depends: libobasis5.1-core (= 5.1.0.1) but it is not installable
Depends: libobasis5.1-core (= 5.1.0.1) but it is not installable
Depends: libobasis5.1-core (= 5.1.0.1) but it is not installable
Depends: libobasis5.1-core (= 5.1.0.1) but it is not installable
Depends: libobasis5.1-core (= 5.1.0.1) but it is not installable
Depends: libobasis5.1-core (= 5.1.0.1) but it is not installable
Depends: libobasis5.1-core (= 5.1.0.1) but it is not installable
Depends: libobasis5.1-core (= 5.1.0.1) but it is not installable
Depends: libobasis5.1-core (= 5.1.0.1) but it is not installable
Depends: libobasis5.1-core (= 5.1.0.1) but it is not installable
Depends: libobasis5.1-core (= 5.1.0.1) but it is not installable
Depends: libobasis5.1-core (= 5.1.0.1) but it is not installable
Depends: libobasis5.1-core (= 5.1.0.1) but it is not installable
Depends: libobasis5.1-core (= 5.1.0.1) but it is not installable
Depends: libobasis5.1-core (= 5.1.0.1) but it is not installable
Depends: libobasis5.1-core (= 5.1.0.1) but it is not installable
Depends: libobasis5.1-core (= 5.1.0.1) but it is not installable
Depends: libobasis5.1-core (= 5.1.0.1) but it is not installable
Depends: libobasis5.1-core (= 5.1.0.1) but it is not installable
Depends: libobasis5.1-core (= 5.1.0.1) but it is not installable
Depends: libobasis5.1-core (= 5.1.0.1) but it is not installable
Depends: libobasis5.1-core (= 5.1.0.1) but it is not installable
Depends: libobasis5.1-core (= 5.1.0.1) but it is not installable
Depends: libobasis5.1-core (= 5.1.0.1) but it is not installable
Depends: libobasis5.1-core (= 5.1.0.1) but it is not installable
Depends: libobasis5.1-core (= 5.1.0.1) but it is not installable
Depends: libobasis5.1-core (= 5.1.0.1) but it is not installable
Depends: libobasis5.1-core (<= 5.1.0.1-1) but it is not installable
openshot : Depends: melt but it is not installed or
openshot-mlt but it is not installable
Depends: python-mlt2 but it is not installable or
python-mlt but it is not installed or
openshot-mlt but it is not installable
Depends: python-pygoocanvas but it is not installed
E: Unmet dependencies. Try using -f.
@Ajit
please run apt-get -f install this will resolve your issue.
What about PAE requirements???
hello, sir.
How do i saw my environment setup? because i had to install on usb live, and i make dual boot with windows 7. Please help
Great installation guide, thank you!