Backups are an integral part of any operating system. They ensure that critical copies of data are always available in the unfortunate event that the system crashes or something goes wrong.
Urbackup is an efficient and easy-to-use Client-Server backup system for Linux and Windows Systems. It’s a fast and reliable Linux backup tool that provides a web interface that allows you to add clients whose files and directories need to be backed up.
Urbackup employs deduplication to store backups on either Windows or Linux servers. Backups are created quietly without interrupting other running processes in the system. Once backed up, files can be restored through a web interface while drive volumes can be restored with a bootable USB-Stick.
In this guide, we walk you through how to install Urbackup and perform a backup on Ubuntu-based distributions.
Testing Environment Setup
To illustrate Urbackup in action, we are going to have a setup of two nodes as you can see below.
- Urbackup Server (Ubuntu 20.04) with IP 192.168.2.104
- Client System (Linux Mint 20.03) with IP 192.168.2.105
Installing Urbackup Server on Ubuntu 20.04
The first step is to install Urbackup on the server. So, log into the server and refresh the repositories.
$ sudo apt update
Next, install the following dependencies that will be required along the way during the installation.
$ sudo apt install curl gnupg2 software-properties-common -y
The urbackup server is not provided by default on Ubuntu repositories. As such, we are going to install it from the PPA provided by the developer.
$ sudo add-apt-repository ppa:uroni/urbackup
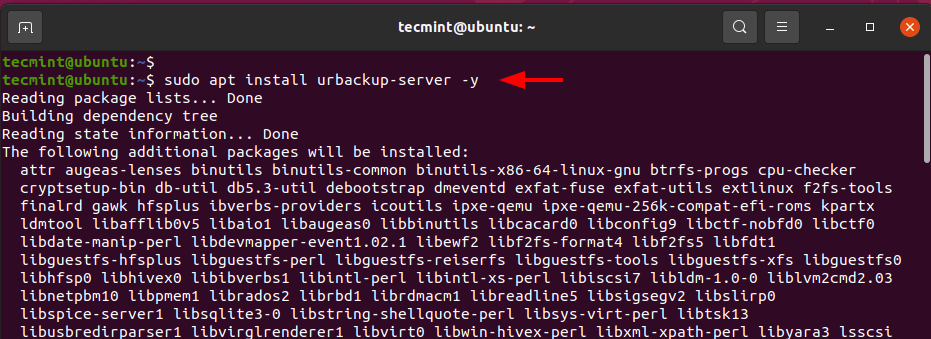
Once the PPA is added to the system, refresh the repositories once more and install the urbackup server.
$ sudo apt update
$ sudo apt install urbackup-server -y
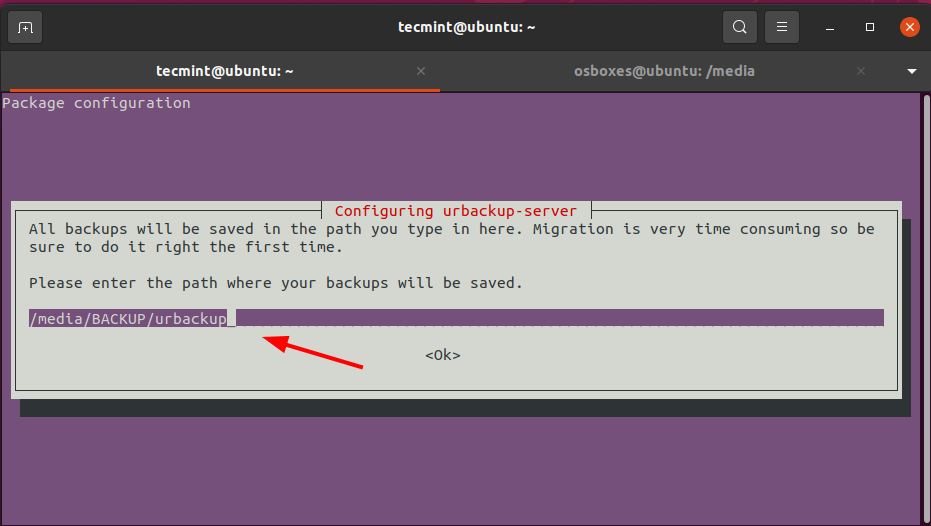
Along the way, you will be required to provide a path where your backups will be saved. A default path will be provided for at /media/BACKUP/urbackup. This works just fine, and you can as well specify your own path. In this case, we will go with the default path and press the TAB key and hit ENTER.
Once installed, the Urbackup service starts automatically. You can confirm this run by running the following command.
$ sudo systemctl status urbackupsrv
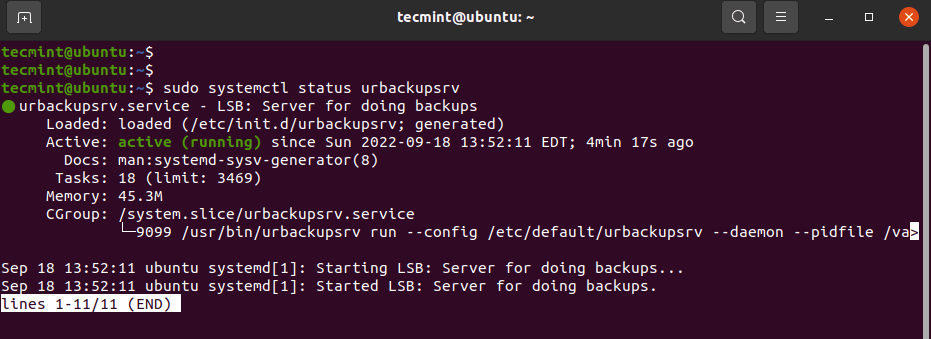
The output above shows that the service is up and running. You can also enable it to start on system startup as follows.
$ sudo systemctl enable urbackupsrv
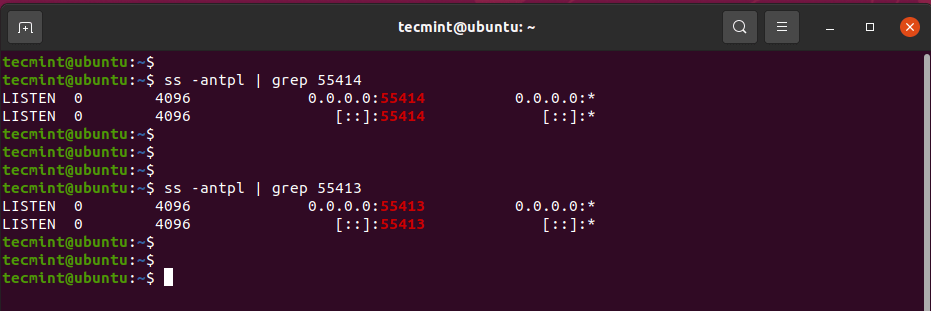
The Urbackup server listens on ports 55414 and 55413. You can confirm this using the ss commands:
$ ss -antpl | grep 55414
$ ss -antpl | grep 55413
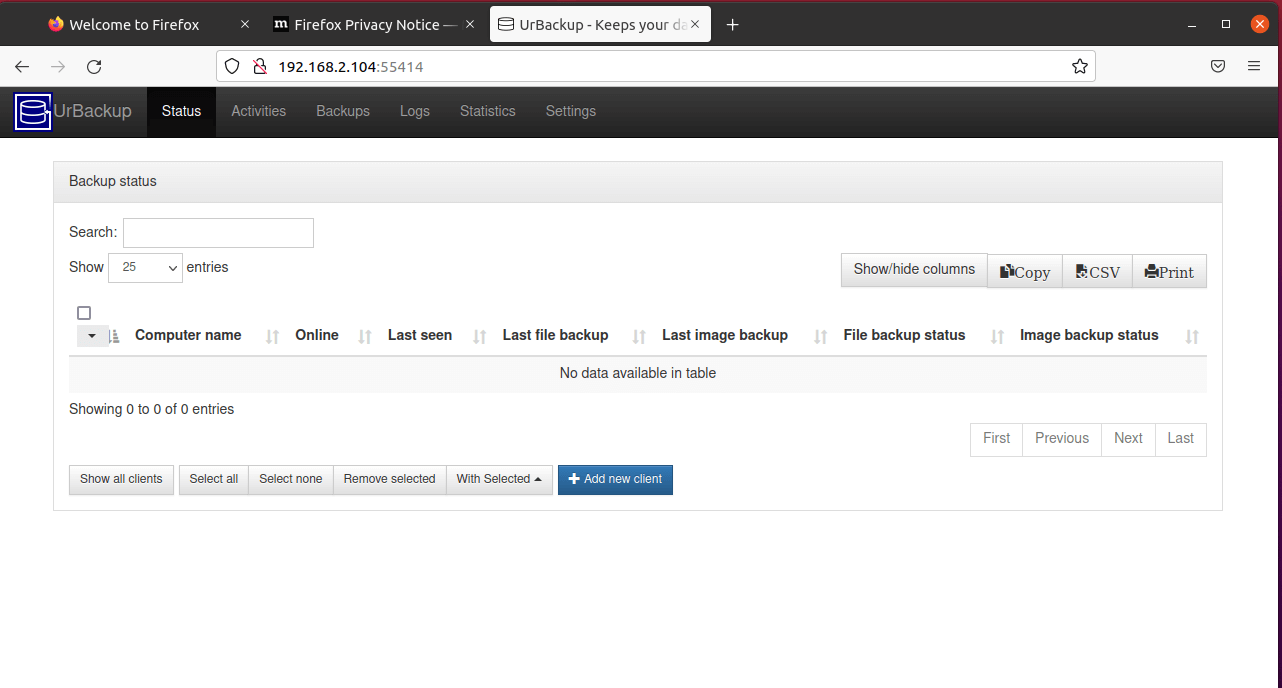
You can now access the Urbackup web UI by browsing your server’s IP address.
http://server-ip:55414
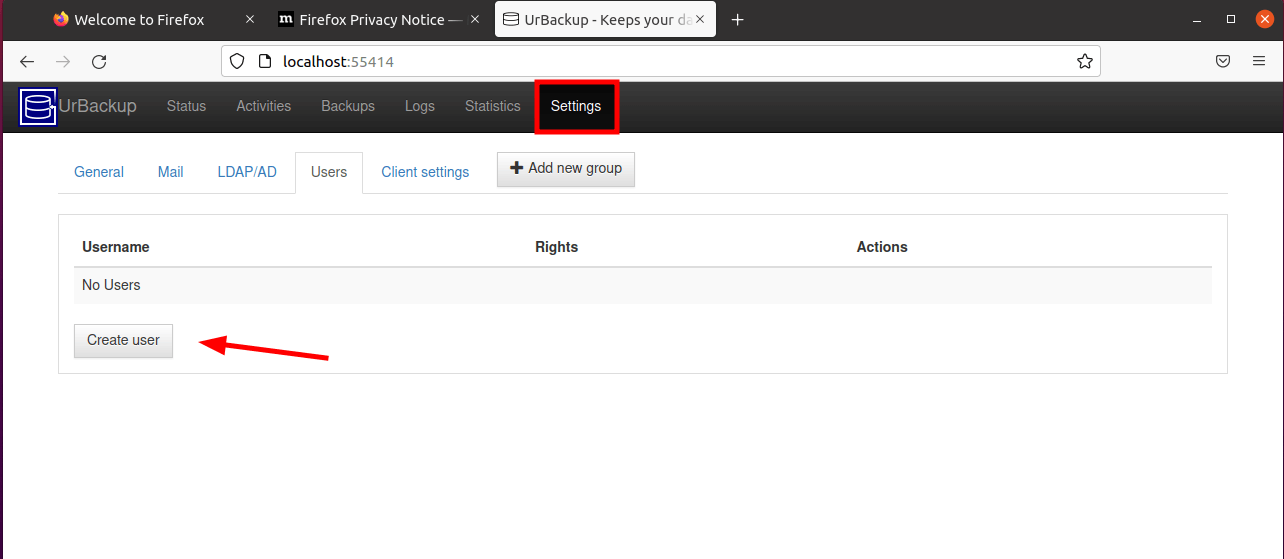
Step 2: Create Admin User on Urbackup Server
Urbackup has successfully been installed, but it is accessible to everyone since there’s no authentication required. In this step, we will create an administrative user in order to provide authentication.
On the WebUI, click on Settings –> Create User.
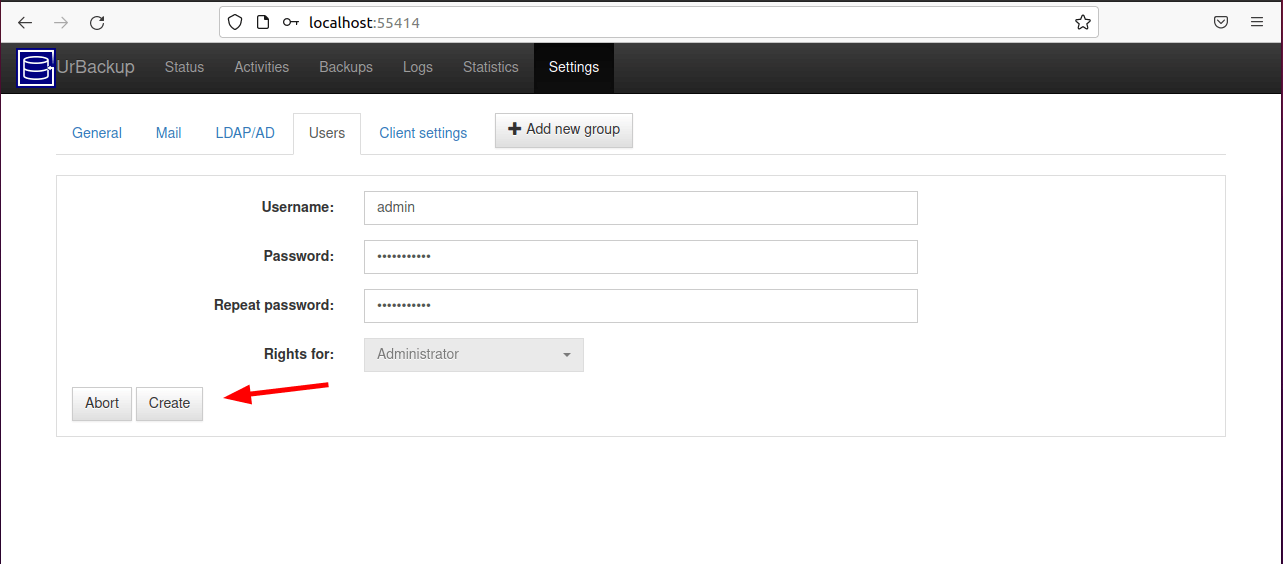
Provide the username and password and click ‘Create’ to add the user.
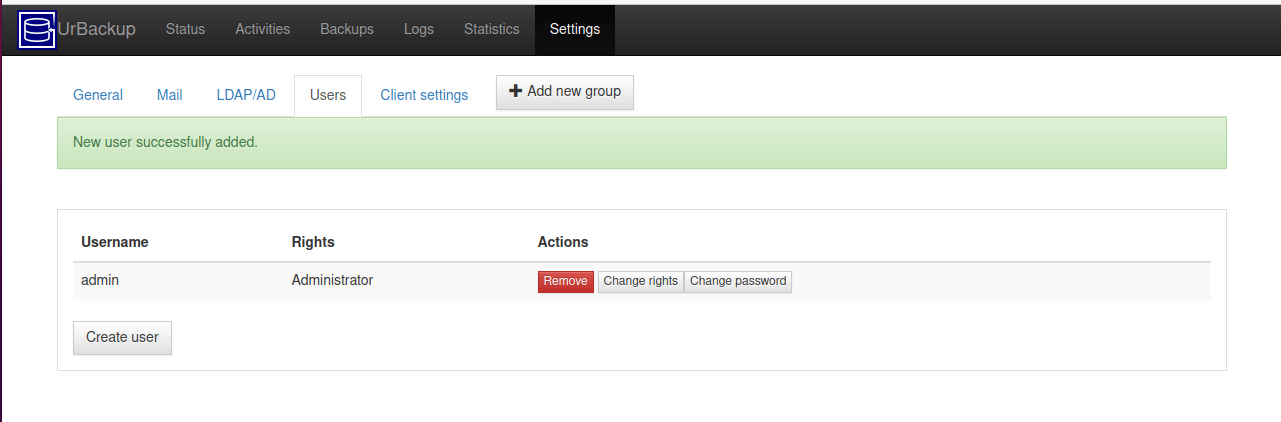
Thereafter, the user will be listed on the dashboard as shown.
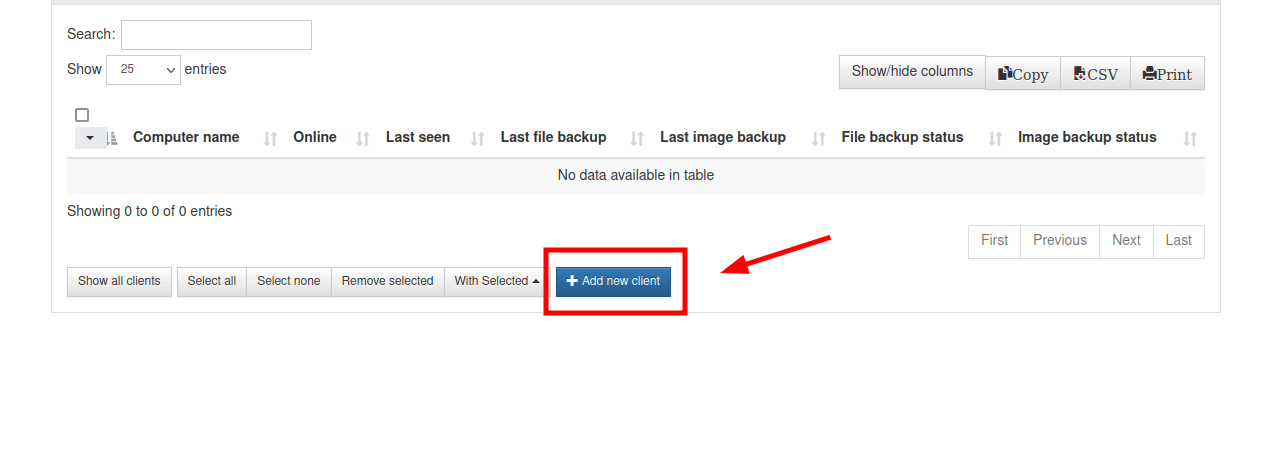
Step 3: Add a New Backup Client in Urbackup
After successfully installing the UrBackup server, the next item on the list is to add a client whose files and directories will be backed up on the server.
To do this, click the ‘Add New Client‘ button.
On the page that appears, click ‘Add new internet/active client‘ and provide your preferred name for the client. Then provide the IP address of the client system and click ‘Add Client‘.
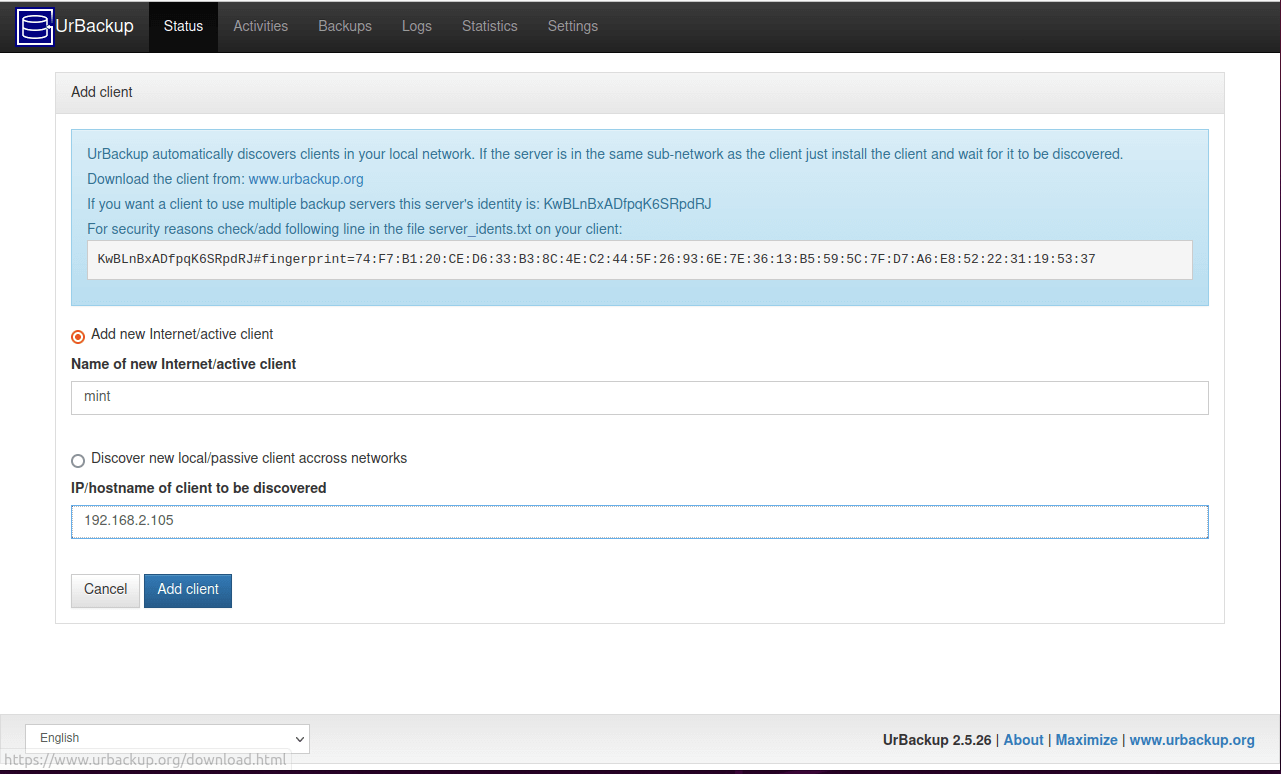
A command to be executed on the remote client system will be displayed as shown.
TF=`mktemp` && wget "http://192.168.2.104:55414/x?a=download_client&lang=en&clientid=2&authkey=W0qsmuOyrU&os=linux" -O $TF && sudo sh $TF; rm -f $TF

So, head over to the client system and execute the command. In this case, we are running the command on the Linux Mint system which is our client system.
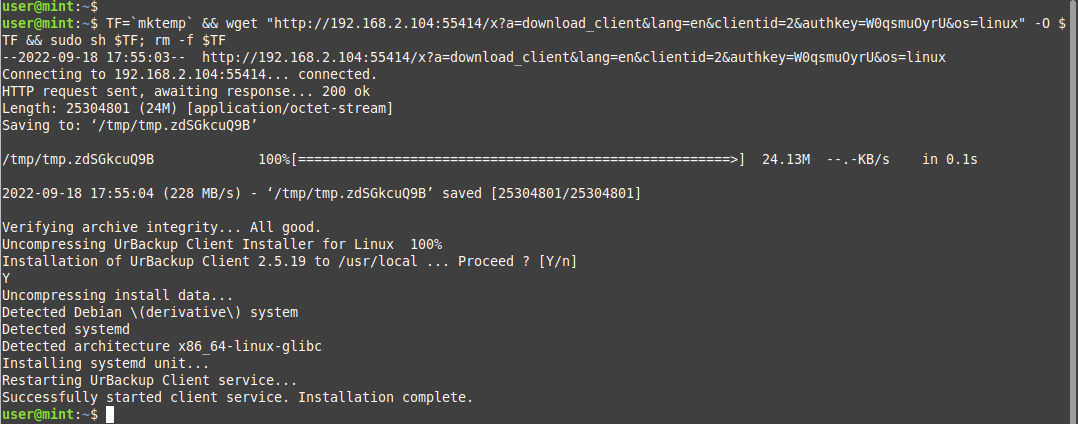
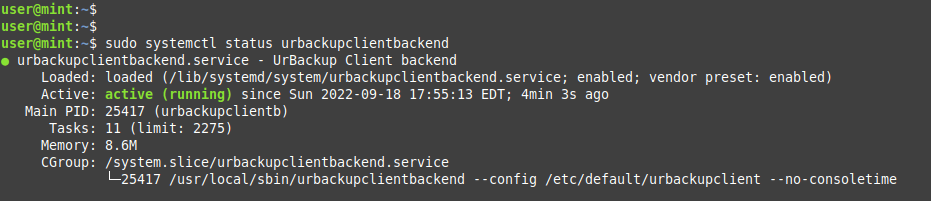
Running the command starts the Urbackup client service. You can verify its status as shown.
$ sudo systemctl status urbackupclientbackend
Step 4: Configure Client Backups on Urbackup
The next step is to configure backups. On the client system, we are going to back up the home directory by running the following command. Feel free to provide your own preferred directory.
# /usr/local/bin/urbackupclientctl add-backupdir -x -f -d /home
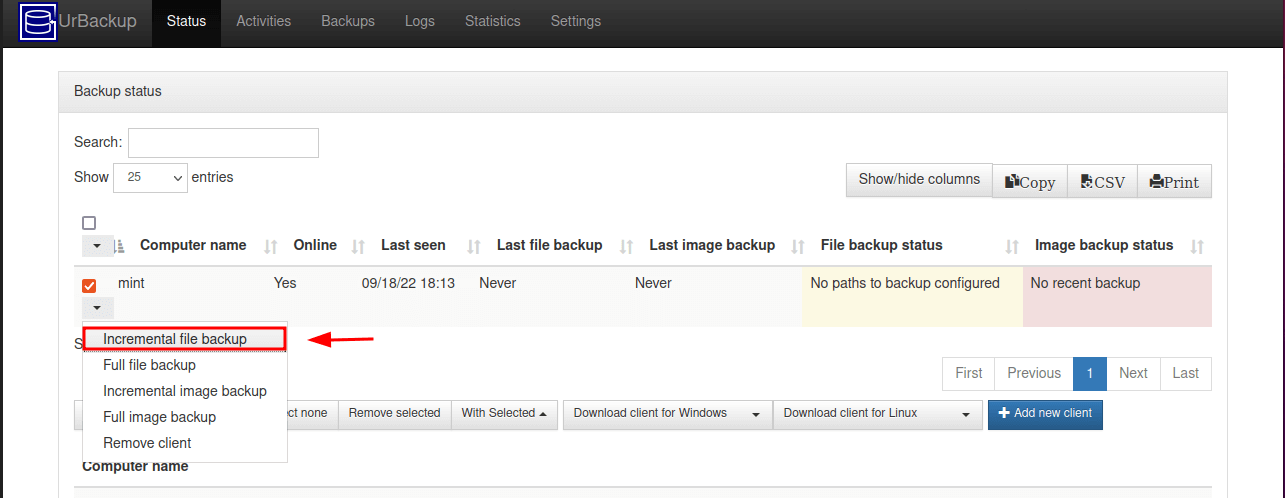
Now head back to your Urbackup server and you will notice that the client system has been listed as online. You can now run the backup manually otherwise, the backup will run as per the default schedule.
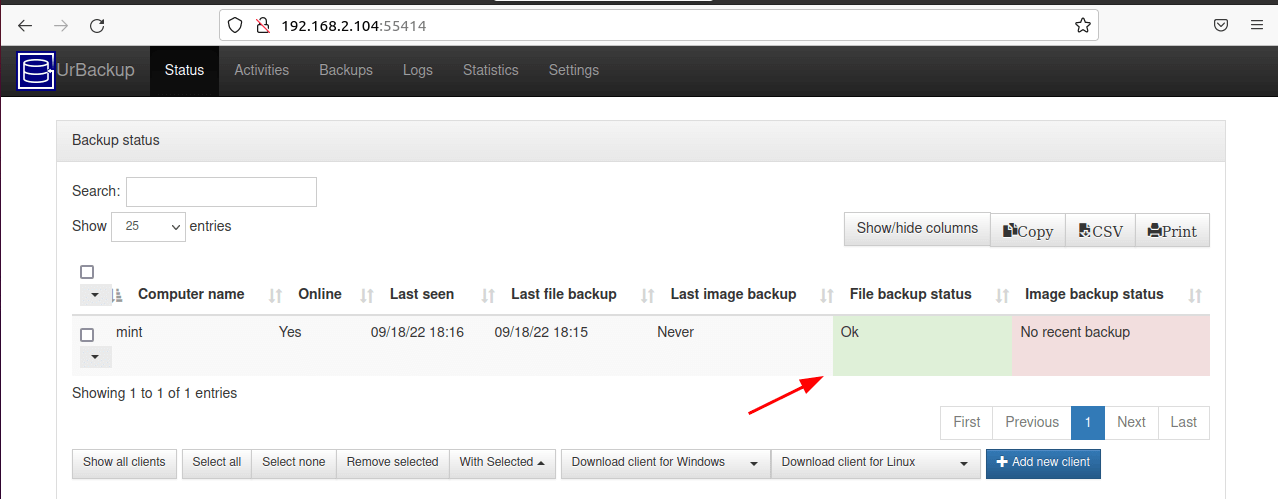
Soon after that, you will get an ‘Ok’ status showing that the backup was complete.
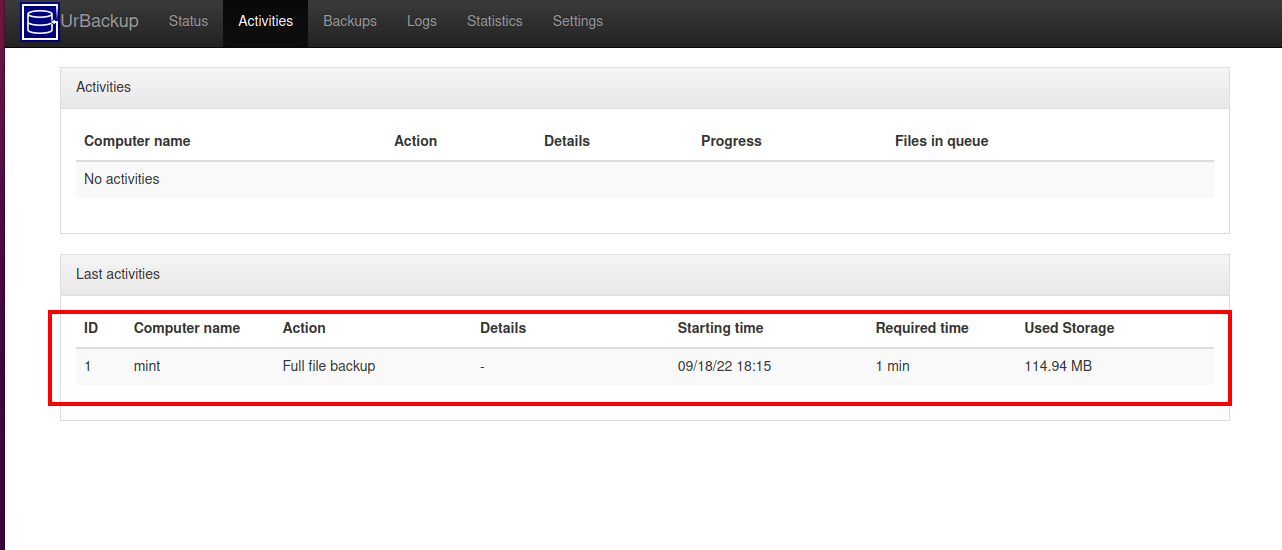
To confirm that the backup was created, click the ‘Activities’ tab and you will see details of the backup.
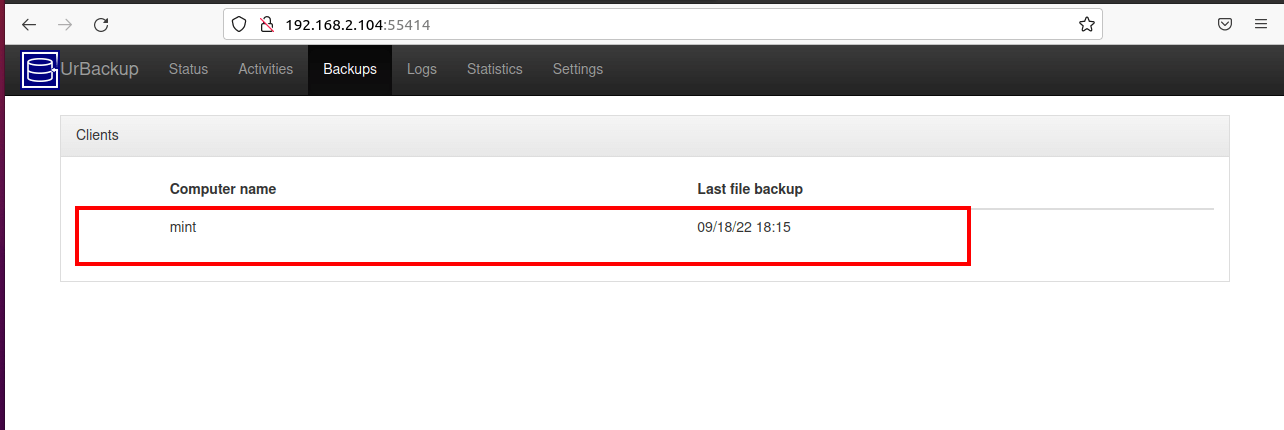
Alternatively, you can click ‘Backups‘ to see details of the file backup.
In this tutorial, we have installed and configured Urbackup on Ubuntu-based distributions and installed a client service to our client machine whose home directory we backed up.
Visit the Urbackup documentation page for more information about the Ubackup utility.


It is possible to use a Windows client on Urbackup?
@Luis,
Yes, you can add the Windows client to UrBackup…
Dear Sir,
Can you explain, please, how to restore my /home directory in a new install of a different ubuntu distribution?
I did a full backup of my /home on a removable drive, but Urbackup is installed in the new pc, but refuses to see my backup directory, and, consequently, refuse to restore my /home
Can you help me, please?
Thanks in advance
Giuseppe Stancanelli, Italy