When it comes to backups, experience says it’s better to be safe than sorry. Better to have much than not enough – you get the point. In this article, we will present CloudBerry Backup for Linux, a cross-platform cloud backup and disaster recovery software.
As a leading solution in the industry, CloudBerry stands out for its flexibility, reliability, and its wide set of out-of-the-box features. You not only get to choose where to store your data (locally or using a cloud storage service), but also can encrypt it using AES-128 or AES-256.
With the recent release of version 2.5.1, which introduces support for block-level backups, this tool stands out among its crowd of competitors more than ever. This new feature is particularly important if you need to back up large files with relatively minor changes over time.
With both a GUI and a command-line interface, optional compression to save up on bandwidth and decrease storage costs, and no hidden fees for data restore, CloudBerry is hard to beat!
And this is just the top of the iceberg. Believe me – creating, managing, and restoring backups has never been easier, not even in the cloud computing era. Keep reading to find out more!
Installing CloudBerry Backup for Linux
Although CloudBerry is a commercial product, it provides a full-featured trial version that you can use to test-drive the solution. Additionally, a freeware version for personal use (which provides most of the functionality of the Pro edition, except for data encryption) is also available.
Regardless of the version, licenses are one-time off (pay once, get a perpetual license) with an optional yearly maintenance fee that includes support and free upgrades during that period of time.
First, go the download section of Linux cloud backup and click Download. In the next page, choose the link that corresponds to your distribution.
In this article, we will be installing the solution on a CentOS 7 machine. The installation on other distributions is almost identical, so you should not run into any issues if you stick to this tutorial.
To begin, let’s click on the link for CentOS 6/7 and wait for the download to complete:

Once done, follow these steps to proceed with the installation of CloudBerry Backup for Linux:
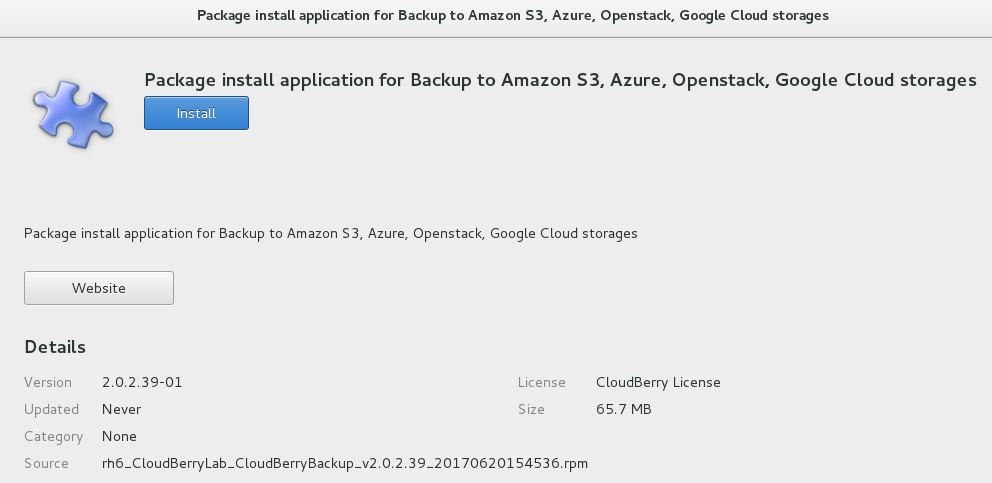
1. Browse to the folder where the binary file was downloaded and double click on it. The following window will pop up. Click Install to continue.
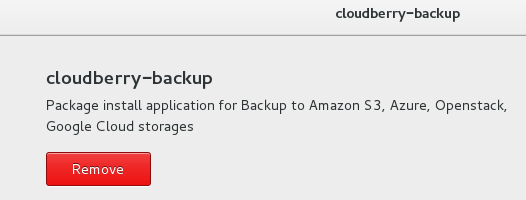
When the installation is complete, Install will change to Remove, as you can see in the below image:
2. Open a terminal and enter the following commands to request the trial version. Note the pair of single quotes surrounding CloudBerry Backup:
# cd /opt/local/'CloudBerry Backup'/bin
Next, do
./cbb activateLicense -e "[email protected] " -t "ultimate"
If the above command returns Success, the trial version is ready to use. To launch it, go to the Internet section in your Applications and click CloudBerry Backup. Next, click Continue Trial and Finish to proceed:

Create a Backup Plan and Choose a Storage Provider
Once we have installed the solution and activated the trial version, we will proceed to set up a backup plan.
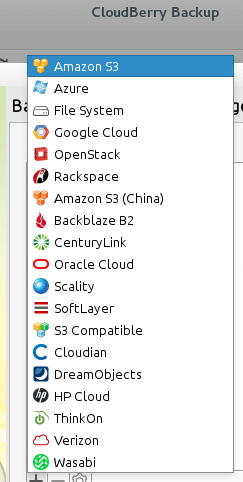
3. Here you will be able to select where you will store your data. As you can see, CloudBerry is well integrated with all the major cloud storage service providers.
As a Bring-Your-Own-Storage (BYOS) solution, it allows you to leverage any existing cloud services you may already be using.
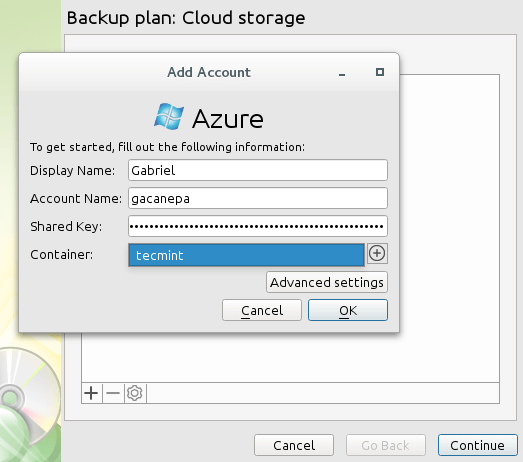
Regardless of the chosen backup plan, we are assuming that you have already setup the authentication mechanism. In our case we will go with Azure, and once we have entered a display name of our choosing, one of the access keys to our storage account, the account name, and specified a container name, let’s click OK and Continue:
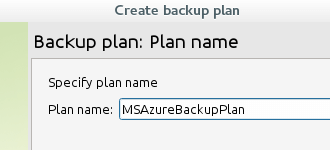
Next, choose a name for the current backup plan:
Note that, by default, support for block-level backups are disabled. You can choose to enable this feature in this step by checking Use block level backup as you can see below:

When you click Continue, you will be asked to set up a periodic full backup so that the retention policy (more on this in a minute) can be applied on old versions as well.
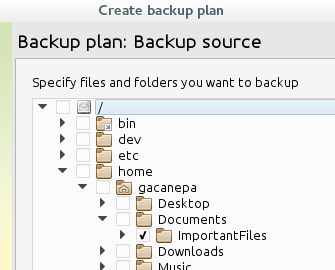
Now choose the files and folders you want to backup:
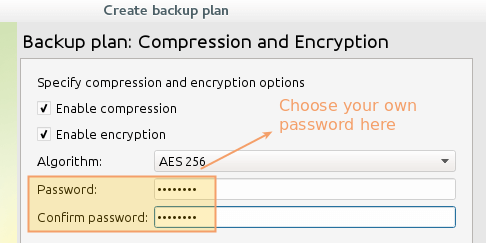
You will then be prompted to indicate the kind of files that you want to include or exclude from your backup. You can also enable All files as well, choose whether to use compression, and the kind of encryption that you want to use:
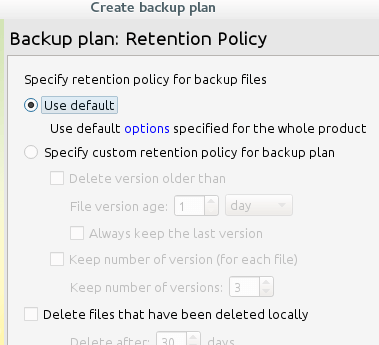
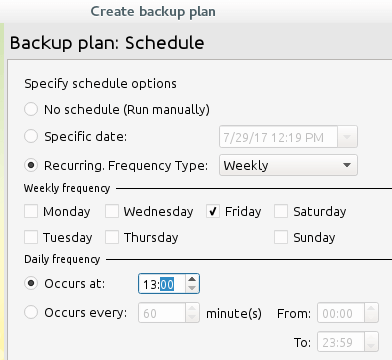
4. Choose a Retention Policy and a backup schedule that suits your needs. This will tell CloudBerry when and how to delete old backup files. If in doubt, go with the defaults:
For the backup schedule, you can choose to run it manually, on a specific date and time, or recurrently on a given frequency. The image below shows a schedule backup that will take place every Friday at 1 pm:
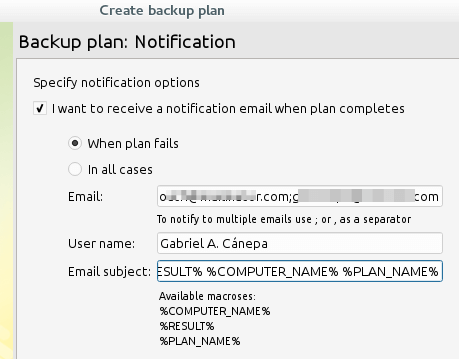
If you wish, you can enable notifications at this point. Note that you can specify a list of recipients separated by semicolons, modify the subject line, and choose to be notified in all cases or only when a backup fails:
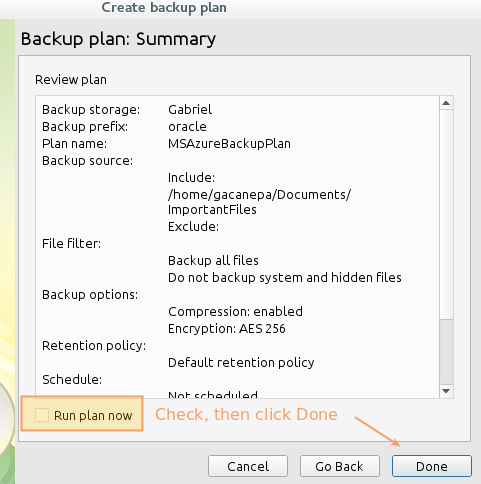
5. Run the plan now to check if it works as expected:
The backup plan will then be executed. Depending on the size of the chosen files and folders, it may take a few minutes (or more) to fully synchronize with the remote storage account.
And this is where the block level capability comes in handy: only the modified parts of your files will be uploaded during subsequent backups – allowing you to save up on bandwidth and time!
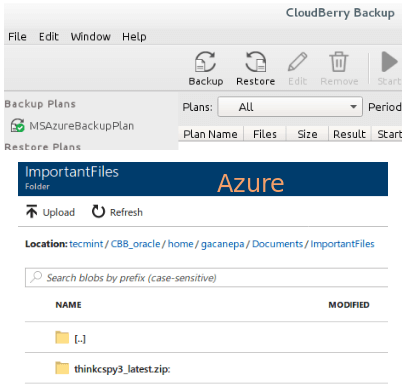
When the process is complete, a green checkmark will appear next to the backup plan in CloudBerry. Now let’s check our Azure container to ensure that our files are already there. And voilá! It’s not magic – it’s CloudBerry Backup for Linux:
Testing the CloudBerry Backup Restore Functionality
So far so good – on to testing we go!
6. Remove a file from the source (thinkcspy3_latest.zip). Click Restore in the CloudBerry Backup interface and choose the plan to restore from.
Since the steps to set up a restore plan are similar to setting up a backup plan, we will not go into detail – only summarize in the following image. Each step is self-explanatory. In #6, enter the password that you chose when you created the backup plan earlier:

After the restore plan is completed, you should see the file that you removed back in the source. Simple as that!
Summary
In this article, we have explained how to install CloudBerry Backup for Linux, and how to create a backup plan integrated with Microsoft Azure.
Additionally, we showed how easy it is to restore files from the remote storage account back to our machine. Additionally, if you prefer to use the command line to manage backup and restore plans, you can refer to the page of CloudBerry Backup command line interface for Linux.
Easy to install, and much easier to use – totally worth your time and a few bucks to buy a license, isn’t it?
As always, don’t hesitate to let us know if you have any questions or comments about this article. The feedback of our readers is always highly appreciated.
The best feature of CloudBerry is Restore to Cloud !
How to restore Linux (RedHat) to cloud ??
Thanks