LibreChat is a free, open-source AI chat platform that allows users to interact with multiple AI models through a single web-based user interface with high customization options.
It supports a wide range of AI providers and services, including OpenAI, Gemini, Anthropic, and Ollama. LibreChat can be installed locally or deployed on a server, making it versatile for different use cases.
In this article, we will delve into the features, installation methods, and capabilities of LibreChat.
Installation of LibreChat in Linux
LibreChat can be installed using two primary methods: NPM and Docker. Both methods have their advantages, but Docker is recommended for its simplicity and efficiency.
Method 1: Install LibreChat with NPM
Before starting the installation of LibreChat, ensure you have all the necessary prerequisites installed on the system.
sudo curl -o- https://raw.githubusercontent.com/nvm-sh/nvm/v0.39.7/install.sh | bash
nvm install 20
node -v
npm -v
Next, clone the official LibreChat repository, which has all the files needed to build LibreChat.
git clone https://github.com/danny-avila/LibreChat.git
cd LibreChat
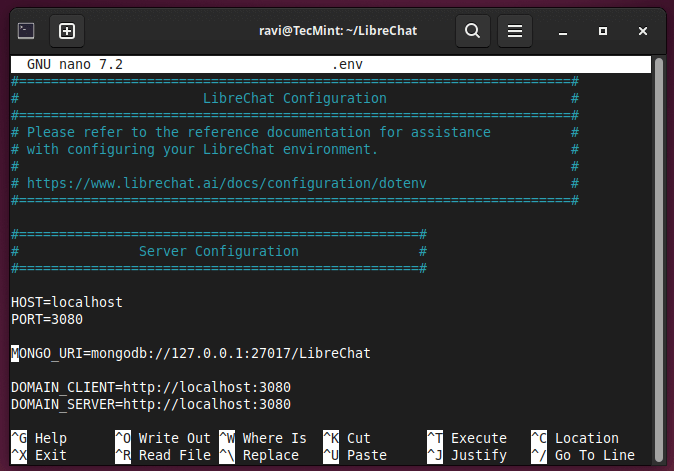
Copy the .env.example file to create a new .env file.
cp .env.example .env
Now open the .env file and update the MONGO_URI with your own MongoDB URI.
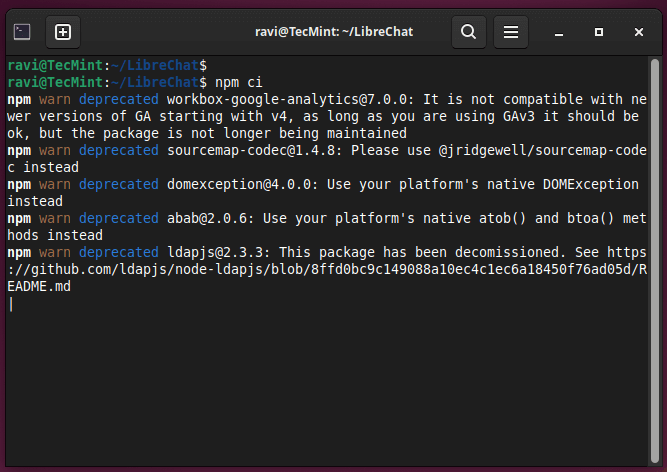
Once you’ve completed the preparation steps, run the following command to install all the necessary dependencies.
npm ci
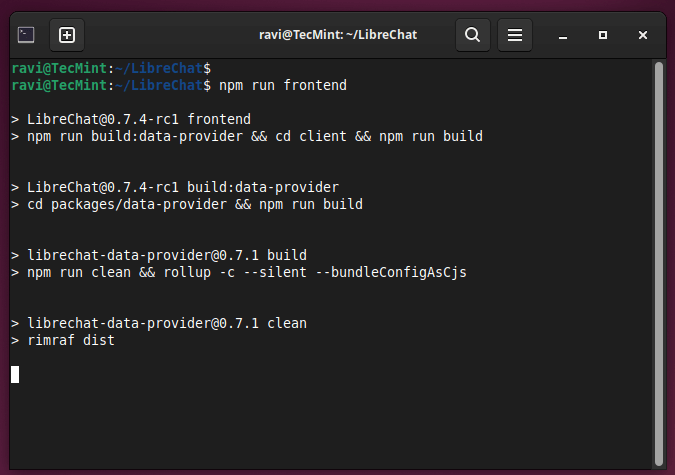
Now build the frontend of LibreChat.
npm run frontend
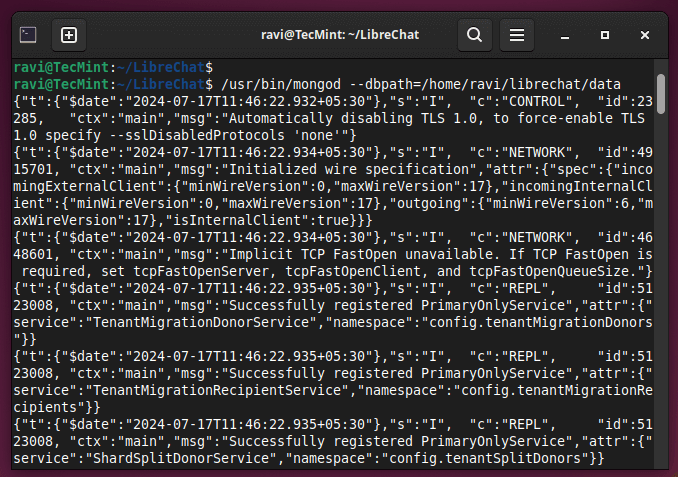
MongoDB needs a place to save its data files, so create a folder on your system for MongoDB data files (e.g., /path/to/data/directory).
/usr/bin/mongod --dbpath=/path/to/data/directory
Now build the backend of LibreChat.
npm run backend
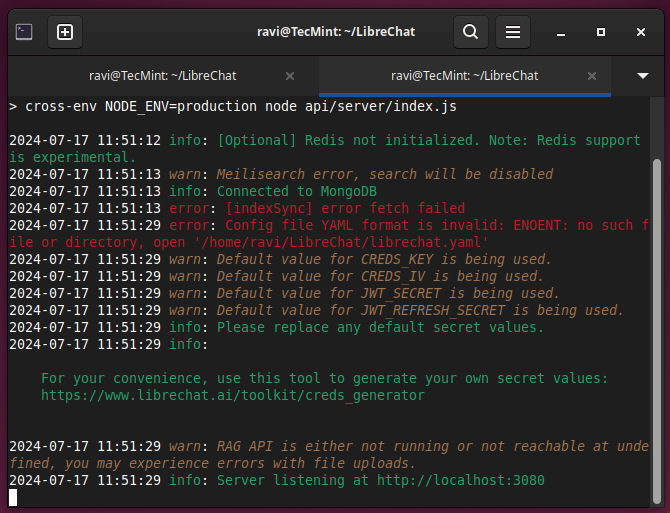
After setting up the backend of LibreChat, you can access it at the following URL.
http://localhost:3080/
Method 2: Install LibreChat using Docker
Before starting the installation of LibreChat, ensure you have Git and Docker installed on your system.
Once these prerequisites installed, you can clone the LibreChat repository and run the Docker compose file.
git clone https://github.com/danny-avila/LibreChat.git
cd LibreChat
cp .env.example .env
sudo docker compose up -d
Getting Started with LibreChat
To get started with LibreChat, you need to sign up and log in. Once you have navigated the initial steps, you are greeted by a minimalist interface that focuses on the conversation.
LibreChat also allows you to create custom prompts and customize the platform to your liking through the settings pane.
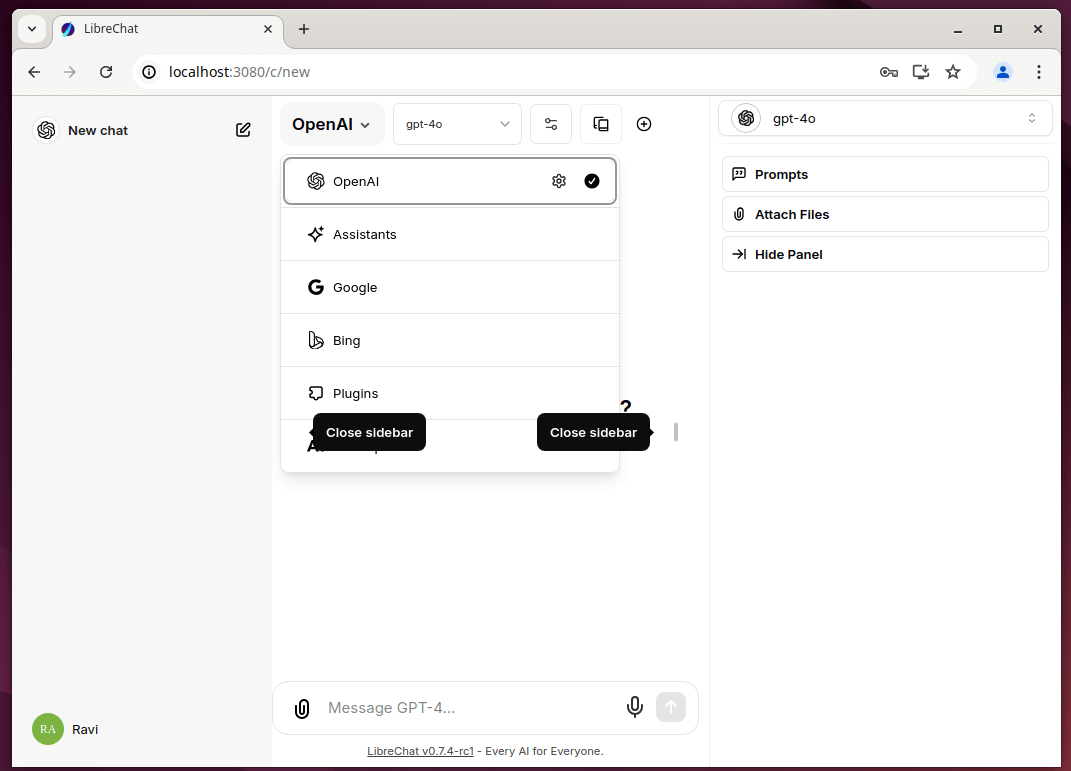
LibreChat acts as a gateway to various AI models, providing a platform to access and use models from providers like OpenAI’s ChatGPT and Google’s Gemini.
To get the most out of LibreChat, you’ll need to connect it to other AI services using APIs. For instance, if you want to use Google’s Gemini API, you’ll have to get an API key and add it to your .env file.
Conclusion
LibreChat is a promising open-source project that aims to simplify and unify the process of interacting with various AI services and providers.
Its extensive customization options, support for multiple AI providers, and user-friendly interface make it an attractive choice for individuals and organizations looking to leverage AI technologies in their workflows.