With the invention of the Internet, the way of communication revolutionized, a long ago. E-mail replaced traditional postal mail. The email was fast still there were some bottlenecks. One would not know if the person on the other end is online or not, hence email was a fast way of communication than postal mail but its constraints gave way to Instant Messaging (IM).
Instant Messaging like America Online (AOL) and CompuServe get famous much before the Internet gets famous. We all have used and still using IM in our day-to-day life. Especially, among the Young generation, IM is very famous like WhatsApp or Telegram. How about setting our own chat server? Let’s do it with an open-source and cross-platform application called Openfire.
What is Openfire?
Openfire is an Instant Messaging and Group chat server, written in Java that uses XMPP (Extensible Messaging and Presence Protocol) server. Wikipedia reports, Openfire was previously called ‘Wildfire‘ and ‘Jive Messenger‘. The Application Software is developed by Jive Software and a community called ‘IgniteRealtime.org‘, and is Licensed under Apache License.
Openfire Features
- Web-Based Admin control
- SSL/TLS support
- LDAP connectivity
- User Friendly
- Platform Independent
Testing Environment
- OS – Ubuntu 20.04 and CentOS 8
- OpenFire Server – Openfire 4.5.3 [Server]
- IM Client – Spark2.9.2 [Client]
Installation of Openfire in Linux
Openfire, as said above is a cross-platform application, available for all known platforms – Windows, Mac and Linux. You can download, package relevant to your OS and architecture from the link provided below:
You may also, use the following wget command to download the package and install it using dpkg or rpm command as shown below.
Install OpenFire On Debian/Ubuntu/Linux Mint
$ wget http://download.igniterealtime.org/openfire/openfire_4.5.3_all.deb
$ sudo dpkg -i openfire_4.5.3_all.deb
Sample Output
Selecting previously unselected package openfire.
(Reading database ... 539398 files and directories currently installed.)
Preparing to unpack openfire_4.5.3_all.deb ...
Unpacking openfire (4.5.3) ...
Setting up openfire (4.5.3) ...
Processing triggers for systemd (245.4-4ubuntu3.2) ...
Processing triggers for ureadahead (0.100.0-21) ...
ureadahead will be reprofiled on next reboot
On RHEL/CentOS/Fedora
# wget http://download.igniterealtime.org/openfire/openfire-4.5.3-1.i686.rpm
# rpm -ivh openfire-4.5.3-1.i686.rpm
Sample Output
Preparing...                ########################################### [100%]
   1:openfire               ########################################### [100%]
After successful installation, Stop and Start the Openfire service.
$ sudo systemctl stop openfire
$ sudo systemctl start openfire
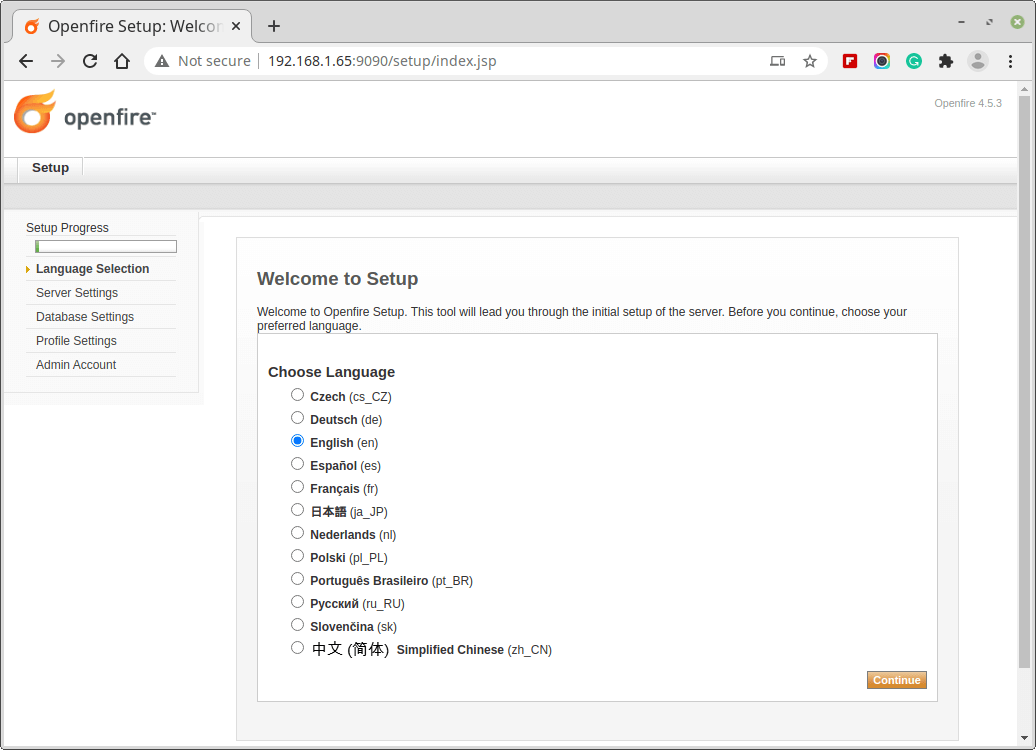
Now point the browser to “http://localhost:9090” or “http://your-ip-address:9090” and follow these simple steps to install Openfire on your machine.
1. Select Preferred Language (I chose English).
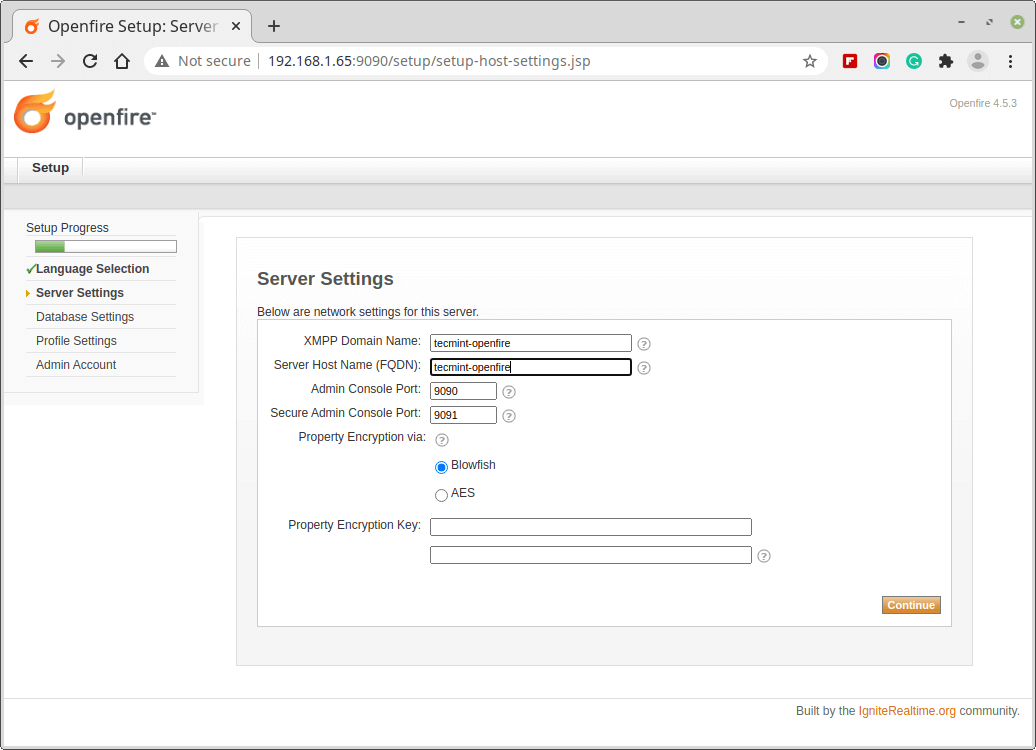
2. Select Domain name, Admin port, and Secure Admin port. Generally, you don’t need to change these data, until you need a custom port.
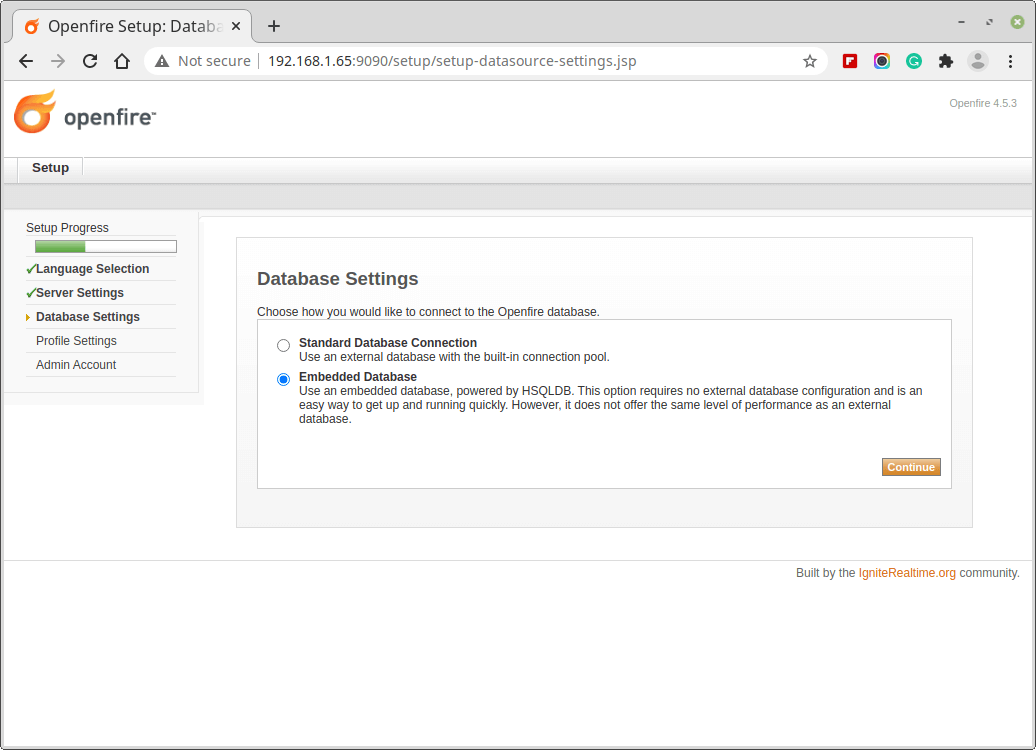
3. You have the option to set an external database as well as or can use an embedded database. Embedded database requires no external database configuration, hence is easy to configure and set, but it doesn’t give the same level of performance as an external database.
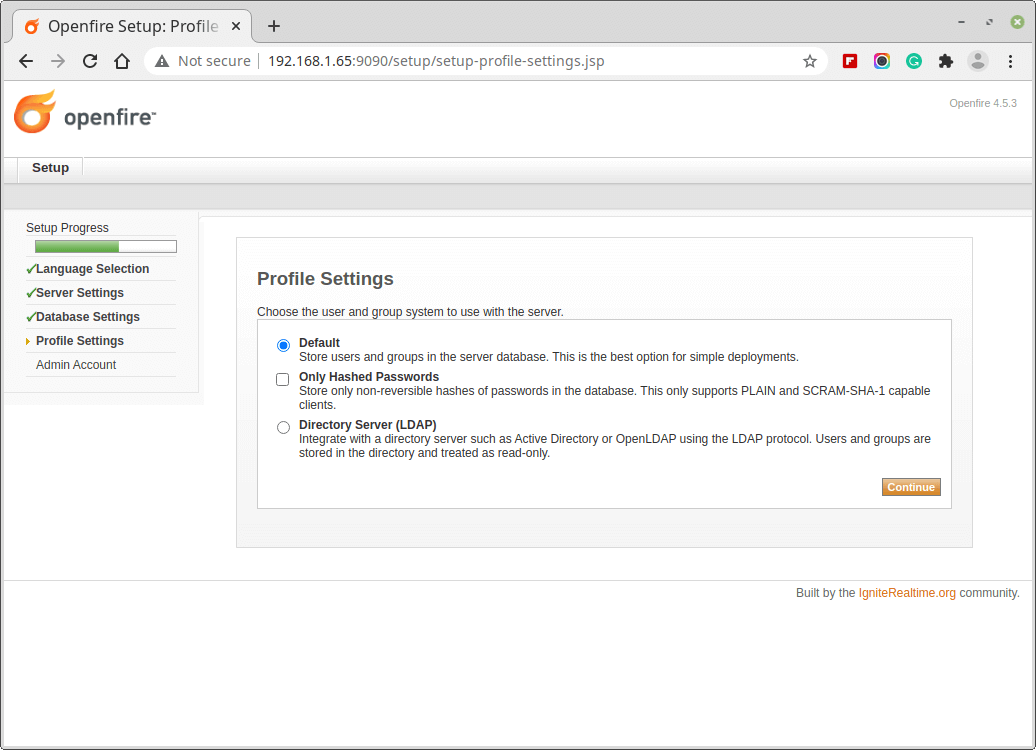
4. Then, you need to set up a profile setting.
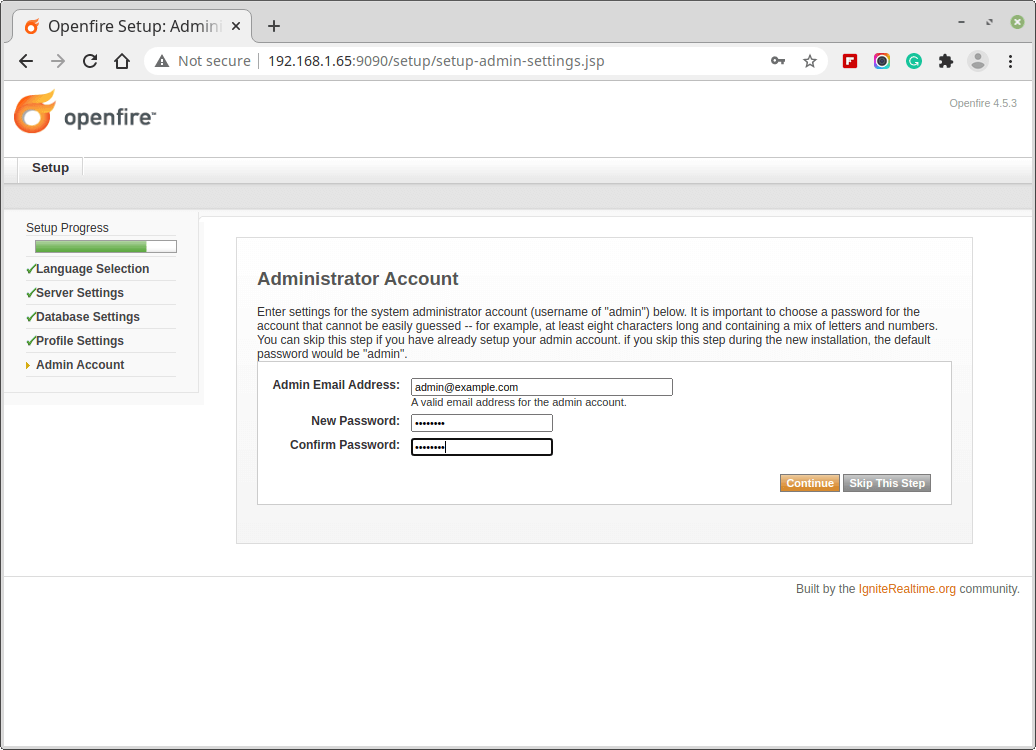
5. The last step is to set up the Admin password and email address. Note, that the current password is ‘admin‘, in the new installation.
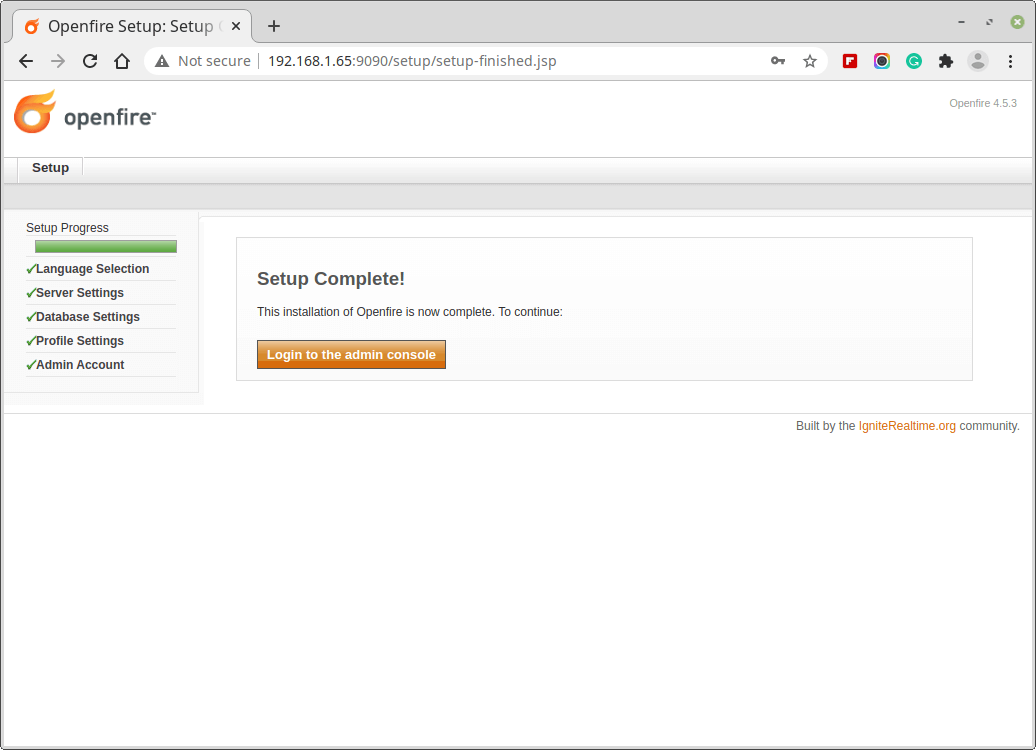
6. On a successful setup, a confirmation message is shown.
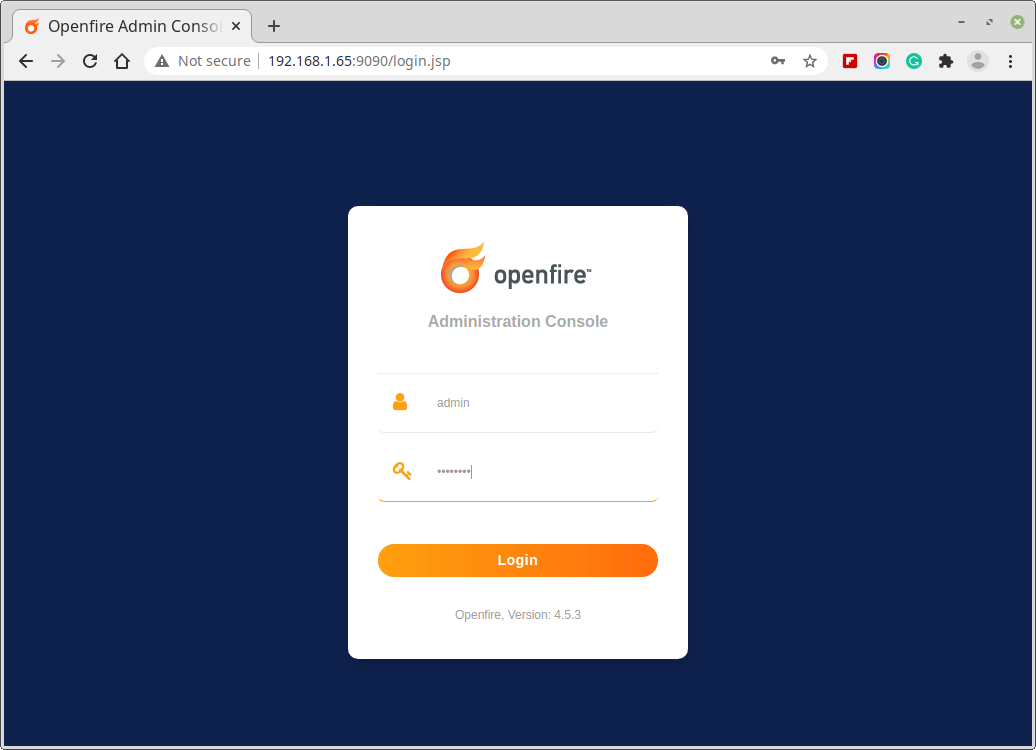
7. Login to Openfire Admin using username “admin” and password, the one we set above.
8. Next, create a new user under Users/Groups.

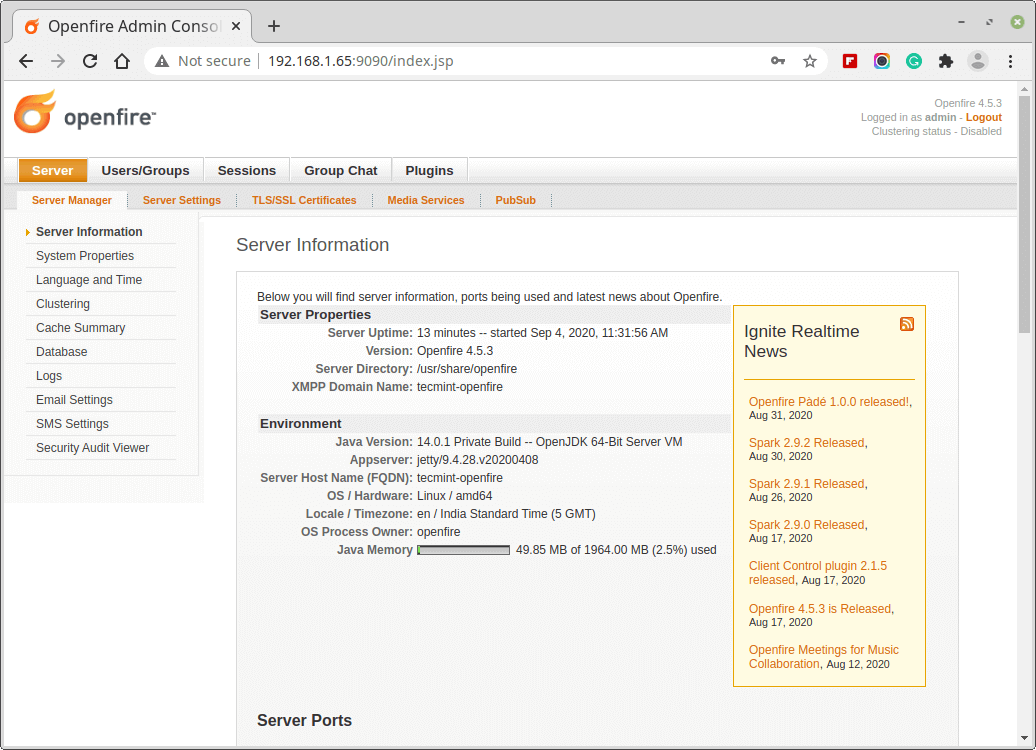
The server is set up successfully, you can add users, groups, contacts, plugins, etc. Since the application is X based and is very handy, it is just a few clicks away. And now we need to download the client application ‘Spark‘, for user communication.
Installation of Spark Client
Download and Install cross-platform Spark client for your system using the below link.
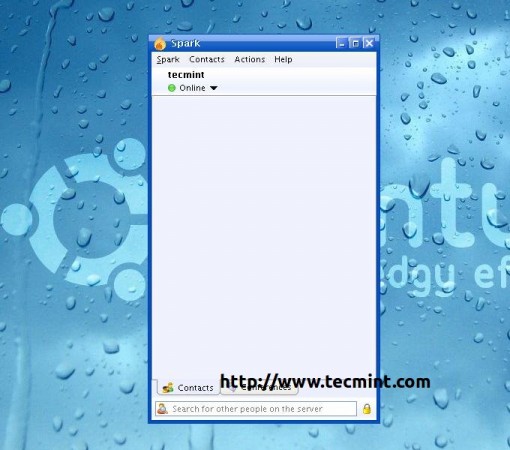
Once you’ve installed Spark client, open the application and enter the username, password, and IP address of Openfire server.

Once you logged in you can chat with the users who are online.
That’s all for now. Stay connected to Tecmint. Don’t forget to tell us, how much you liked the article, in our comment section.