Originally created as a fork of the Nagios monitoring tool, Icinga is a free and open-source infrastructure monitoring and alerting solution that monitors your entire infrastructure and provides feedback about the availability and performance of your devices.
It also allows you to collect, store and visualize various metrics. You can then create reports using the data collected and visualizations that have been populated.
Icinga also sends alerts or notifications in case something goes wrong so that you can promptly attend to the issues and restore services in the least possible amount of time.
In this guide, we will walk you through the installation of the Icinga2 Monitoring tool on Debian 11/10.
Prerequisites
To successfully install Icinga2, be sure to have the LAMP stack installed. We already have a guide on how to install LAMP on Debian 10/11. Once you have all the components of LAMP in place, head over to the following steps.
Step 1: Install PHP Modules in Debian
Some additional PHP modules are required for the installation to proceed smoothly. Therefore, on your terminal, run the following command to install them.
$ sudo apt install php-gd php-mbstring php-mysqlnd php-curl php-xml php-cli php-soap php-intl php-xmlrpc php-zip php-common php-opcache php-gmp php-imagick php-pgsql -y
Next, edit the PHP ini file.
$ sudo nano /etc/php/7.4/apache2/php.ini
Make the following changes.
memory_limit = 256M
post_max_size = 64M
upload_max_filesize = 100M
max_execution_time = 300
default_charset = "UTF-8"
date.timezone = "Asia/Kolkata"
cgi.fix_pathinfo=0
For the date.timezone parameter, set it to reflect your current time zone. Here is the list of supported time zones.
Save the changes and exit the file and then restart Apache to apply the changes.
$ sudo systemctl restart apache2
Step 2: Install Icinga2 in Debian
To install Icinga2 and the associated monitoring plugins, first, update the package lists:
$ sudo apt update -y
Then run the following command:
$ sudo apt install icinga2 monitoring-plugins -y
Once the installation is complete, start and enable Icinga2 to start on boot time.
$ sudo systemctl start icinga2
$ sudo systemctl enable icinga2
You can verify that Icinga2 is running as follows:
$ sudo systemctl status icinga2
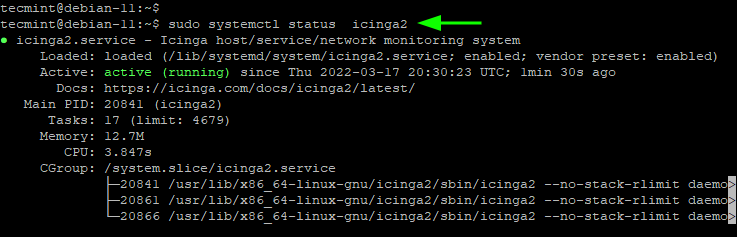
From the output, you can see that the Icinga2 daemon is running, which is great!
Step 3: Install Icinga2 IDO MySQL Module
Icinga IDO (Icinga Data Output) is a key feature that exports all configuration and status information into the IDO database. The IDO database sits at the backend and serves Icinga Web 2.
To install the Icinga IDO MySQL module run the command:
$ sudo apt install icinga2-ido-mysql -y
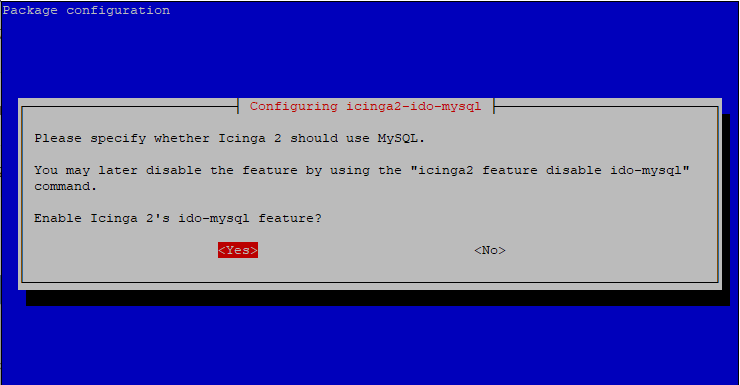
This takes you through a couple of prompts to configure the icinga2-ido-mysql module. When prompted to enable the icinga2-ido-mysql feature, select ‘Yes‘ and press ENTER.
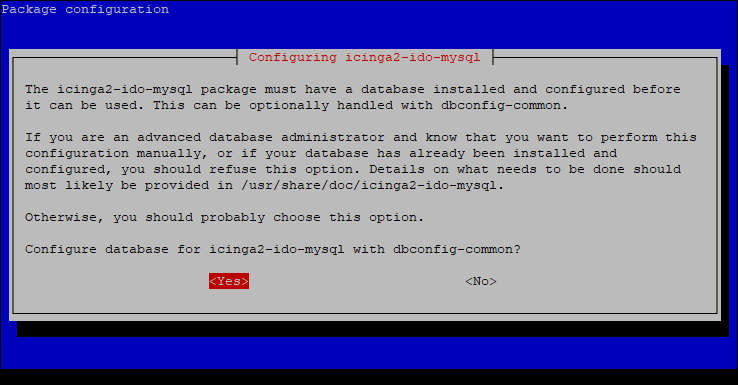
The Icinga-ido-mysql module requires a database to be installed and configured before it can be used. Usually, this can be handled using dbconfig-common which is a tool that simplifies database management.
For simplicity, select to automatically configure the database for icinga2-ido-mysql using dbconfig-common by selecting ‘Yes’ and pressing ENTER.
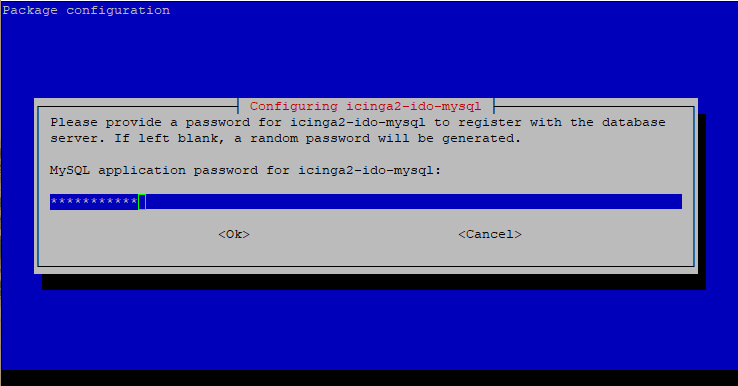
Next, provide a password for icinga2-ido-mysql to connect with the database server and confirm it.
Step 4: Create a Database for Icinga-IDO MySQL Module
Next, we need to manually create the database for the icinga2-ido-mysql monitoring module.
So, log in to the MySQL prompt.
$ sudo mysql -u root -p
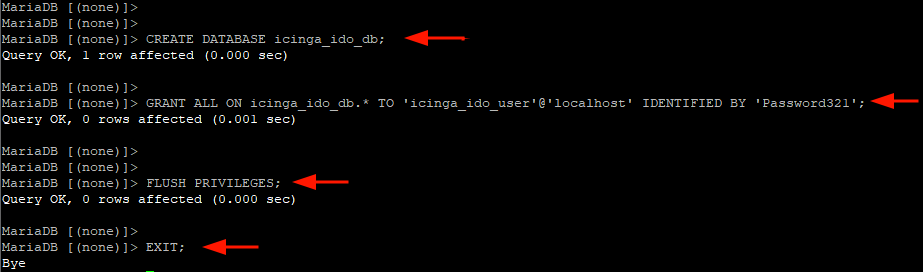
Create the database and database user for icinga2-ido-mysql and then grant all the privileges to the database user of the database.
Feel free to use any arbitrary name for the database and database user.
> CREATE DATABASE icinga_ido_db;
> GRANT ALL ON icinga_ido_db.* TO 'icinga_ido_user'@'localhost' IDENTIFIED BY 'Password321';
> FLUSH PRIVILEGES;
> EXIT;
Next, import the Icinga2 IDO schema as follows. Provide the MySQL root password once prompted.
$ sudo mysql -u root -p icinga_ido_db < /usr/share/icinga2-ido-mysql/schema/mysql.sql
Step 5: Enable Icinga-IDO MySQL Module
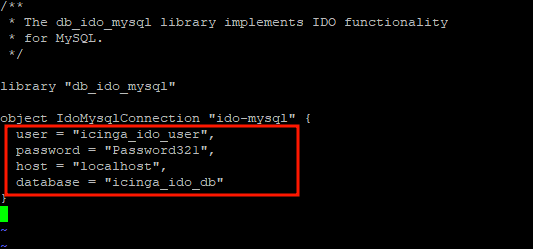
The IDO MySQL package has a default configuration file known as ido-mysql.conf. We need to make a few changes to allow connection to the database that we have just created.
So, open the configuration file.
$ sudo vim /etc/icinga2/features-available/ido-mysql.conf
Scroll and navigate to this section and provide the database details.
Save the changes and exit the configuration file. Next, enable the ido-mysql module as follows.
$ sudo icinga2 feature enable ido-mysql
To apply the changes, restart Icinga2:
$ sudo systemctl restart icinga2
Step 6: Install IcingaWeb2 on Debian
Next, we are going to install and configure the IcingaWeb2, which is a simple, intuitive, and responsive web interface for Icinga.
First, we will install IcingaWeb2 along with the Icinga CLI as follows:
$ sudo apt install icingaweb2 icingacli -y
Once the installation is complete, create a database for Icinga Web 2.
$ sudo mysql -u root -p
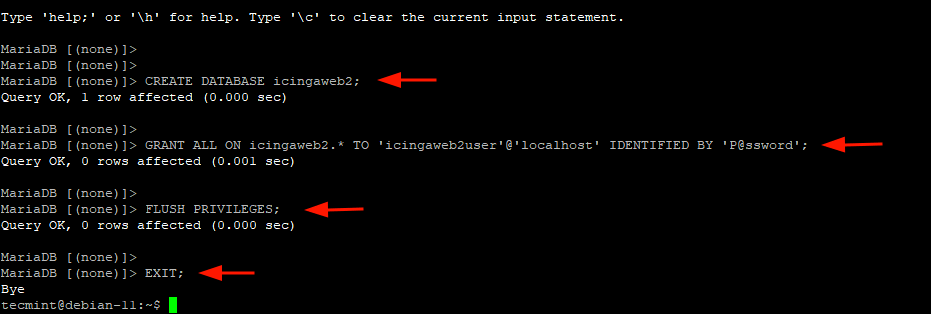
Then create the database and database user for Icingaweb2 and grant all permissions to the database user on the database.
> CREATE DATABASE icingaweb2;
> GRANT ALL ON icingaweb2.* TO 'icingaweb2user'@'localhost' IDENTIFIED BY 'P@ssword';
> FLUSH PRIVILEGES;
> EXIT;
Next, create a secret token that will be used for authentication when completing the setup on a web browser.
$ sudo icingacli setup token create

Note down the token and paste it somewhere safe as it will be required when completing the Icinga2 setup on the browser.
Step 7: Complete IcingaWeb2 Installation
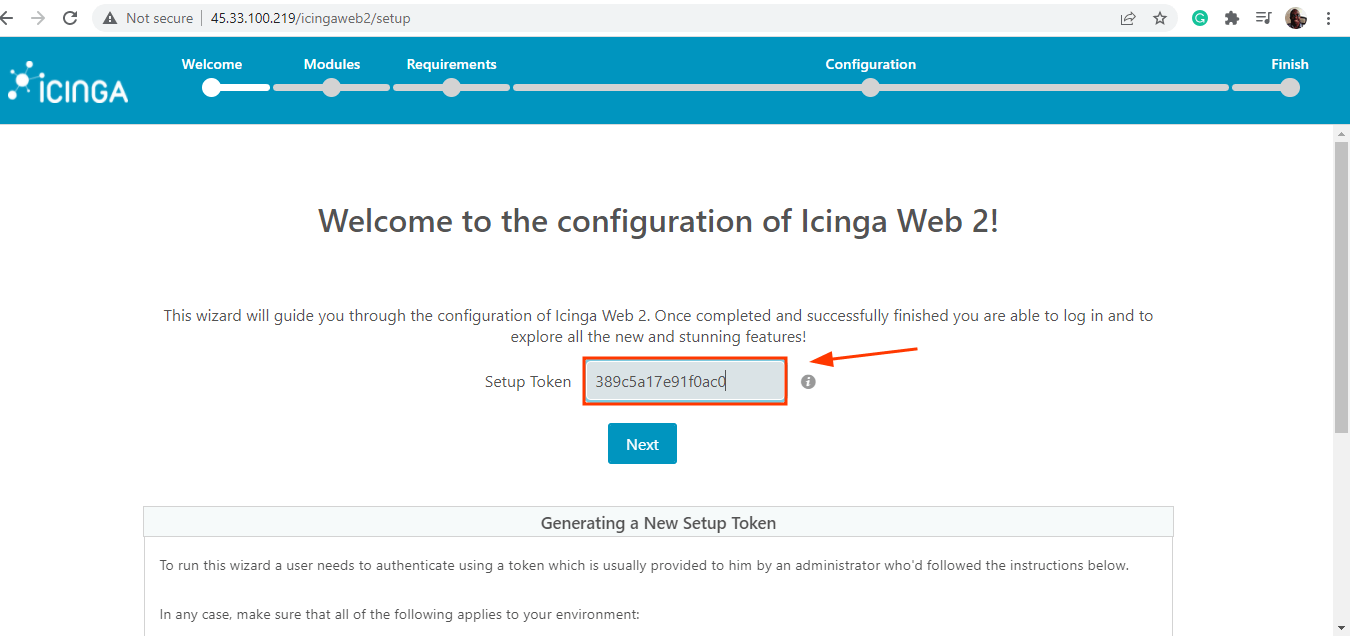
The last step in installing Icinga is finalizing the setup on a browser. So, launch your browser and head over to the URL shown.
http://server-ip/icingaweb2/setup
This takes you to this page where you will be required to authenticate with the security token that you generated in the previous step. Paste the security token and click ‘Next’.
The next step displays all the modules that can be enabled. The monitoring module is enabled by default. You can enable additional modules as you deem fit.

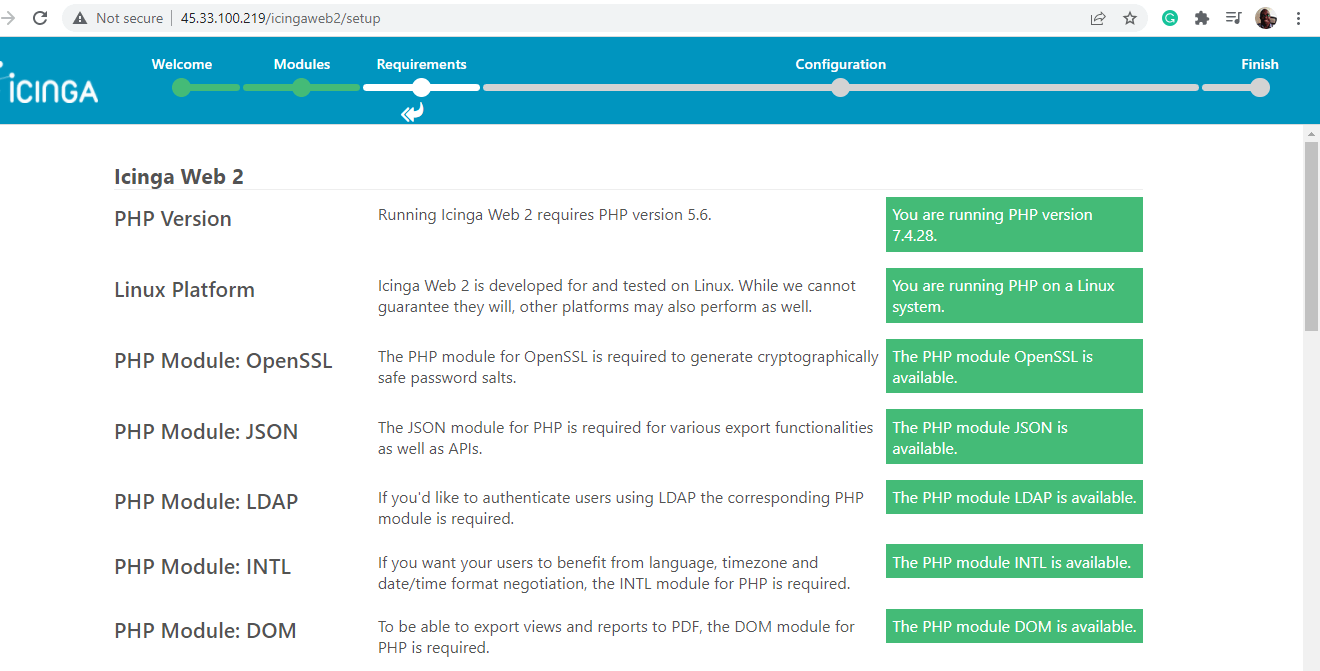
The next page is basically a checklist of all the php modules which need to be enabled. Ensure that all the required php modules have been installed and no errors are displayed. Then scroll down and click ‘Next’ to move to the next step.
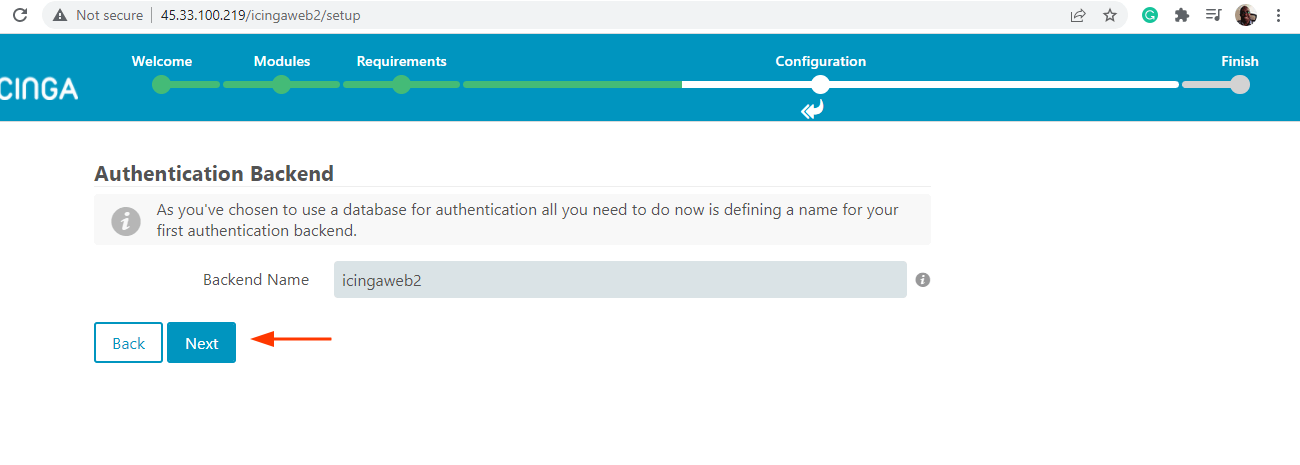
For authentication, select ‘Database‘ and click ‘Next‘.

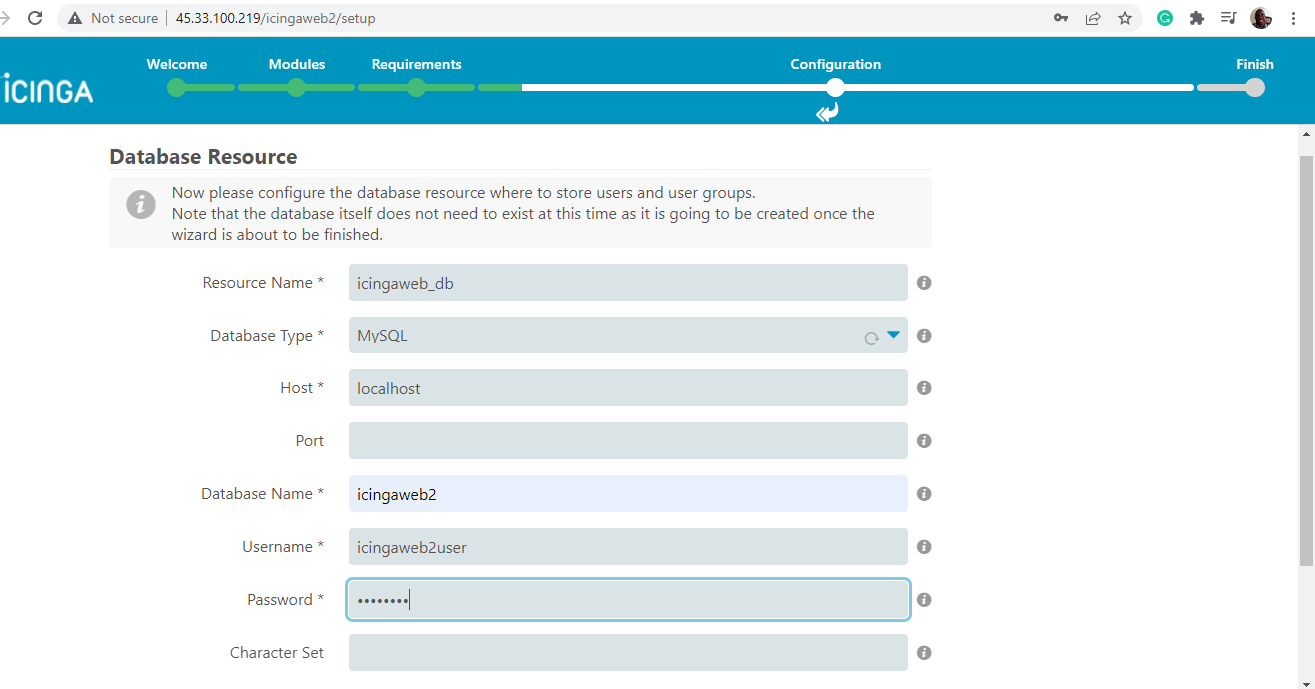
In the next step, fill in the database details for IcingaWeb2 that you specified in Step 6.
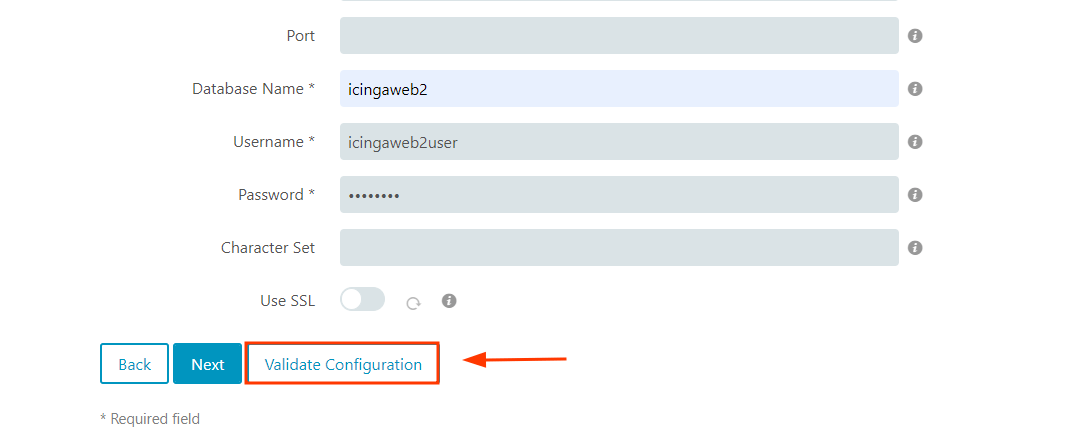
Scroll down and click ‘Validate configuration’.
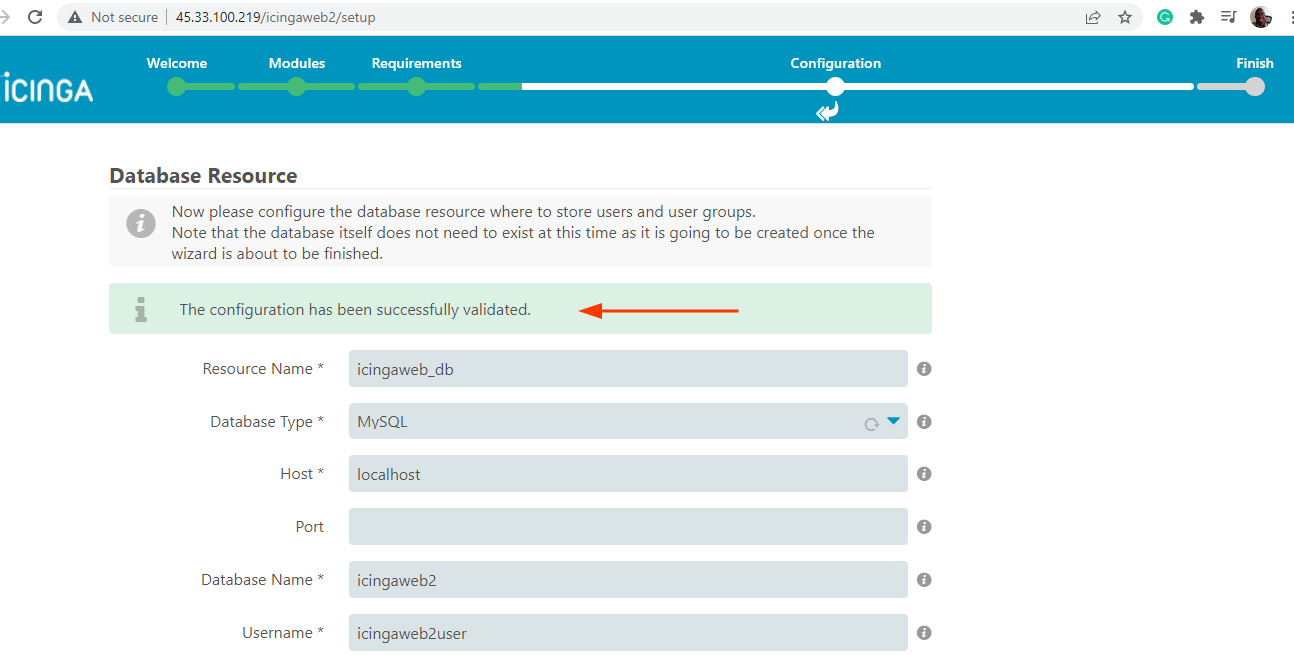
If the details are correct, you should get a notification that all went well. Scroll down and click ‘Next’.
In the next step, simply click ‘Next’ to accept the default setting and proceed with the installation.
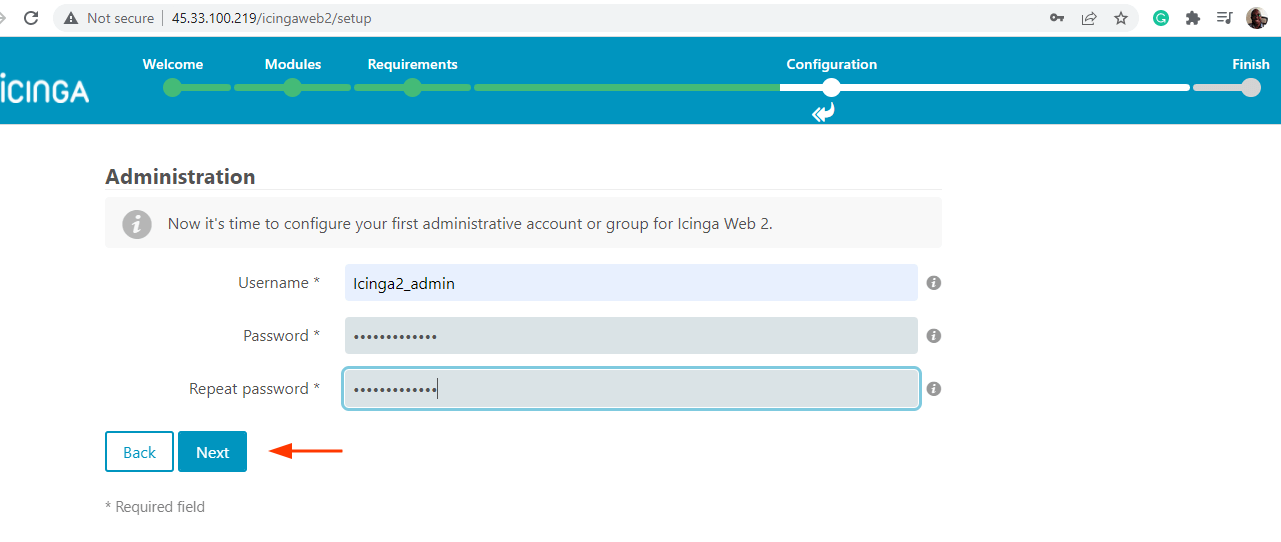
Next, configure an Admin account for the user that you will use to log in to the Icinga2 WebUI.
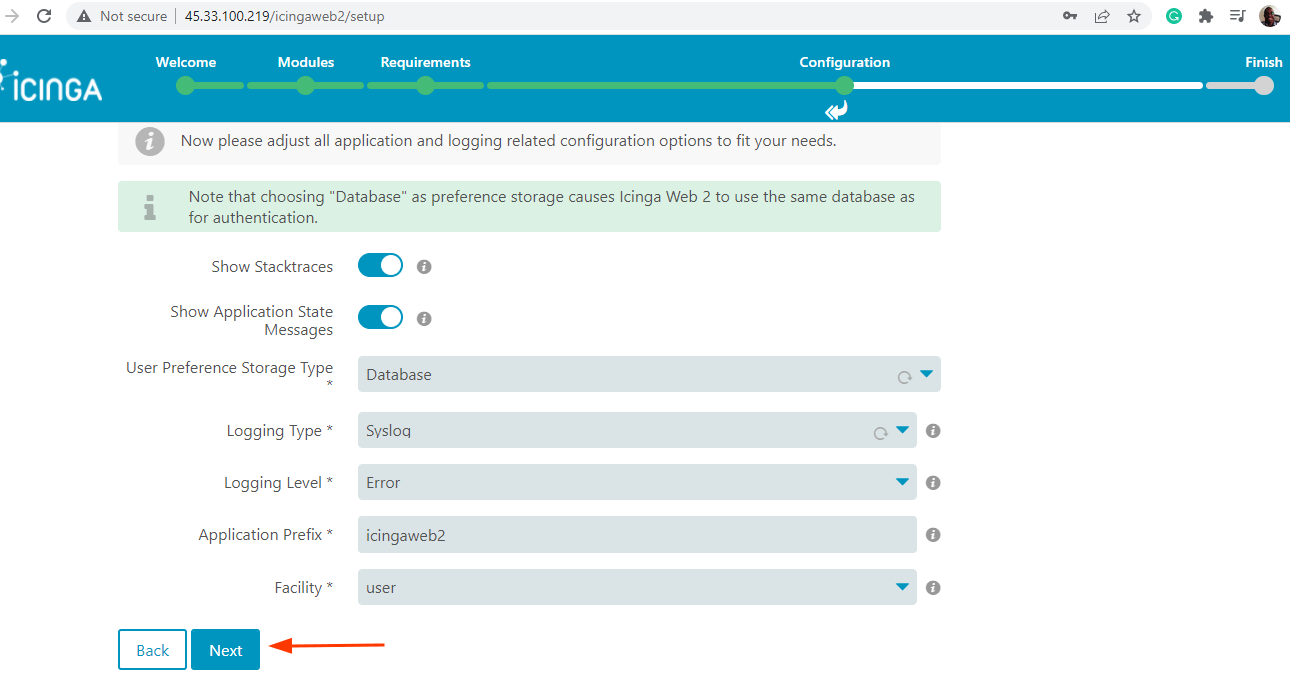
In the next step, simply click ‘Next’ to accept the default Application configuration details.
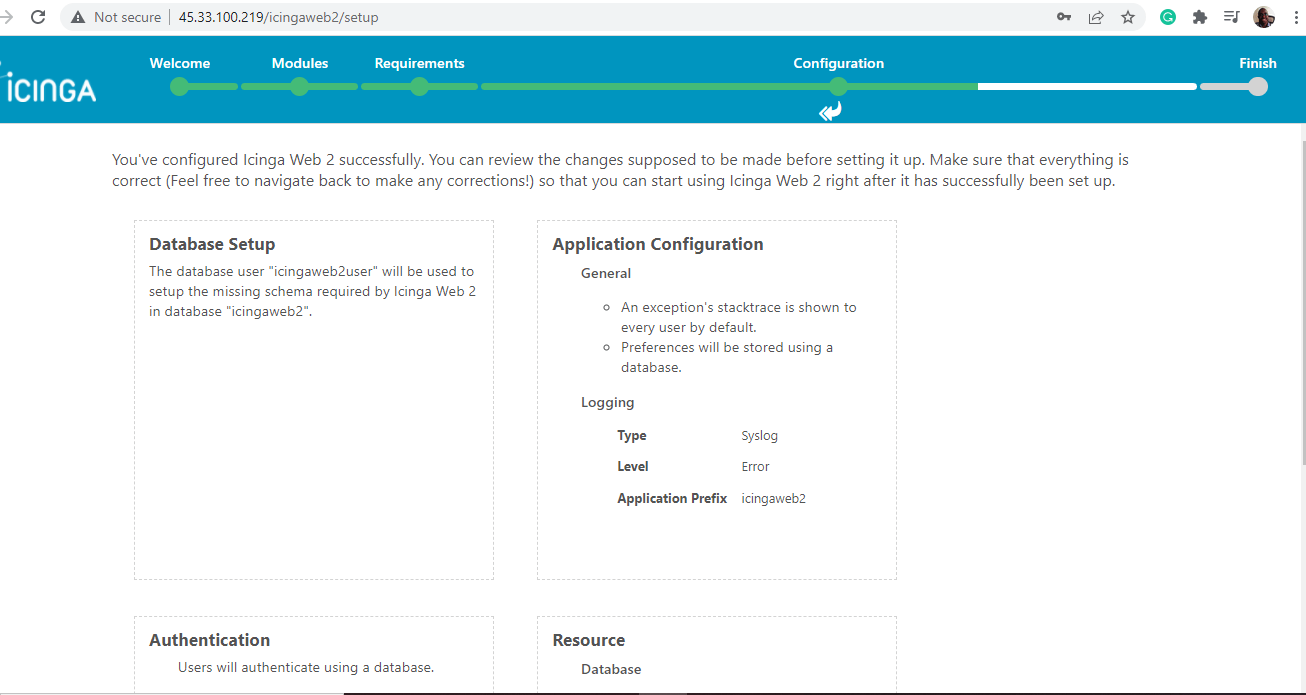
At this stage, the Icinga Web 2 has successfully been configured. Review the configuration details and ensure that everything is correctly set. Then scroll down and click ‘Next’.
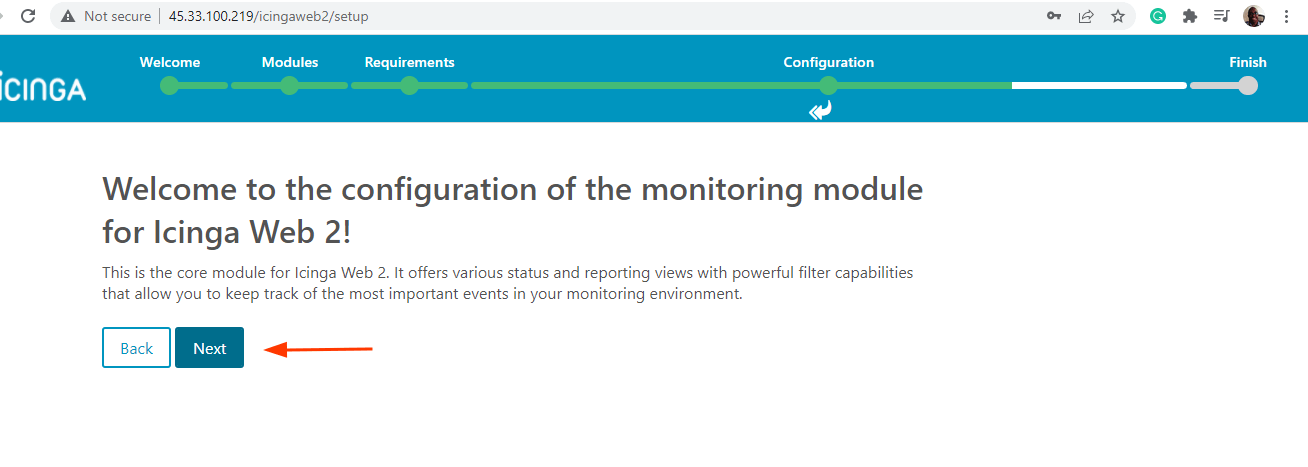
The next section walks you through the configuration of the Icinga monitoring module for Icinga Web 2. This is the core module that provides status and reporting views with robust filtering capabilities.
To get started, click ‘Next’.
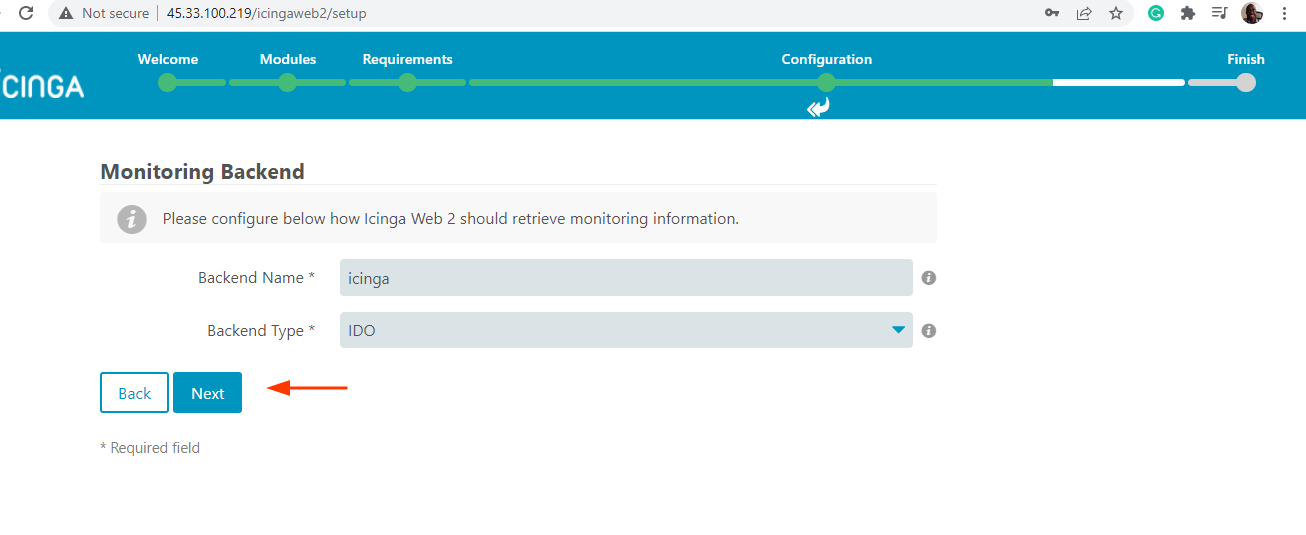
Select ‘IDO’ as the monitoring Backend Type and click ‘Next’.
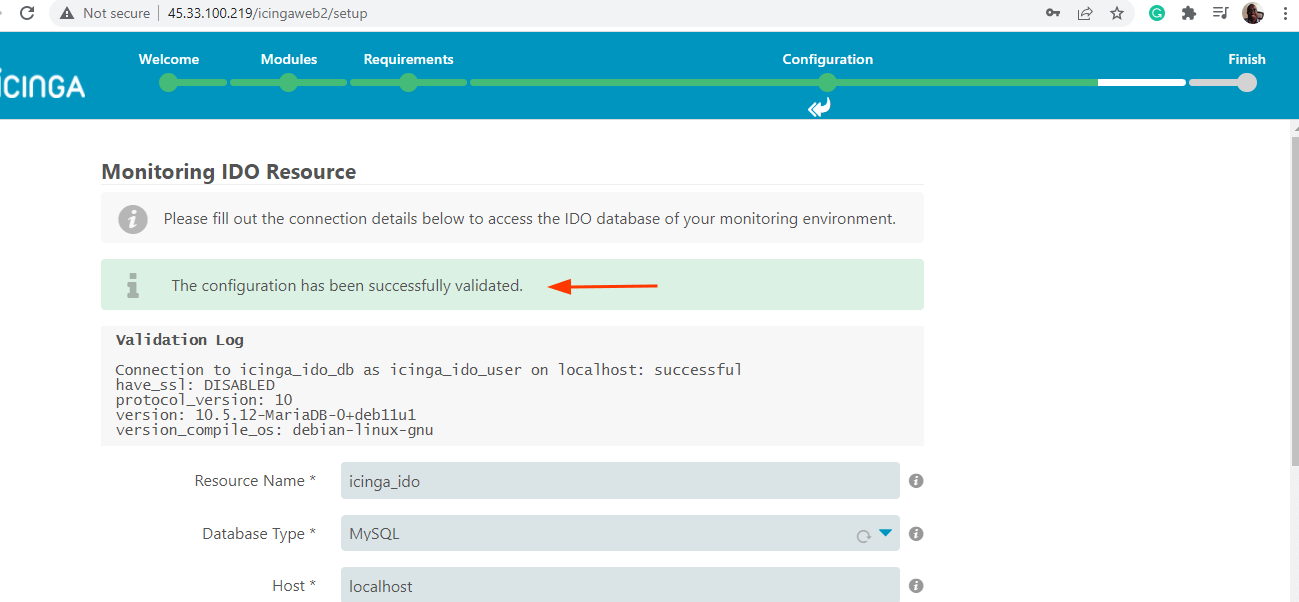
Next, provide the database details for the icinga-ido-mysql monitoring module as specified in Step 4.

Scroll all the way down and click ‘Validate configuration’. If the connection details are correct, you should get a notification that the configuration was successfully validated.
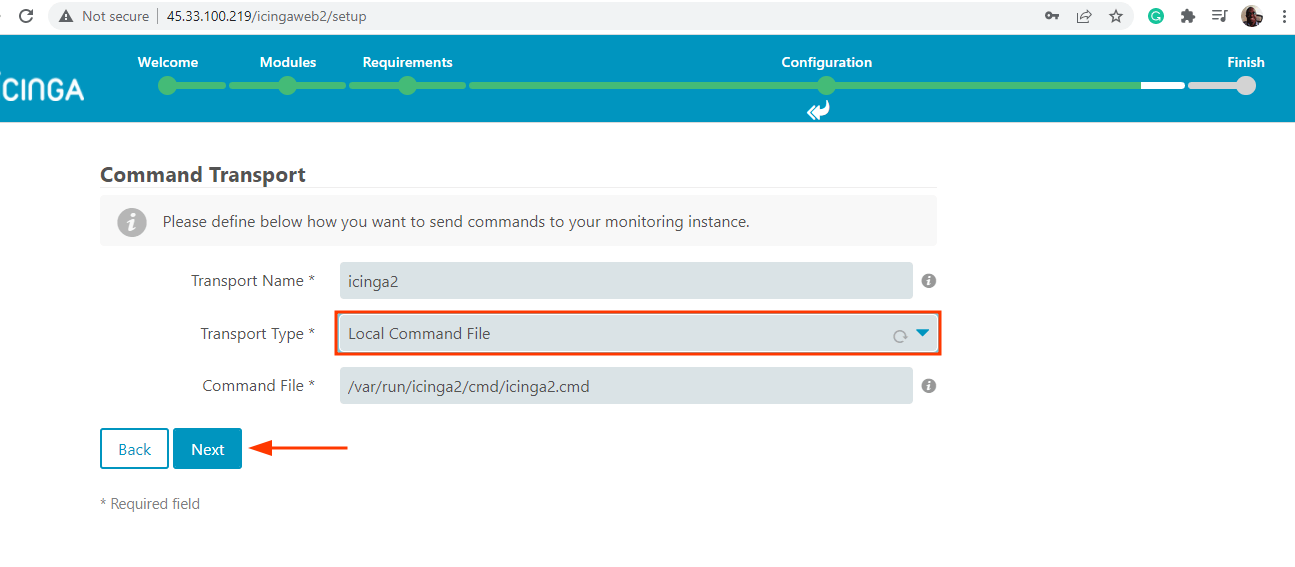
To proceed to the next step, scroll down and click ‘Next’. In the ‘Command Transport’ section, select ‘local Command File’ as the Transport Type. and click ‘Next’.
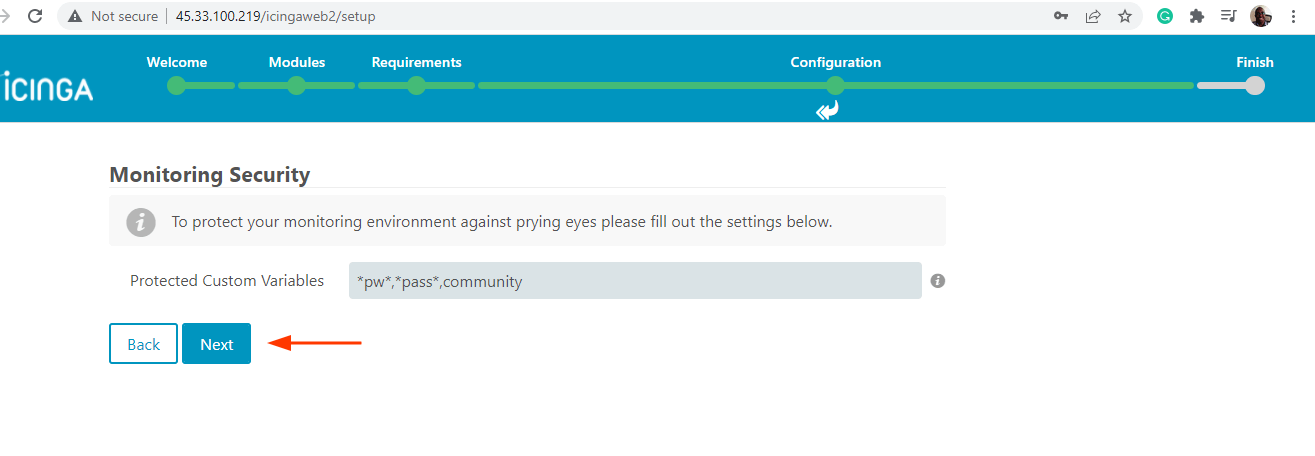
In the ‘Monitoring Security’ section, accept the defaults by pressing ‘Next’.
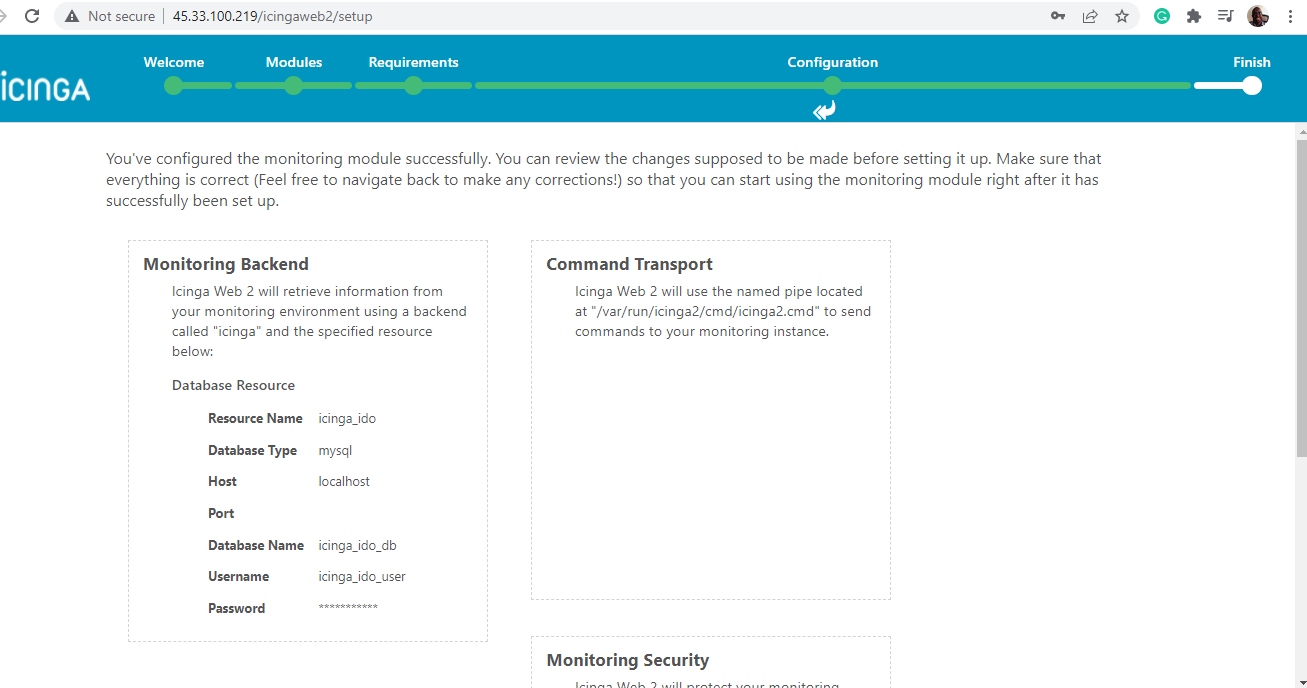
Review all the configuration details for the monitoring module and ensure everything is right. Then scroll down and click ‘Finish’.
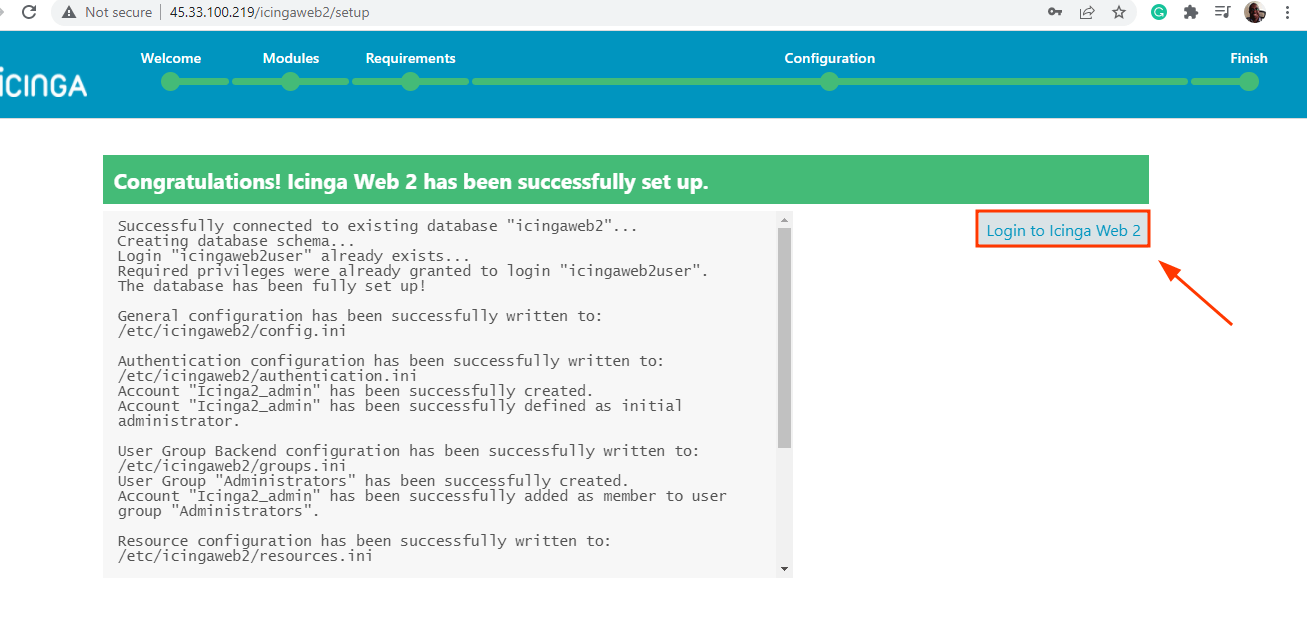
You should get a notification that Icinga Web 2 has successfully been set up. To login to the WebUI, click on the ‘Login to Icinga Web 2’ button.
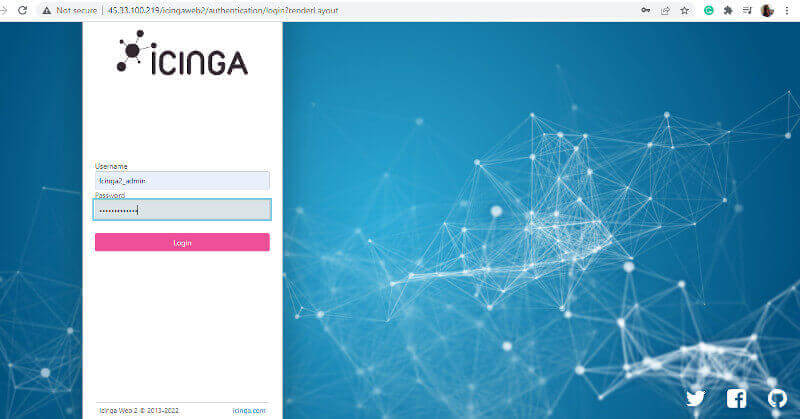
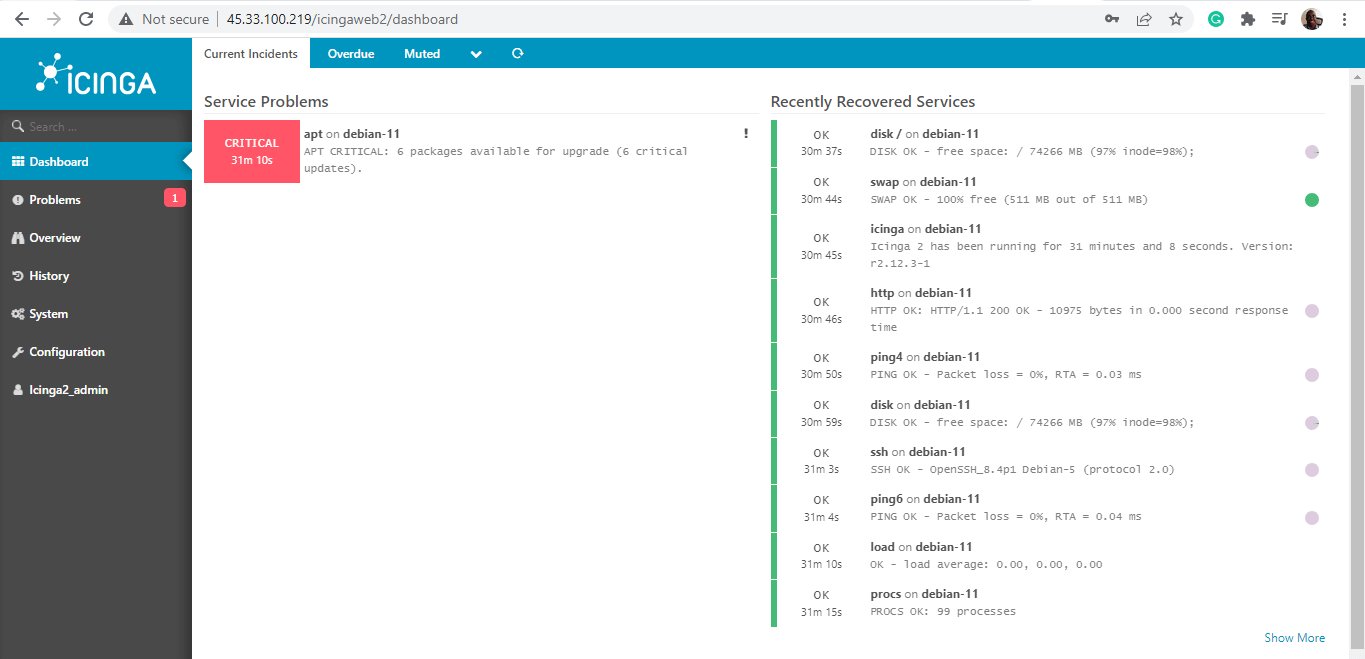
The login page will appear as shown. Provide the Icinga admin credentials and click on the ‘Login’ button.
This ushers you to the Icinga dashboard as shown. Any existing issues will the displayed. For example, you can see that we have 6 packages with pending upgrades.
To confirm this, we will head over to the terminal and list the packages with pending upgrades.
$ sudo apt list --upgradable
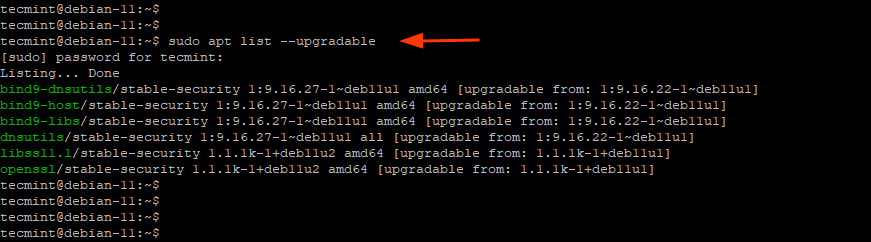
From the output, we can confirm that, indeed, 6 packages have upgrades. To upgrade these packages, we will simply run:
$ sudo apt upgrade -y
And that wraps up our guide today. As you have noted, the installation is quite long and requires a lot of attention to detail. Nonetheless, everything should go well if you carefully follow the steps to the latter.
In this guide, we have demonstrated how to install the Icinga2 monitoring tool on Debian 11/10.


