Apache NetBeans is a powerful, open-source, and award-winning Integrated Development Environment (IDE) that supports a wide range of programming languages and frameworks.
It is widely used for developing Java-based web, mobile, and desktop applications, as well as for C/C++, PHP, and other languages. With its rich feature set, extensibility through plugins, and support for the latest technologies, NetBeans remains a top choice for developers across platforms like Windows, Linux, and macOS.
The latest release is Apache NetBeans 25, which brings improved performance, enhanced tools, and support for the latest Java and other technologies.
This article will guide you through the steps to install Apache NetBeans 25 on Debian, Ubuntu, and Linux Mint distributions.
Key Features of Apache NetBeans 25
- It adds compatibility with PHP 8.4, the latest version of PHP, enabling developers to use new language features and improvements.
- The IDE now supports parallel testing, allowing developers to run multiple tests simultaneously, which speeds up the testing process.
- Enhanced Gradle support makes it easier to manage and build projects, a popular build automation tool.
- As with most updates, it likely includes performance optimizations and bug fixes for a smoother development experience.
- The update may introduce new tools or plugins to enhance productivity, especially for PHP and Java developers.
- Expect UI improvements, such as better themes, font rendering, or workflow optimizations.
- The release likely addresses known issues from previous versions, improving overall stability.
Requirements:
- A desktop machine with at least 2GB of RAM (4GB recommended).
- JDK 17 or JDK 21 is required to run Apache NetBeans.
Step 1: Install Java Development Kit (JDK)
To install the most recent stable version of Apache NetBeans, first, you need to install Java JDK (JDK 17 or JDK 21) from the default repositories as shown.
sudo apt update
sudo apt install openjdk-17-jdk
OR
sudo apt install openjdk-21-jdk
java -version

Step 2: Download and Install Apache NetBeans
Now visit the official Apache NetBeans download page and download the .deb installer package using the following wget command.
wget https://dlcdn.apache.org/netbeans/netbeans-installers/25/apache-netbeans_25-1_all.deb
Once the download is complete, install the .deb package using the dpkg command as shown.
sudo dpkg -i apache-netbeans_25-1_all.deb
Once installed, you can launch NetBeans from the application menu or by running the following command in the terminal.
netbeans
Step 3: Getting Started with Apache NetBeans
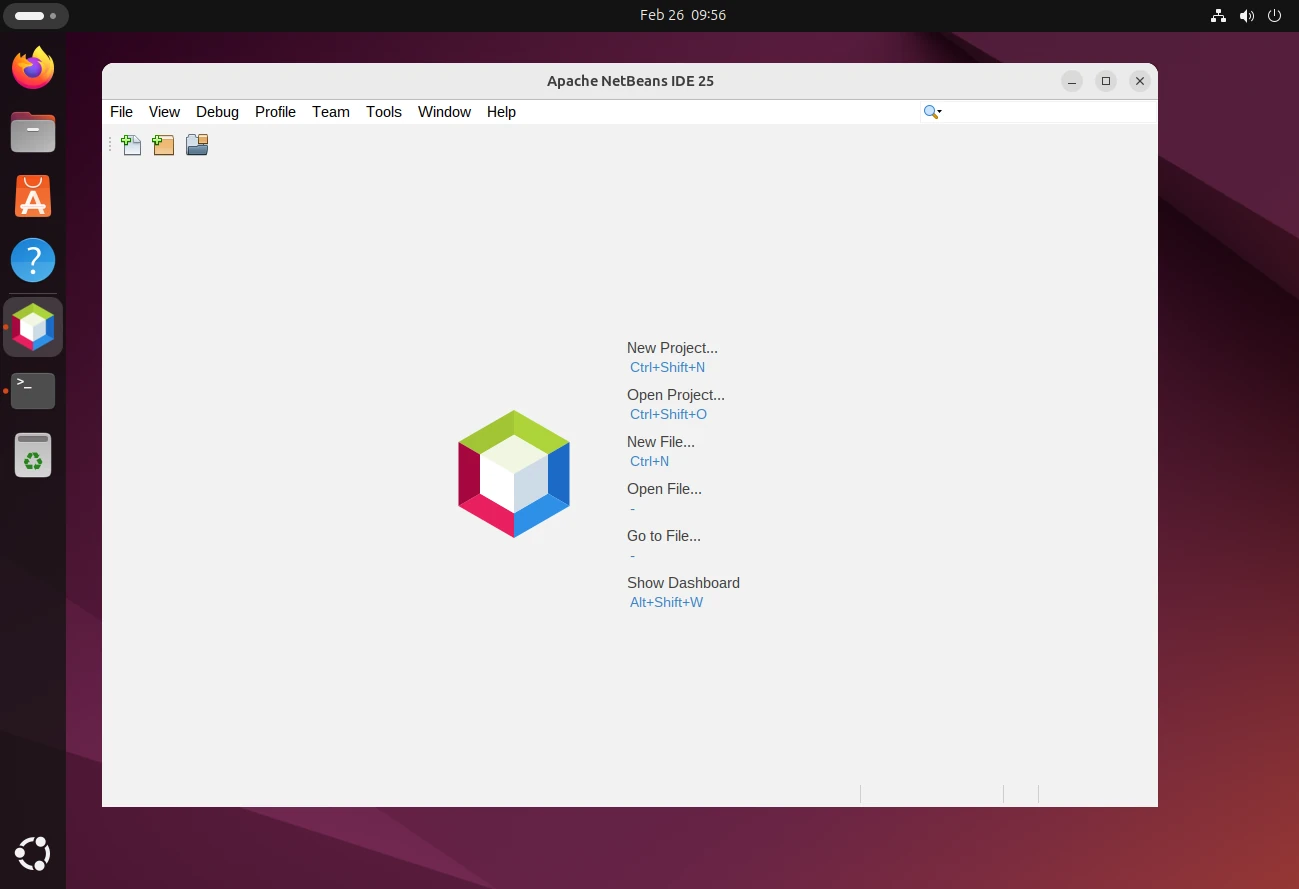
When you first launch NetBeans, you’ll see the Start Page with options to create a new project, open an existing project, or learn more about NetBeans.
Here’s a quick overview of the interface:
- Menu Bar: Contains all the options for file management, editing, debugging, and more.
- Toolbar: Provides quick access to common actions like running, debugging, and saving projects.
- Projects Window: Displays your current projects and their structure.
- Editor Window: Where you write and edit your code.
- Navigator Window: Helps you navigate through classes, methods, and variables.
- Output Window: Shows build outputs, debug messages, and runtime logs.
Creating Your First Project
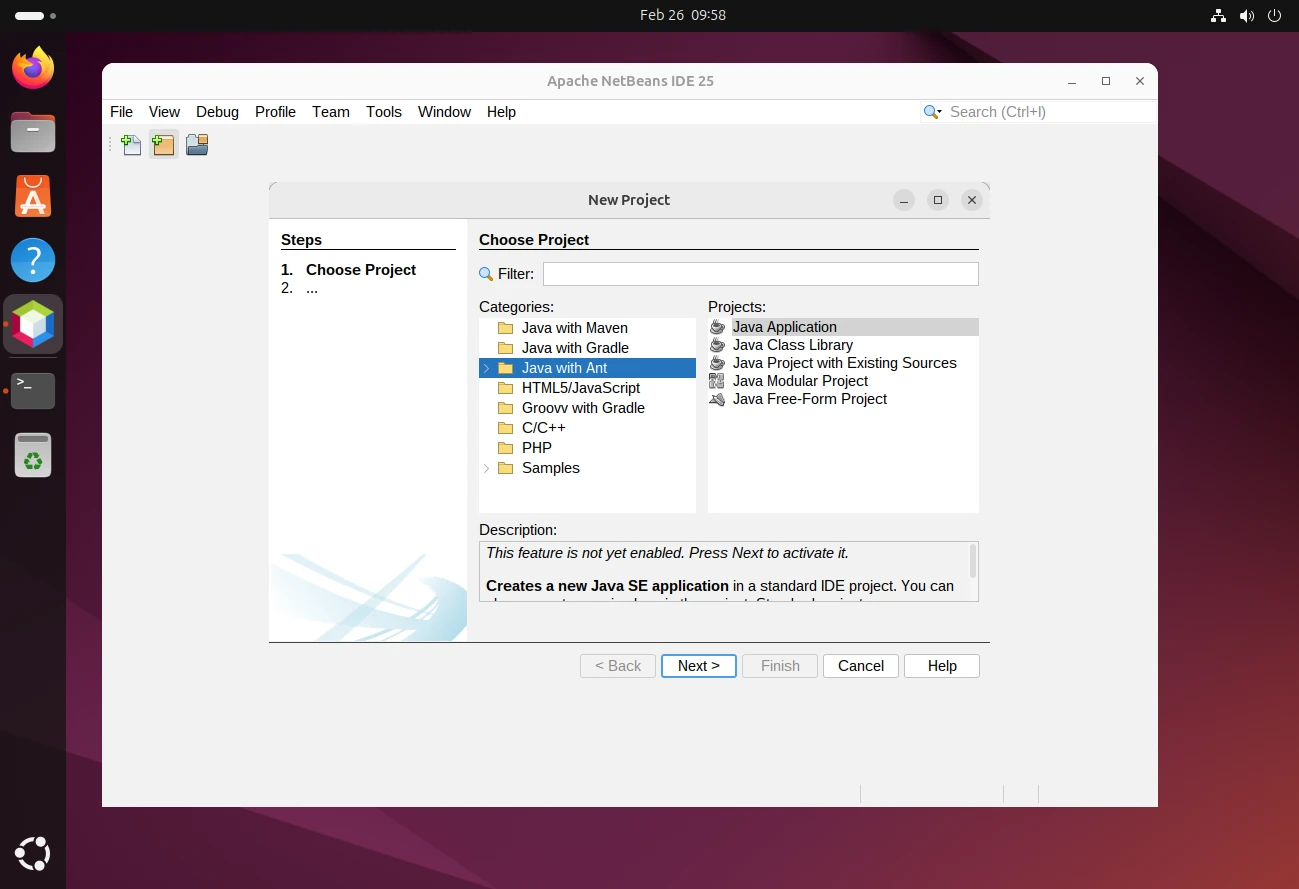
Let’s create a simple Java project by going to File –> New Project, select Java with Ant under the Java category and choose Java Application, and click Next.

Enter a project name (e.g., MyFirstProject) and specify the project location (or leave it as the default). Optionally, check Create Main Class and provide a name (e.g., Main).
Click Finish.
Write Your First Code
In the Projects window, expand your project and open the MyFirstProject.java file under Source Packages.
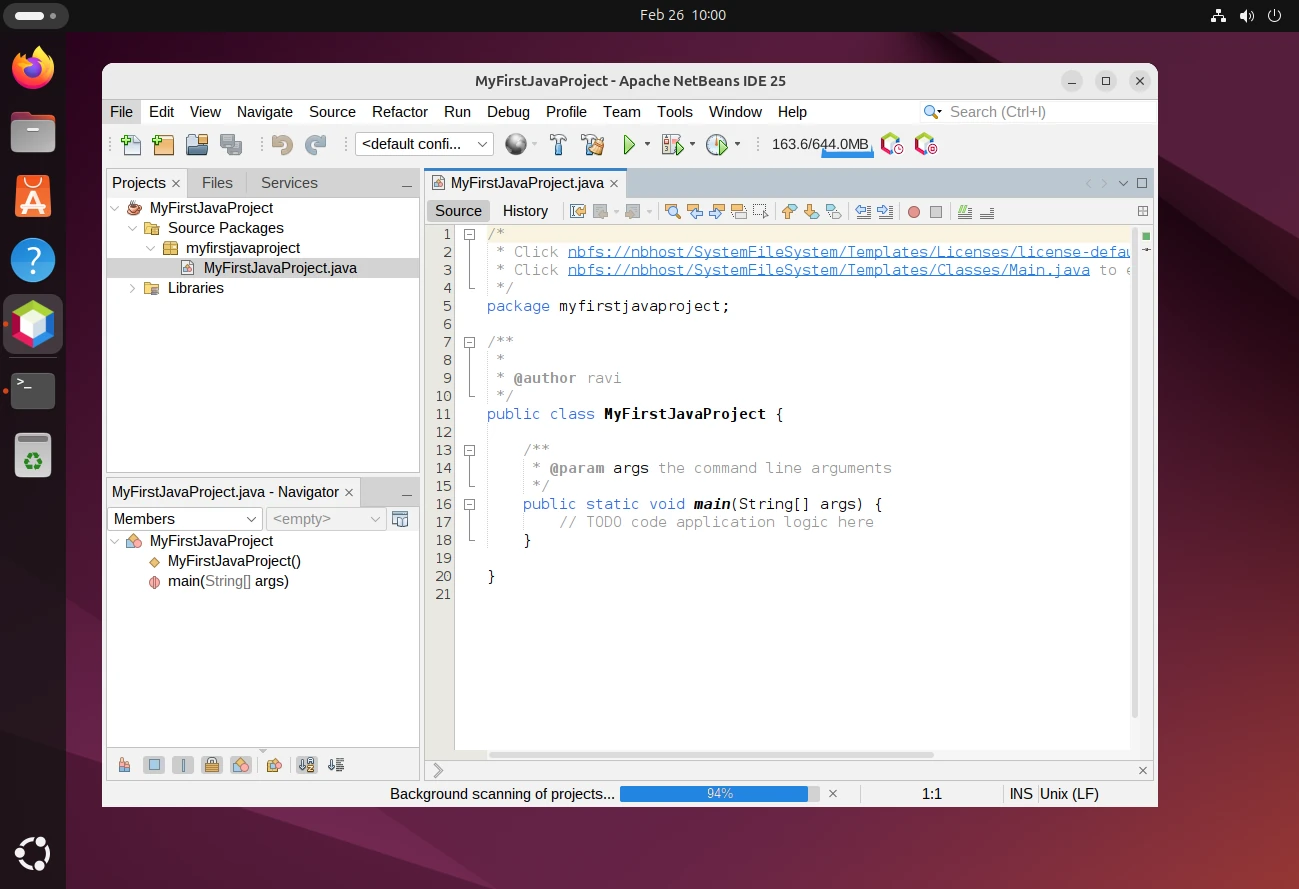
You’ll see a basic main method, here add a simple print statement:
public class Main {
    public static void main(String[] args) {
        System.out.println("Hello, NetBeans!");
    }
}
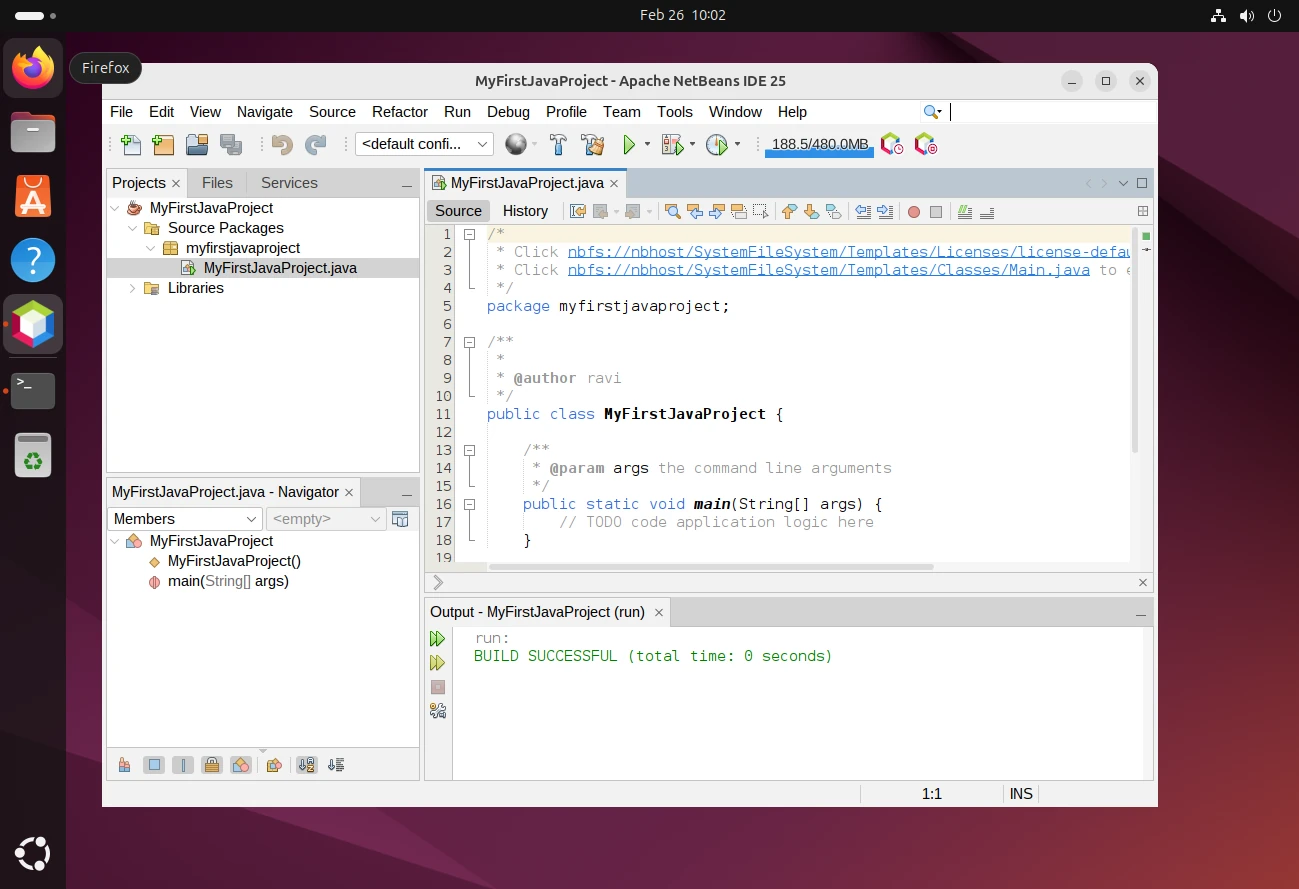
Right-click on the project in the Projects window and select Run. Alternatively, click the green Run button in the toolbar.
The Output window will display:
Conclusion
You’re now ready to use Apache NetBeans 25 for your development projects! Whether you’re building Java applications, working with PHP, or exploring other languages, NetBeans provides a robust and user-friendly environment to streamline your workflow.
If you have any questions or need further assistance, feel free to use the comment form below to ask or share your thoughts with us. For detailed guides and tutorials, visit the official Apache NetBeans Documentation.


The instructions are incorrect.
On my Ubuntu 22.04 system, running:
installs:
However, Java 17 is required.
Thanks for the inconvenience.
@Steve,
The
default-jdkpackage installs the default Java version set by Ubuntu, which may vary.If you specifically need Java 17, you can install it using:
I’ll update the instructions to clarify this.
Appreciate your feedback!
I did everything as told, and it doesn’t show on my Chromebook.
I am unable to install Netbeans. The installer says Java SE Development Kit (JDK) was not found on this computer. I have downloaded the JDK tar ball – how do I “install” it? The instructions at https://docs.oracle.com/en/java/javase/11/install/installation-jdk-linux-platforms.html#GUID-737A84E4-2EFF-4D38-8E60-3E29D1B884B8 are incomplete – they never say explicitly how to “install” – or at least I can’t understand what they’re saying.
Thanks! It worked for me using Xubuntu 20.04 just following the instructions in “How to Install NetBeans Using Snap-On Ubuntu, Mint & Debian” :).
Thank you so much for helping us it is really helpful.
Worked as described, thanks!
Thank you! I also installed it on my Linux , without any errors.
It didn’t work for me, simply doesn’t appeared any netbeans in my linux!
@Eduardo,
May I know on which version of Linux distributions you’ve tired?
My fault, it worked, I didn’t notice it because it didn’t appear in the “programming” part in the index, it appeared in my desktop. Sorry, I’m learning.
@Eduardo,
Thanks for informing us, no issues, keep learning Linux..:)
thanks a lot
Thank you very much.. :-) I just installed it on my Linux without any errors.
Straight forward and to the point. Easy install.
Thanks a lot, working perfectly on Linux Mint 19
Why the restart of machine after you finish the installation ?
It is unnecessary except of that it is a good tutorial.
@Maikel,
No need of restart, it’s just a option..
please guide how can i install netbeans with jdk please guide me step by step
Great step by step explanation, I found it very useful.
Thank you
Hi there I have installed Netbeans in my Ubuntu. That is great. I have one question. Con anyone tell if we can use Netbeans for perl once we have install it? Desperately need that.
Thanks!
excellent tutorial found very easy way to install the netbeans
The information and the detail were just perfect. I think that your perspective is deep
how can i add php ?
good work
i have installed netbeans in fedora 17
take a look http://www.youtube.com/watch?v=3lXFU3c9nNQ
Gujar,
That’s good you have installed it without any errors and good video tutorial. Can you help us in creating video tutorials for us. which tool you using for creating such video howtos.