The XFCE desktop environment is one among the several desktop environments that you can install on our Linux system to enhance user experience. It’s one of the earliest desktop environments that was first released in 1996 as a replacement for CDE (Common Desktop Environment).
[ You might also like: 13 Open Source Linux Desktop Environments ]
XFCE is a lightweight desktop environment with a small memory footprint and is easy on your computing resources. It takes up only a tiny fraction of the CPU and memory usage compared to its counterparts such as GNOME and KDE.
This is ideal when it comes to system performance as this avails the available resources to other processes. In addition, XFCE is highly configurable, stable and provides a myriad of built-in plugins to extend functionality.
In this article, we will walk you through the installation of XFCE Desktop on RHEL-based Linux distributions such as Rocky Linux and AlmaLinux.
Step 1: Install EPEL Repository and Group
The installation of the XFCE desktop environment requires us to, first, install the EPEL repository which is a repository that provides high-quality software packages for RHEL-distributions.
To install EPEL on your system, run the following command:
$ sudo dnf install epel-release

In our case, EPEL is already installed, hence, no further action is required.
Once you have installed EPEL, you can confirm its presence by executing the rpm command:
$ rpm -qi epel-release
The output yields detailed information such as the version installed, release, installation date, and size just to mention a few properties.

Next, enable the EPEL group as follows.
$ sudo dnf --enablerepo=epel group
Step 2: Install XFCE on Rocky and AlmaLinux
With EPEL installed, the next course of action is to install the XFCE package. You can confirm that the XFCE package is a package group that is provided by the EPEL repository as shown.
$ sudo dnf group list | grep -i xfce

Xfce
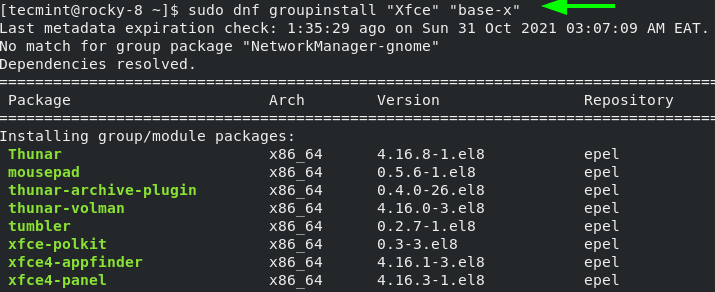
From the output, we can deduce that the XFCE package is available. Therefore, to install the XFCE package, run the following command:
$ sudo dnf groupinstall "Xfce" "base-x"
The command installs all the XFCE group and module packages and other dependencies on your system.
Step 3: Set XFCE to Start Automatically
If you are running a minimal installation, configure the XFCE desktop environment to start automatically on boot time.
$ sudo echo "exec /usr/bin/xfce4-session" >>  ~/.xinitrc
$ sudo systemctl set-default graphical
Then finally, reboot the system.
$ sudo reboot
If you already have GNOME installed, you need to click on the small gear wheel icon next to the ‘Sign In‘ button and select the ‘Xfce session’ option.
Thereafter, provide your password and hit ENTER or click ‘Sign In’ to login in.
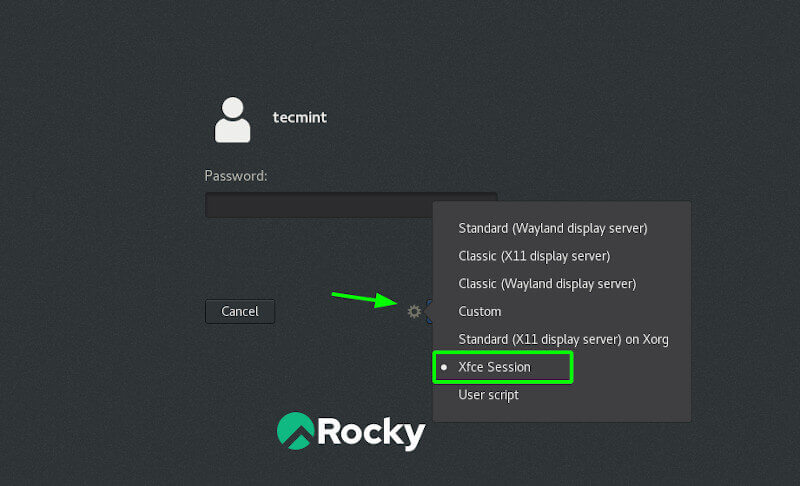
This ushers you to the Xfce desktop environment.
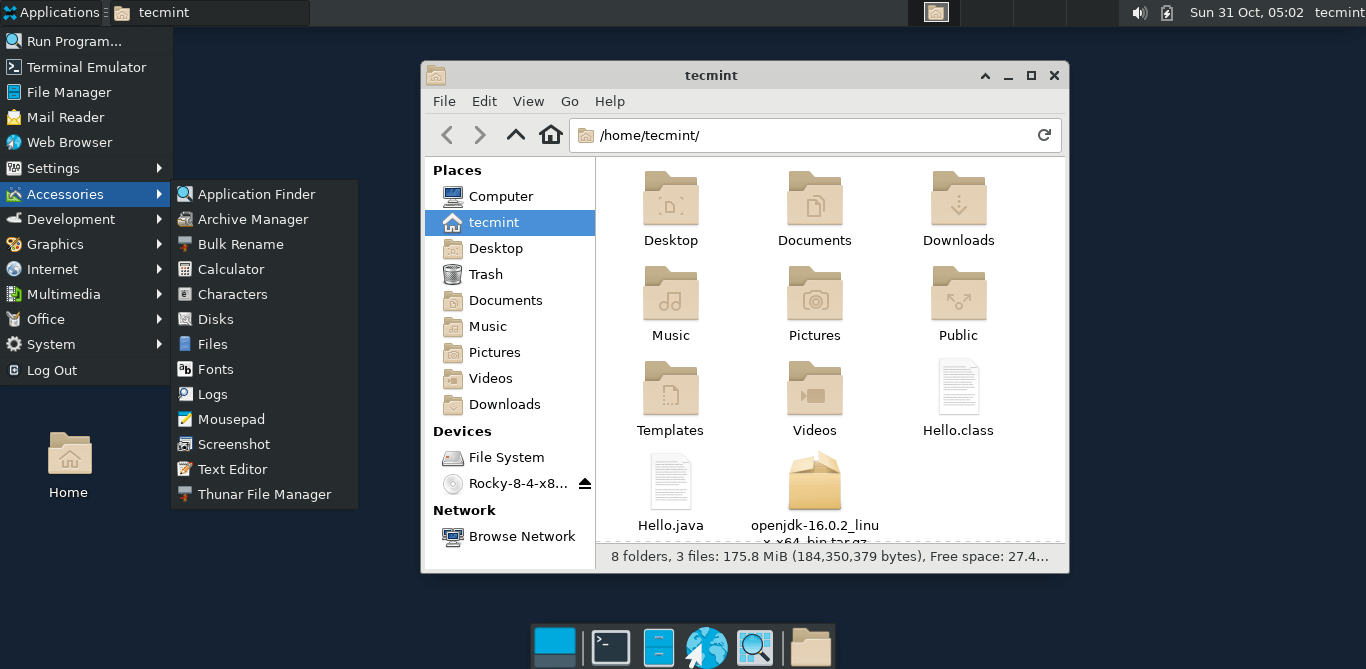
As mentioned in the introduction, the XFCE desktop is quite simple and may not provide much in the way of stunning and appealing GUI features. The upside to this is the low resource utilization which allows most of your computing power to be channeled to more important system-related tasks.
And this wraps up our guide. We hope that you can comfortably install the XFCE desktop environment on Rocky and AlmaLinux.


Issues with epel10 and AlmaLinux 10.
Error Output:
@Iain,
Thanks for the heads-up!
That error happens because EPEL 10 packages are pulling in dependencies from EPEL9, which don’t exist on AlmaLinux 10 (like
libxklavier.so.16andxset).To fix this, make sure you’re using the correct EPEL repo for AlmaLinux 10 (epel-next or the proper EPEL for EL10), then retry the install.
Once the right repo is enabled, the conflicting requests should go away.
If you try this out on CentOS6 (in my case 6.3 x86_64) with a minimal install, you’ll need to add the EPEL repository to avoid dependencies issues.
Hey Amit, the EPEL repo has already been added in Step 1.