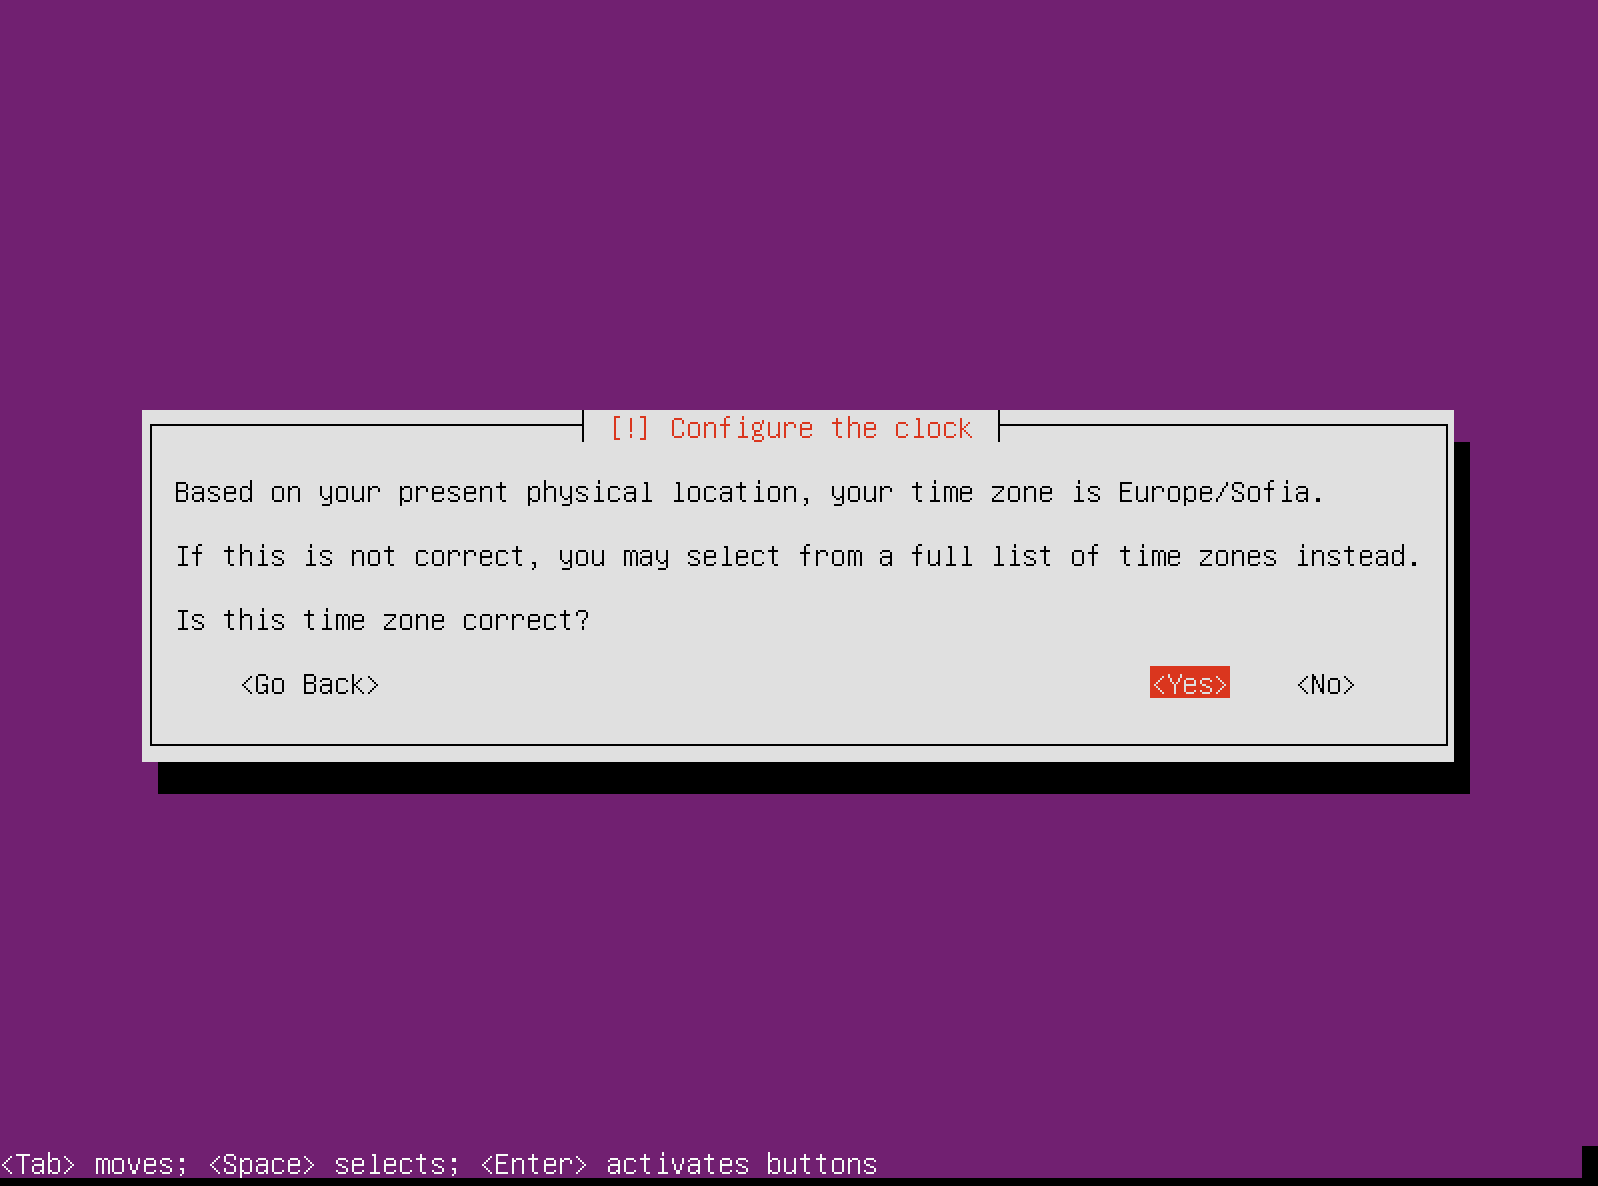
9. Going further in our Ubuntu 15.10 installation, the installer will ask you if it has detected your timezone correctly:
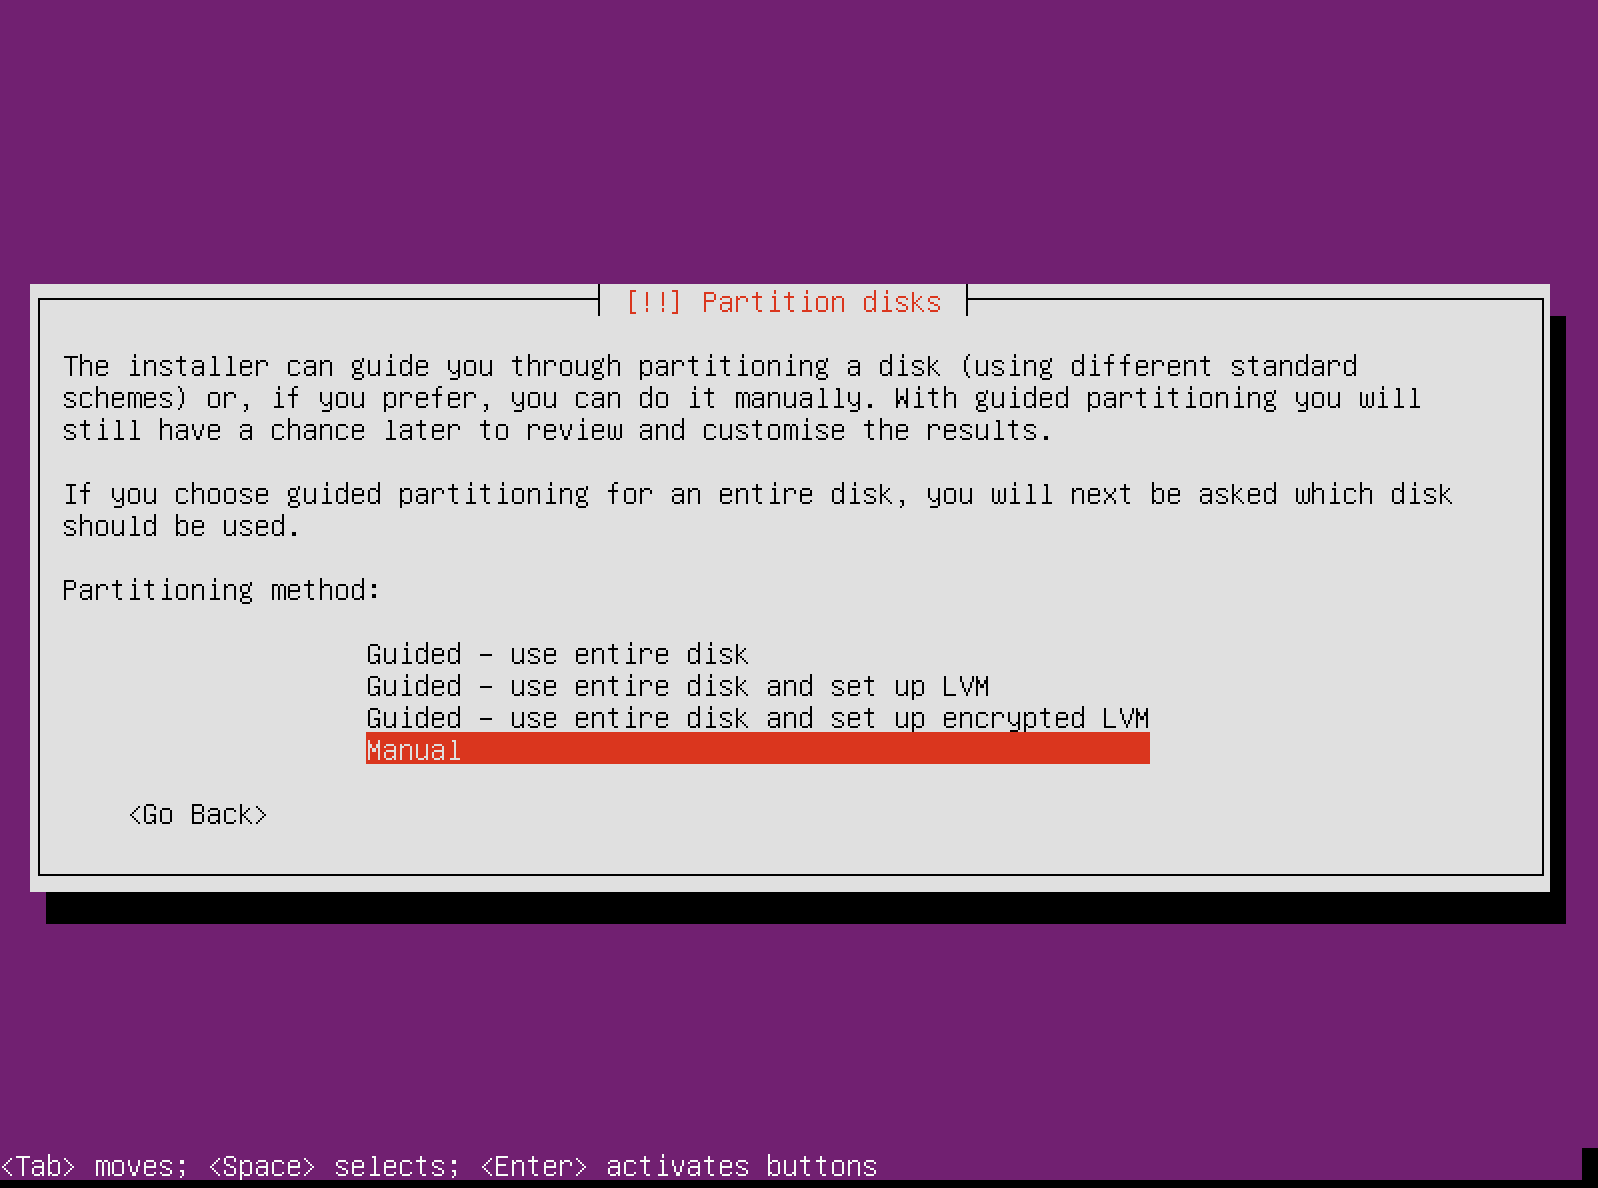
10. After that comes my favourite – the disk partitioning. You have few choices here:
- Use the entire disk
- Use entire disk and setup a LVM
- Use entire disk and setup encrypted LVM
- Manual
For the purpose of this tutorial, we will use the “Manual“.
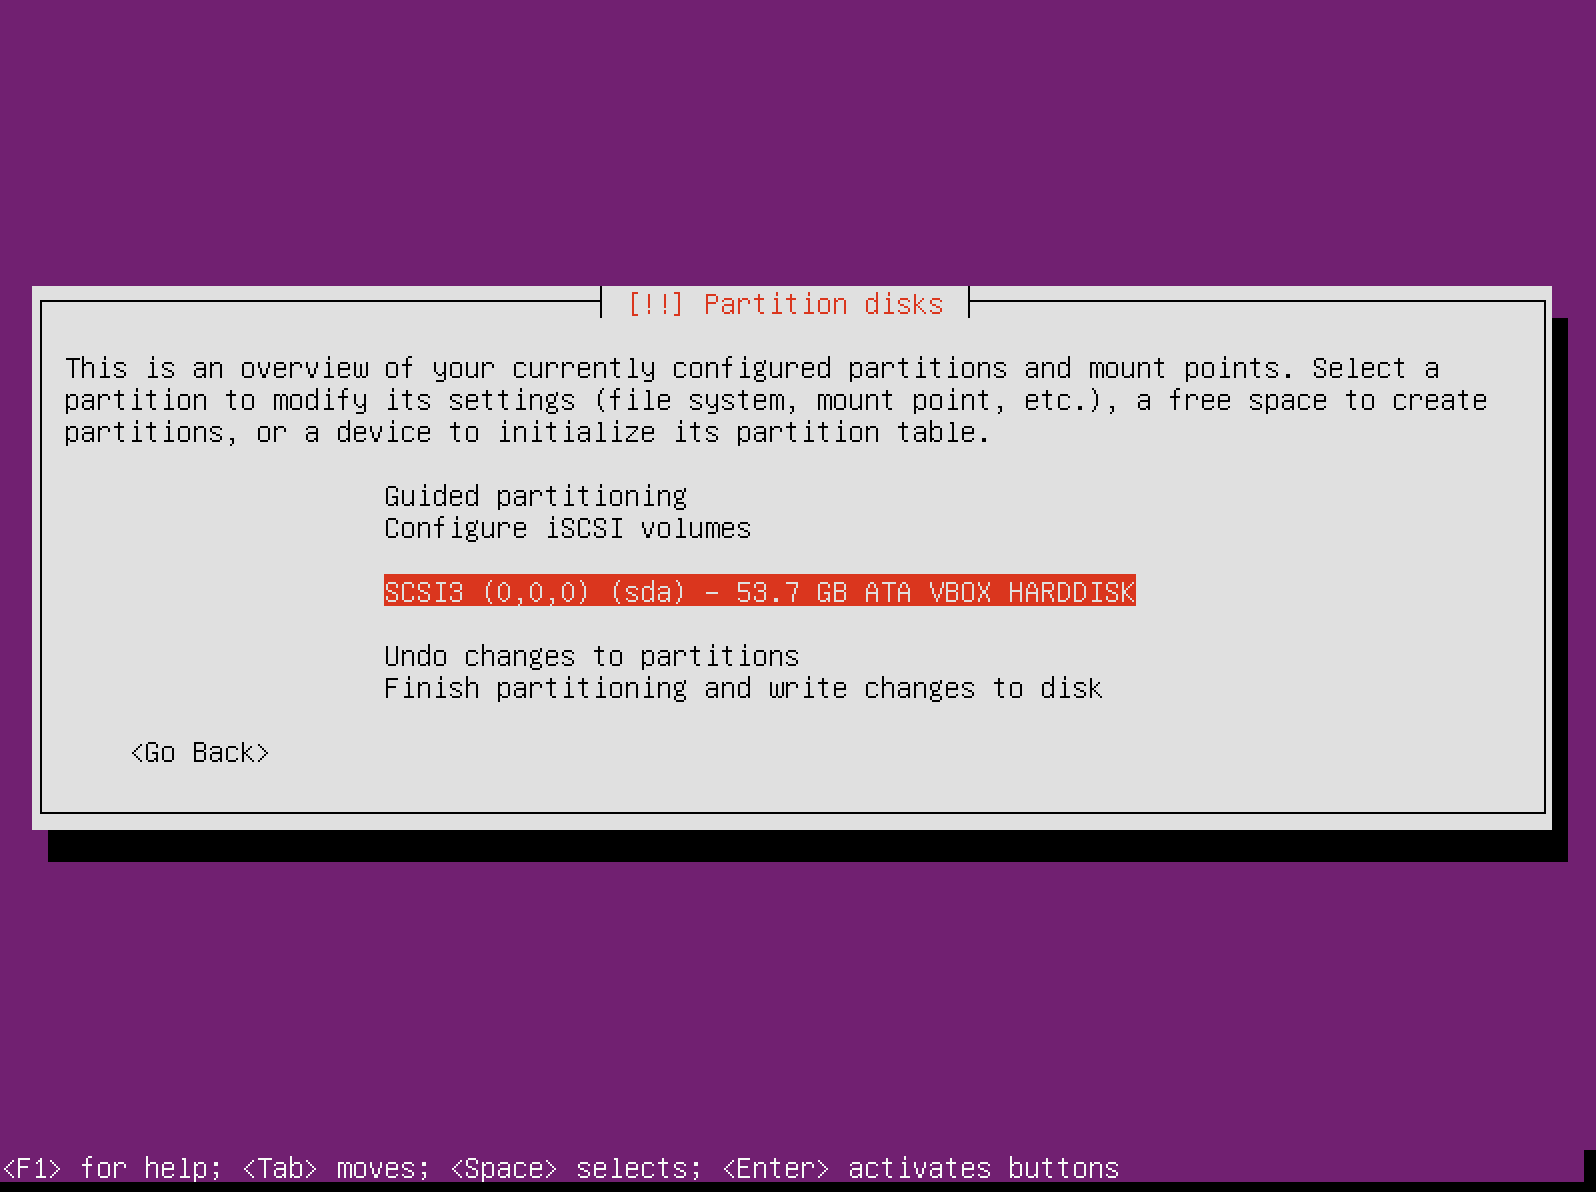
11. Now you will need to select your disk so you can prepare the disk partitions. The disk you should look for is usually “sda“.
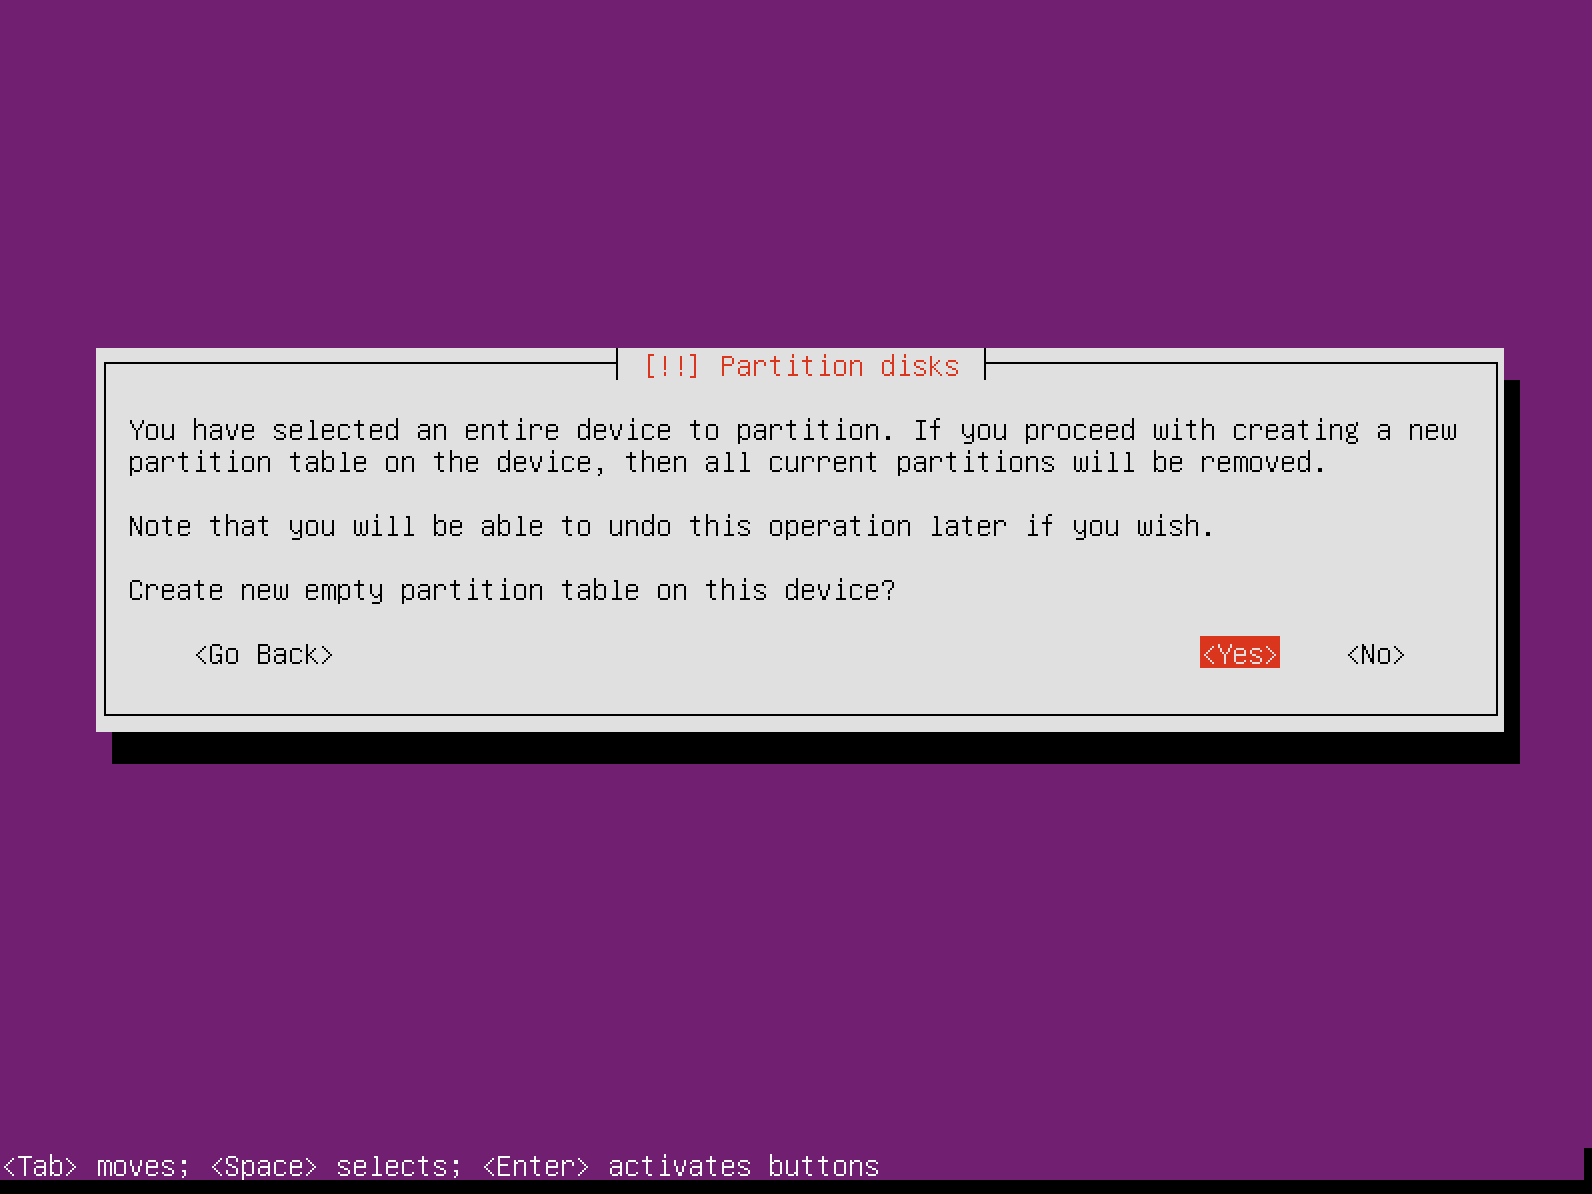
When asked if you want to partition the whole disk, select “Yes“:
12. You will now see the available free space that you can partition:
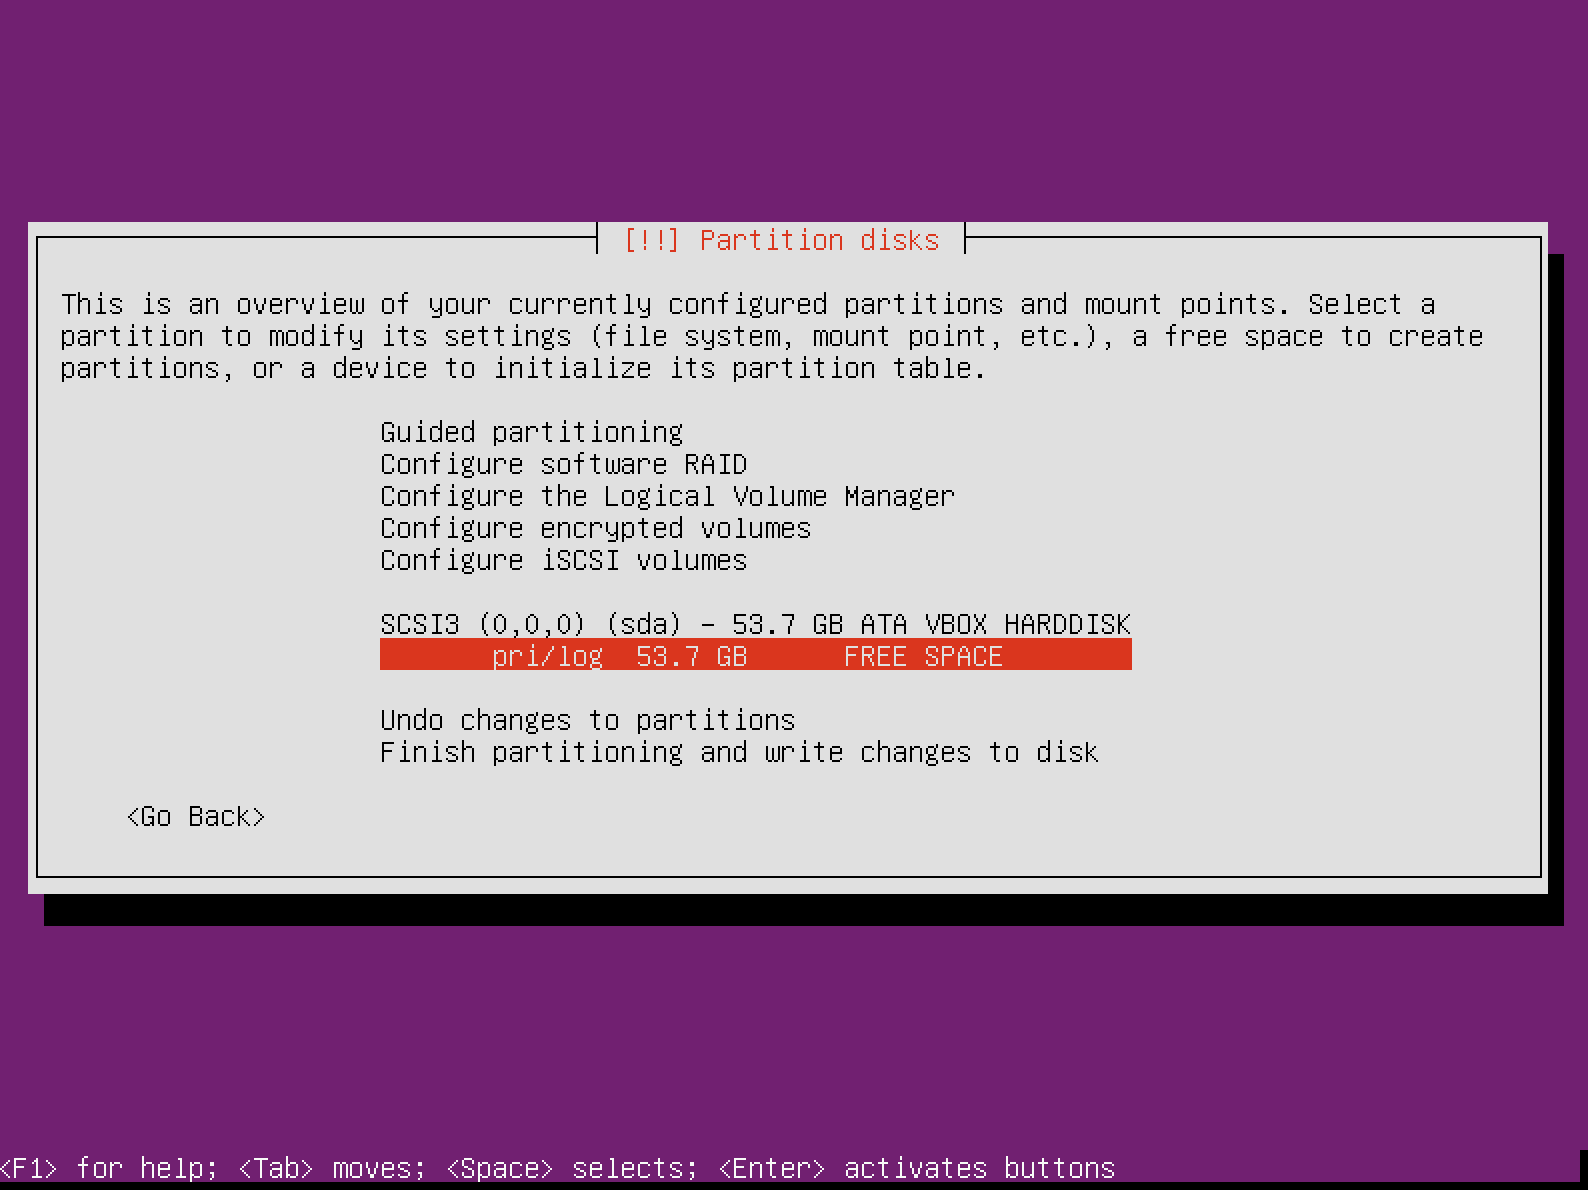
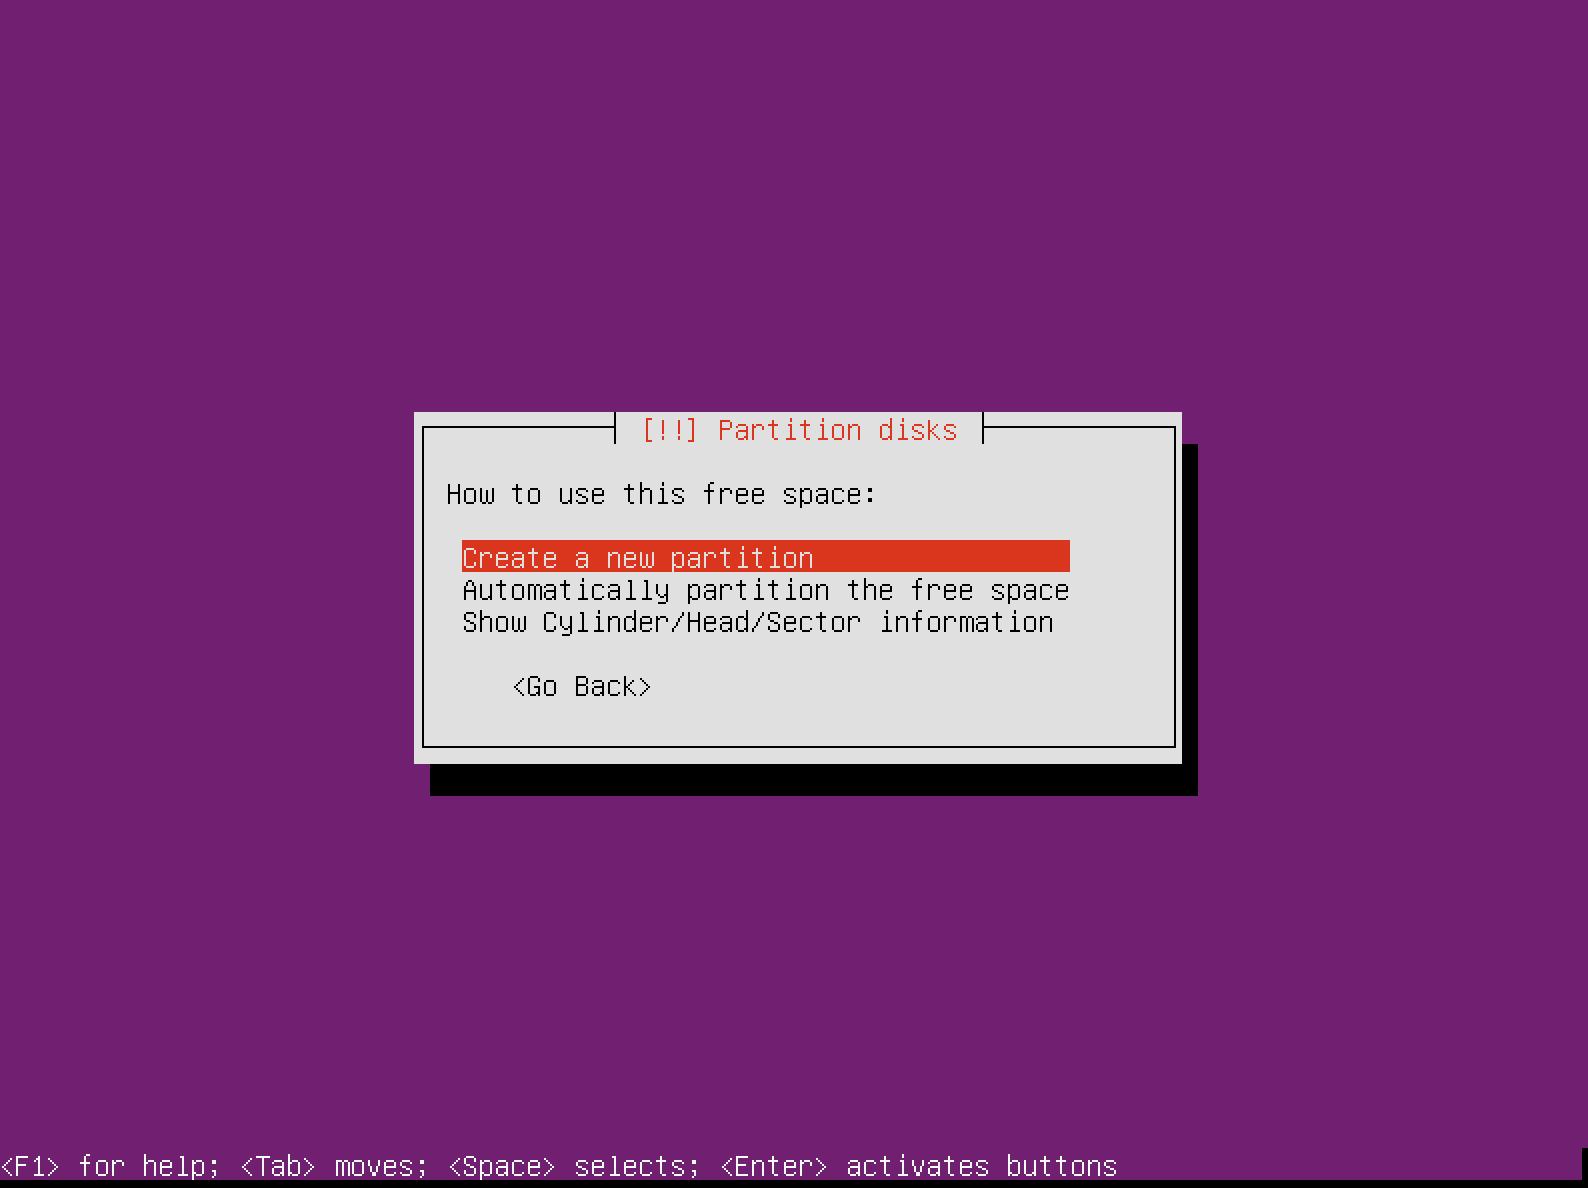
Select that “FREE SPACE” and then select “Create new partition“:
13. We will first configure our root "/" partition. You can safely give it a space of 10 GB (or more if you feel more generous):

14. After that select the partition to be “Primary“:

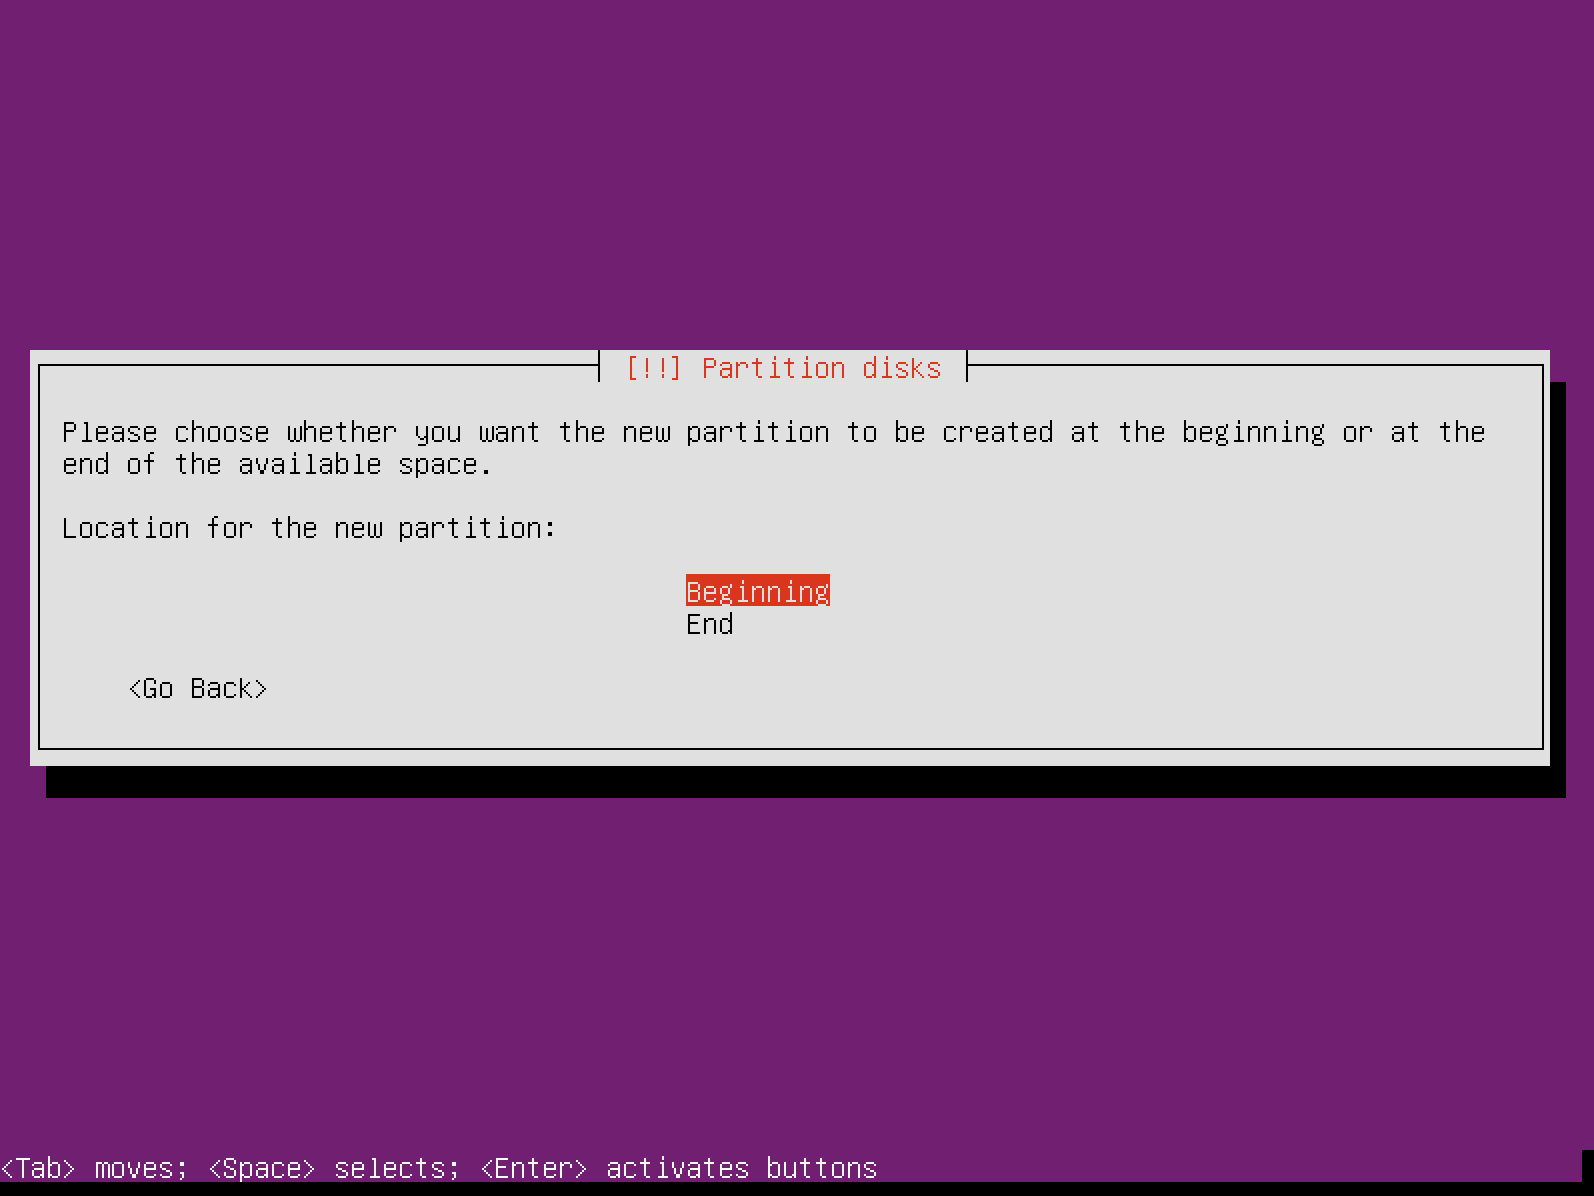
15. After that choose that the partition starts from the beginning of the available space:
You will now see a partition overview:
- Use as: ext4 journaling system
- Mount point: /
- Label – none (set one if you feel like it)
- Reserver blocks 5%
- Typical usage: standard
- Bootable flag: off
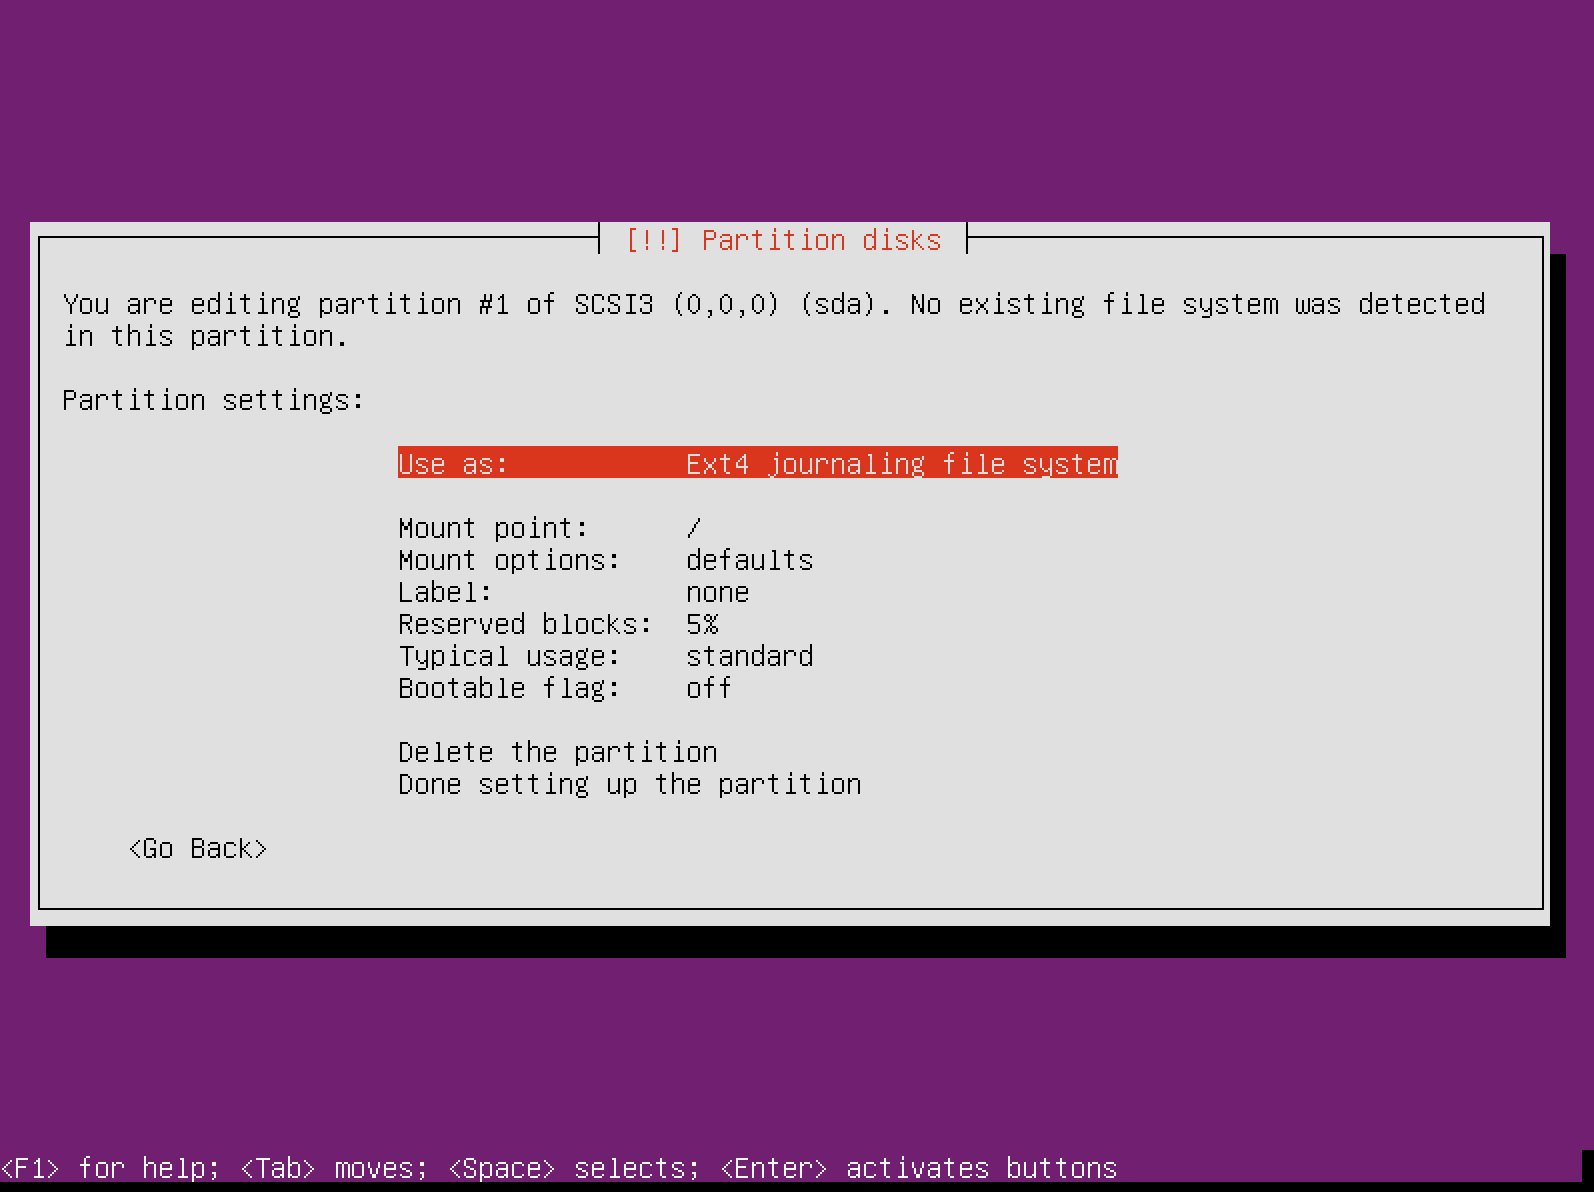
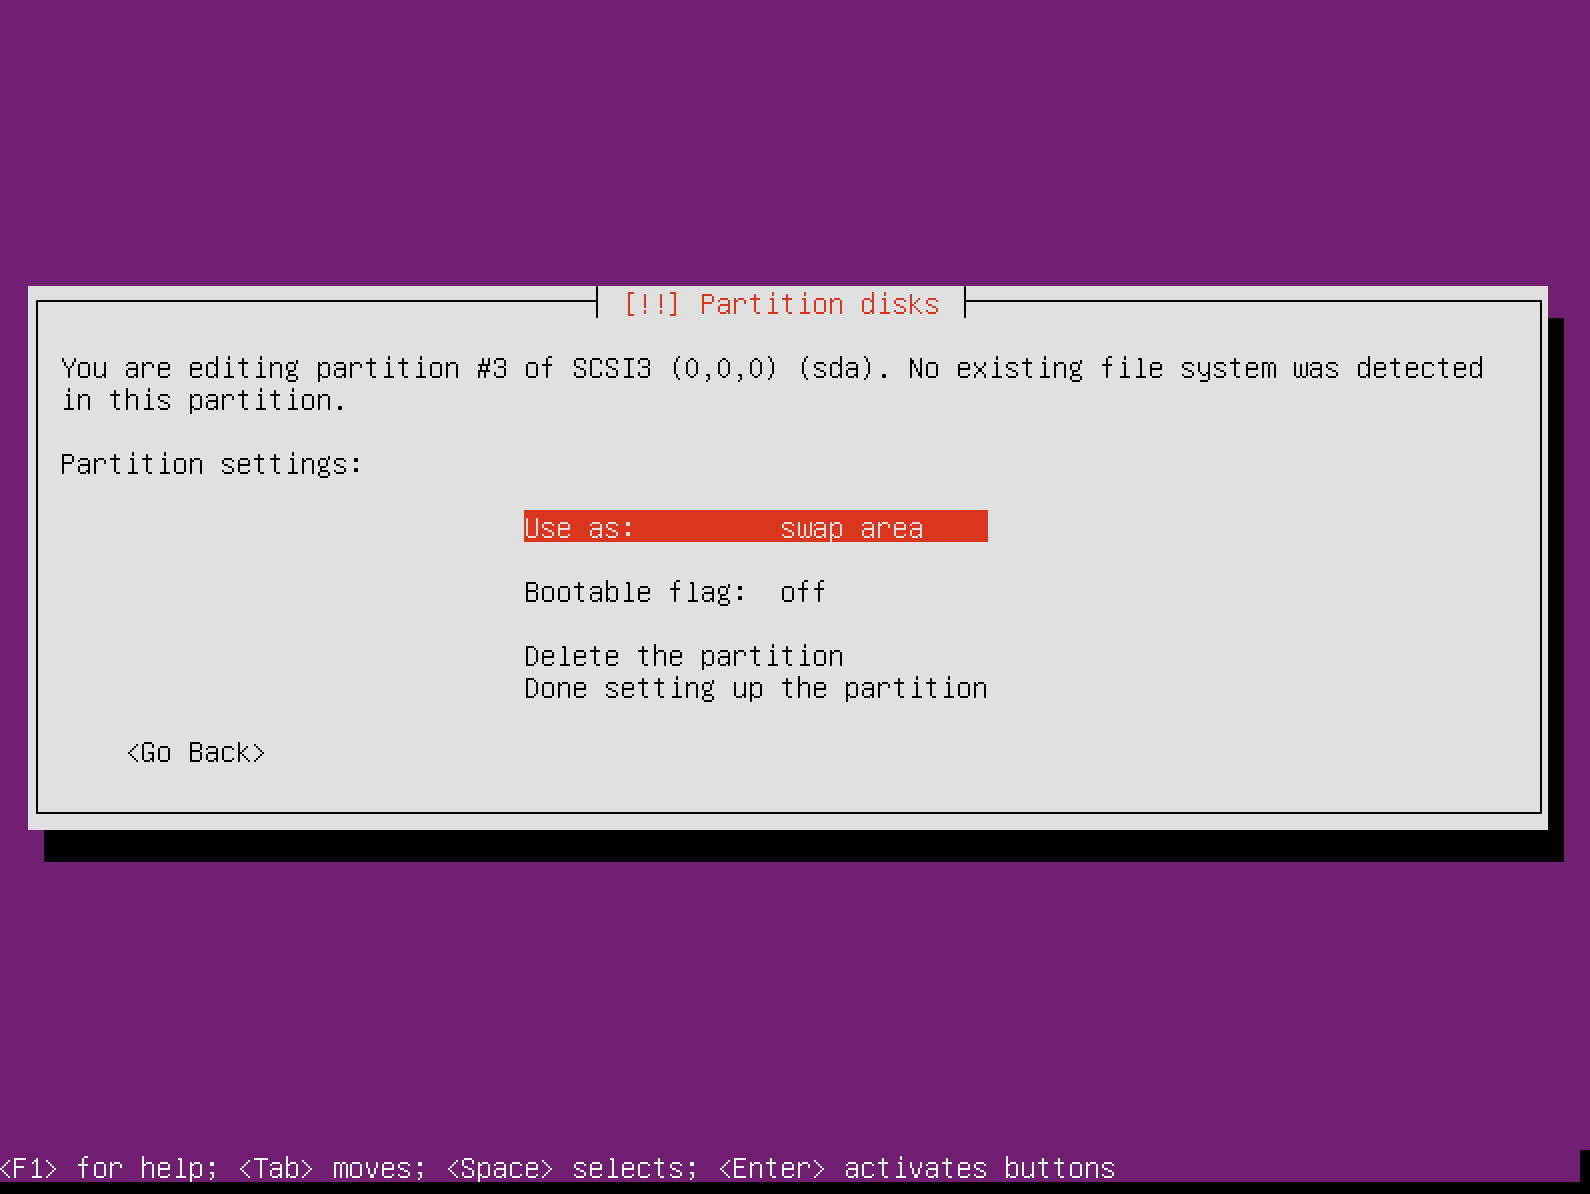
16. When ready, select “Done setting up the partition“. You will now have to prepare the “home” and the swap partition should be about 1 GB for systems with lots of memory or double the RAM of systems with lower amount of memory.
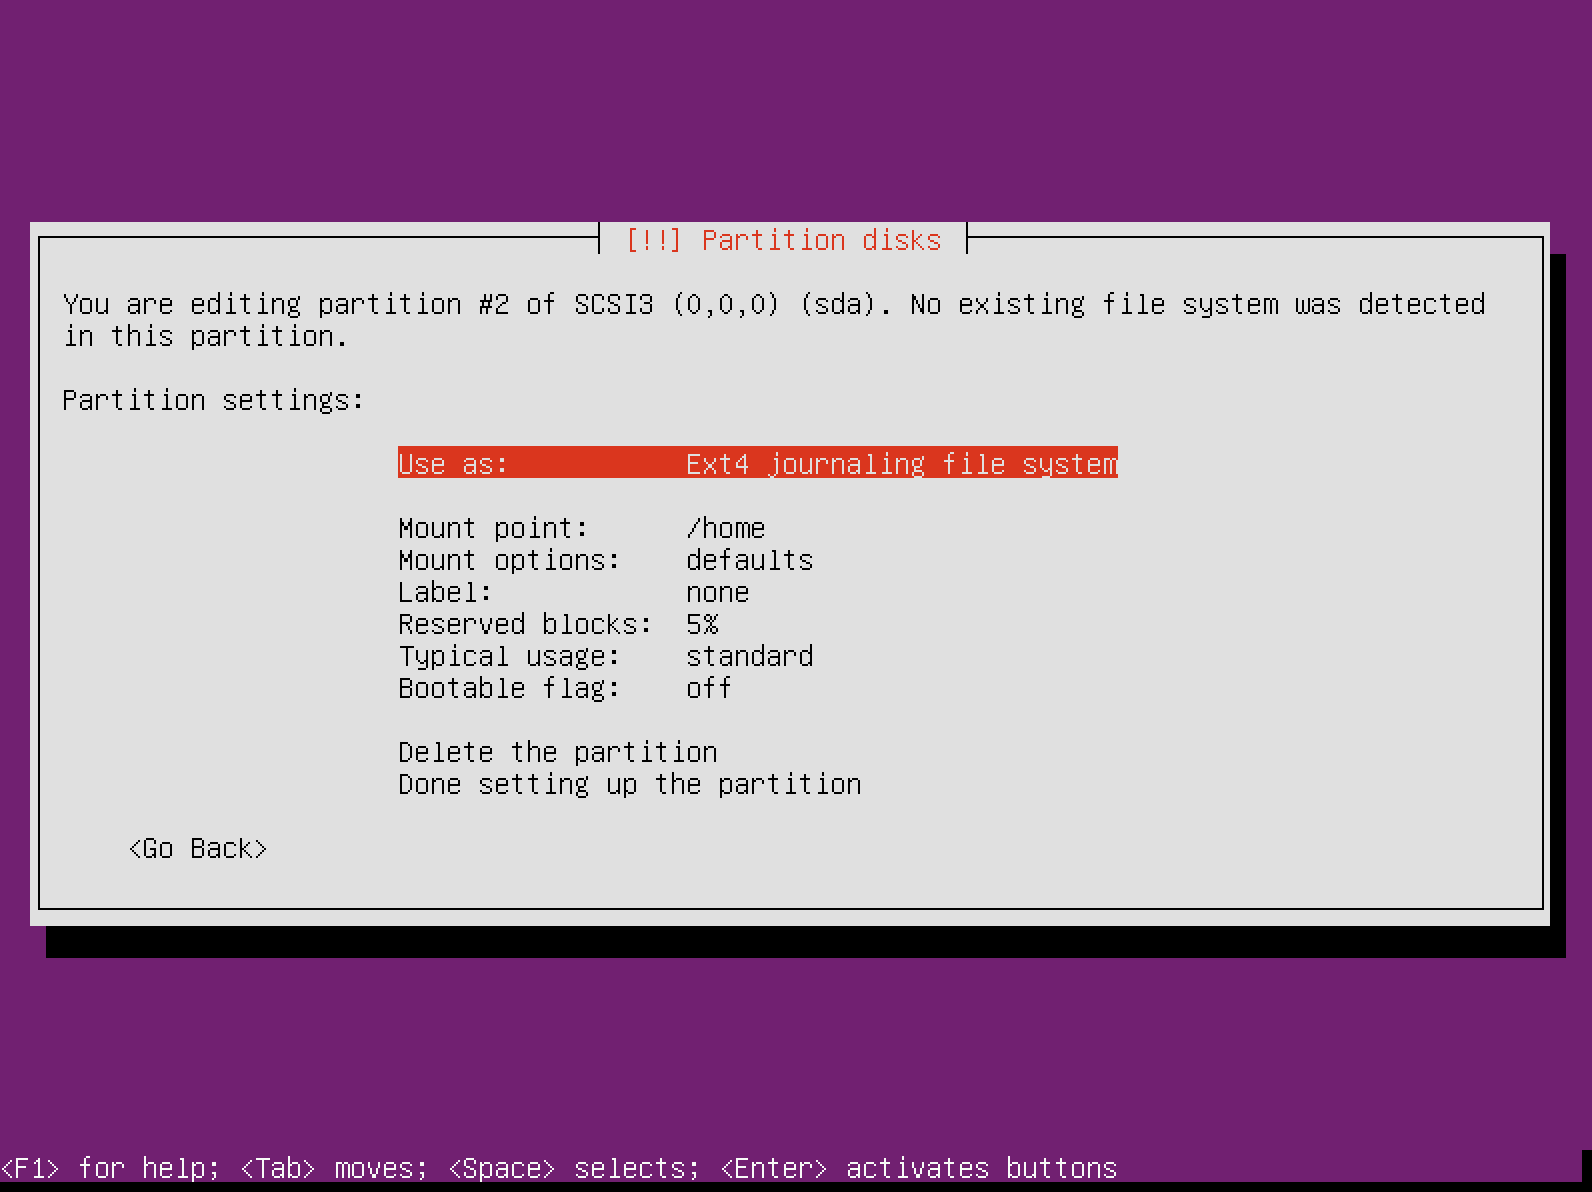
To create these two partitions follow the exact steps that you have used for the root "/" partition. You should have the following overviews of both partitions:
SWAP Partition:
Home Partition:
17. Finally your partitions overview should look similar to this:
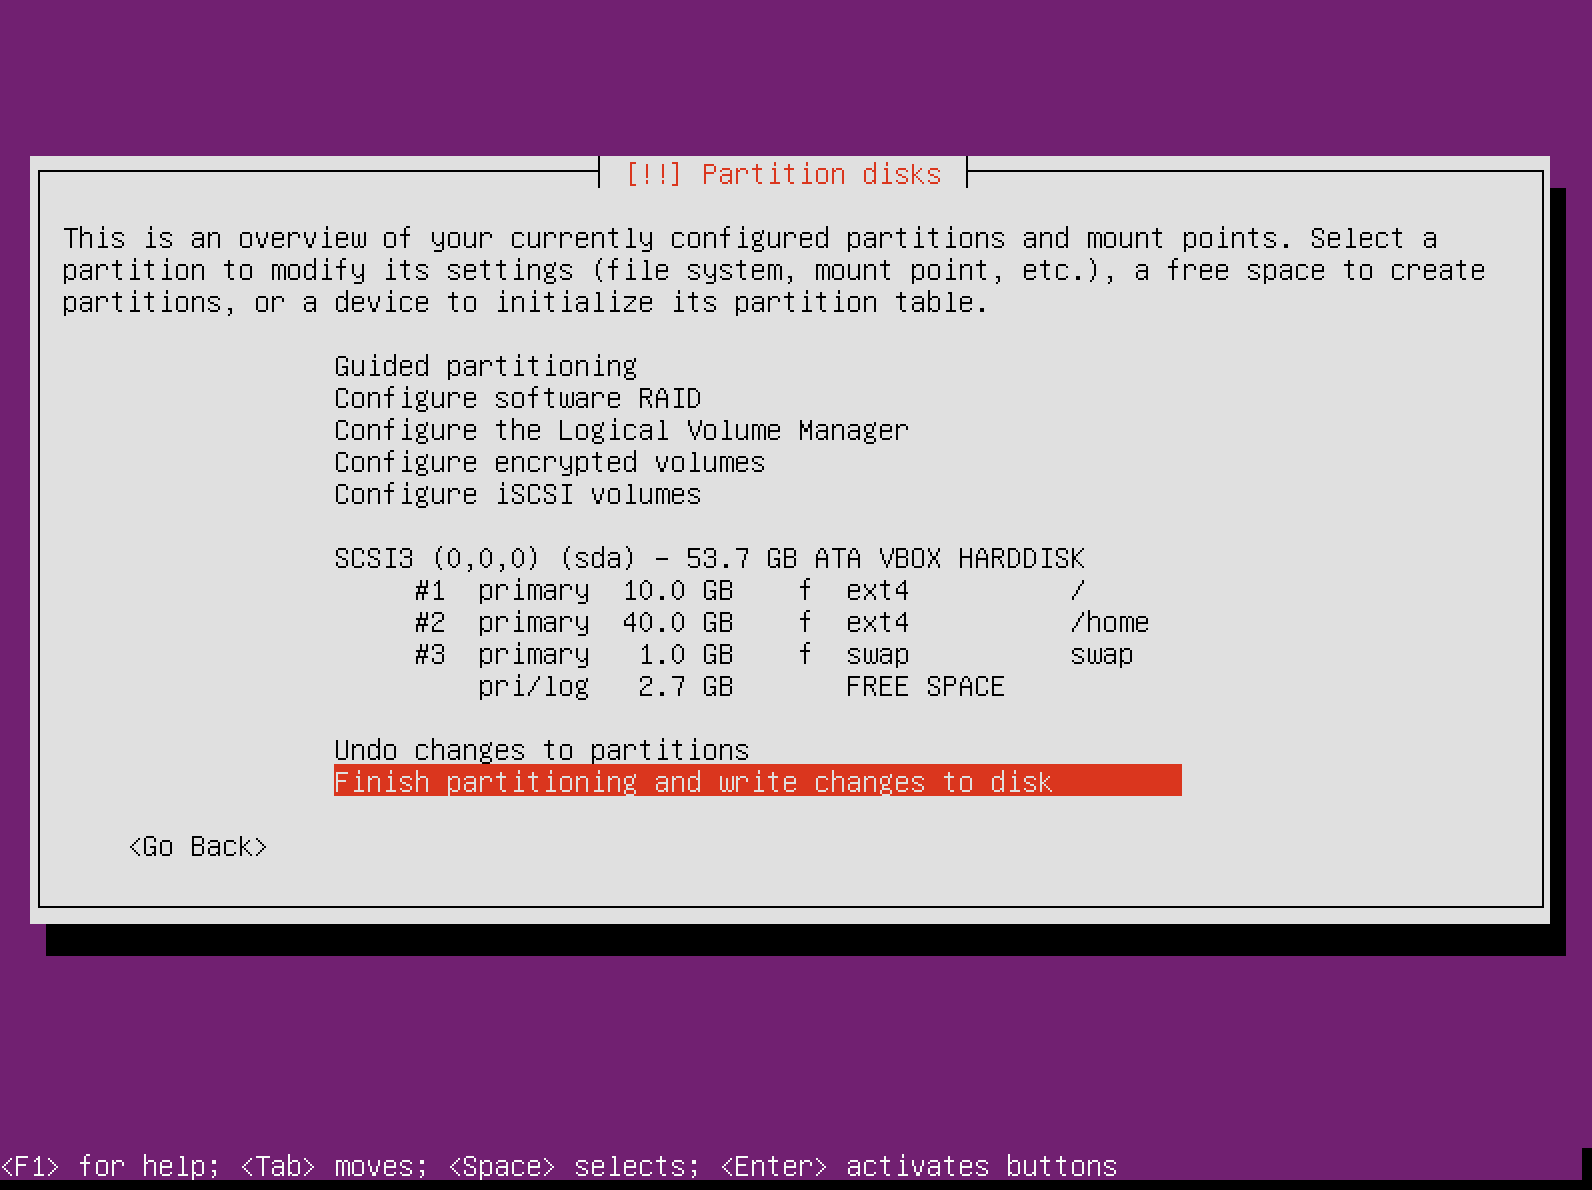
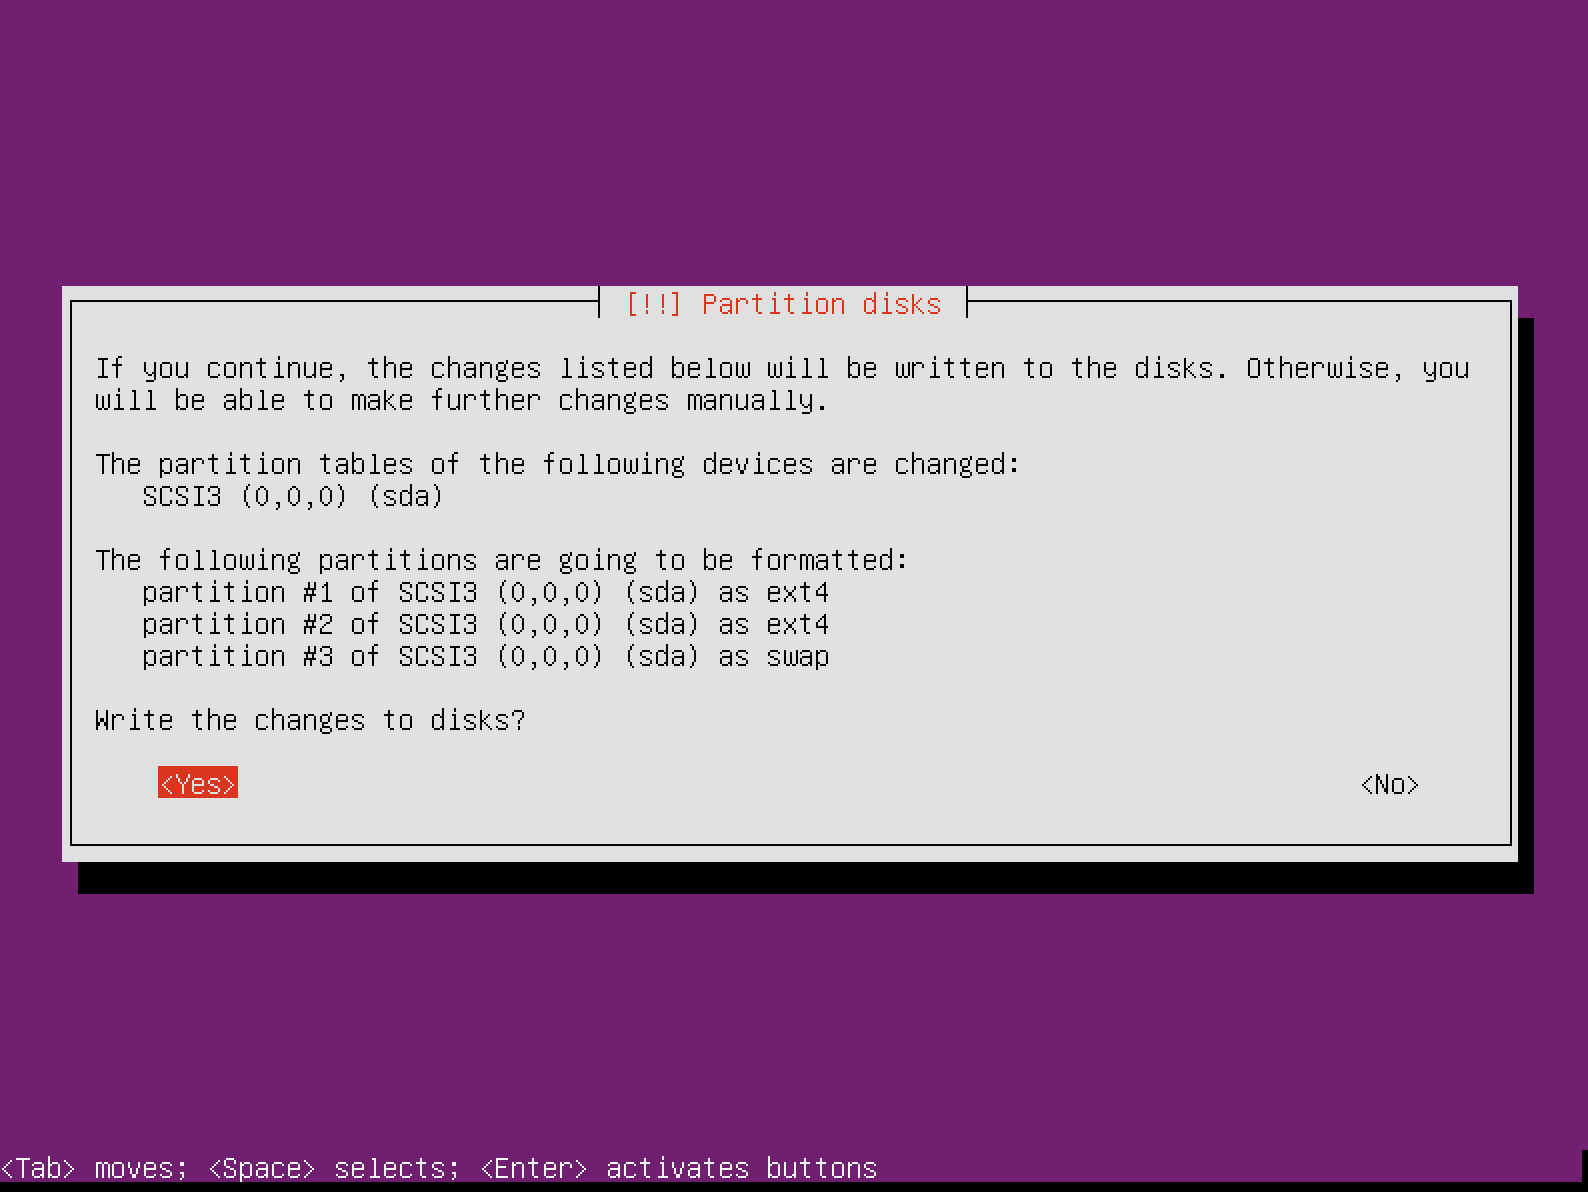
18. Finally select “Finish partitioning and write changes to disk“. The installer will ask you one more time if it should commit the changes:
19. The installer will now proceed with installing the system:
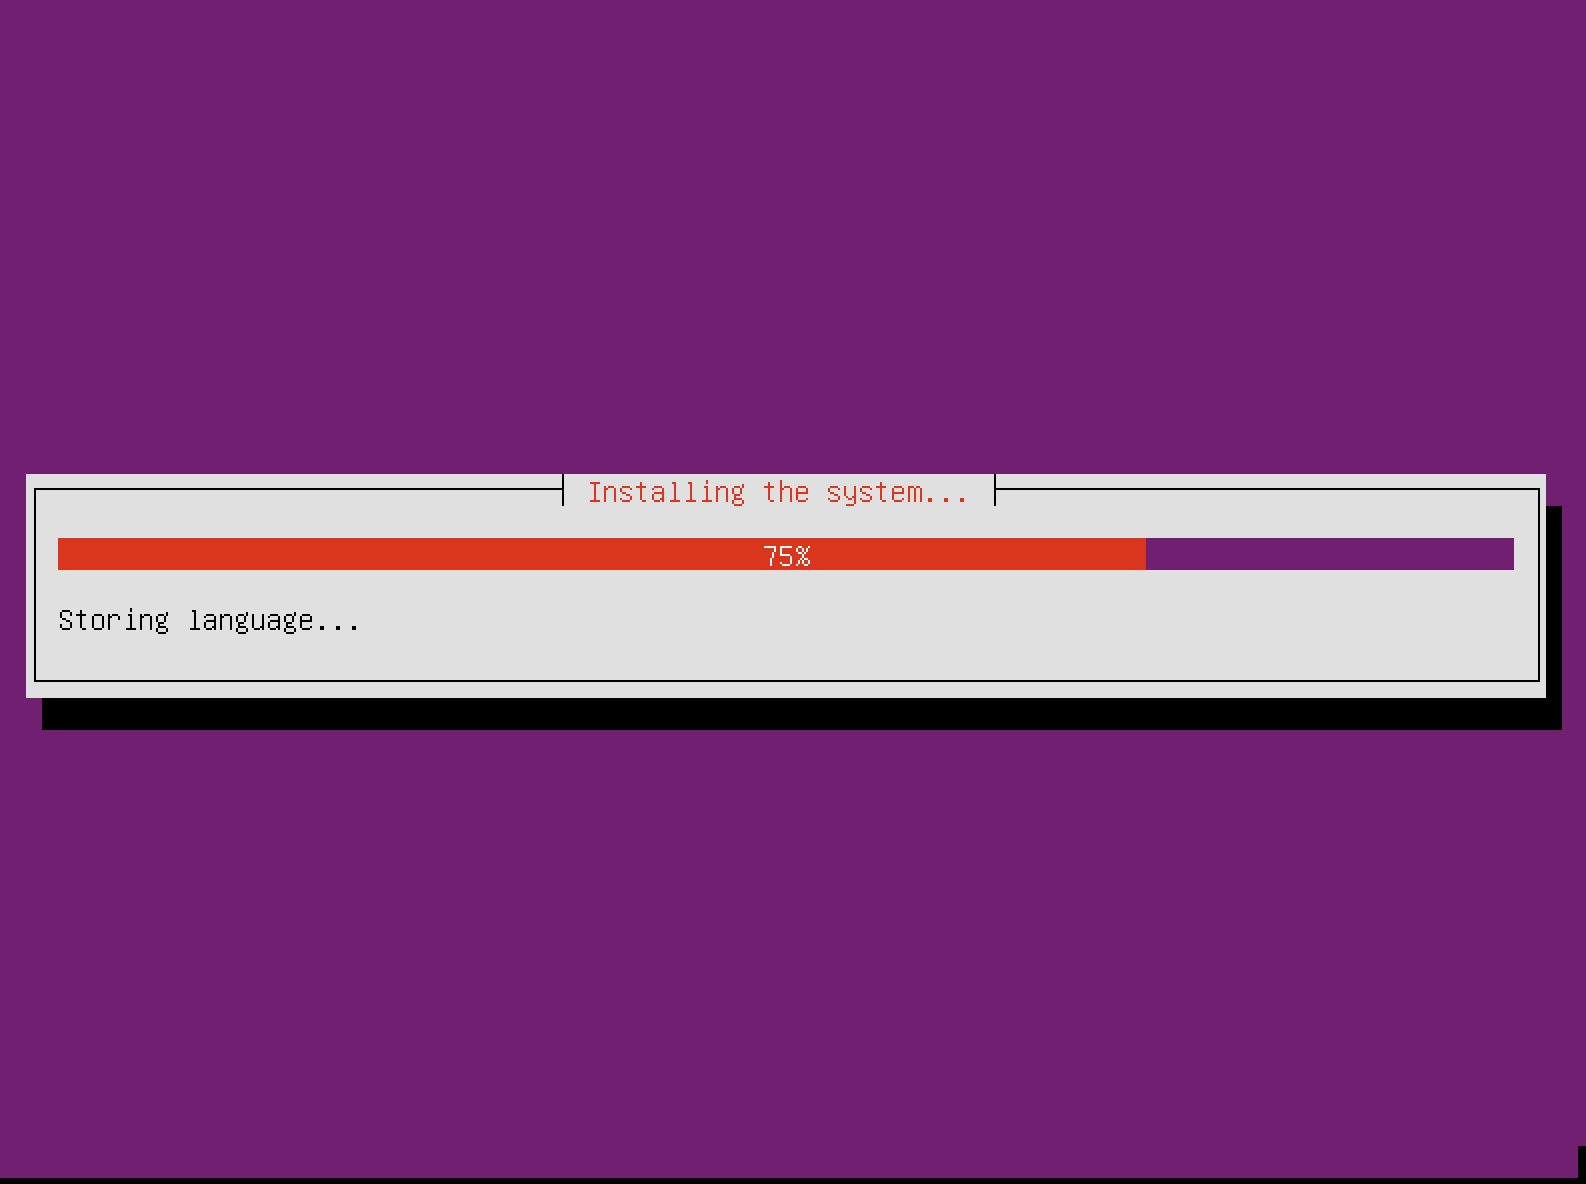
This process may take a while. After that the installer will ask you if you want to configure a HTTP proxy:
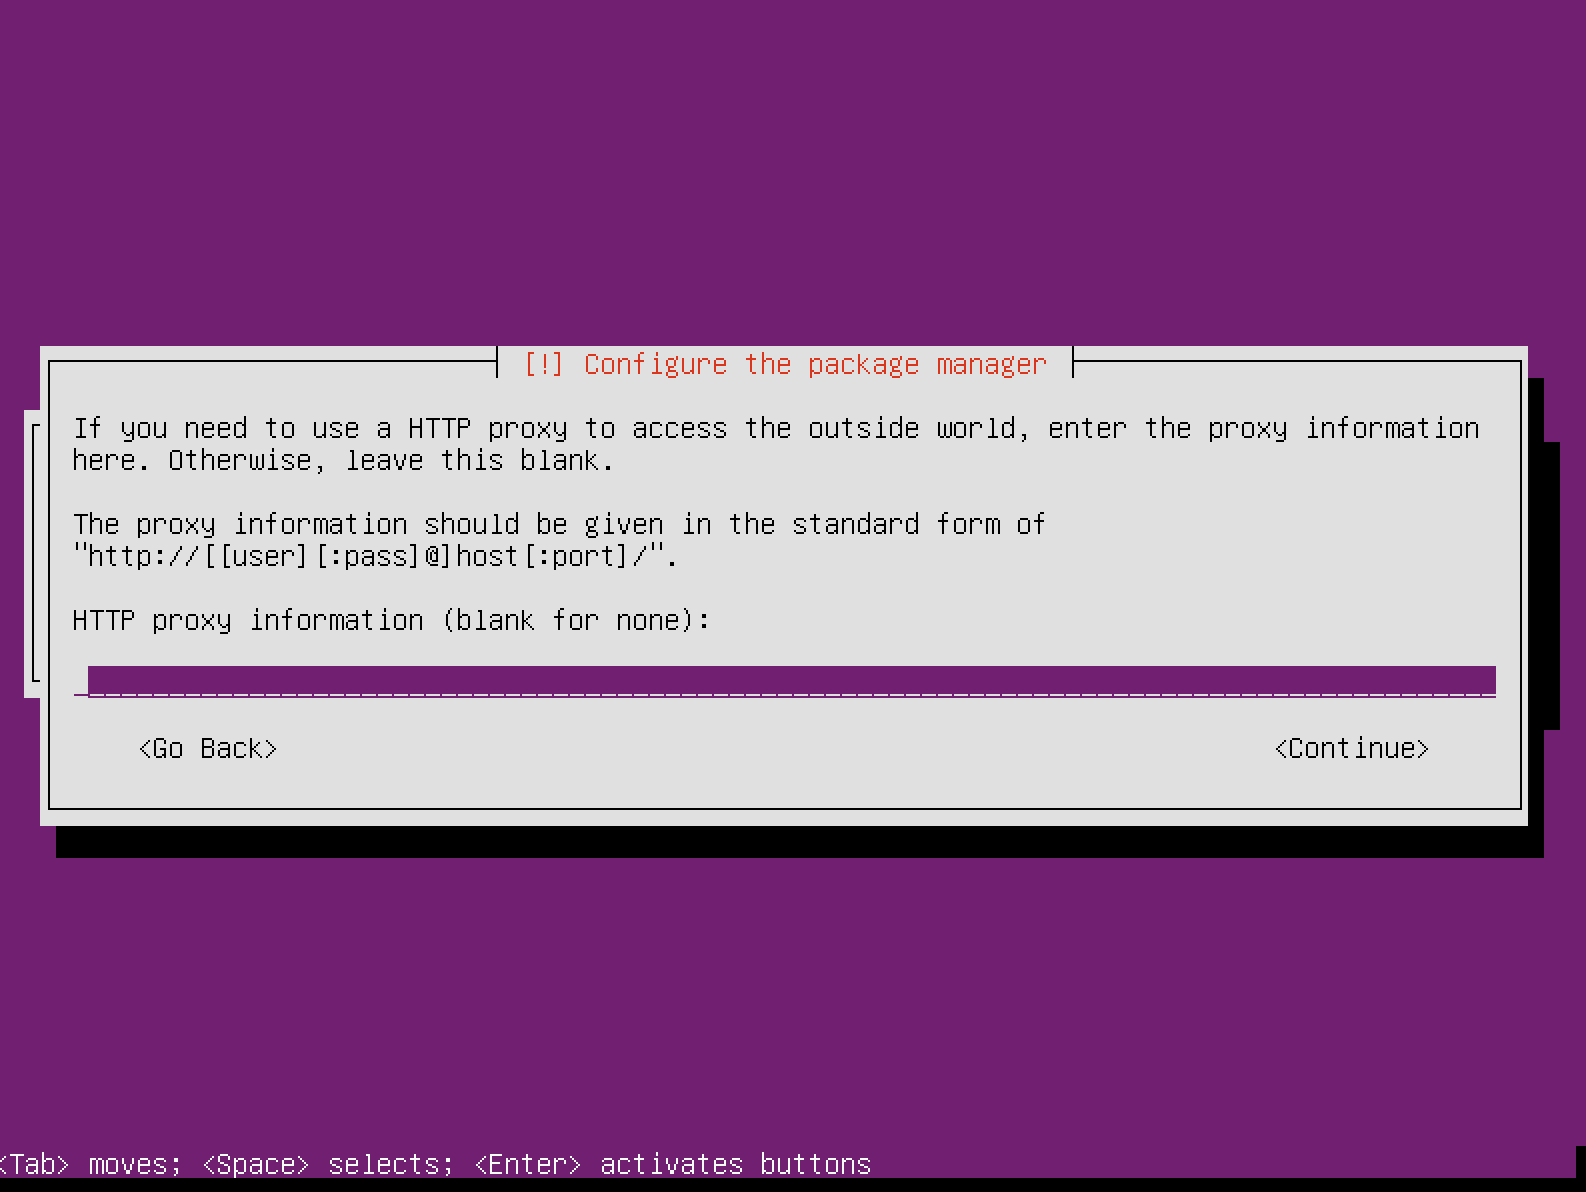
20. If you don’t plan to use HTTP proxy, you can safely skip that step. Next you can choose if Ubuntu should automatically install future updates or if you prefer to install them manually.
If this is a sandbox, you can choose the option to have the updates installed automatically. In production environment, you will definitely want to go with manual updates:

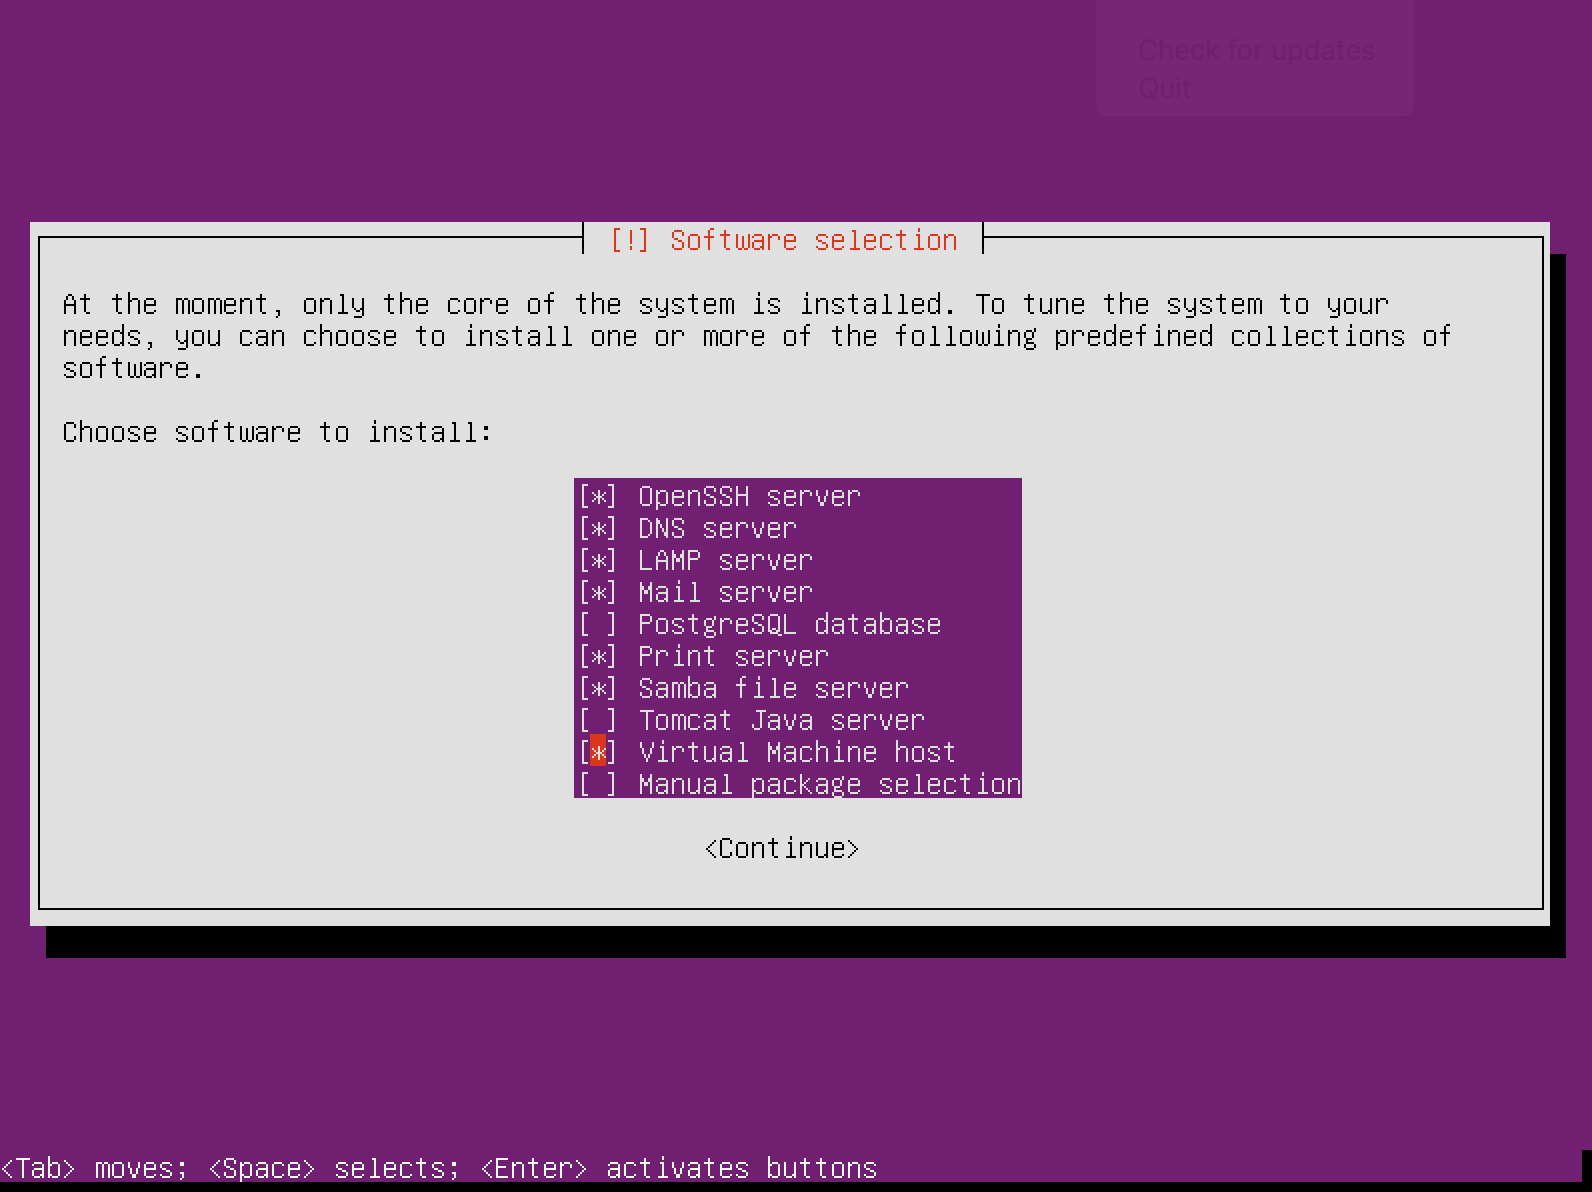
21. After that you can select the software that the installer should install. Depending on the purpose for which this server will be used you can select different options:
22. Depending on the packages you have chosen, some additional configuration steps might be required. After that the installation should be complete and you will be asked to remove your CD or USB flash drive so you can boot from hard disk:
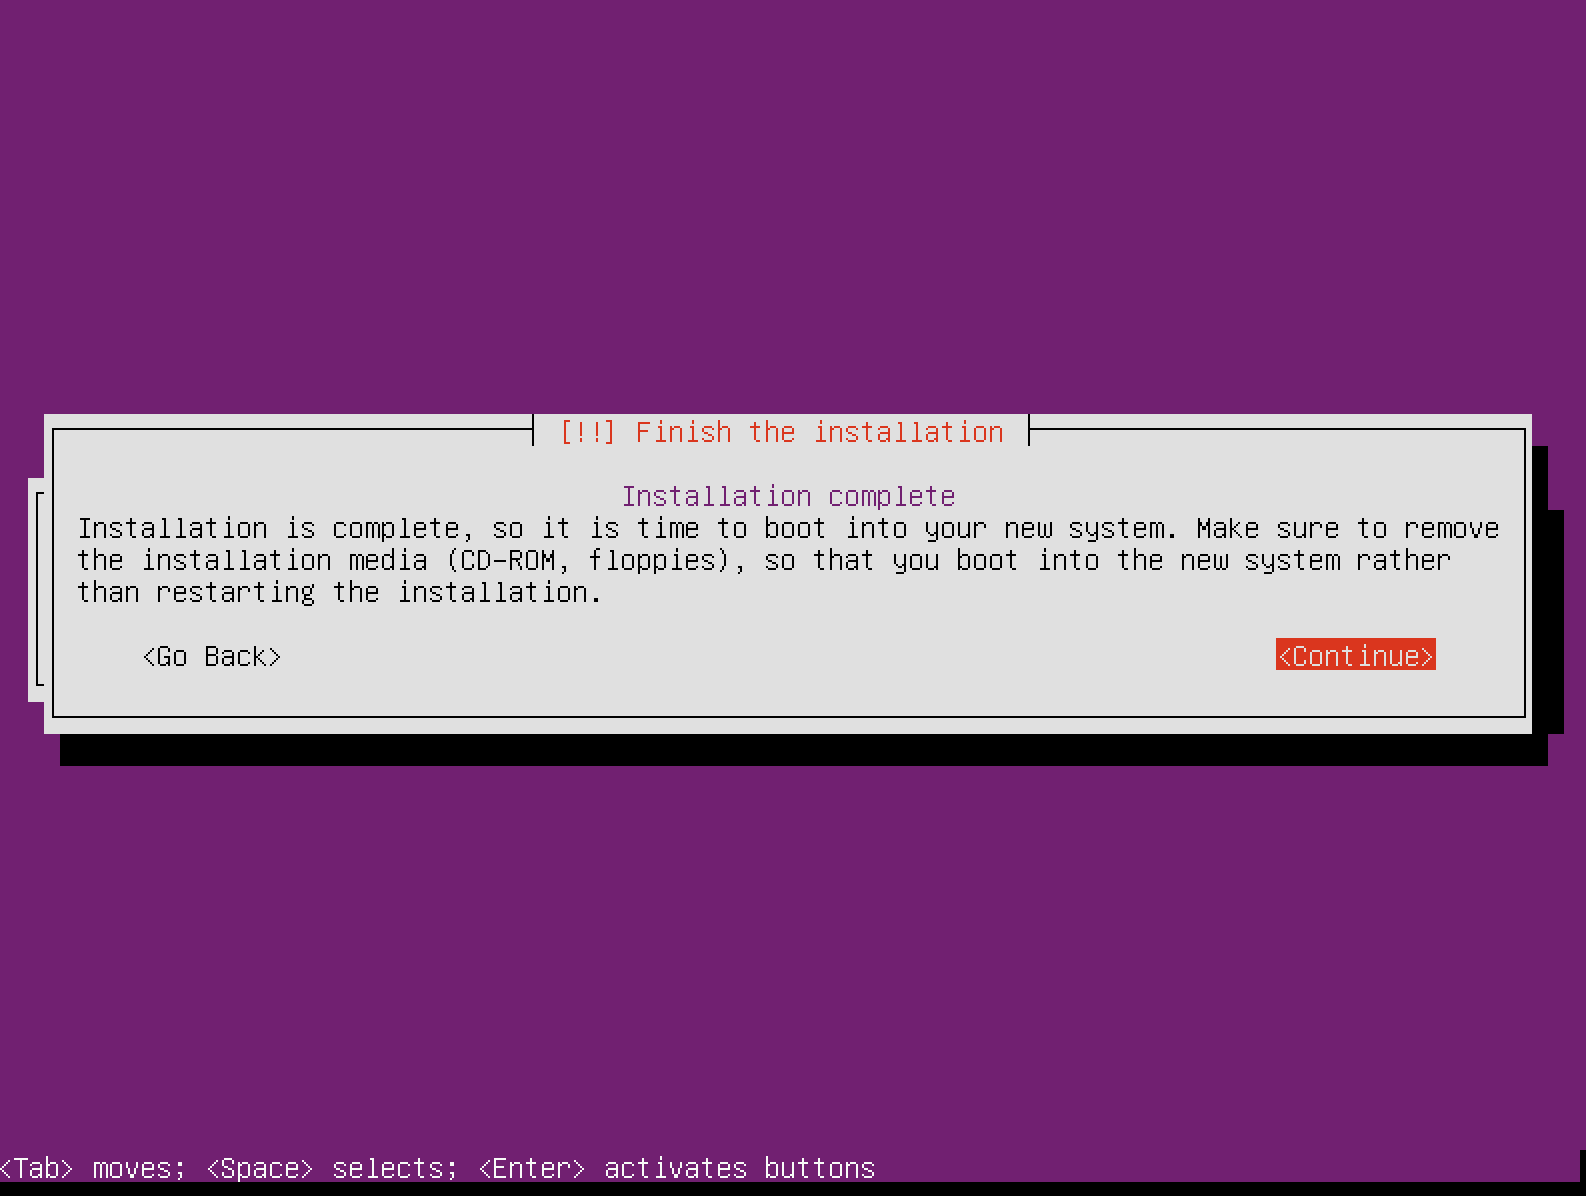
Your Ubuntu 15.10 Server installation is now complete and you are ready to start administrating your new server!.


