Ubuntu 15.10 has been released and is now ready for installation. It comes with some good new features and so, let’s have a look at them:
- LXD – the machine container hypervisor is now included by default. This means that every Ubuntu server can host guest containers
- High performance networking
- Kernel v4.2 which allows you using the latest server hardware and peripherals available from IBM, HP, Dell, and Intel
- OpenStack Liberty
- OpenvSwitch 2.3.x for improved virtual network capability
- Added Docker v1.6.2
First thing you will need to in order to install Ubuntu 15.10 Server is download the .iso image from:
Installation of Ubuntu 15.10 Server
1. The first step is to prepare a Ubuntu 15.10 Server bootable media. You can choose to use to install the operating system from CD or bootable USB flash drive. For more information on how to achieve this can be found here:
2. So once you are ready, it’s time to place your bootable media in the appropriate port/device and boot from it. You will see the installation splash scree, where you can initiate the installation of the OS:
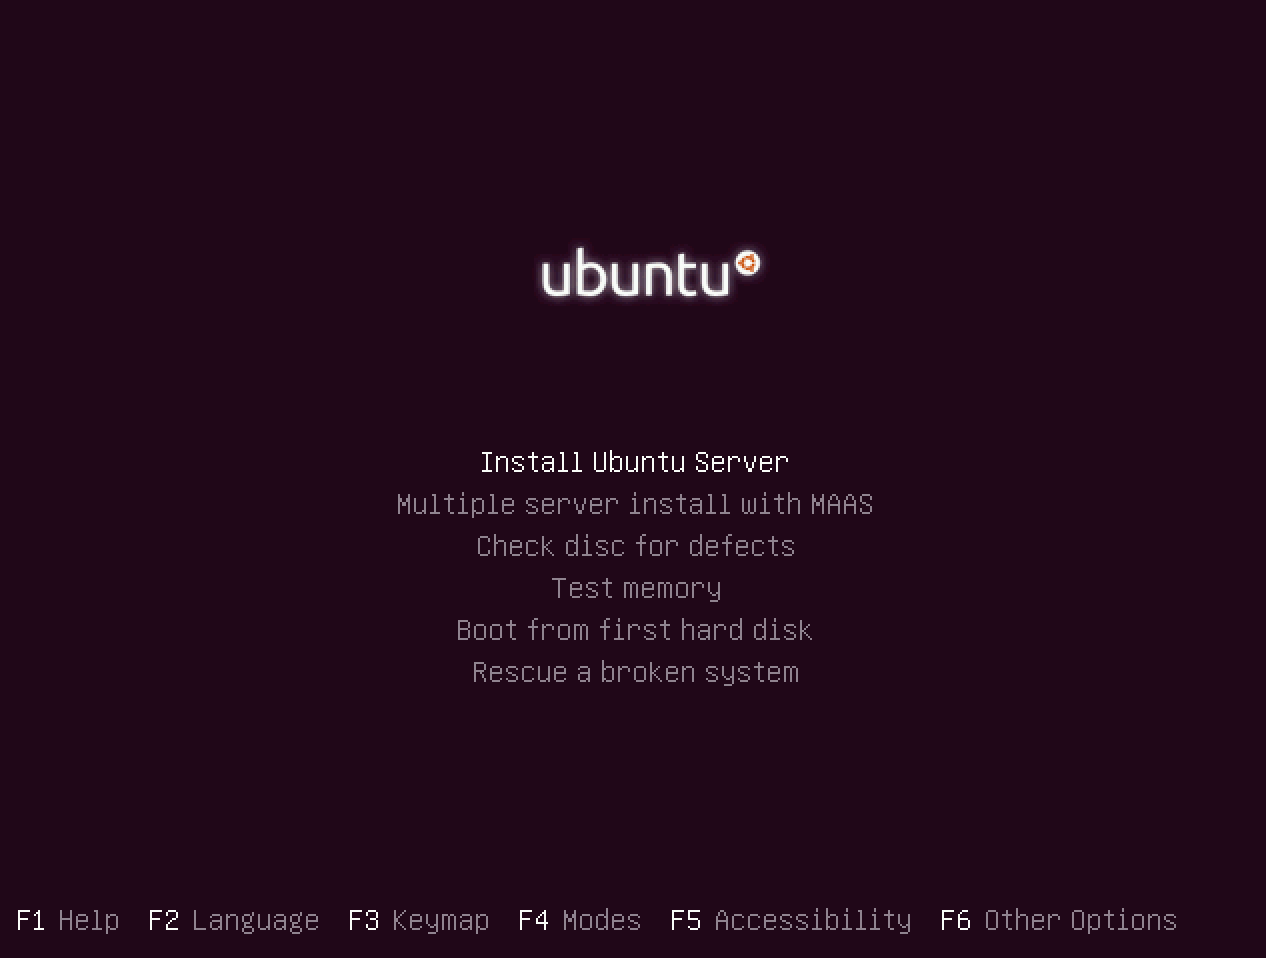
3. For the purpose of this tutorial. select the first option “Install Ubuntu Server“. On the next screen, you can choose the language that will be used upon the installation. This language will also be the default one for your Ubuntu 15.10 server.
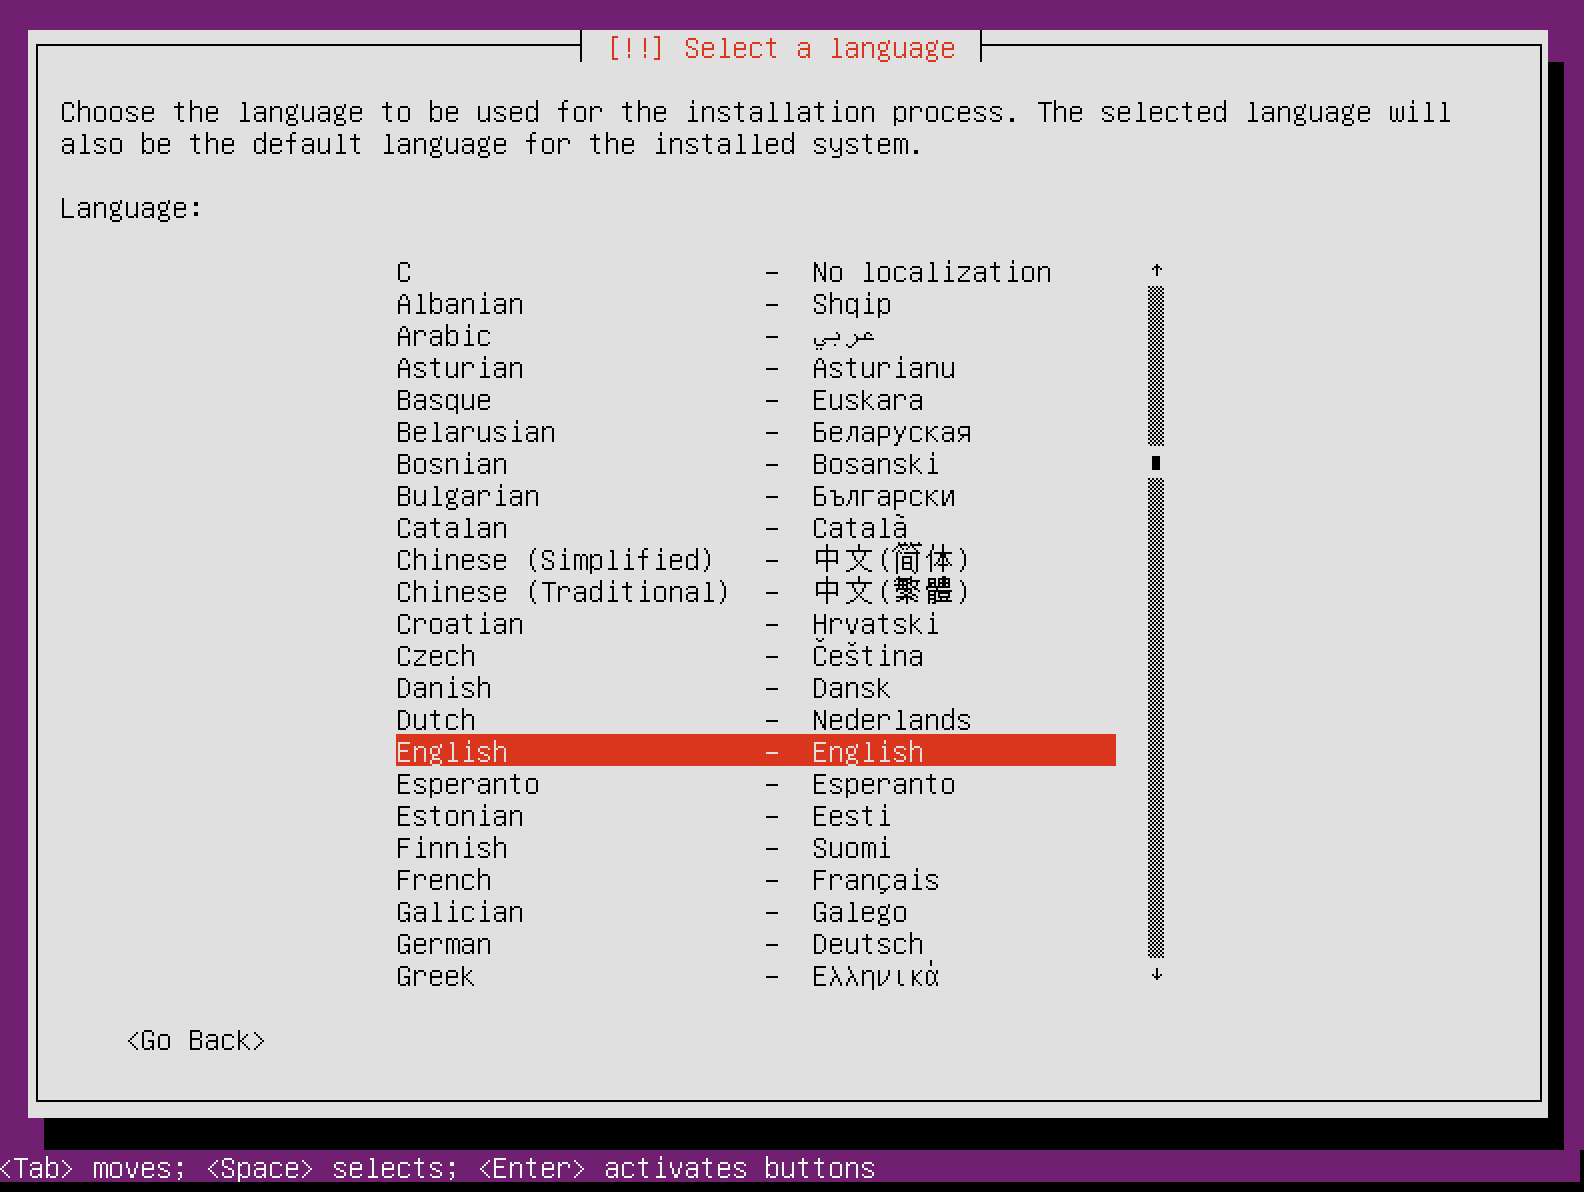
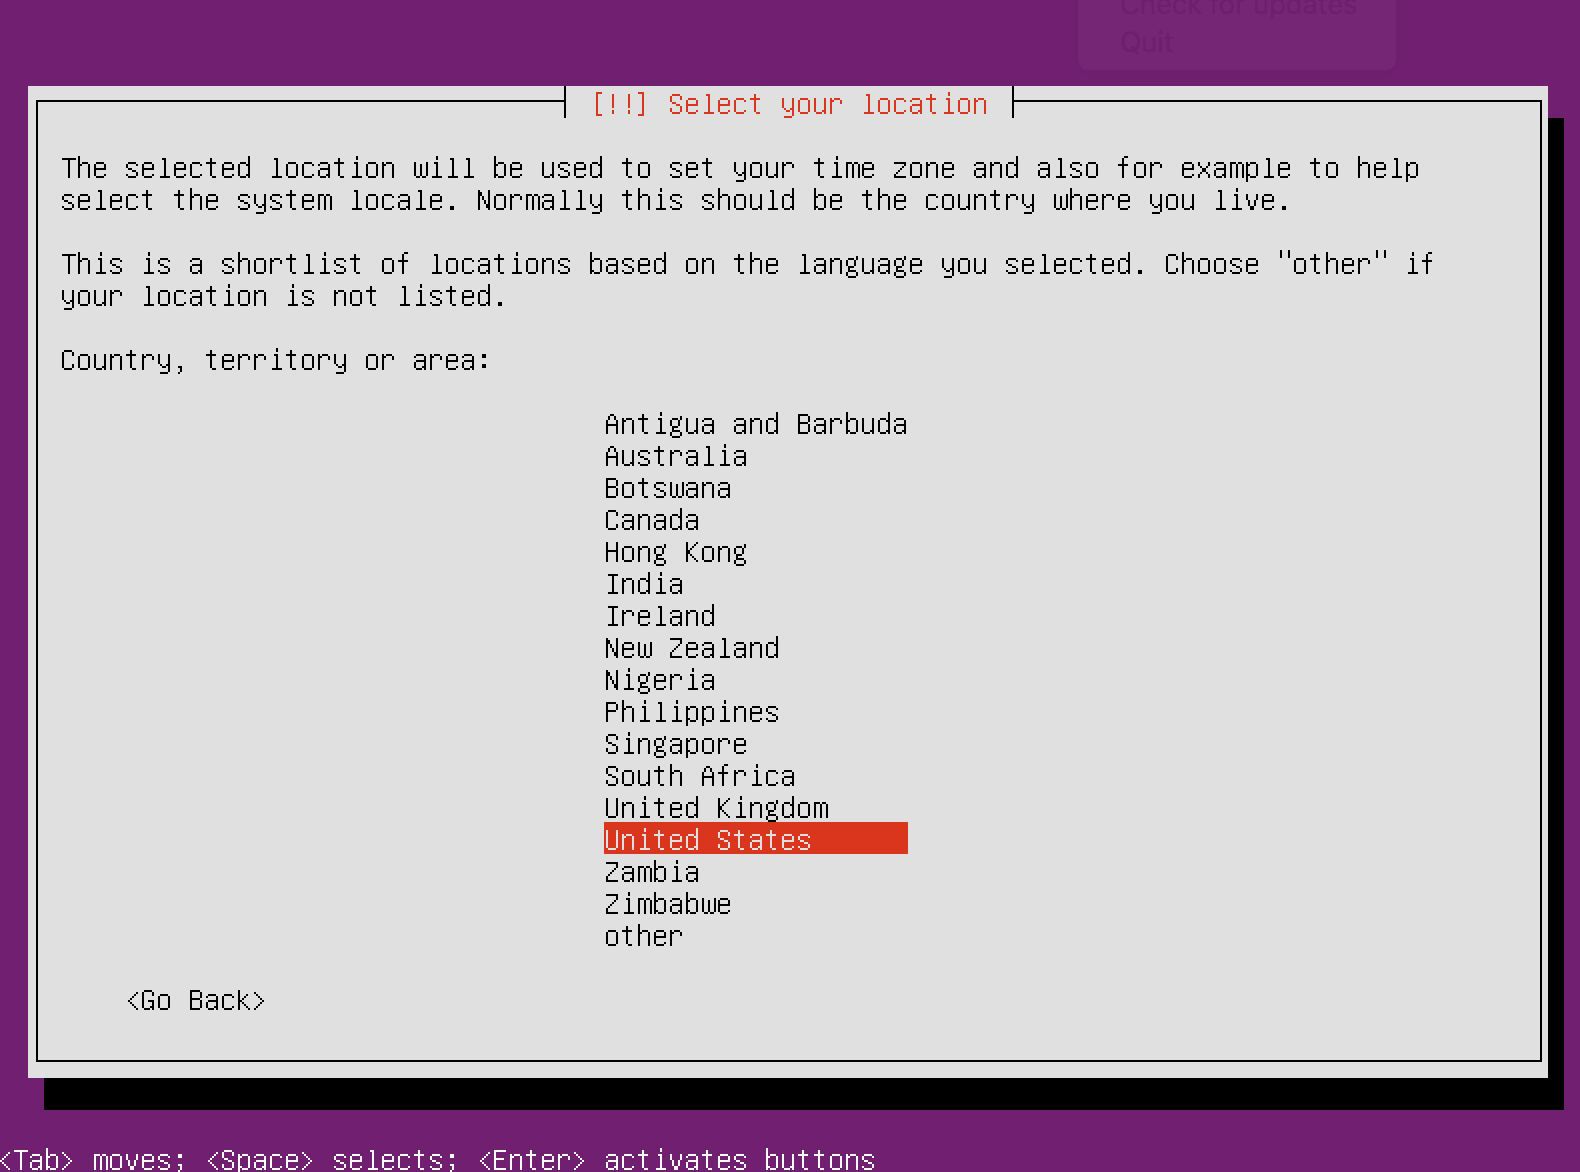
4. To select a language press “Enter“. Proceed to the next screen where you can select the location for your server.
The location that you select will be used for setting the correct time zone for your server and select system locale. In most cases this should be the country where you live.
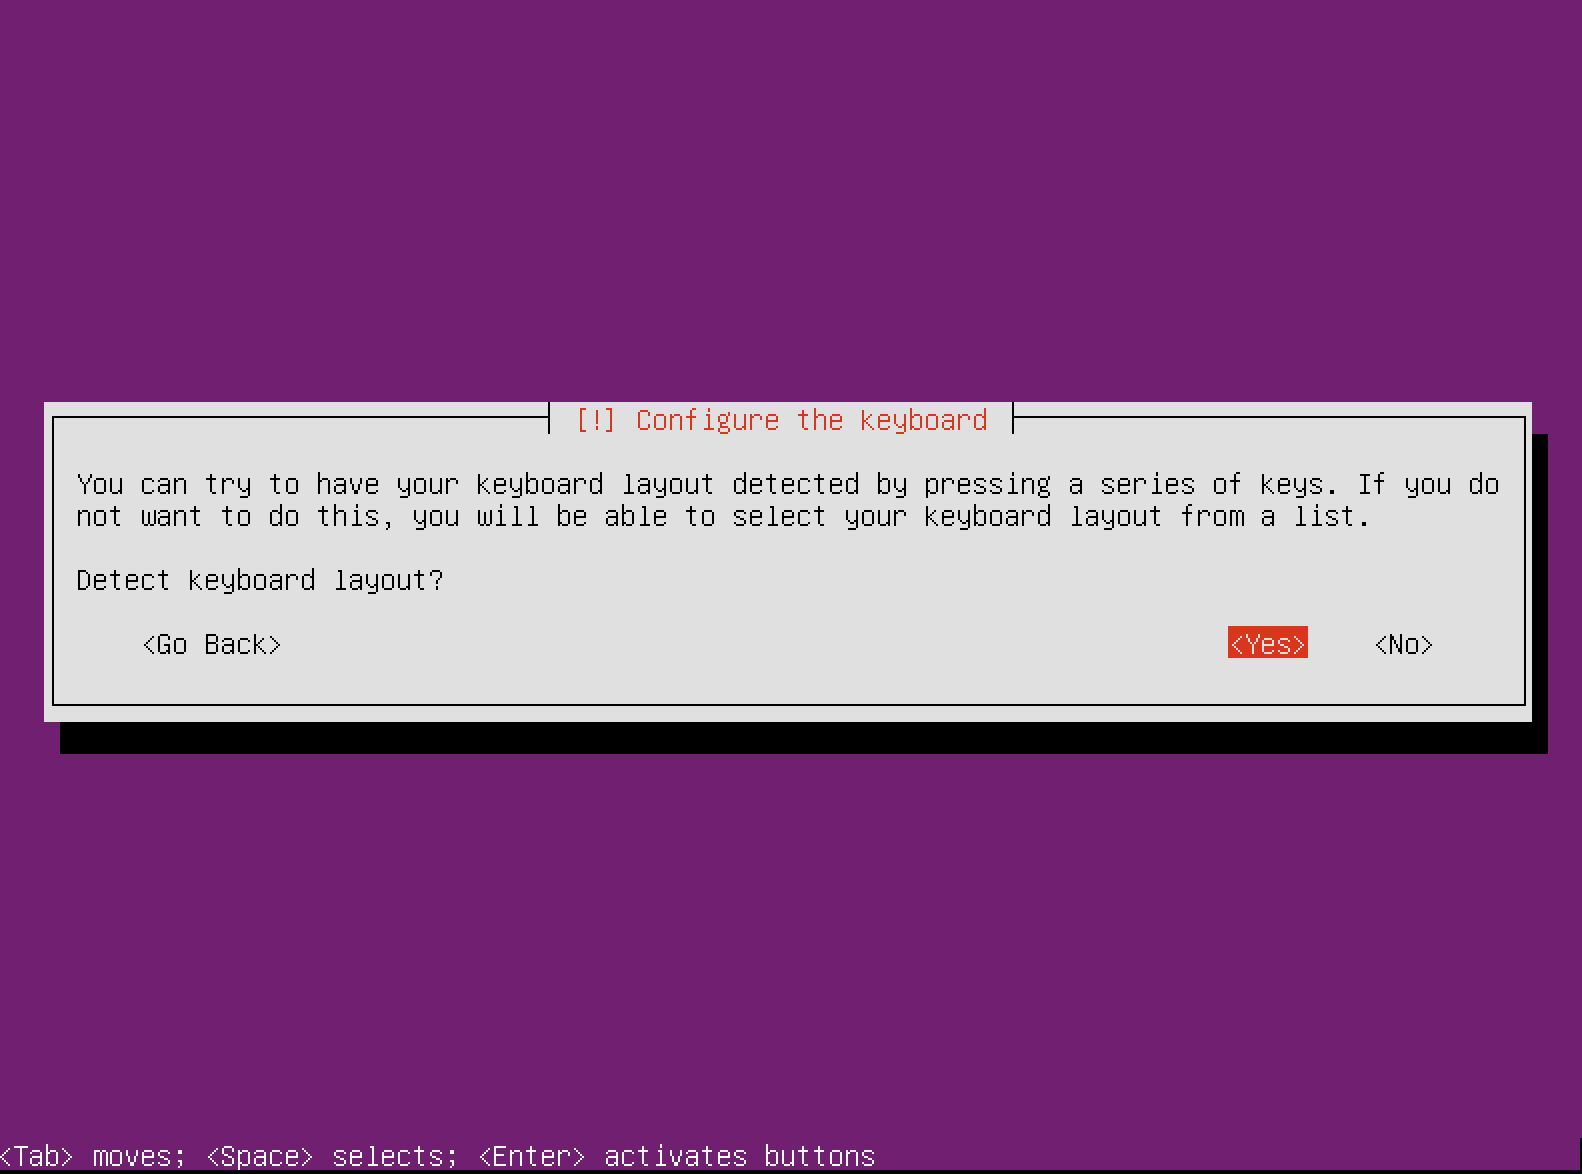
5. On the next screen, the installer will ask you if you want it to detect your keyboard layout or if you want to choose it from a list of available options.
Usually the installer detects the keyboard pretty good and you may let it detect it. This is why I use “yes“. If you want to select the keyboard layout manually, press “No” so you can select from list of options.
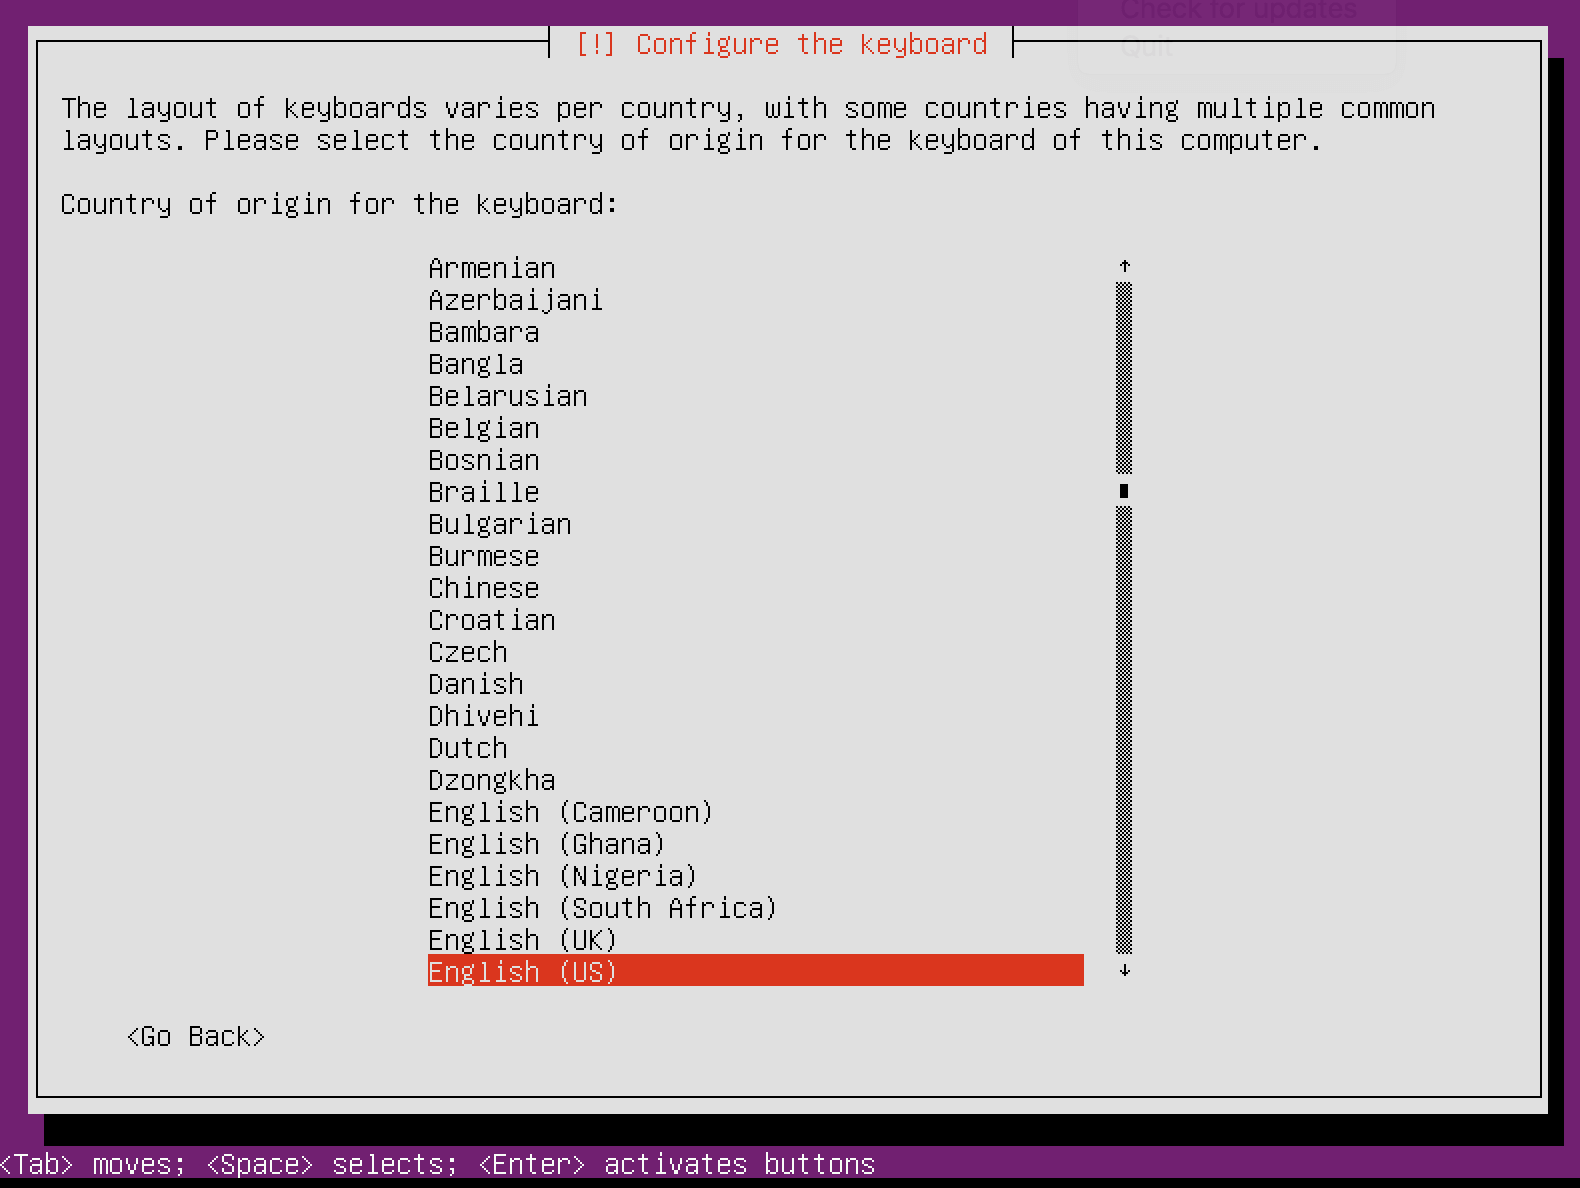
6. If you have chosen “No“, this is the list of options you have:
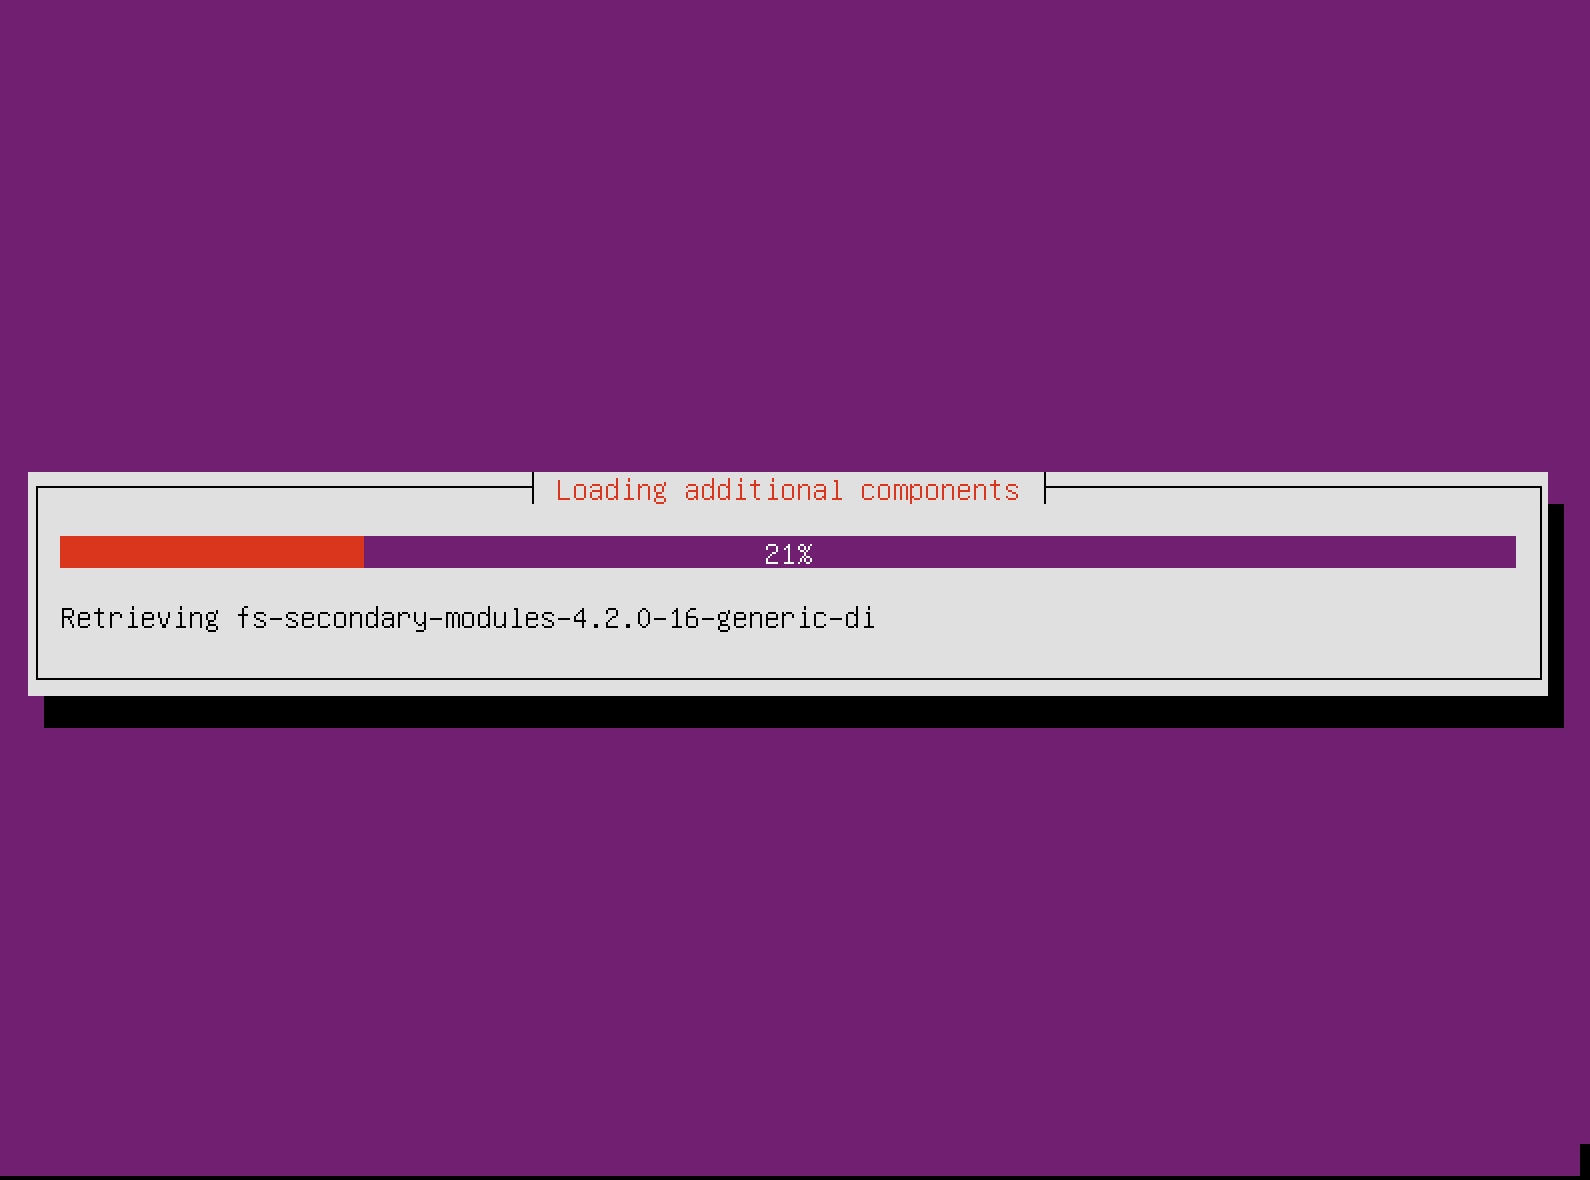
Once you’ve made your choice, the installer will attempt to detect your hardware and load the needed components:
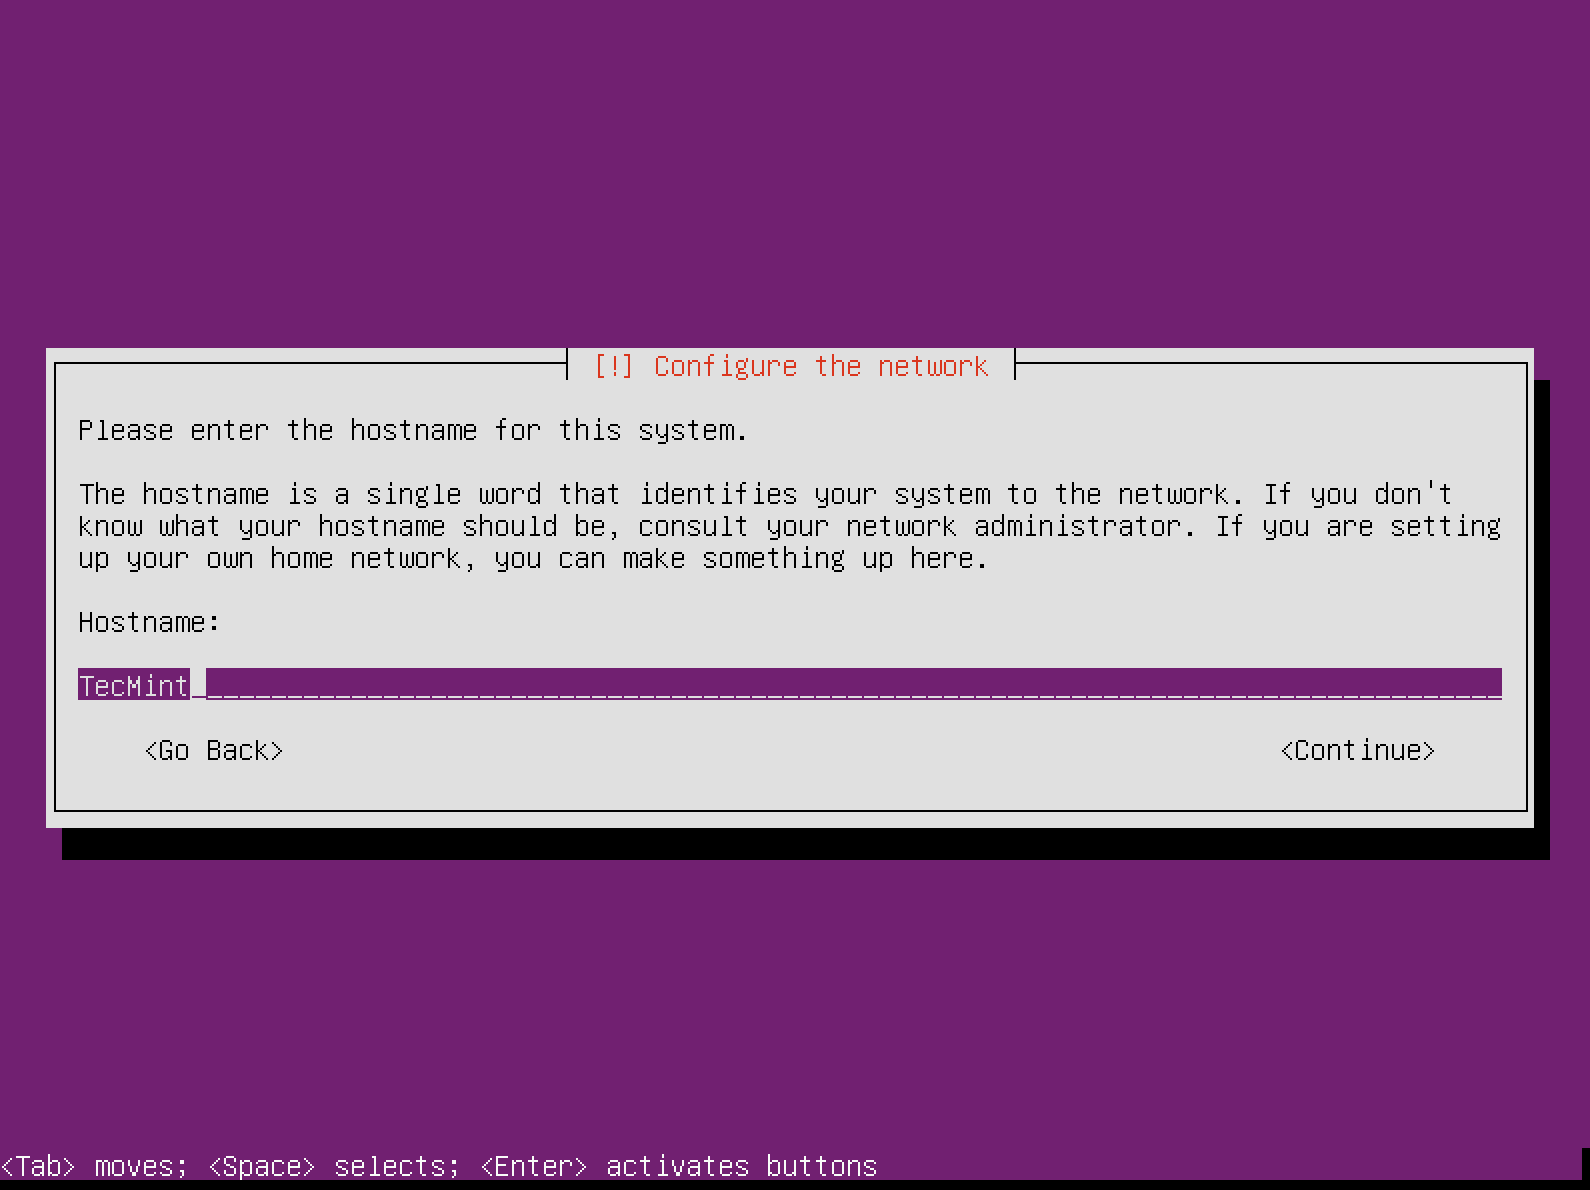
When it finishes, you will be able to select your server’s hostname:
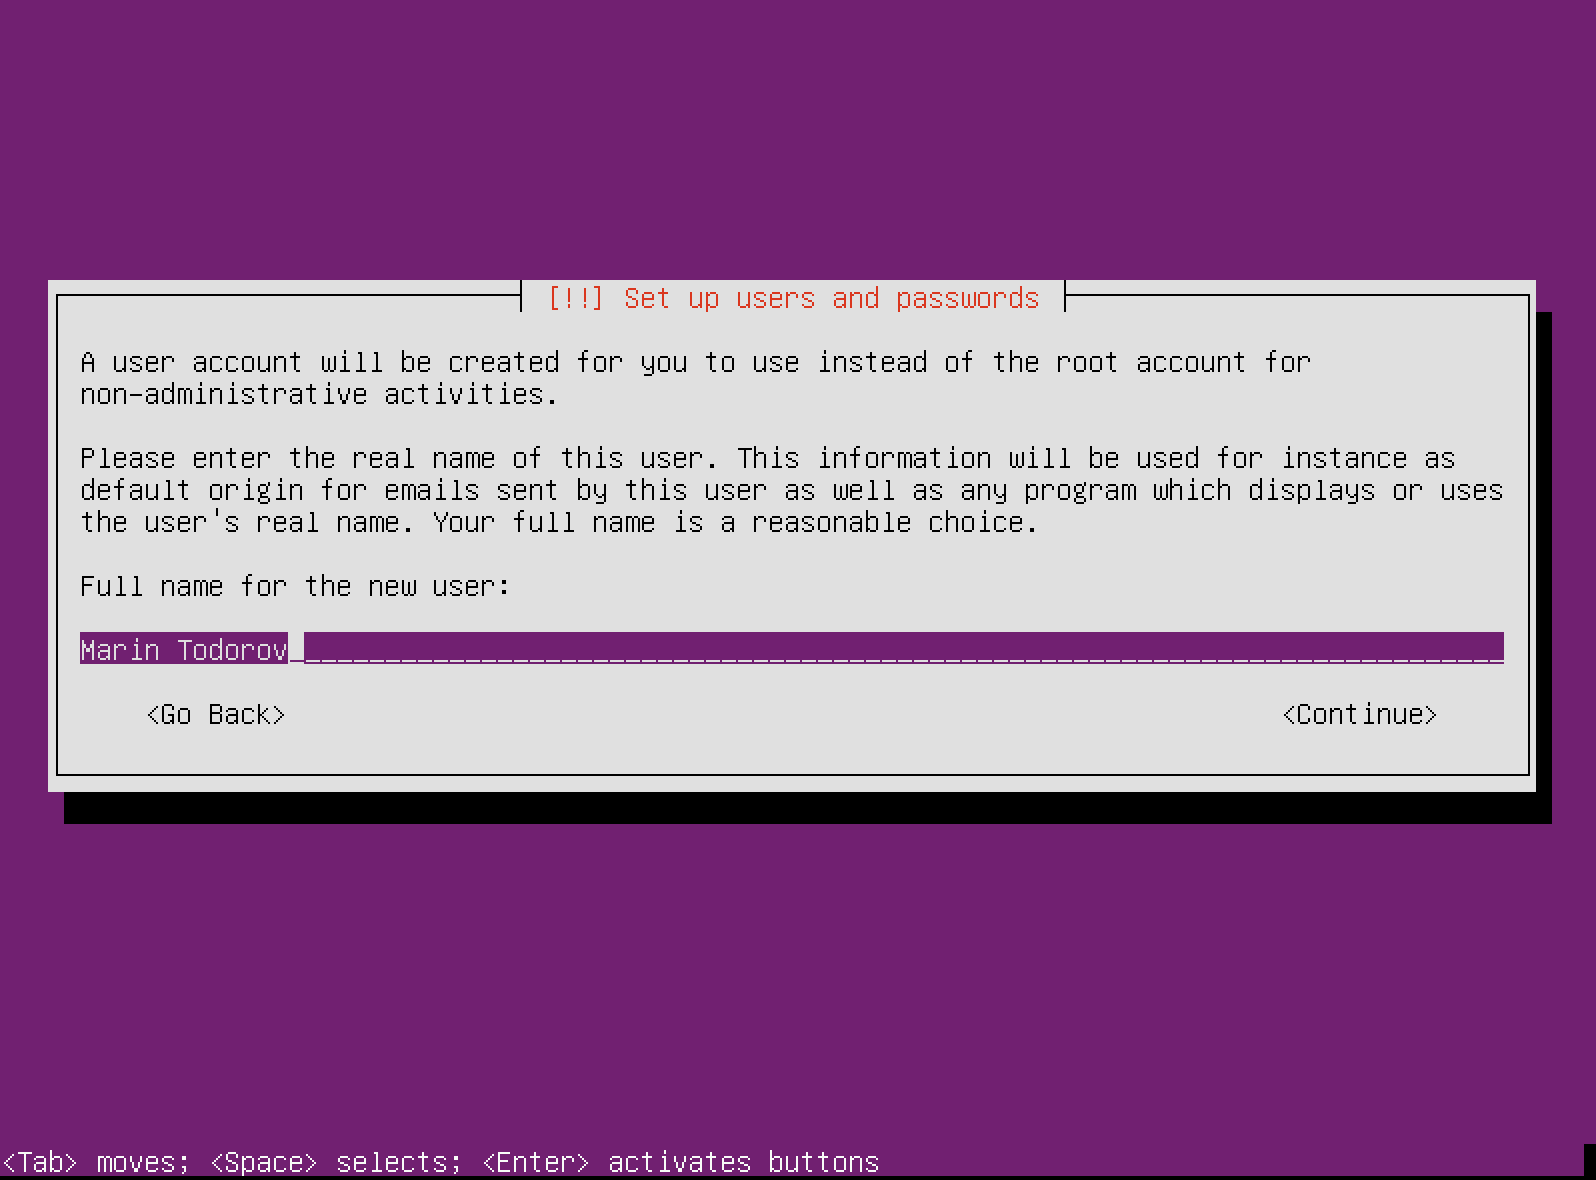
7. After that you have to fill in user account details, starting with the user’s real name:
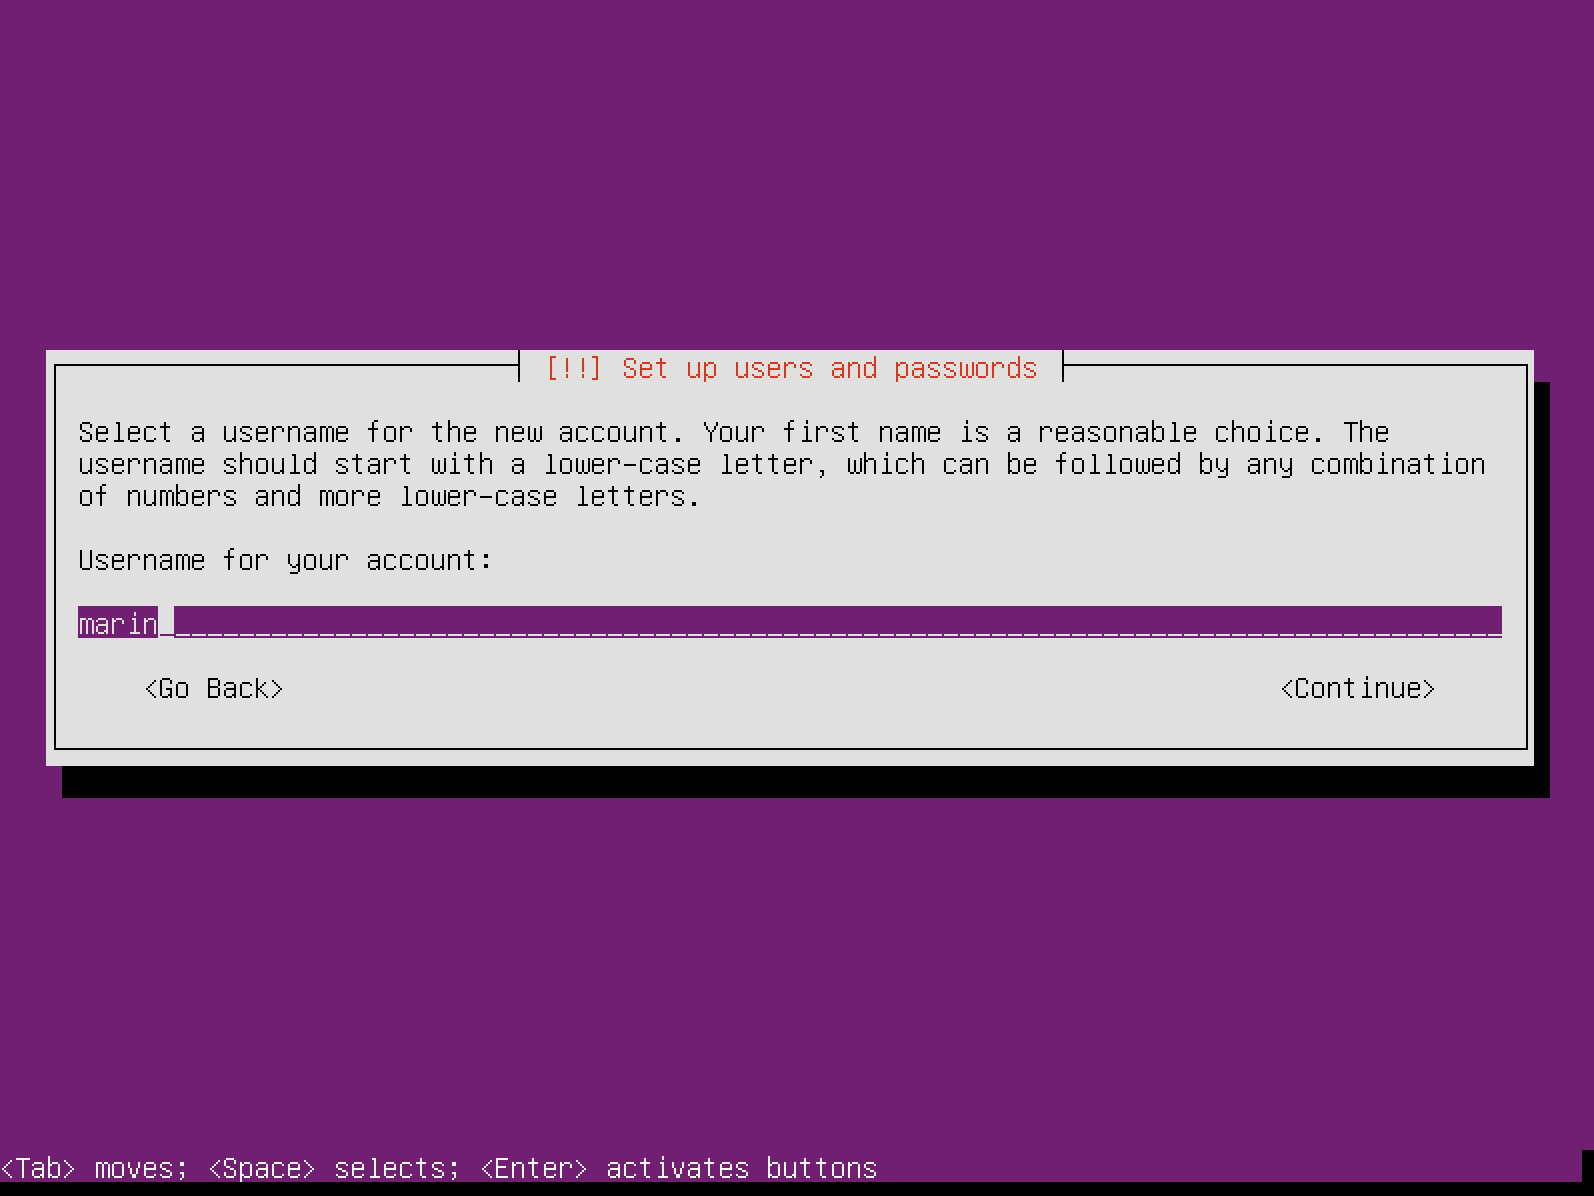
Followed by a username:
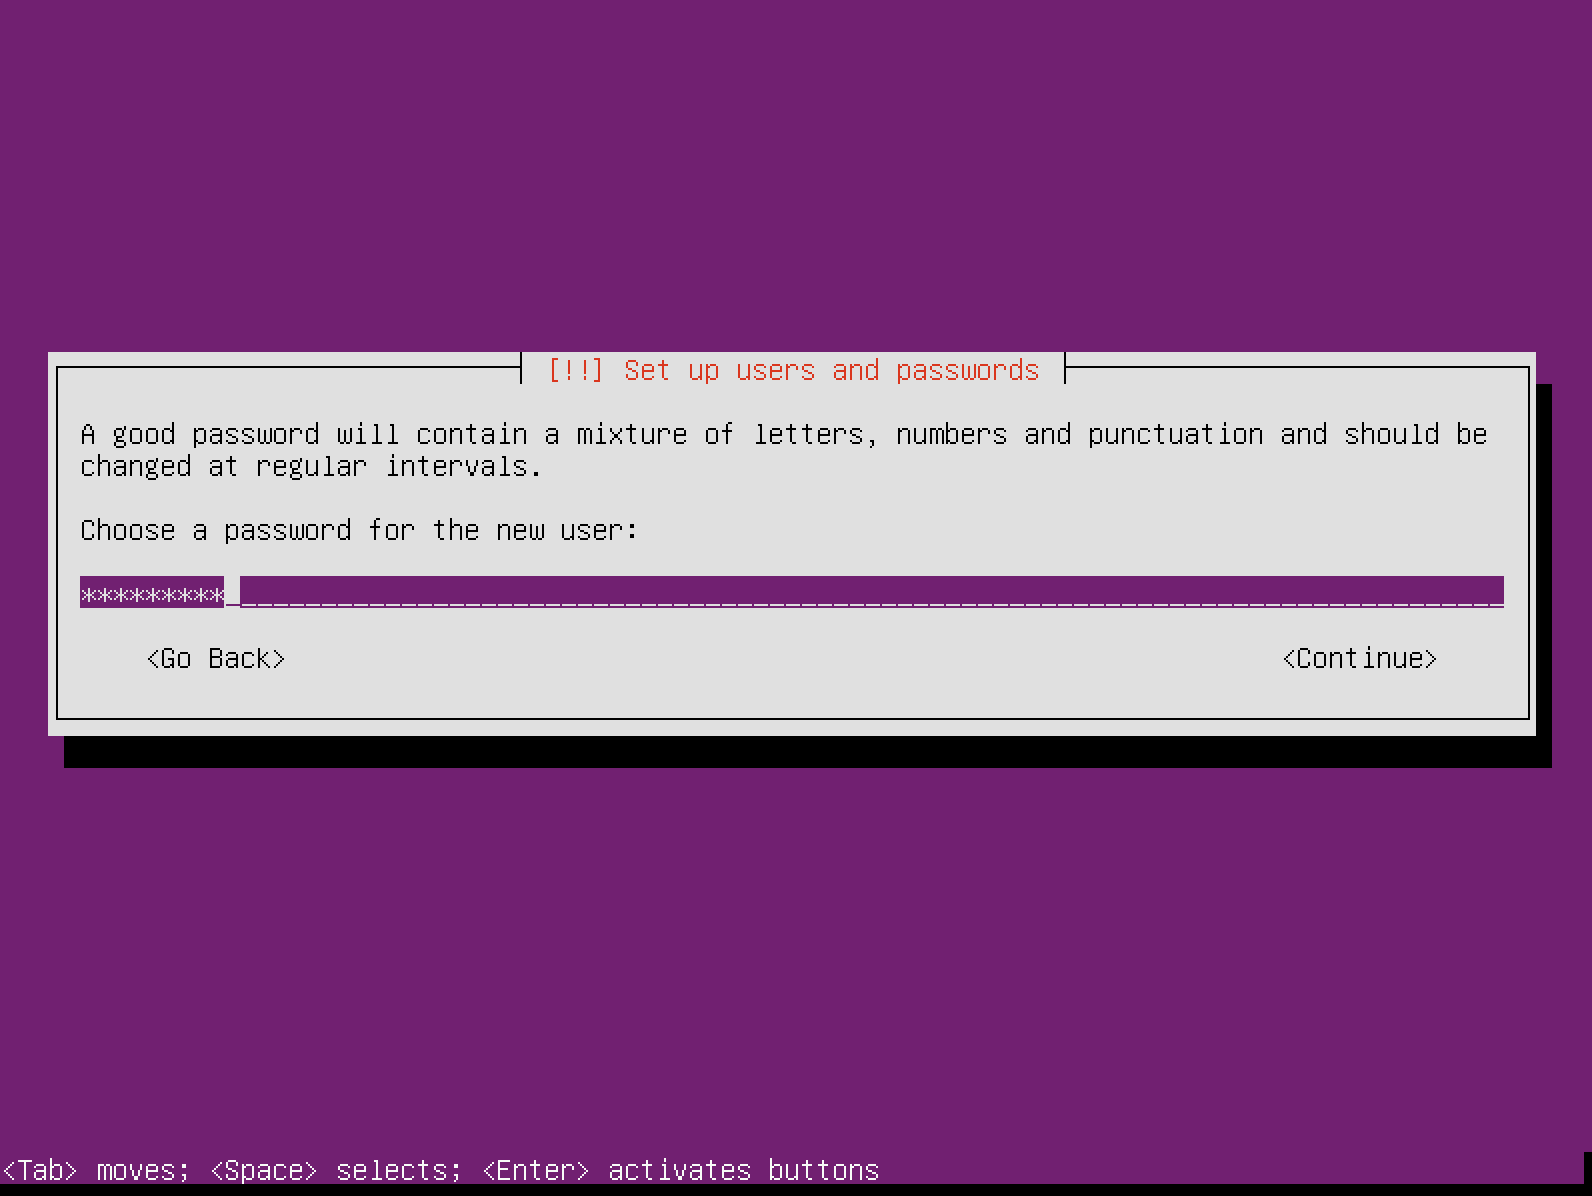
And a password (twice):
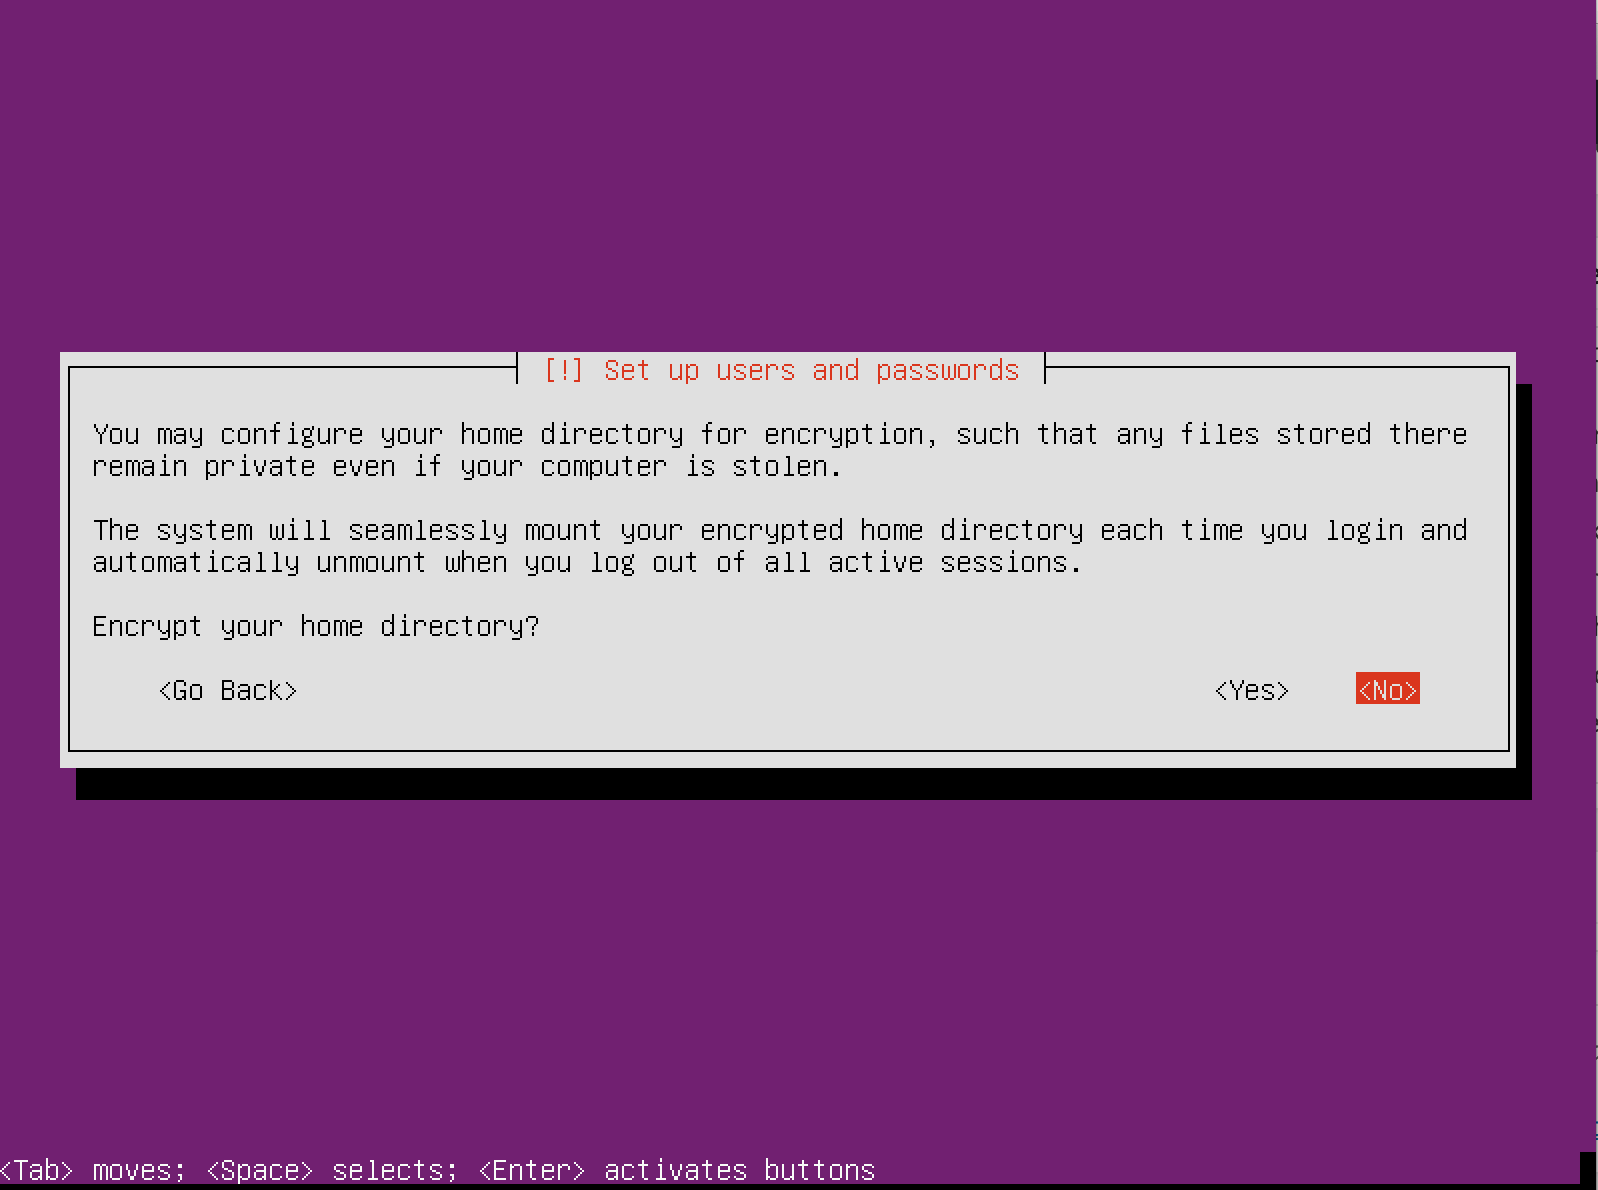
8. The installer will ask you if you want to encrypt the home directory of that user. In most cases this will not be necessary.
What this option does is to seamlessly mount your home directory every time you login and unmount it every time you logout. Unless you really need this feature, I recommend leaving it disabled: