There are many reasons why you may want to clone a Linux partition or even hard drive, most of which are related to creating backups of your data. There are multiple ways you can achieve this in Linux by using some external tools such as partimage or Clonezilla.
However in this tutorial we are going to review Linux disk cloning with tool called dd, which is most commonly used to convert or copy files and it comes pre-installed in most Linux distributions.
How to Clone Linux Partition
With dd command you can copy entire hard drive or just a Linux partition. Lets start with cloning one of our partitions. In my case I have the following drives: /dev/sdb, /dev/sdc.. I will clone /dev/sdb1/ to /dev/sdc1.
Read Also: How to Clone Linux Partitions Using ‘cat’ Command
First list the these partitions using the fdisk command as shown.
# fdisk -l /dev/sdb1/ /dev/sdc1
Now clone a partition /dev/sdb1/ to /dev/sdc1 using the following dd command.
# dd if=/dev/sdb1 of=/dev/sdc1
The above command tells dd to use /dev/sdb1 as input file and write it to output file /dev/sdc1.

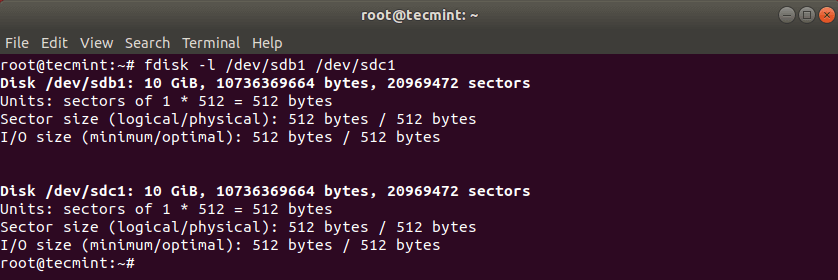
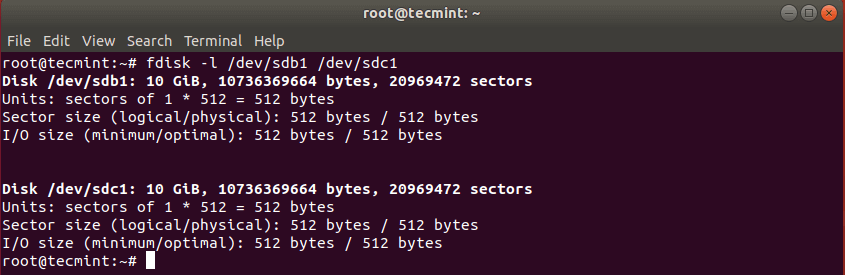
After cloning Linux partition, you can then check both partitions with:
# fdisk -l /dev/sdb1 /dev/sdc1
How to Clone Linux Hard Drive
Cloning a Linux hard drive is similar to cloning a partition. However, instead of specifying the partition, you just use the entire drive. Note that in this case it is recommended that the hard drive is same in size (or bigger) than the source drive.
# dd if=/dev/sdb of=/dev/sdc

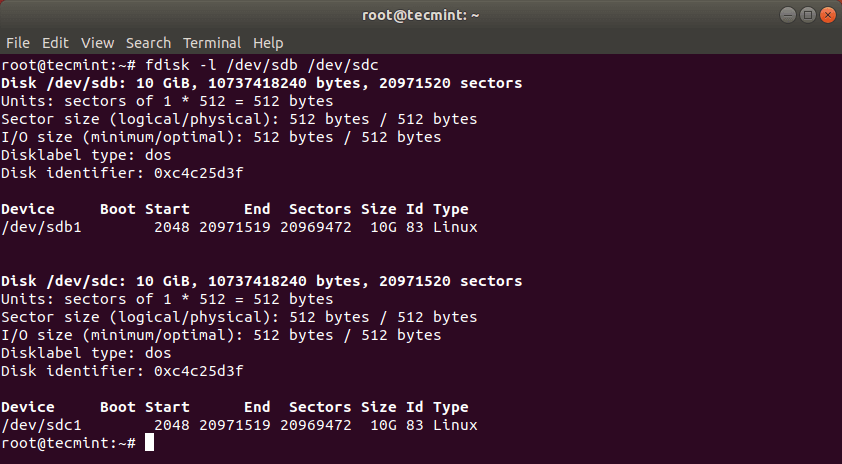
This should have copied the drive /dev/sdb with its partitions on the target hard drive /dev/sdc. You can verify the changes by listing both drives with fdisk command.
# fdisk -l /dev/sdb /dev/sdc
How to Backup MBR in Linux
dd command can also be used to backup your MBR, which is located at the first sector of the device, before the first partition. So if you want to create backup of your MBR, simply run:
# dd if=/dev/sda of=/backup/mbr.img bs=512 count=1.
The above command tells dd to copy /dev/sda to /backup/mbr.img with step of 512 bytes and the count option tells to copy only 1 block. In other words you tell dd to copy the first 512 bytes from /dev/sda to the file you have provided.

That’s all! dd command is a powerful Linux tool that should be used with caution when copying or cloning Linux partitions or drives.
Two interesting option :
Regards
There’s a reason why “dd” has been dubbed “disk destroyer.”
..oops. belongs to the comment below…
Well, after working for an hour or so – without error message – it bricked my system completely. Also the so much favored “Boot Repair Disk” made the catastrophe even worse. The problem seems the discrepancy of the sector size in both partitions.
Only my Windows System boots ok – but with mysterious error messages.
So this is not the solution to my problem. I can start from scratch now and install a new system.
Are you referring dd related to OS disk ? dd is mostly used to copy data (disk dump) from one disk to another as cp is not copying entire data completely.
In case of physical servers mostly H/W raids are configured as RAID 1 for OS. For data volumes if required you can create mirrored volume in LVM or if you are using Veritas you can create desired RAID.
Rsync will be good option as it is also used as data replication across site as well as locally .
Cheers
The big problem with dd is that if an error is found, when it is cloning, it stops. But this can be avoided adding: conv=sync,noerror
Greetings.
@Romualdo,
Yes, I do agree with you, even i have faced many times with dd command. Thanks for sharing the tip, never heard about this options..