CloudStats is a cloud based server and website monitoring platform that makes it really easy for you to monitor any server or website. The platform supports servers of all types (for example, cloud, vps, dedicated servers) and most operating systems (like Ubuntu, Debian, CentOS and Windows).
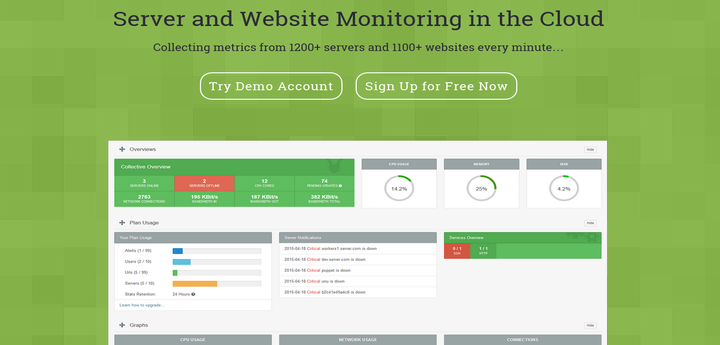
While we already posted an article about CloudStats before, since then the platform has been completely re-designed and became a Microsoft BizPark startup. CloudStats is now using Microsoft Azure platform that allows it to perform server and website checks from all 15 global locations that Microsoft Azure has.
Furthermore, CloudStats has attracted government funding that now allows it to quickly expand and quickly add new features to the platform. The flexibility of a rather small team means that if you require some additional features that are not present in the platform CloudStats can develop and add to the system rather easily.
One of the main advantages of the platform – is that you can monitor any servers from one place. For example, if you got several servers at different hosting providers and don’t have an efficient server monitoring platform, CloudStats can collect statistics from all of your servers and notify you if something happens on your network. This ensures that you don’t spend much time monitoring your servers and focus on your projects instead.
CloudStats Demo
- Try Demo Account: http://demo.cloudstats.me/users/sign_in
------------------ CloudStats Demo Credentials ------------------

E-mail: [email protected]
Password: cloudstats
Compared to other server and website monitoring platforms, CloudStats combines many features in one system and allows you to monitor all your servers from one place.
CloudStats Features
Here are some of the main features of CloudStats platform:
- Monitor any servers from one panel (Linux, Windows, VPS, Dedicated, Cloud, etc).
- Monitor any websites from the same panel (website status, speed, etc).
- Receive notifications via Email or Skype messages.
- Customize and create your own custom Alerts (for example, CPU Usage > 70%, Disk Usage 80%, etc).
- Monitor services on your servers (including HTTP, DNS, Database, FTP etc).
- Monitor cPanel/WHM, DirectAdmin and Webmin servers.
- View Network information and get alerts during DDoS attacks on your servers.
CloudStats 2 Features
CloudStats version 2 has been fully updated and now has additional features:
- Brand new interface with Real Time metrics updates.
- Sound notifications in your browser.
- Sub-access allowing you to create accounts for clients, users and tech support with limited access.
- White Label solution for companies that want to give access to their teams and clients.
- Rewamped PingMap and URL monitors.
- Convenient hourly based billing (pay only for what you use).
- 25% Referral system with affiliate linking (available inside your account).
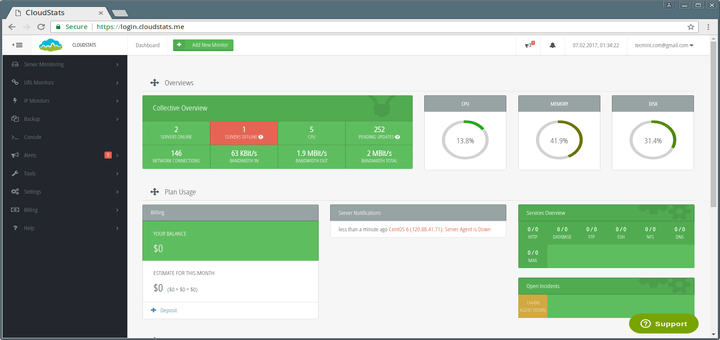
CloudStats Screenshots Tour
Here are some screenshots of the platform:
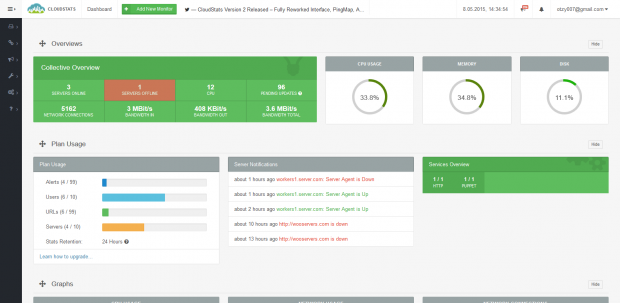
Server Performance View
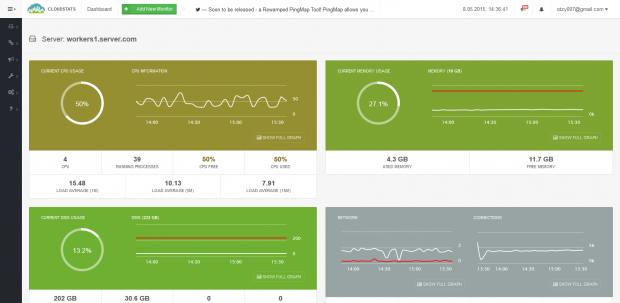
Server Dashboard View
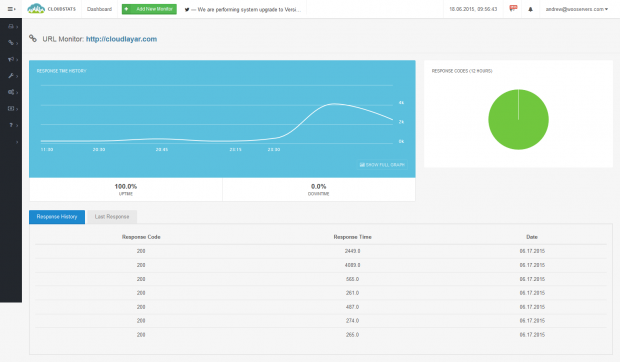
URL Performance View
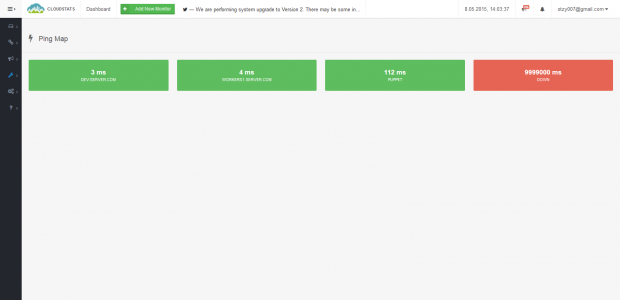
Server PingMap View
Installation of CloudStats Agent on Linux
It is easy to install CloudStats agent on your Linux server (CentOS / Debian / Ubuntu / Fedora etc.)
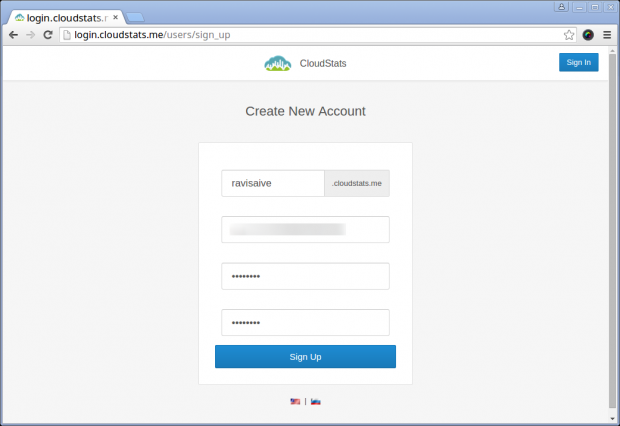
1. First go to Cloudstat.me sign-up page and create a new account by adding your “Subdomain” name, it could be anything like your company name or website name. Here I’ve used my name ‘ravisaive‘.
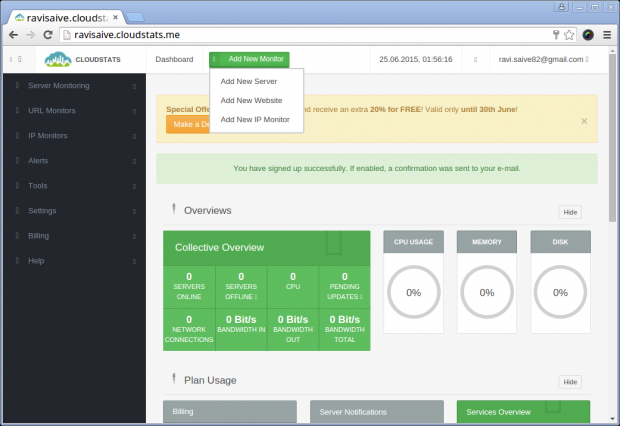
2. Once you sign-up, it will take you to the CloudStats Dashboard, from here you can add your server for monitoring. To add new server click on “Add New Monitor” and select “Add New Server”.
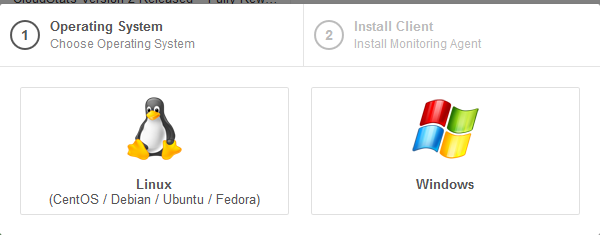
3. Select your server OS (Linux or Windows).
4. Now login into your server and copy the presented command into the terminal interface (SSH) of your server and run it.
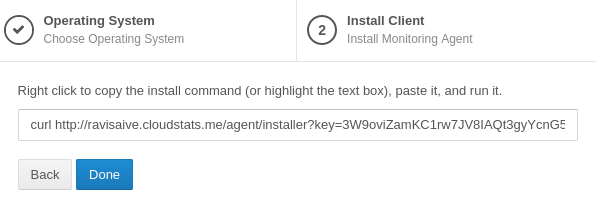
# curl http://ravisaive.cloudstats.me/agent/installer?key=3W9oviZamKC1rw7JV8IAQt3gyYcnG5lFg38b2UZEz6WFl1urAXt59u3iGNL3HKHu7 | sh
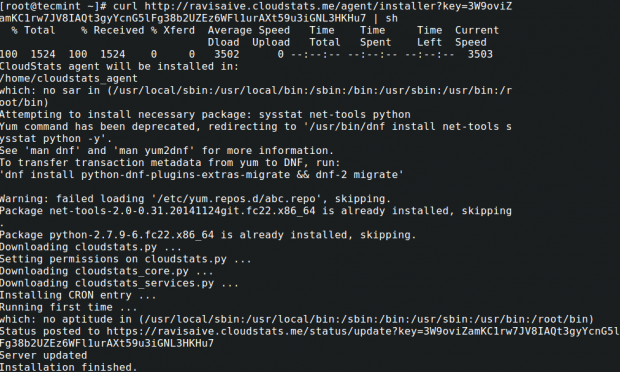
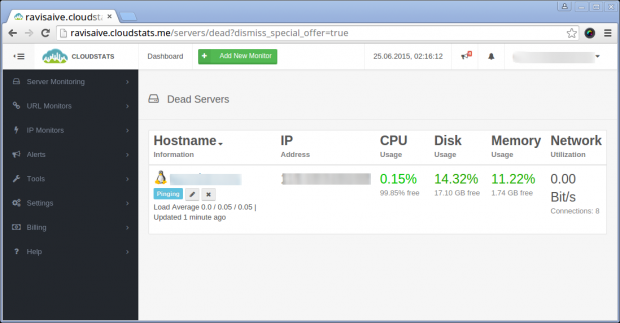
3. After the agent installation is finished your server will show up on your CloudStats Dashboard and will start generating statistics every 4 minutes.
If you own a web hosting company, CloudStats can be offered to your clients under your brand name as a White Label solution with really cheap prices (contact CloudStats via Skype: cloudstats).




how to remove cloudstats?
thanks
@Allan,
Use ‘find’ command to search for all ‘cloudstats’ binary files and remove them.
NIXStats is great for Monitoring Website and Server too
Good. I’ll try it.
Thanks for sharing dude.