Apache ActiveMQ is a flexible and powerful open-source multi-protocol message broker built using Java. A message broker mediates communication among applications by translating a message from the formal messaging protocol of the sender to the formal messaging protocol of the receiver.
Read Also: How to Install Apache ActiveMQ on CentOS/RHEL 8
ActiveMQ supports many standard transport protocols such as OpenWire, STOMP, MQTT, AMQP, REST, and WebSockets. It also supports cross-language clients including Java via full Java Message Service (JMS).
ActiveMQ Features
Here is a list of its notable features:
- It has a flexible configuration with the support of multi-platform application integration using the ubiquitous AMQP protocol.
- It can be deployed as a standalone process thus provides maximum flexibility for resource allocation and management among different applications.
- Uses several modes for high availability, including both file-system and database row-level locking mechanisms, and more.
- Allows exchange messages between web applications using STOMP over WebSockets.
- It supports message load-balancing and high-availability for data.
- Supports managing of IoT devices using MQTT, and much more.
In this article, we will explain you how to install the latest version of Apache ActiveMQ on a Debian 10 server.
To run ActiveMQ, you need to have Java installed on your Debian 10 system. It requires a Java Runtime Environment (JRE) 1.7 or later and the JAVA_HOME environment variable must be set to the directory where the JRE is installed.
Installing ActiveMQ on Debian 10
To install most recent version of ActiveMQ, head over to their official website and download the source package or use the following wget command to download directly on the terminal as shown.
# cd /opt
# wget https://www.apache.org/dist/activemq/5.15.9/apache-activemq-5.15.9-bin.tar.gz
# tar zxvf apache-activemq-5.15.9-bin.tar.gz
Next, move into the extracted directory and list its contents using ls command as follows:
# cd apache-activemq-5.15.9
# ls

After installing ActiveMQ as shown above, you need to take note of the following key sub-directories in the installation directory:
- bin – contains the executable file and other related files.
- conf – stores the configuration files (the main configuration file is /opt/apache-activemq-5.15.9/conf/activemq.xml, written in XML format).
- data – contains the PID file, and log files.
ActiveMQ comes with a sufficient basic configuration and uou can start it as a standalone daemon process with the following command. Note that this command is relative to the ActiveMQ home/installation directory (/opt/apache-activemq-5.15.9).
# ./bin/activemq start

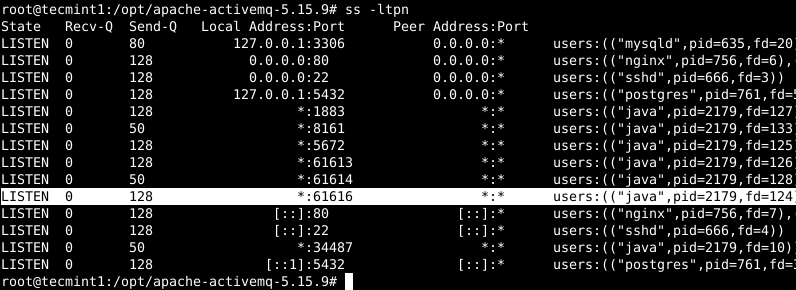
The ActiveMQ daemon listens on port 61616 by default and you can verify it using the ss utility.
# ss -ltpn
Access ActiveMQ on Debian 10
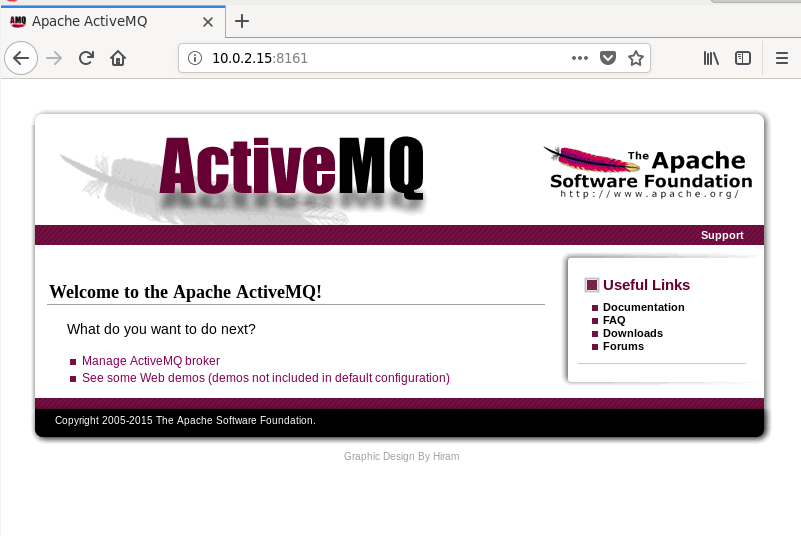
The final step is to test the ActiveMQ installation via the web console which listens on port 8161. To do that, open a web browser and point it at the URL.
http://localhost:8161
OR
http://SERVER_IP:8161
Then the ActiveMQ web interface should load up as shown in the following screenshot.
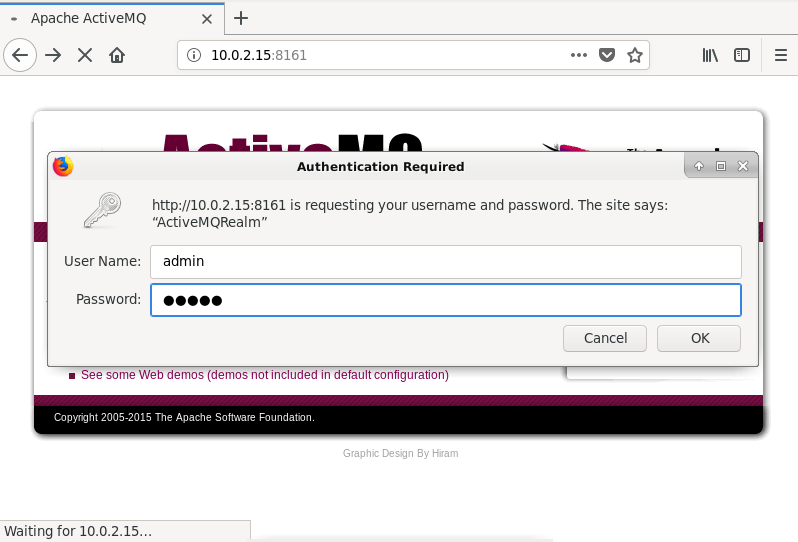
To manage and monitor ActiveMQ, you need to log into the administrative interface by clicking on “Manager ActiveMQ broker”. Note that you can also access the web console using the URL:
http://localhost:8161/admin
OR
http://SERVER_IP:8161/admin.
Use the default username and password, admin/admin and click Ok.
The following screenshot depicts the administrative console, it has got many features relative to its tabs (Home, Queues, Topics, Subscribers, Connections, Scheduled and Send).
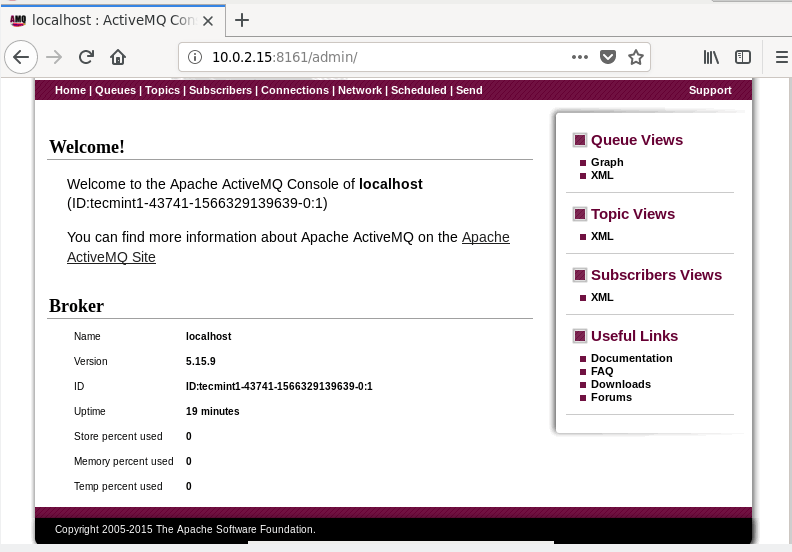
To test how ActiveMQ works, go to the Send page and send a message to a queue. After clicking Send, you should be able to Browse them and view the queue as an RSS or Atom feed.
You can view ActiveMQ logs using the file /opt/apache-activemq-5.15.9/data/activemq.log, for example.
# cat ./data/activemq.log				#relative to installation directory
OR
# cat /opt/apache-activemq-5.15.9/data/activemq.log	#full path
To stop or kill the ActiveMQ daemon, run the following command.
# ./bin/activemq  					#relative to installation directory
OR
# /opt/apache-activemq-5.15.9/bin/activemq stop 	#full path
For more information, see the ActiveMQ 5 documentation.
In this article, we have shown how to install Apache ActiveMQ message broker on Debian 10. Use the comment form below to ask any questions to share your thoughts with us.


