Debian 11, codenamed ‘Bullseye‘ is the latest LTS version of Debian which was released on August 21, 2021.
Being an LTS release, Debian 11 will receive support and updates until 2025. The release includes 11,294 new packages for a total count of 59,551 packages. Additionally, it has seen, a significant reduction of over 9,519 packages that were marked as obsolete and removed.
Debian 11 brings a boatload of improvements and new features which include:
- Updated Kernel (5.10).
- Support for a myriad of architectures such as amd64, i386, PowerPC, aarch64, and others.
- Newer software versions such as Samba 4.13, Apache 2.4, LibreOffice 7.0, MariaDB 10.5, Perl 5.32, PostgreSQL 13, and many others.
- Driverless printing and scanning.
In addition, Debian 11 ships with other Desktop environments which include:
- GNOME 3.38
- KDE Plasma 5.20
- MATE 1.24
- XFCE 4.16
- LXQt 0.16
- LXDE 11
Prerequisites
To install Debian 11 KDE Plasma Edition, here is what you need,
- An 8GB USB drive to serve as an installation medium.
- A high-speed internet connection.
Further, ensure that your system meets the following minimum recommended requirements.
- Minimum of 2GB of RAM (Recommended 4GB).
- Minimum of 1 GHz Dual core processor.
- 20 GB of free hard disk space.
- HD graphics card and monitor.
Let us now get into the installation of the Debian 11 KDE Plasma Desktop.
Step 1: Download Debian 11 DVD ISO
The first step is to down the Debian 11 ISO image file. So, head over to the official Debian download page and download the DVD ISO file. Once downloaded, use any of these tools to create a bootable USB drive.
Next, plug the bootable USB drive into your PC and reboot. Be sure to set the installation medium as the first priority in the boot order in the BIOS settings. Save the changes and continue to boot.
Step 2: Installing Debian 11 KDE Edition
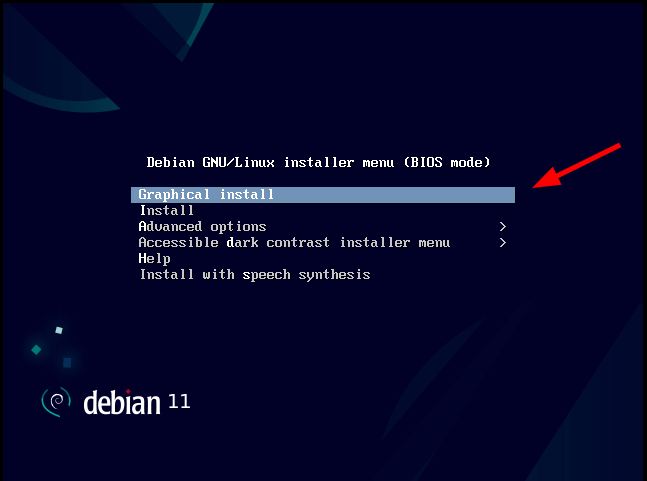
Once powered on, the following screen will appear with a list of installation options. Since our goal is to install Debian, we will go with the first option which will provide a graphical installation method.
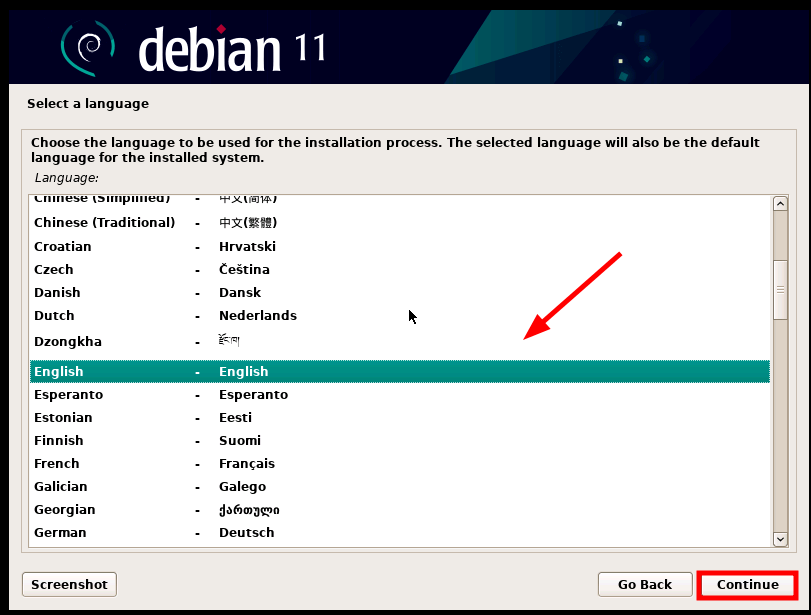
In the next step select your preferred installation language and click ‘Continue’.
Next, select your preferred geographical location. The selected location will be used to determine your time zone. Ideally, this should be your country of residence.
Once you are done, click ‘Continue’.

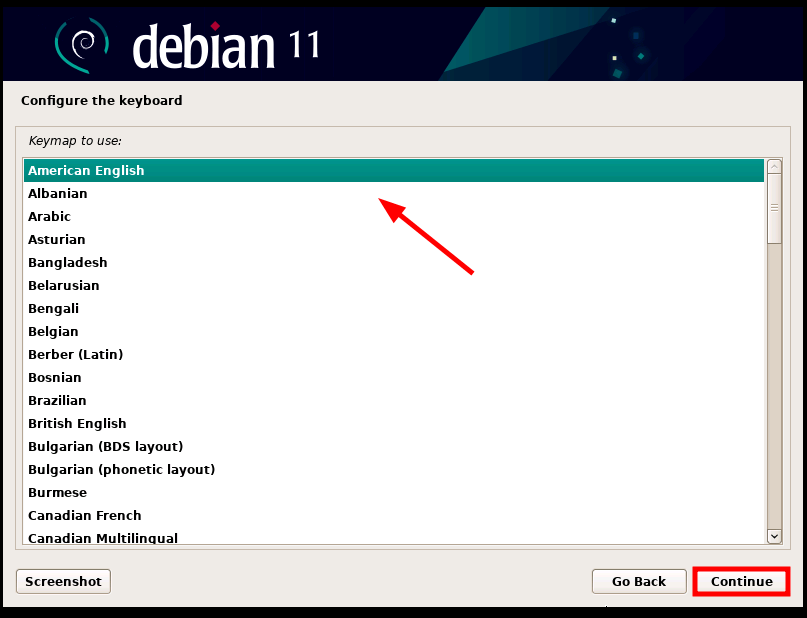
Next, select your preferred keyboard layout and click ‘Continue’.
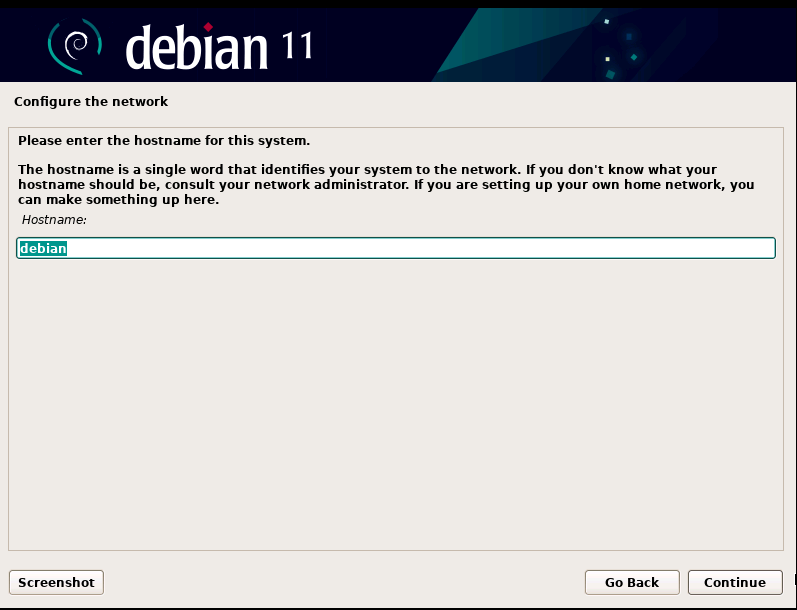
Next, provide the system hostname which will identify it in a network, and click ‘Continue’.
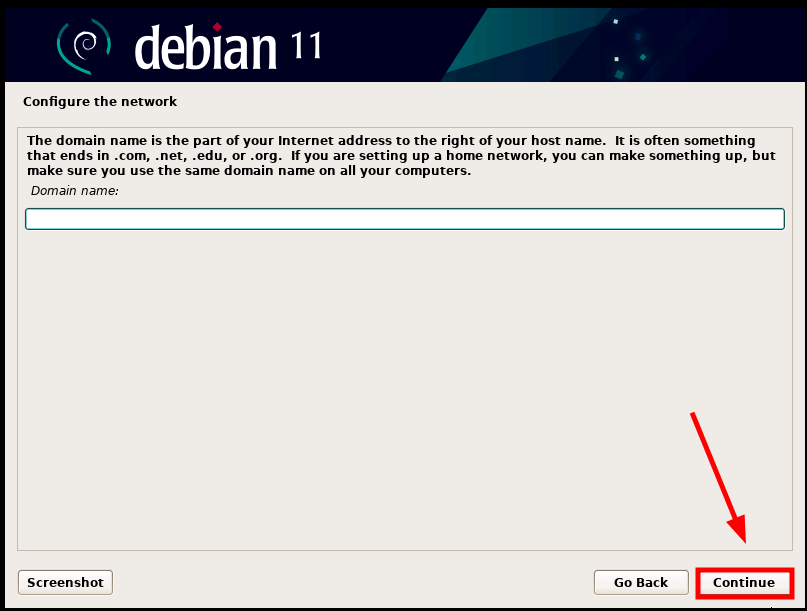
Next, provide a domain name. This is optional and you can leave it out if you don’t want your system to be part of a domain. Then click ‘Continue’ to move to the next step.
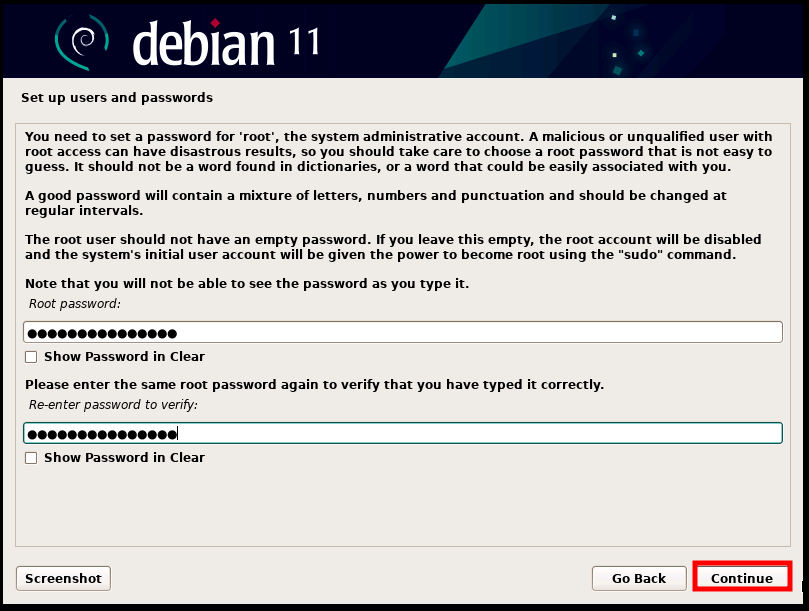
In this step, you will be required to set a root password for the root user or account. Be sure to provide a strong password with a blend of letters, numbers, and special characters. Also, be cautious not to provide a password that easily identifies you or is contained in a dictionary.
Then click ‘Continue’ to proceed to the next step.
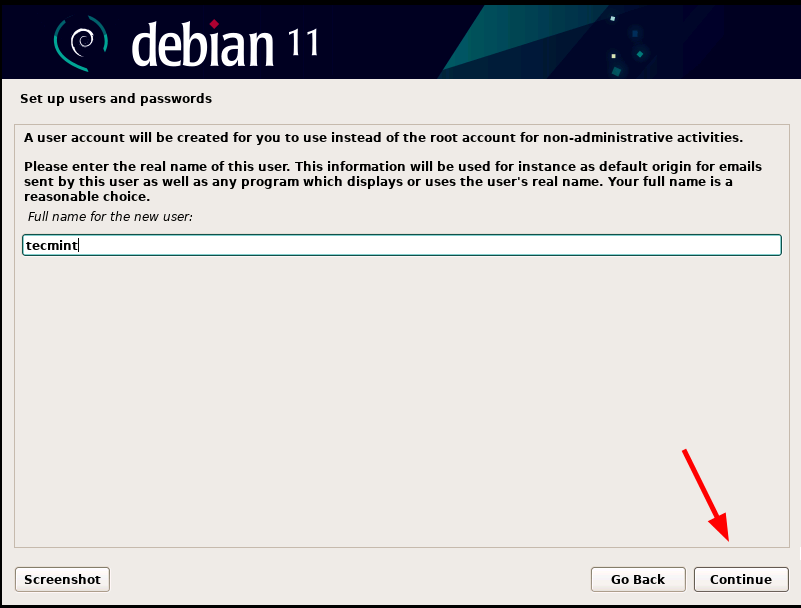
After defining a password for the root user, you will be required to create a login user. So, first, provide the full name of the user and click ‘Continue’.
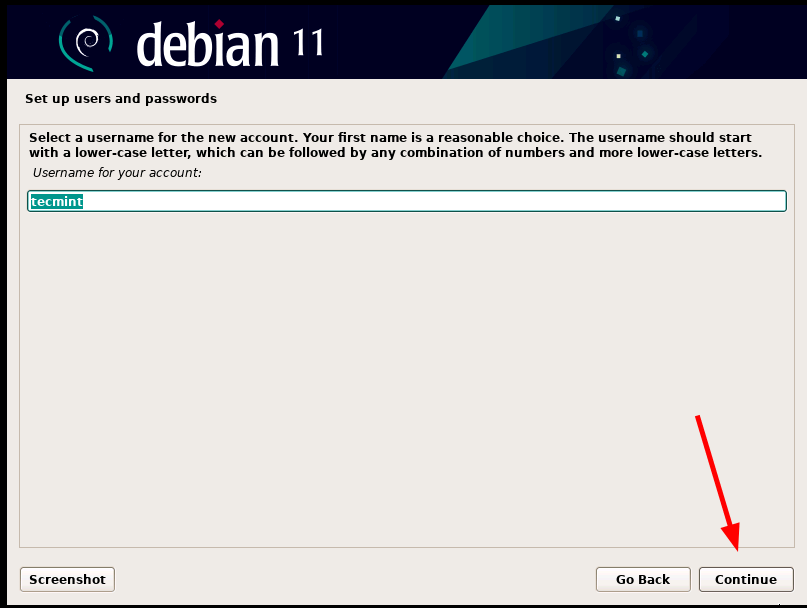
Next, provide a username for your account and click ‘Continue’.
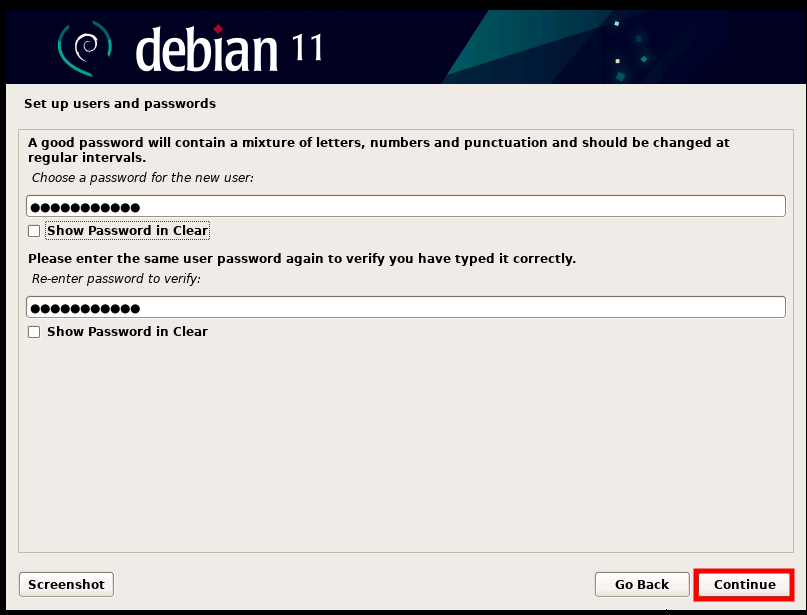
And as you did with the root account, provide a strong password for your login user. Then click ‘Continue’.
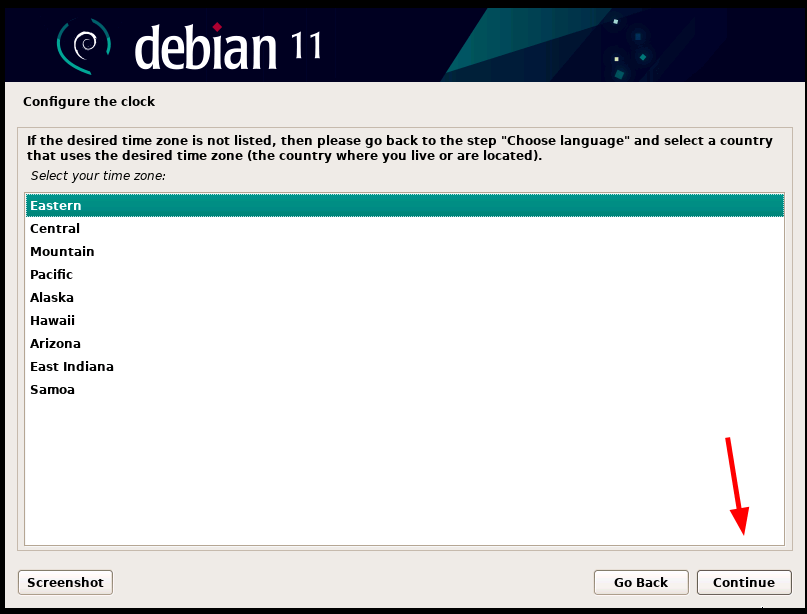
Next, set the desired timezone based on the location you selected in the ‘Select Location’ step.
Step 3: Partitioning Disk for Debian Installation
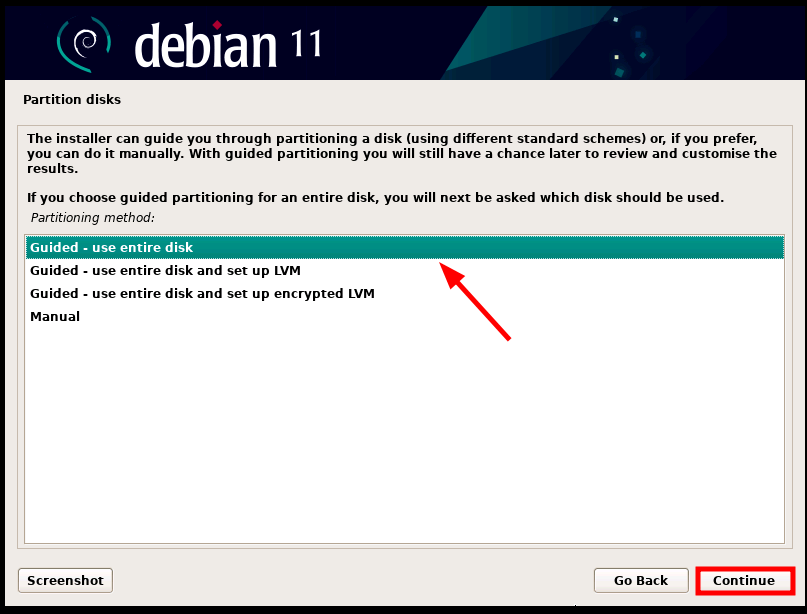
The installer provides four installation options for partitioning your disk:
- Guided – use entire disk (Uses the entire disk and automatically creates one primary partition and swap area in the entire disk).
- Guided – Use the entire disk and set up LVM (Automatically creates an LVM-based partition on the entire disk).
- Guided – use the entire disk and set up encrypted LVM (In addition to creating LVM-based partitions, this option encrypts data).
- Manual – This option grants you the autonomy to create your own custom partitions.
In this guide, we will select the first option which will make things easier by automatically creating the salient disk partitions.
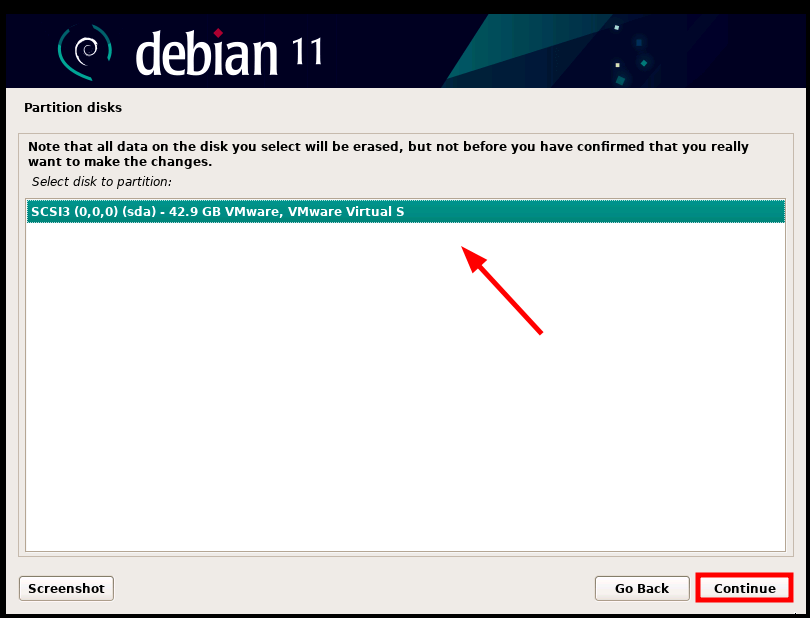
In the next step, select the disk to be partitioned and click ‘Continue’. If you have one hard drive, then only one will be listed as shown below.
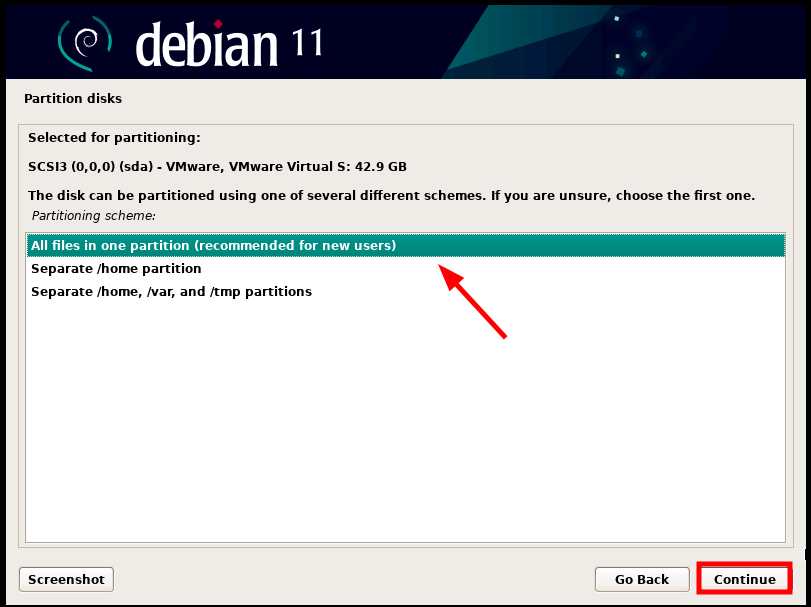
In the next step, select your preferred partition scheme and click ‘Continue’.
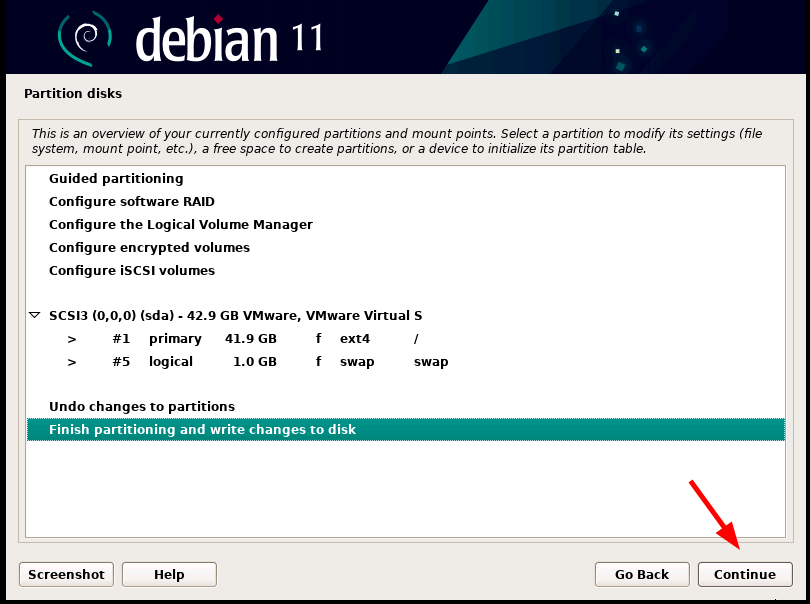
A summary of the disk partitions will be displayed as shown. If you are satisfied with the changes, then select ‘Finish Partitioning and Write changes to disk’ and click ‘Continue’. Otherwise, you can click ‘Undo changes to partitions’ and repartition your hard disk.
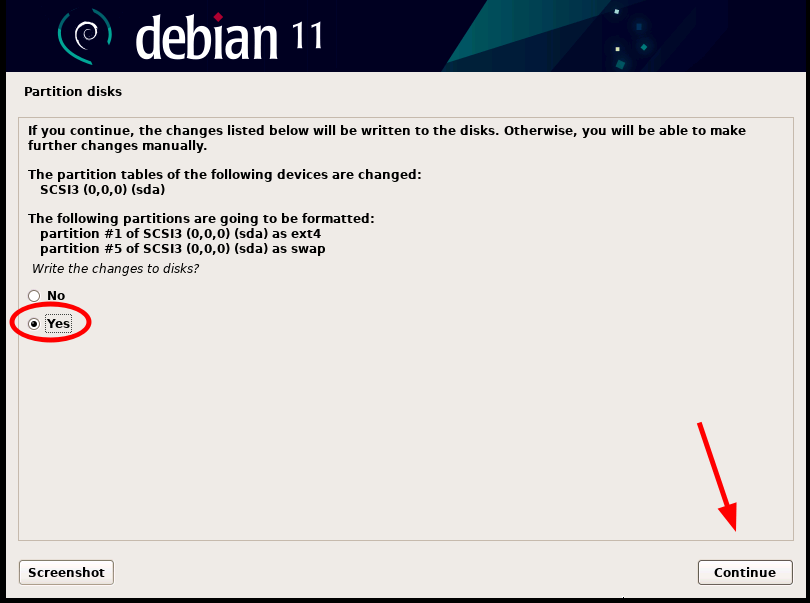
Next, select ‘write changes to disk’ and click ‘Continue’.
Step 4: Installation of Debian 11
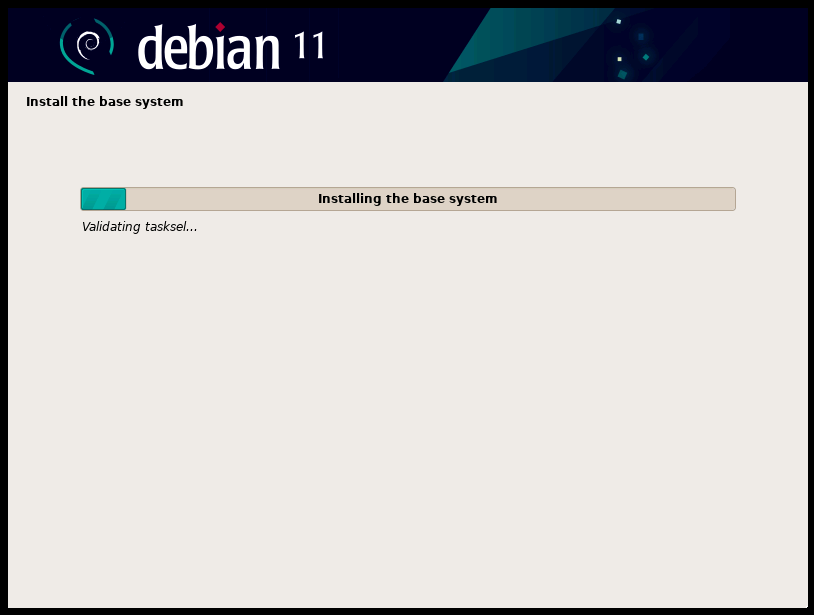
Once the disk partitioning is complete, the installer will proceed to install the base system. This is a minimal set of packages that provides a basic and working system also known as the core.
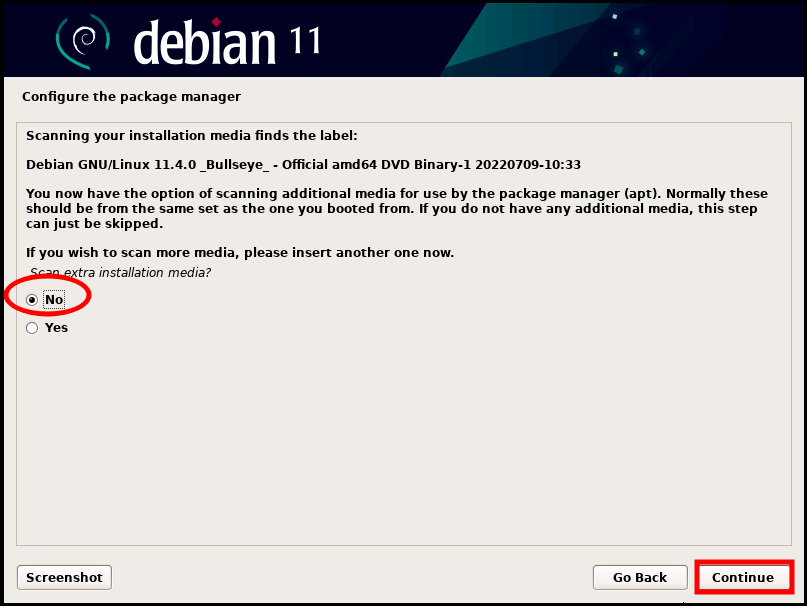
Next, you will be asked if you wish to scan another installation media. You can safely decline and select ‘No’ and click ‘Continue’.
In the next step, select ‘Yes’ to use a network mirror which will provide additional software packages and desktop environments.

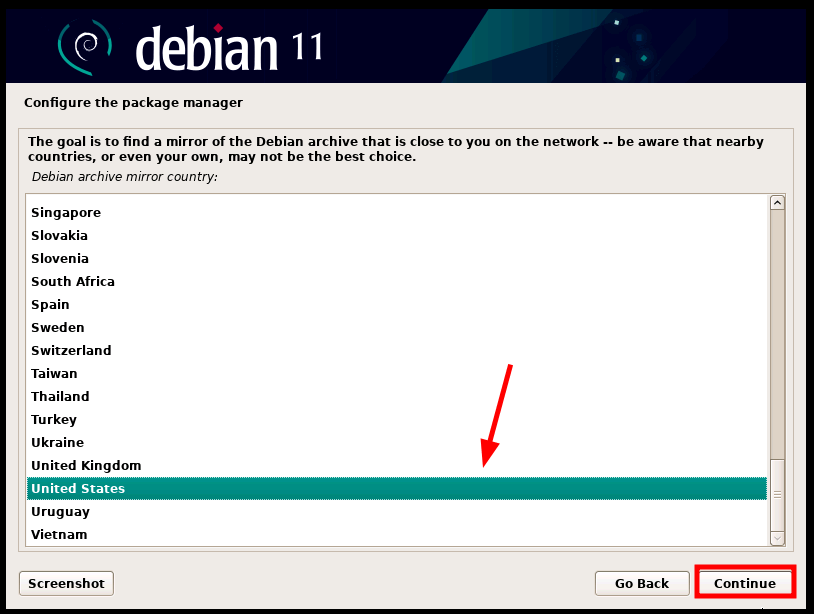
Next, select the country closest to you from which you will get the mirror and click ‘Continue’.
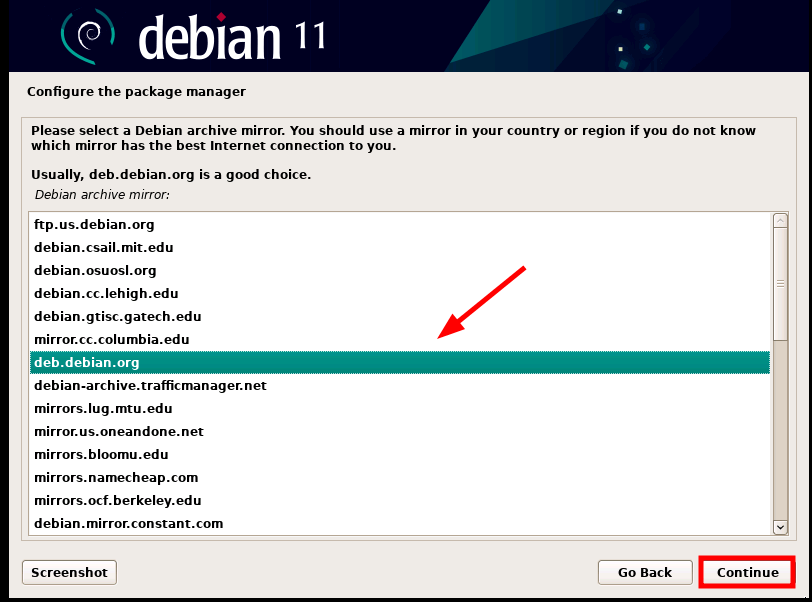
Next, select your preferred Debian archive mirror and click ‘Continue’.
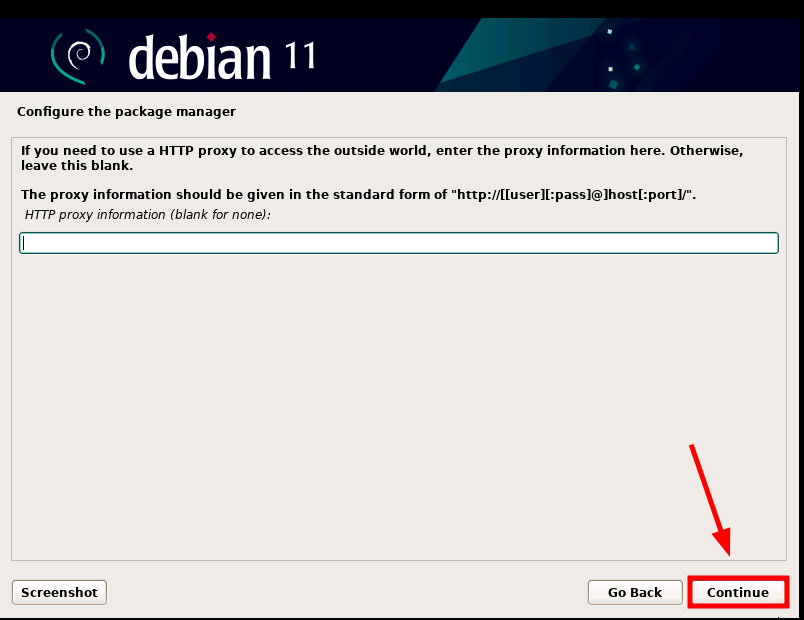
If you are using HTTP Proxy, provide the proxy address, otherwise, simply click ‘Continue’.
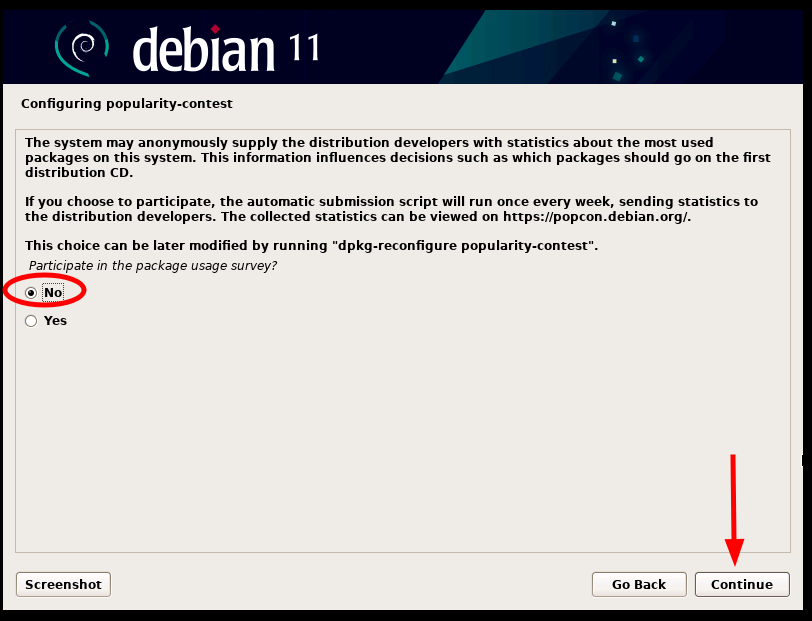
Next, you will be asked to participate in the package survey, choose ‘No’, and then click ‘Continue’.
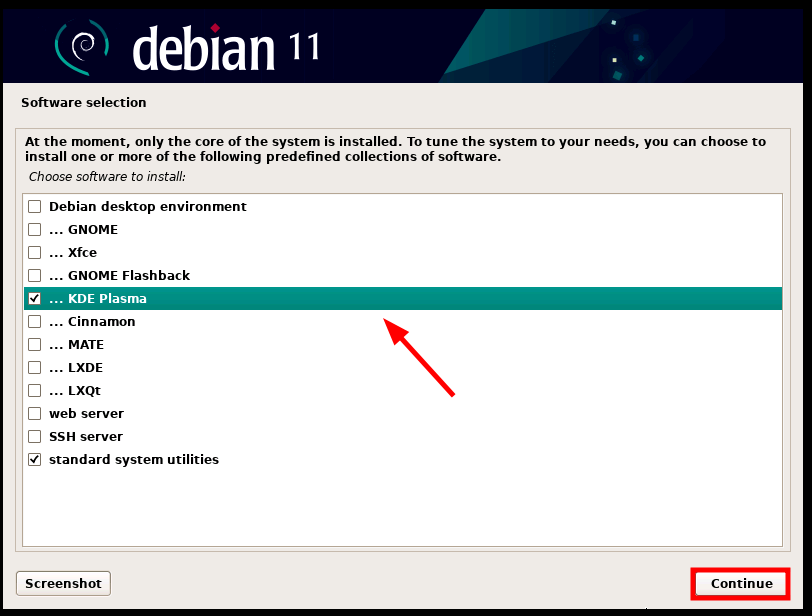
In the next step, the installer will give you a list of desktop environments to choose from. Since our goal is to install KDE Plasma Edition, select ‘KDE Plasma’ and click ‘Continue’.
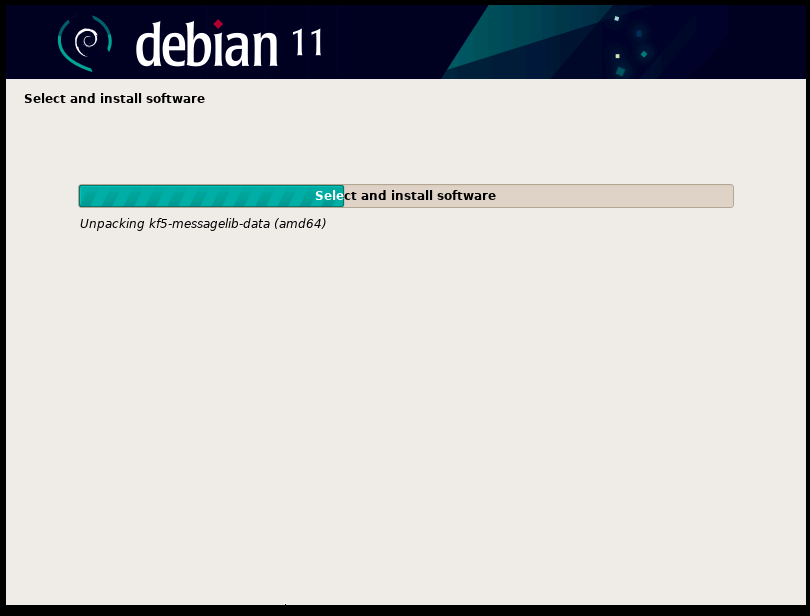
From here, the installation of Debian 11 will continue as the installer copies all the remaining files of the desktop environment that you have chosen. This takes quite a bit of time (roughly 20 minutes).
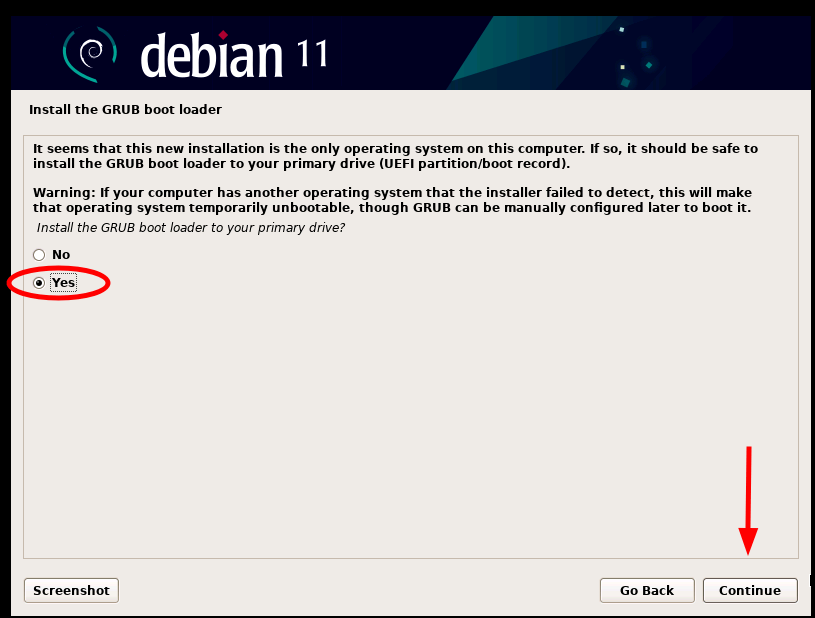
Next, select ‘Yes’ when prompted to install the GRUB boot loader to the primary drive.
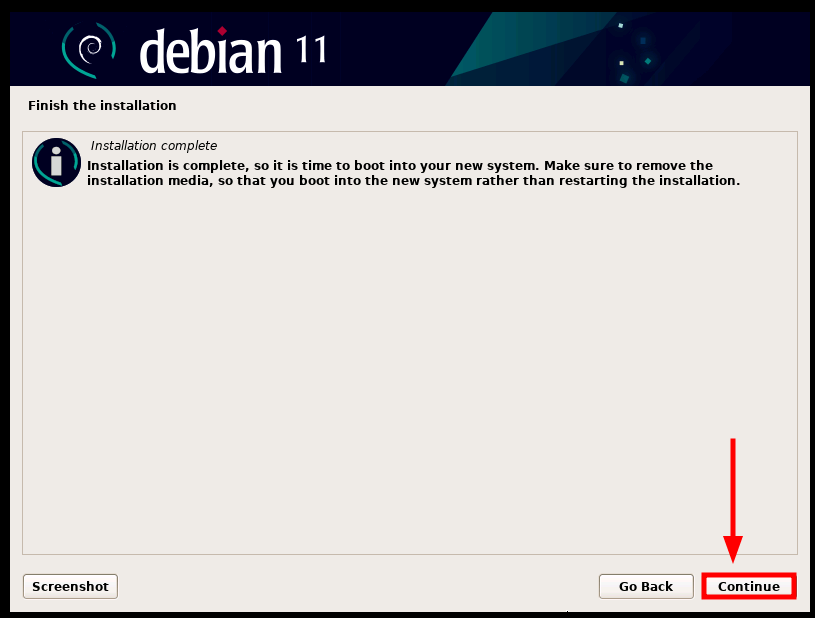
When the installation is complete, click ‘Continue’ to reboot in order to boot from your new Debian KDE Plasma edition. Additionally, be sure to remove the installation medium.
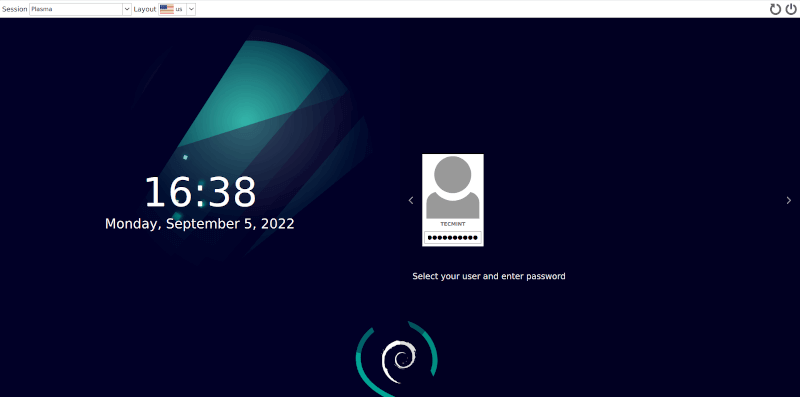
Once the system has rebooted, provide your password and hit ‘ENTER’ to log in.
This ushers you to the KDE Plasma Desktop as shown.
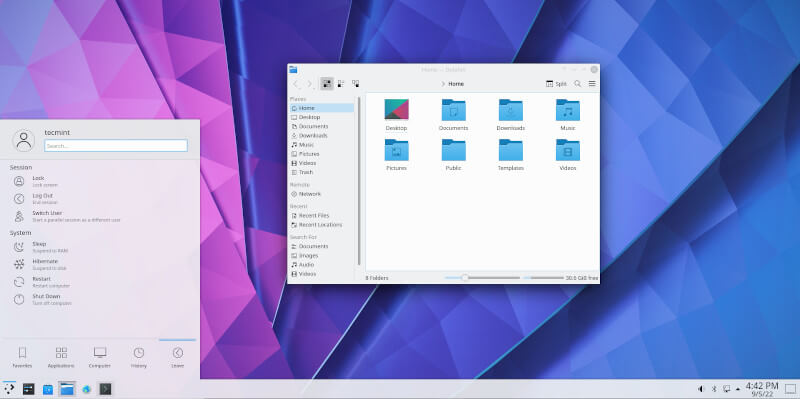
In this guide, we have successfully installed Debian 11 KDE Plasma Edition.


Hi,
Thank you for this documentation.
But you don’t specify that you must choose “entire disk and set up LVM” to set up a partition on the disk.
Regards
How to go to the graphical interface after the Debian command prompt.
@Nimish,
You need to install Gnome or KDE to get the graphical interface…
Thanks, brother, very nice info, I try to install manually Debian now.
Dear sir
Thanks a lot.
Thanks so helpful, I try to install it manually Debian now.
Hi,
Do all ISO DVDs require the installation of Debian?
No, you can use just one DVD iso. It will install all packages to start a system, other packages you can simply install from the repository using apt or attitude.
I installed Debian, but I can’t open the password repository I need the iso password or repository.
Thanks
How can I get Sound on Debian for Imac G5 Power PC?
Thanks