MongoDB is an opensource, cross-platform NoSQL database server that developed by MongoDB Inc. It uses JSON to store its data and is popular for handling large amounts of data due to its scalability, high availability, and high performance.
In this tutorial, you will learn how to install MongoDB 4 on Debian 10 Linux distribution.
Step 1: Importing MongoDB GPG Key on Debian
To start off, you need to import the GPG key that is required by the MongoDB repository for your Debian system. This is crucial for testing packages prior to installation.
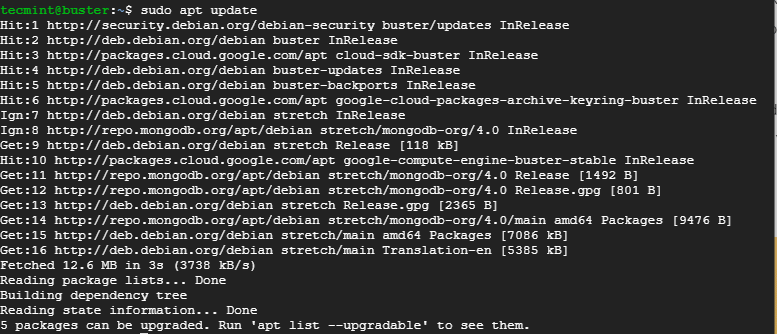
First, update your system packages using the following apt command.
$ sudo apt update

To import the MongoDB GPG key, run the command.
$ sudo apt-key adv --keyserver hkp://keyserver.ubuntu.com:80 --recv 9DA31620334BD75D9DCB49F368818C72E52529D4

With that done, now add the MongoDB APT repository on your Debian system as explained below.
Step 2: Installing MongoDB 4 APT Repository on Debian
At the time of penning down this article, MongoDB 4 does not have official Package repositories for Debian 10. But worry not. You can still add the package repository of Debian 9 (Stretch) on Debian 10 (Buster) to make up for that.
To add MongoDB 4 package repository of Debian 9 on Debian 10 Buster, execute the command.
$ echo "deb http://repo.mongodb.org/apt/debian stretch/mongodb-org/4.0 main" | sudo tee /etc/apt/sources.list.d/mongodb-org.list
To add the official repository of Debian 9 on Debian 10 Buster, issue the command.
$ echo "deb http://deb.debian.org/debian/ stretch main" | sudo tee /etc/apt/sources.list.d/debian-stretch.list

Next, update the APT repository using the command.
$ sudo apt update
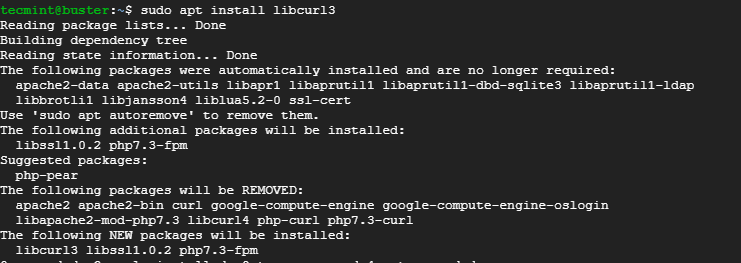
Step 3: Installing libcurl3 on Debian
The package libcurl3 is required by mongodb-org-server which we are going to install later on. Without libcurl3, you will encounter errors trying to install MongoDB.
It is also worth mentioning that Debian 10 uses libcurl4, but since we added Debian 9‘s official repository, the libcurl3 package will be installed from the added repository.
To install libcurl3, run the command.
$ sudo apt install libcurl3
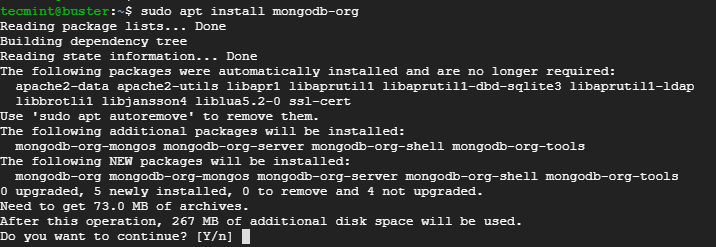
Step 4: Installing MongoDB 4 Server on Debian
Having installed the required repositories and libcurl3 package, you can now proceed to install MongoDB 4 server.
$ sudo apt install mongodb-org -y
To check the version of MongoDB installed issue the APT command as shown.
$ sudo apt info mongodb-info

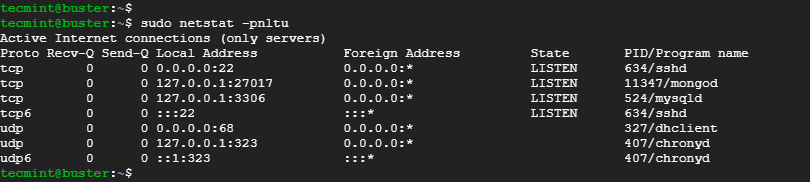
By default, MongoDB runs on port 27017 and you can verify it using the netstat command as shown.
$ sudo netstat -pnltu
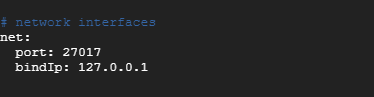
To change the default MongoDB port and other parameters, edit the configuration file found at /etc/mongodb.conf.
Step 5: Managing MongoDB 4 Server
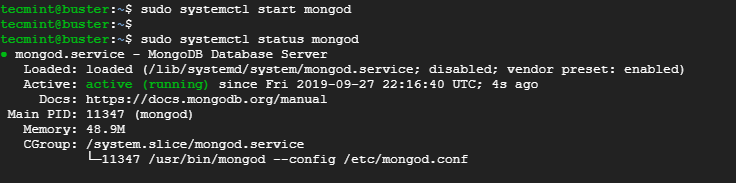
Once you have successfully installed MongoDB 4 server, start it using the command.
$ sudo systemctl start mongod
To check the status of a MongoDB service run the command.
$ sudo systemctl status mongod
To enable MongoDB to start on boot, run the command.
$ sudo systemctl enable mongod
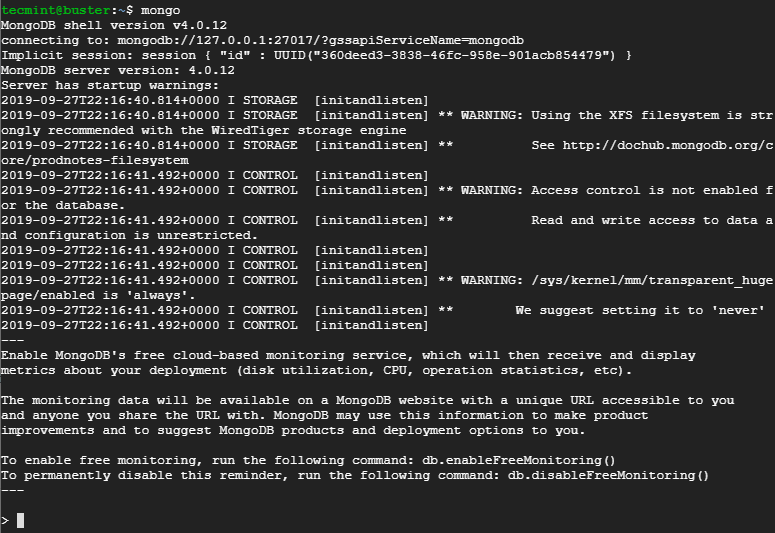
To log into MongoDB 4 simply run the command.
$ mongo
To stop MongoDB run.
$ sudo systemctl stop mongod
And that’s just about it. In this guide, we have demonstrated how you can install MongoDB 4 on Debian 10.


Package ‘libcurl3‘ has no installation candidate on Debian 10.
Can we fix this?