Redis is an advanced persistent key-value database with a network interface and key features such as built-in replication, transactions, automatic partitioning with Redis Cluster, and different levels of on-disk persistence and so much more. Besides, it offers high availability via Redis Sentinel. It supports various data structures including strings, hashes, lists, sets, and so sorted sets with range queries.
In this guide, we will show you how to install and configure Redis with basic options in Ubuntu.
Configuring Ubuntu System to Work with Redis
Before you can install, configure and use Redis on your Ubuntu server, you can set up your server for Redis to work efficiently.
There are a few tips we will share as explained below.
- The first tip is to ensure that you have created swap space in the server; we recommend creating as much as swap as memory (RAM). This prevents Redis from crashing when there is no enough RAM.
- You should make sure that you set the Linux kernel overcommit memory setting to
1by adding vm.overcommit_memory = 1 to /etc/sysctl.conf configuration file.
To apply the changes, reboot the server. Alternatively, effect this immediately by running the following command.
$ sudo sysctl vm.overcommit_memory=1
Then also ensure that the transparent huge pages kernel feature is disabled, as this feature harms both memory usage and latency on your server.
$ echo never > sudo tee -a /sys/kernel/mm/transparent_hugepage/enabled
Installing Redis on Ubuntu
To install the Redis package from the default repositories, you can use the APT package manager and make sure that package sources cache is up to date before you install the Redis package as follows.
$ sudo apt update
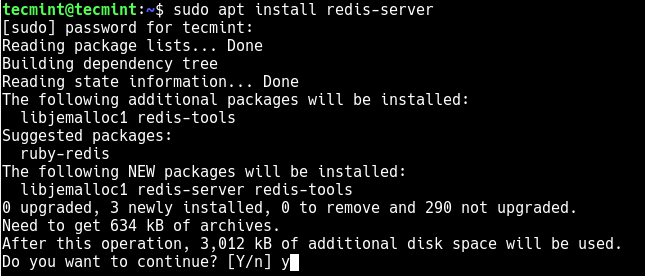
Then install the Redis-server package, which will also installs redis-tools as a dependency.
$ sudo apt install redis-server
You can install additional Redis packages such as redis-sentinel a monitoring tool and redis-redisearch a full-text and secondary search index engine module as follows.
$ sudo apt install redis-sentinel redis-redisearch
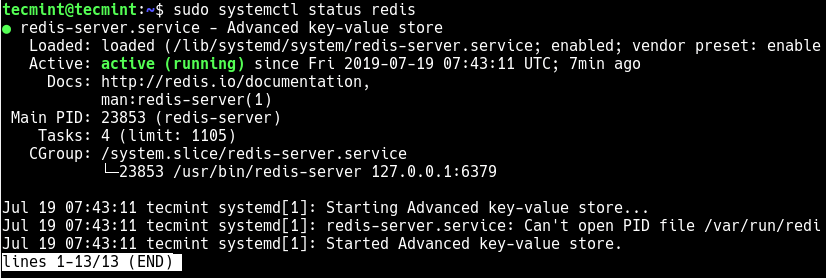
When the installation is complete, systemd will automatically start and enable the Redis service at system boot. You can confirm the status by running the following systemctl command.
$ sudo systemctl status redis
Configuring Redis Server on Ubuntu
The Redis server reads configuration directives from the /etc/redis/redis.conf file and you can configure it as per your needs.
To open this file for editing, use your favorite text-based editors as follows.
$ sudo vim /etc/redis/redis.conf
By default, the Redis server listens on the loopback interface (127.0.0.1) and it listens on port 6379 for connections. You can allow connections on multiple interfaces using the "bind" configuration directive, followed by one or more IP addresses as shown.
bind 192.168.1.100 10.0.0.1
bind 127.0.0.1 ::1
The port directive can be used to change the port you want Redis to listen on.
port 3000
Configuring Redis as a Cache
You can use Redis as a cache to set a time to live different for every key. This means that each key will be automatically removed from the server when it expires. This configuration assumes a maximum memory limit of 4 megabytes.
maxmemory 4mb
maxmemory-policy allkeys-lru
You can find more directives in the configuration file and configure Redis the way you want it to work. After making all the necessary changes, save the file and restart the Redis service as follows.
$ sudo systemctl restart redis
If you have UFW firewall service running, you need to open the port Redis is listening on, in the firewall. This will enable external requests to pass through the firewall to the Redis server.
$ sudo ufw allow 6379/tcp
$ sudo ufw reload
Testing Connection to Redis Server
You can test connectivity to the Redis server using the redis-cli utility.
$ redis-cli
> client list    #command to list connected clients

You can refer to the Redis documentation for more information and configuration examples.
Conclusion
In this guide, we have shown how to install and configure Redis on Ubuntu server. For any queries or thoughts, you want to share with us, use the feedback section below.


After installing everything, trying to add load-module redissearch. so or any other compiled using make would deal with an error stopping Redis server.
Did you experience that? it just worked out in one case using ubuntu latest version but unable to save the snapshots..
@Nelson
I didn’t try loading that module, but I will test it and get back to you. And what error is that exactly? Thanks for the feedback.