PostgreSQL (sometimes referred to as Postgres) is the most advanced open-source general-purpose and object-relational database system with a proven architecture that runs on all major operating systems. It is a high performance, stable, scalable and extensible database system which provides amazing data integrity and supports powerful add-ons.
Importantly, PostgreSQL allows you to define your own data types, add custom functions, even write code from different programming languages such as C/C++, Java, etc, without recompiling your database.
PostgreSQL is being used by well-known Tech companies such as Apple, Fujitsu, Red Hat, Cisco, Juniper Network, etc.
In this article, we will show you how to install, secure and configure PostgreSQL databases server in Debian 10.
Requirement:
Installing PostgreSQL Server on Debian 10
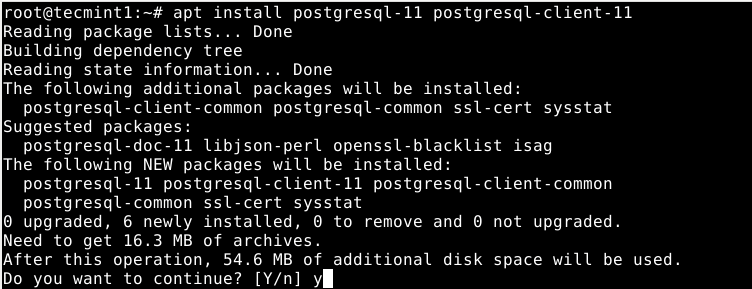
To install PostgreSQL database server, use the default APT package manager, which will install PostgreSQL 11 server and client.
# apt install postgresql-11 postgresql-client-11
On Debian, like any other daemons, the Postgres database is initialized immediately after the package installation is complete as shown in the following screenshot.

To check if the Postgres database is truly initialized, you can use the pg_isready utility which checks the connection status of a PostgreSQL server, as follows.
# pg_isready

Besides, under systemd, the Postgres service is also started automatically and enabled to start at system boot. To make sure that the service is up and running fine, run the following command.
# systemctl status postgresql

The following are other useful systemctl commands to manager the Postgres service under systemd.
# systemctl start postgresql
# systemctl restart postgresql
# systemctl stop postgresql
# systemctl reload postgresql 		#this reloads the service configuration
Securing and Configuring PostgreSQL Database
By default, the Postgres uses the concept of roles to manage database access permissions and database roles are conceptually completely separate from operating system users. A role can be a user or a group, and a role that has login right is called user.
A freshly initialized system always contains one predefined role called postgres, it has the same name as the operating system user account called postgres, which is used to access the psql (Postgres shell) and other database programs.
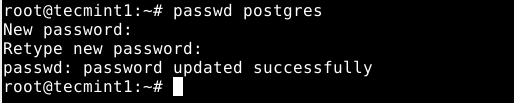
The Postgres system user account is not protected using a password, to secure it, you can create a password using the passwd utility.
# passwd postgres
Also, the Postgres role (or administrative database user if you like) is not secured by default. You also need to secure it with a password. Now switch to the postgres system user account and postgres role (remember to set a strong and secure password) as shown.
# su - postgres
# psql -c "ALTER USER postgres WITH PASSWORD 'securepass_here';"

Then exit the postgres account to proceed with the guide.
Configuring Client Authentication
The main Postgres configuration file is located at /etc/postgresql/11/main/postgresql.conf. In addition to this file, Postgres uses two other manually-edited configuration files, which control client authentication.
Client authentication is controlled by the /etc/postgresql/11/main/pg_hba.conf configuration file. Postgres provides many different client authentication methods including password-based authentication. Client connections are authenticated based on client host address, database, and user.
If you choose to use password-based authentication, you can implement one of these methods: md5 or password which operate similarly except for the way that the password is transmitted across the connection, namely MD5-hashed and clear-text respectively.
Using md5 password authentication averts password sniffing by hackers and avoids storing passwords on the server in plain text. Password method can only be securely used if the connection is protected by SSL encryption.
For this guide, we will show how to configure md5 password authentication for client authentication.
# vim /etc/postgresql/11/main/pg_hba.conf
Look for the following line and change the authentication method to md5 as shown in the screenshot.
local all all md5

Save the changes in the file and exit it. Then apply the recent changes by restarting the Postgres service as follows.
# systemctl restart postgresql
Creating a New Database and Database Role/User in PostgreSQL
In this last section, we will show how to create a new database user and a database role to manage it. First, switch to the postgres account and open the Postgres shell as follows.
# su - postgres
$ psql
To create a database called “test_db” run the following SQL command.
postgres=# CREATE DATABASE test_db;
Then create a database user (a role with login rights) who will manage the new database as follows.
postgres=#CREATE USER test_user PASSWORD ‘securep@ss_here’; #assumes login function by default
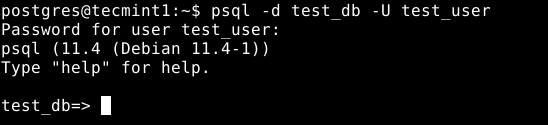
To connect to the test_db as the user test_user, run the following command.
$ psql -d test_db -U test_user
For more information, see the PostgreSQL 11 documentation.
Conclusion
That’s if for now! In this guide, we have shown how to install, secure and configure PostgreSQL databases server in Debian 10. Do you have any question or thoughts to share? Use the comment form below to reach us.


