The virt-manager application provides an easy-to-use interface that allows users to perform a wide range of tasks including creating guest machines and assigning critical virtual resources such as CPU, memory, and disk space. Users can also configure networking, pause, and resume the guest machines as well as monitor performance.
As you get started, make sure that the KVM hypervisor is installed and guest virtual machines created on the system using virt-manager.
We have elaborate articles on:
- How to Install KVM on Ubuntu 20.04
- How to Install KVM on CentOS 8 / RHEL 8
- How to Create Virtual Machines in KVM Using Virt-Manager
Without much further ado, let’s focus on how you can manage KVM virtual machines using virt-manager in Linux.
Managing the Virtual Machine using Virt-Manager
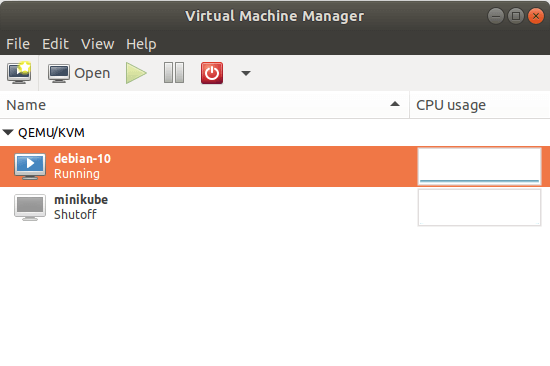
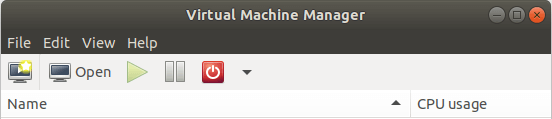
Once the installation of the guest OS is complete. It should appear on virt-manager in a ‘Running’ state as shown.
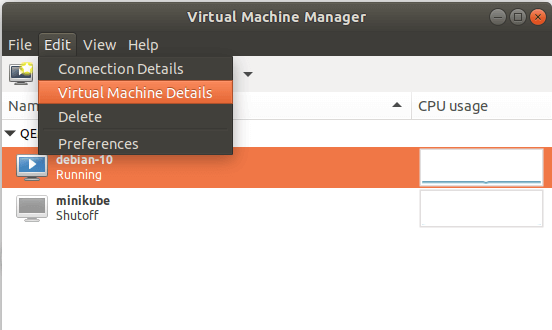
To display the virtual hardware details, click on the ‘Edit’ button on the menu bar, and select ‘Virtual machine details’.
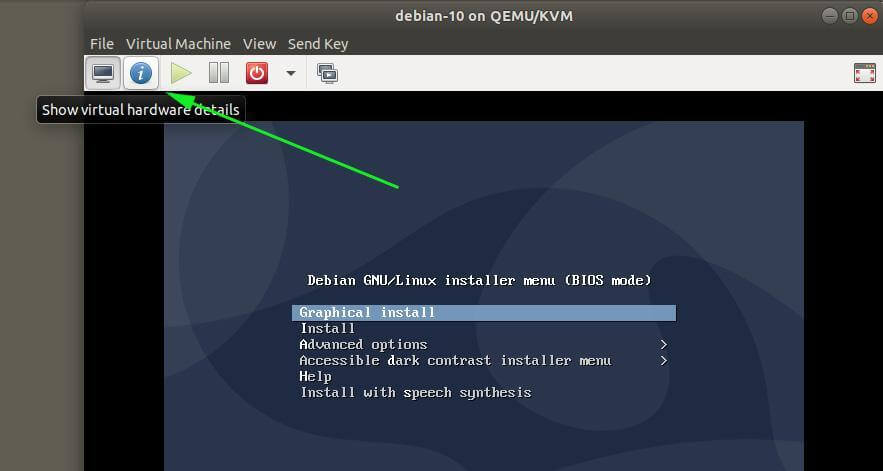
On the guest machine window, click on the blue ‘Show virtual hardware details’ icon.
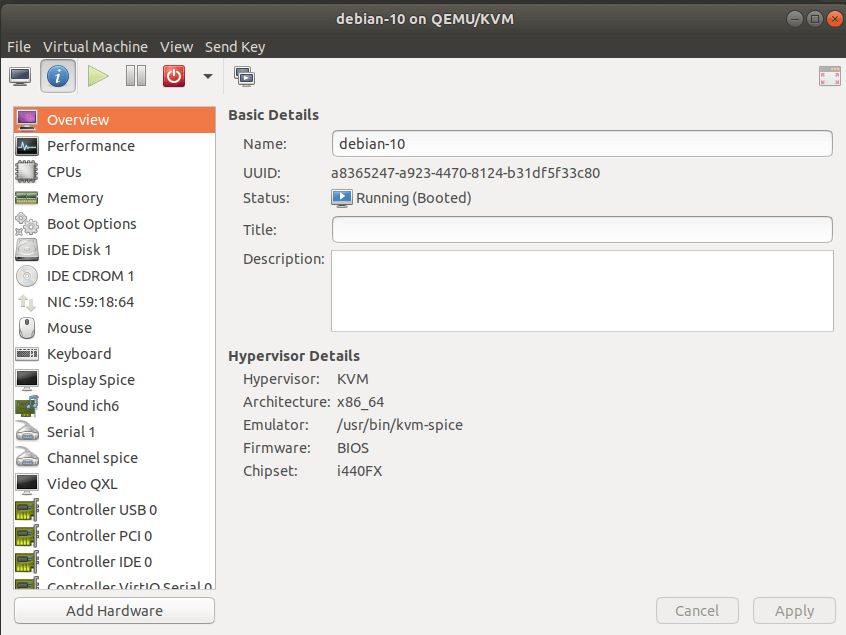
The window gives you an overview of the available virtual hardware properties associated with the VM. These include the virtual CPUs, RAM, network cards and so much more.
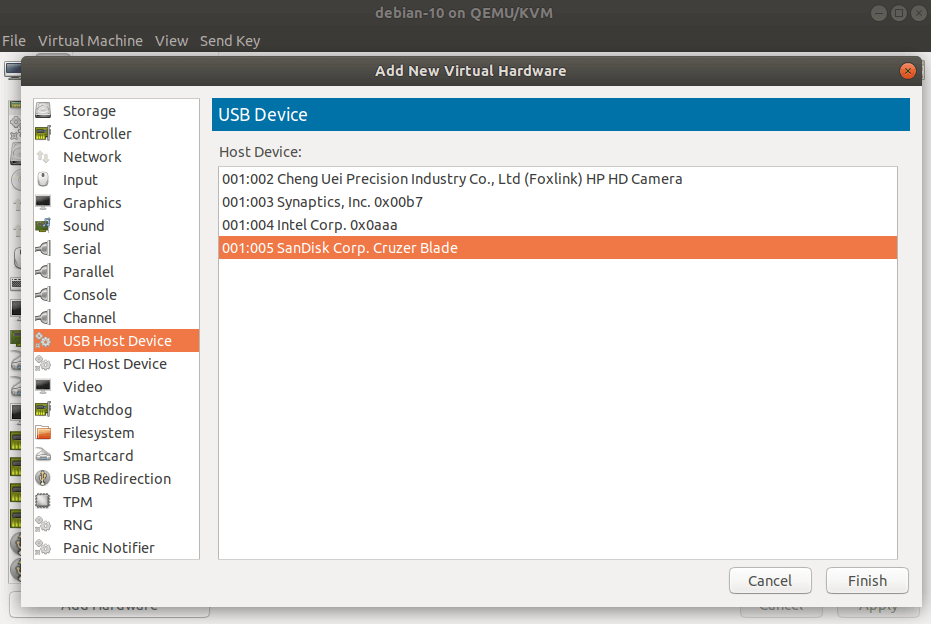
In addition, you can perform some tweaks, for example, adding hardware resources such as a USB drive. To achieve this, ensure that you have plugged in a USB drive and click on the ‘Add hardware’ button.
Navigate and click on the ‘USB Host device’ button, and on the right pane, select your USB device. In my case, I have selected the ‘SanDisk Cruzer Blade’ USB stick. Then click ‘Finish’.
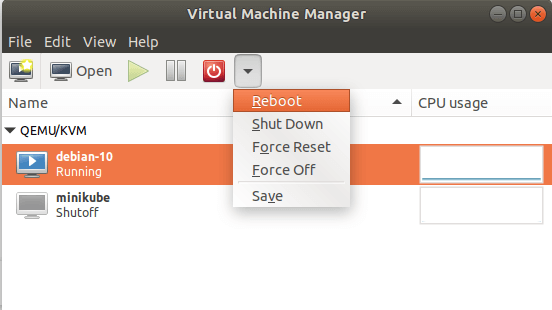
Just below the menu bar, the virt-manager presents some options for controlling the state of the virtual machine. For example, to access the virtual machine console hit the ‘Open’ button.
To pause the virtual machine, click on the ‘Pause’ button.
The poweroff button presents an array of options including Reboot, Shut Down, Force Reset, Force Off, and Save.
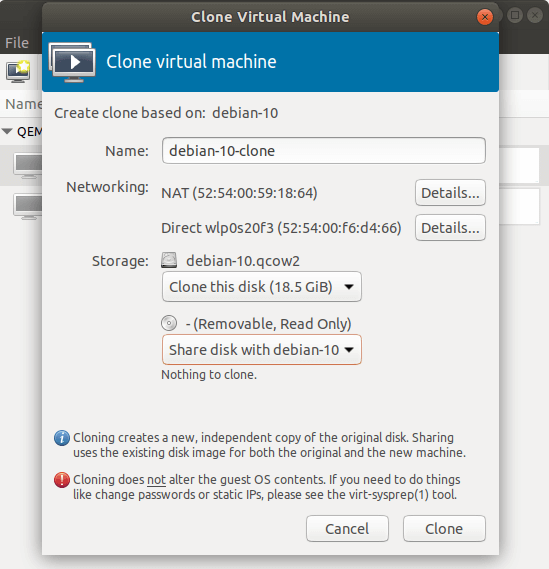
Clone KVM Virtual Machine
Also, just like VirtualBox, you can clone a VM by right-clicking and selecting the ‘Clone’ option. This creates a new, independent copy of the original disk.
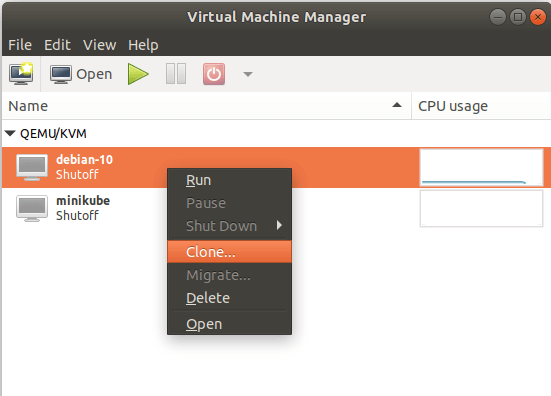
Feel free to configure other options such as networking and storage, and when you are done, click on the ‘Clone’ option.
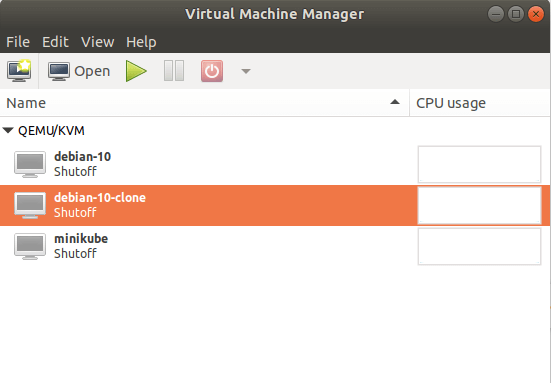
The clone VM will appear as shown.
And that’s pretty much it. There are plenty of other options that virt-manager provides that might pique your curiosity. So, feel free to explore. Hopefully, you have a decent idea of how to create and manage your virtual machines using KVM. Alternatively, you can also use the Cockpit web console to manage KVM virtual machines.
Source: access.redhat.com


