As a Linux user, you can opt either to allow or restrict network access to some services or IP addresses using the firewalld firewall which is native to CentOS/RHEL 8 and most RHEL based distributions such as Fedora.
The firewalld firewall uses the firewall-cmd command-line utility to configure firewall rules.
Before we can perform any configurations, let’s first enable the firewalld service using the systemctl utility as shown:
$ sudo systemctl enable firewalld
Once enabled, you can now start firewalld service by executing:
$ sudo systemctl start firewalld
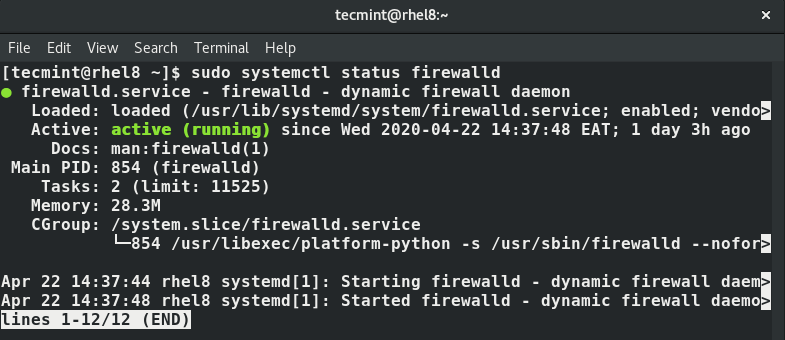
You can verify the status of firewalld by running the command:
$ sudo systemctl status firewalld
The output below confirms that the firewalld service is up and running.
Configuring Rules using Firewalld
Now that we have firewalld running, we can go straight to making some configurations. Firewalld allows you to add and block ports, blacklist, as well as whitelist IP, addresses to provide access to the server. Once done with the configurations, always ensure that you reload the firewall for the new rules to take effect.
Adding a TCP/UDP Port
To add a port, say port 443 for HTTPS, use the syntax below. Note that you have to specify whether the port is a TCP or UDP port after the port number:
$ sudo firewall-cmd --add-port=22/tcp --permanent
Similarly, to add a UDP port, specify the UDP option as shown:
$ sudo firewall-cmd --add-port=53/udp --permanent
The --permanent flag ensures that the rules persist even after a reboot.
Blocking a TCP/UDP Port
To block a TCP port, like port 22, run the command.
$ sudo firewall-cmd --remove-port=22/tcp --permanent
Similarly, blocking a UDP port will follow the same syntax:
$ sudo firewall-cmd --remove-port=53/udp --permanent
Allowing a Service
Network services are defined in the /etc/services file. To allow a service such as https, execute the command:
$ sudo firewall-cmd --add-service=https
Blocking a Service
To block a service, for instance, FTP, execute:
$ sudo firewall-cmd --remove-service=https
Whitelisting an IP address
To allow a single IP address across the firewall, execute the command:
$ sudo firewall-cmd --permanent --add-source=192.168.2.50
You can also allow a range of IPs or an entire subnet using a CIDR (Classless Inter-Domain Routing) notation. For example to allow an entire subnet in the 255.255.255.0 subnet, execute.
$ sudo firewall-cmd --permanent --add-source=192.168.2.0/24
Removing a Whitelisted IP address
If you wish to remove a whitelisted IP on the firewall, use the --remove-source flag as shown:
$ sudo firewall-cmd --permanent --remove-source=192.168.2.50
For the entire subnet, run:
$ sudo firewall-cmd --permanent --remove-source=192.168.2.50/24
Blocking an IP address
So far, we have seen how you can add and remove ports and services as well as whitelisting and removing whitelisted IPs. To block an IP address, ‘rich rules’ are used for this purpose.
For example to block the IP 192.168.2.50 run the command:
$ sudo firewall-cmd --permanent --add-rich-rule="rule family='ipv4' source address='192.168.2.50' reject"
To block the entire subnet, run:
$ sudo firewall-cmd --permanent --add-rich-rule="rule family='ipv4' source address='192.168.2.0/24' reject"
Saving Firewall Rules
If you have made any changes to the firewall rules, you need to run the command below for the changes to be applied immediately:
$ sudo firewall-cmd --reload
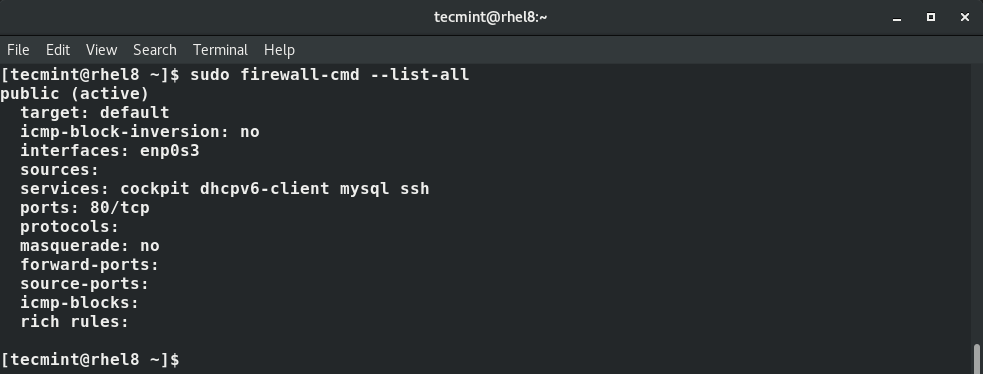
Viewing the Firewall Rules
To have to peek at all the rules in the firewall, execute the command:
$ sudo firewall-cmd --list-all
This concludes this guide on how to allow or restrict network access using FirewallD on CentOS/RHEL 8. We hope you found this guide helpful.


I have 3 network interfaces and would like to limit tftp to only one of the interfaces. For example, I have networks 192.168.100.0, 192.168.101.0, and 192.168.102.0. tftp should only be able to access the server via the 102 networks. Is this possible?
How to reject all connections and allow the only ssh from one certain network?
Didn’t work, still can ping internets from the VM. Interface is in public zone.
Does this tool preclude the use of iptables?
Though I certainly appreciate the walkthrough, there are some glaring mistakes in your command snippets; e.g. – you reference “firewalls” a number of times rather than “firewalld“. Additionally, in the command snippets for allowing a UDP port, it was left as TCP in the command.
Thanks again for putting this out, but the ones who really need it would benefit greatly from some corrections.
@Jordan,
Thanks for notifying me about those errors. I have corrected the commands in the article as pointed by you…
All the systemctl commands say “firewalls” but should have said “firewalld” as depicted in the screenshot.
@Sven,
Sorry for that, I’ve corrected the commands in the article…
You need to check the command’s names, you are using firewalls instead firewalld, also, you used tcp in the udp example.
@David,
My bad, yes I must cross-check commands before publishing an article, thanks man, I’ve corrected the commands in the article…