In our previous guide, we walked you through the installation of the LAMP stack on Rocky Linux and further proceeded to configure Apache virtual hosts in case you need to host multiple websites on a single server.
But it doesn’t just end there. Website security is now one of the greatest concerns across most organizations and users alike in the face of growing cyber threats. There are several ways of securing your website. One of the primary ways of implementing some basic protection against hackers is to encrypt your site using an SSL/TLS certificate.
An SSL/TLS certificate is a cryptographic certificate that authenticates the identity of your website and encrypts data exchanged between a user’s browser and a webserver.
In effect, your site switches from using the HTTP protocol which sends data in plain text to HTTPS (HTTP Secure) which encrypts the data. Without encryption, hackers can easily get a hold of confidential information such as usernames and passwords by eavesdropping on the data exchanged between the web server and the browser.
A while back, Google made a point of alerting users visiting unencrypted sites by placing a ‘Not secure’ label on the URL bar. This is to want users of the risk involved while browsing the site.
If you are a website owner, you certainly wouldn’t want to put your clients and website visitors at risk of having their personal information exposed to hackers. It’s for this reason that installing an SSL certificate on your webserver is a fundamental step towards securing your site.
In this guide, we will show you how to secure an Apache web server on Rocky Linux 8 using Lets Encrypt SSL Certificate.
Prerequisites
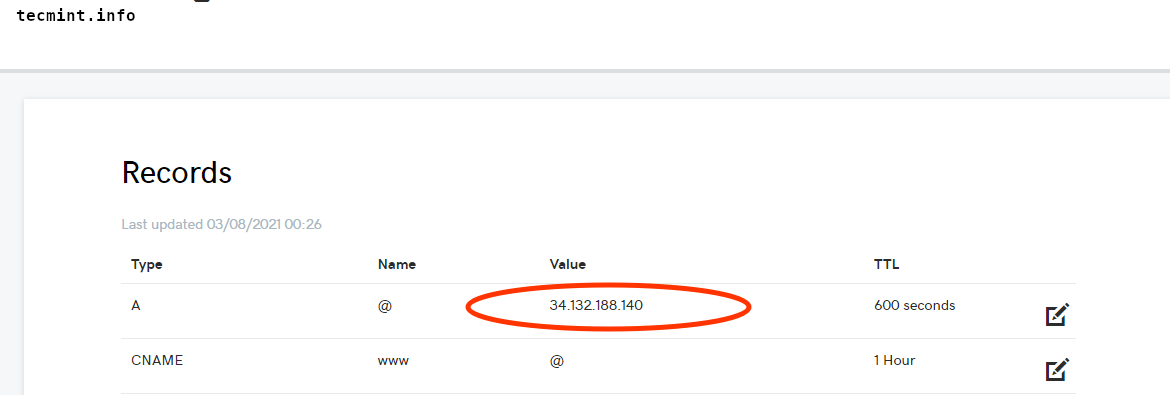
For this to work, you need to have your domain pointed to your website’s Public IP address. Therefore, you need to head over to your web host and ensure the domain name is pointing to the IP of your webserver.
Here, we have the domain tecmint.info pointed to the public IP address of our virtual server.
Step 1: Install EPEL Repo in Rocky Linux
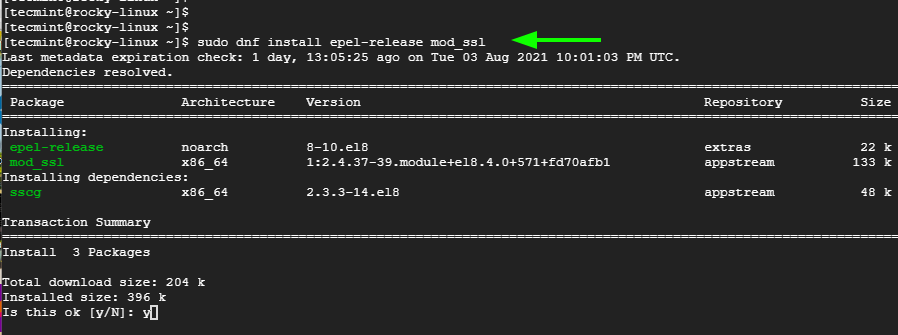
We start off by installing prerequisite packages which will prove beneficial along the way. We will install the EPEL repository and the mod_ssl package which is a security module for Apache HTTP server that provides strong cryptography by leveraging SSL/TLS protocols using OpenSSL.
$ sudo dnf install epel-release mod_ssl
Step 2: Install Certbot in Rocky Linux
Let’s now install Certbot – is a client that fetches the SSL certificate from the Let’s Encrypt authority and automates its installation and configuration. This eliminates the pain and hustle of accomplishing the entire process manually.
$ sudo dnf install certbot python3-certbot-apache
Certbot is now fully installed and well-configured.
Step 3: Installing an SSL Certificate for Apache in Rocky Linux
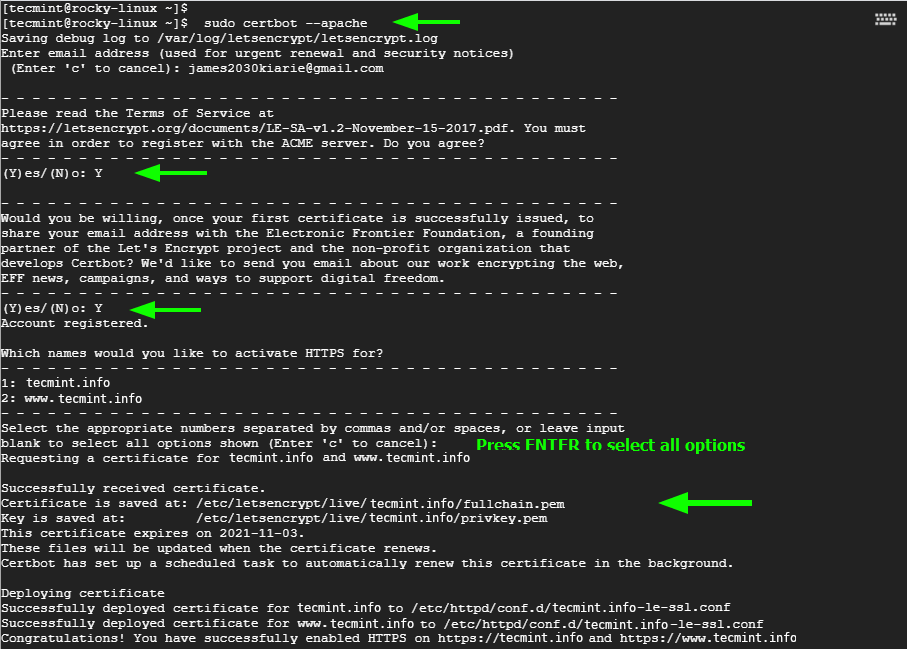
The last step is to retrieve and install the Let’s Encrypt SSL Certificate. To achieve this, run the command:
$ sudo certbot --apache
This sets off a series of prompts. First, you will be required to provide your email address. Next, skim through the Terms of Service in the URL provided and press 'Y' to agree with the Terms, and hit ENTER.
Next, you will be asked if you are willing to share your email address with EFF (Electronic Frontier Foundation) which is the founding partner of Let’s Encrypt.
By sharing your email address, you will subscribe to news, campaigns, and other updates about the organization. If you are comfortable providing your email address, press 'Y', otherwise, press 'N' and hit ENTER.
The next prompt will provide a list of domains based on your web server configuration and ask you which one you prefer to enable HTTPS on. You can choose either '1' or '2'. But for uniformity, simply press ENTER to enable HTTPS to all the domains.
Certbot will finalize the installation and configuration of Let’s Encrypt and save the security keys in the /etc/letsencrypt/live/yourdomain/ path.
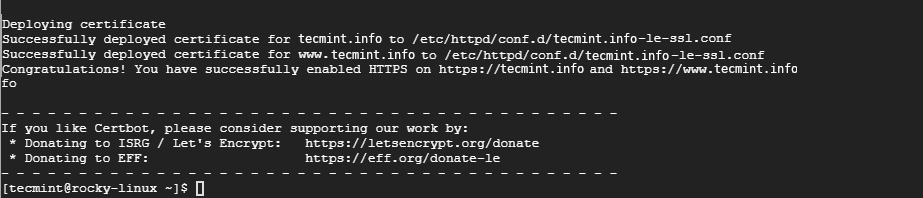
If everything went according to plan, you will get the output displayed.
Step 4: Auto-Renew SSL Certificate for Apache in Rocky Linux
Certbot provides a script for renewing the certificate just a few days before its expiry. You can perform a dry run to test the script as shown.
$ sudo certbot renew --dry-run
Now, to automate the renewal of the certificate by the script, edit the crontab.
$ crontab -e
Specify the cron job shown and save the changes.
0 * * * * /usr/sbin/certbot-auto renew

Step 4: Verify Apache SSL Certificate in Rocky Linux
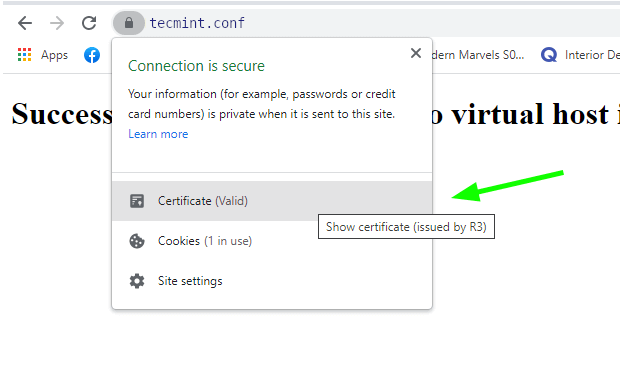
To confirm that your site is encrypted, simply head over to your browser and reload your website. This time around, you should see a padlock icon just before the website’s URL.

To gather more details, click on the icon and click on the ‘Certificate’ option in the menu that appears.
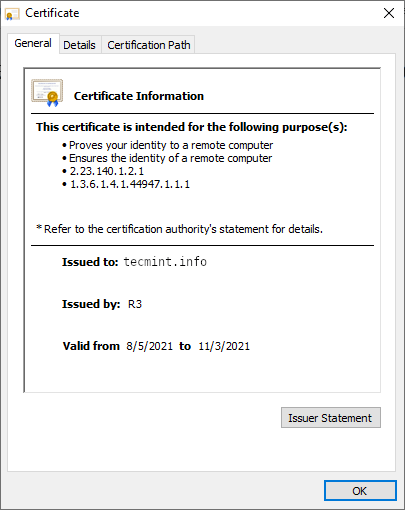
This populates all the certificate’s details as provided.
You can test the strength of your certificate by heading over to the SSL Labs Test. Provide the website’s URL or domain name and hit ENTER.
You should get a A rating as indicated here.

Conclusion
If you have come this far, then you should be in a position to encrypt your Apache web server using the Let’s Encrypt SSL Certificate by leveraging the Certbot client from EFF.


Just use the mod_md Apache module…
Hi there,
Thank you for your article…
There is an error in the “Step 4: Auto-Renew SSL Certificate for Apache in Rocky Linux”.
Your cron references “/usr/sbin/certbot-auto-renew” but your dry run was doing “certbot renew –dry-run“.
I do not find certbot-auto in /usr/sbin/ either “certbot“. “certbot” is a link to the current installed version and it is in /usr/bin.
So I think the cron should be :
I also didn’t find a certbot-auto binary anywhere on the filesystem.