Founded in April 2016 by the Electronic Frontier Foundation (EFF), Let’s Encrypt is a free and automated digital certificate that provides TLS encryption for websites at absolutely no cost at all.
The objective of Let’s Encrypt certificate is to automate the validation, creation, signing as well as auto-renewal of the security certificate. This certificate enables encrypted connections to webservers using the HTTPS protocol in a simple, hassle-free manner without any complexities. The certificate is valid for only 90 days upon which autorenewal can be activated.
Recommended Read:How to Secure Apache with Let’s Encrypt SSL Certificate on CentOS 8
In this article, we will demonstrate how you can install Let’s Encrypt to obtain a free SSL certificate to secure the Nginx web server on CentOS 8 (same instructions also works on RHEL 8). We will also explain to you how to renew your SSL certificate automatically.
Prerequisites
Before we proceed to ensure that you have the following in check.
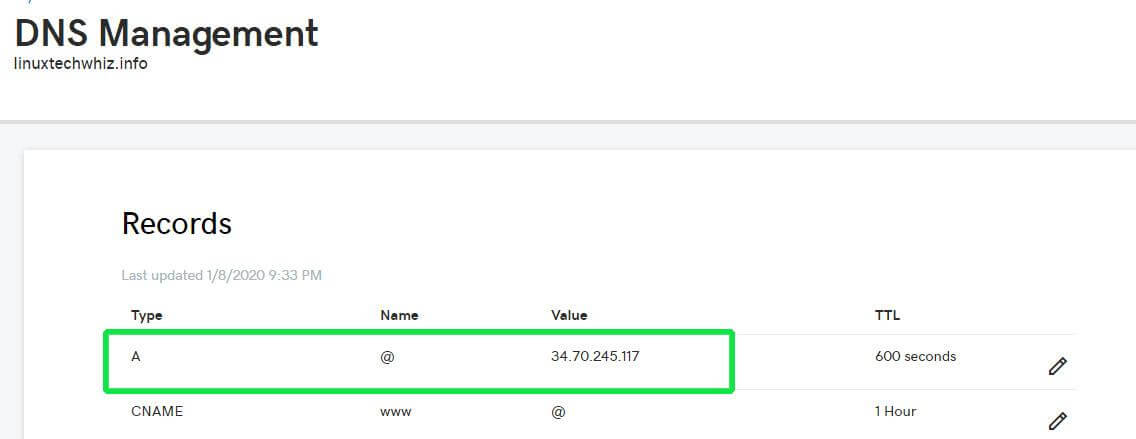
1. A Fully Qualified Domain Name (FQDN) pointing to a dedicated IP address of the webserver. This needs to be configured in the client area of your DNS web hosting provider. For this tutorial, we are using the domain name linuxtechwhiz which is pointing to the IP address 34.70.245.117.
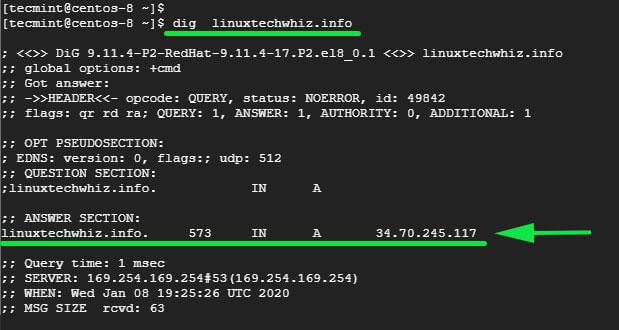
2. You can also confirm this by performing a forward lookup using the dig command as shown.
$ dig linuxtechwhiz.info
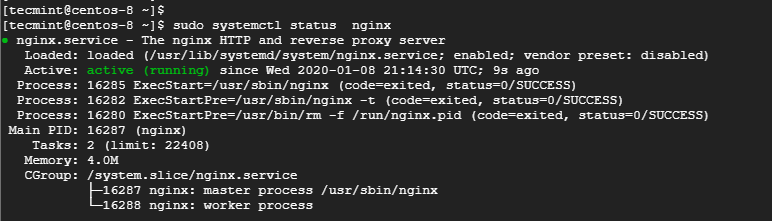
3. Nginx installed and running on the webserver. You can confirm this by logging into the terminal and running the command below. If Nginx not installed, follow our article to Install Nginx on CentOS 8.
$ sudo systemctl status nginx
4. You can also verify by visiting the web server’s URL on a web browser.
http://server-IP-or-hostname
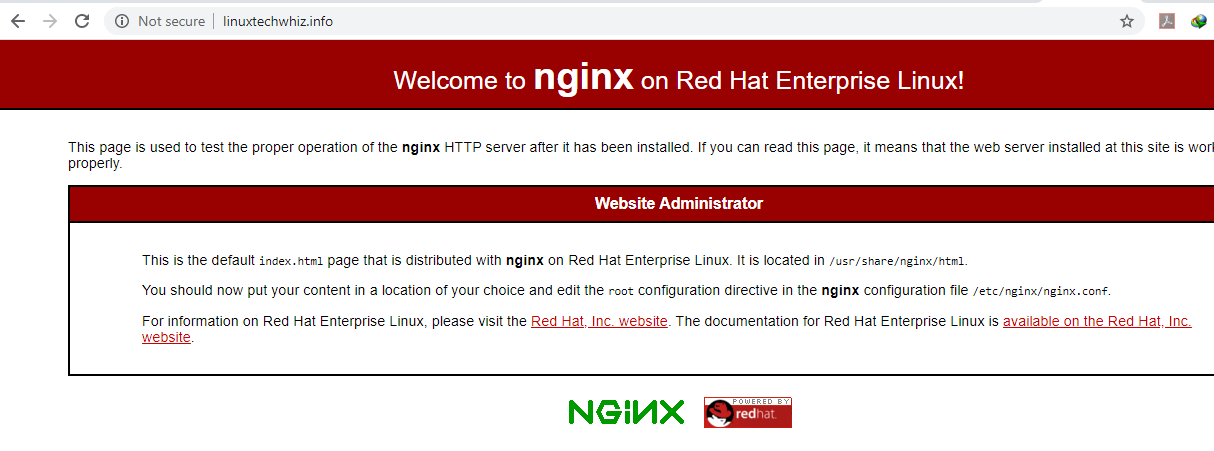
From the URL, we can clearly see that the site is not secure, and thus not encrypted. This implies that any requests made to the webserver can be intercepted that this includes critical and confidential information such as usernames, passwords, social security numbers, and credit card information to mention a few.
Now let’s get our hands dirty and install Let’s Encrypt.
Step 1. Install Certbot in CentOS 8
To install Let’s Encrypt certificate, you first-of-all need to have certbot installed. This is an extensible client that fetches a security certificate from Let’s Encrypt Authority and lets you automate the validation and configuration of the certificate for use by the webserver.
Download certbot using the curl command.
$ sudo curl -O https://dl.eff.org/certbot-auto

Next, move the certificate to the /usr/local/bin directory.
$ sudo mv certbot-auto /usr/local/bin/certbot-auto
Next, assign file permission to the certbot file as shown.
$ chmod 0755 /usr/local/bin/certbot-auto
Step 2. Configure Nginx Server Block
A server block in Nginx is the equivalent of a virtual host in Apache. Setting up of server blocks not only allows you to set up multiple websites in one server but also allows certbot to prove ownership of the domain to Certificate Authority – CA.
To create a server block, run the command shown.
$ sudo vim /etc/nginx/conf.d/www.linuxtechwhiz.info
Be sure to replace the domain name with your own domain name. Then paste the configuration below.
server {
   server_name www.linuxtechwhiz.info;
   root /opt/nginx/www.linuxtechwhiz.info;

   location / {
       index index.html index.htm index.php;
   }

   access_log /var/log/nginx/www.linuxtechwhiz.info.access.log;
   error_log /var/log/nginx/www.linuxtechwhiz.info.error.log;

   location ~ \.php$ {
      include /etc/nginx/fastcgi_params;
      fastcgi_pass 127.0.0.1:9000;
      fastcgi_index index.php;
      fastcgi_param SCRIPT_FILENAME $document_root$fastcgi_script_name;
   }
}
Save the file and exit the text editor.
Step 3: Install Lets Encrypt Certificate on CentOS 8
Now use certbot command to initialize the fetching and configuration of Let’s Encrypt security certificate.
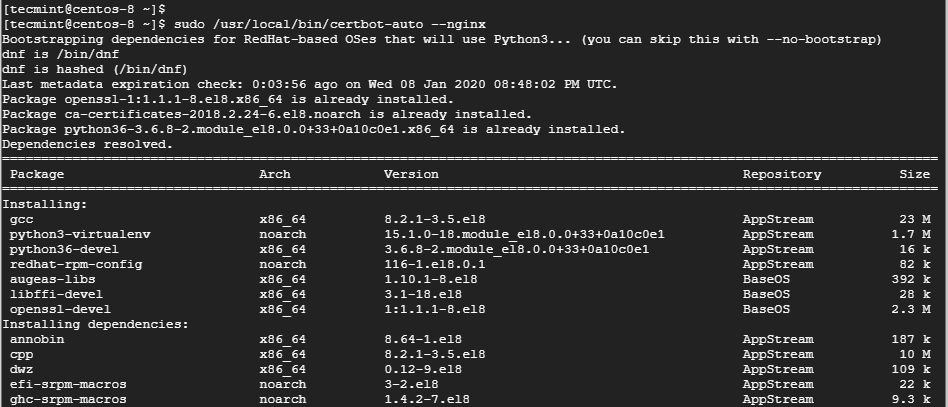
$ sudo /usr/local/bin/certbot-auto --nginx
This command will run and install multiple Python packages and their dependencies as shown.
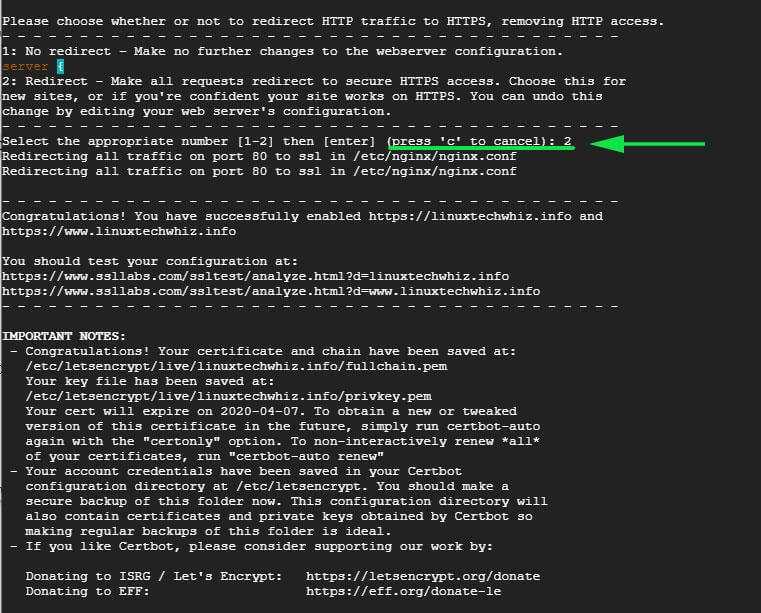
This will thereafter be followed by an interactive prompt as shown:

If all went well, you should be able to see a congratulatory message at the very end.
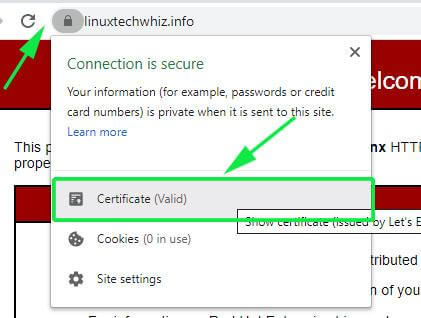
To confirm that your Nginx site is encrypted, reload the webpage and observe the padlock symbol at the beginning of the URL. This indicates that the site is secured using an SSL/TLS encryption.

To get more information about the security certificate, click on the padlock symbol and select the ‘Certificate’ option.
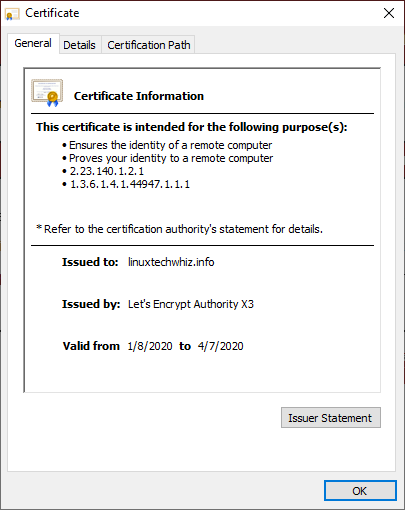
More information about the security certificate will be displayed as shown below.
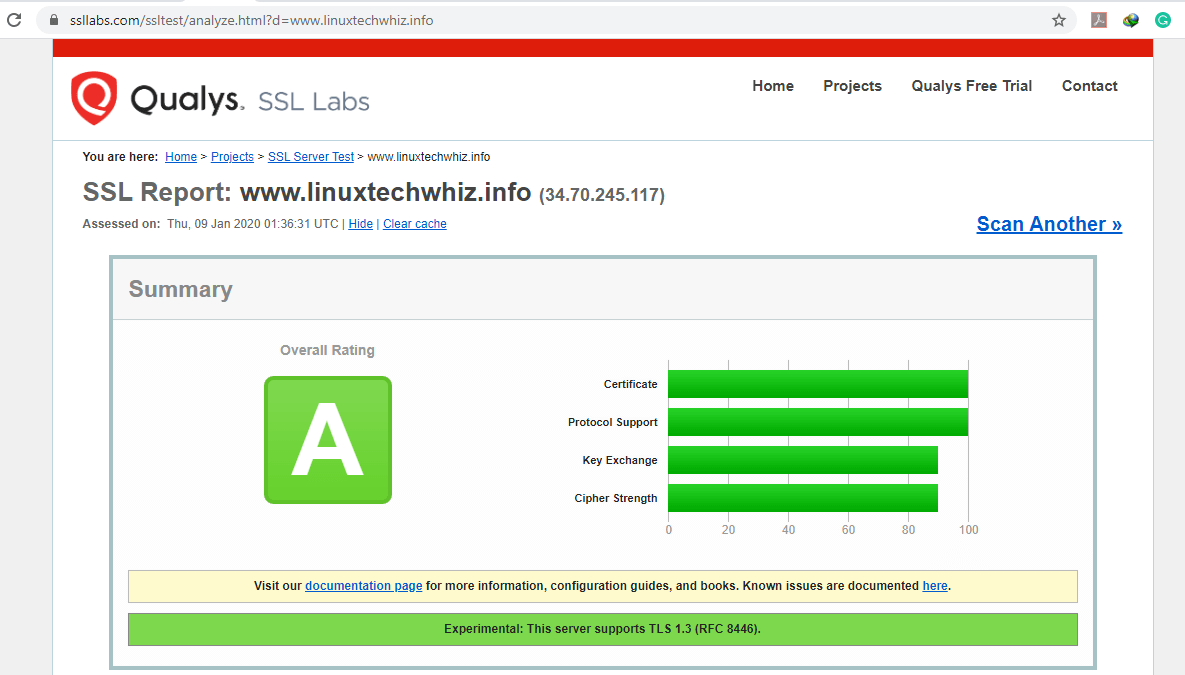
Additionally, to test the strength of the security certificate, head out to https://www.ssllabs.com/ssltest/ and find a more accurate and in-depth analysis of the status of the security certificate.
Step 4. Renewing the Let’s Encrypt Certificate
As we saw earlier, the security certificate is only valid for a duration of 90 days and needs to be renewed before the expiry.
You can simulate or test the certificate renewal process by running the command:
$ sudo /usr/local/bin/certbot-auto renew --dry-run

Conclusion
This wraps up this tutorial on securing Nginx with Let’s Encrypt on CentOS 8. Let’s Encrypt offers an effective and hassle-free way of securing your Nginx webserver that would otherwise be a complex affair to do manually.
Your site should now be fully encrypted. A few weeks to the certificate’s expiry date, EFF will alert you via email to renew the certificate to avoid interruption that may arise due to an expired certificate. That’s all guys for today!


Open up /etc/crontab and have it check once a month to renew.
Better to use a systemd timer unit file, such as the one provided in the EPEL certbot package. RHEL/CentOS 8 has moved from cron to systemd timers for dispatching periodic tasks. A systemd timer provides much finer control over task timing.
Here’s a tutorial on how to create a timer:
https://www.certdepot.net/rhel7-use-systemd-timers/
You should find the certbot RPM package for RHEL/CentOS 8 in the EPEL repo. I’ve been using the version for CentOS 7, installed via yum. Use dnf to install it for CentOS 8.