Finally, the stable release of RHEL 9 has been released which has brought some of the major changes for better security, and usability, and with the same stability which you can expect from any release of RHEL.
This guide will show you how you can easily upgrade from RHEL 8 to RHEL 9 with minimum effort and complexity involved. So let’s start with what the new release has to offer in the first place.
What’s New in RHEL 9
The key goal of RHEL 9 is to bring efficiency to your team. The new release of RHEL 9 has brought easy automation and deployment to the table which will surely help newcomers.
There are numerous improvements from which we have listed some of the most important below:
Improved Performance Metrics:
RHEL 9 makes it easy for admins and DevOps to identify the issues related to performance as you can inside the Cockpit web-based GUI, you will get a separate section that will allow users to collect diagnostic information which will help to identify the root cause of any issues.
With a single click, the report will be generated and let you identify what was the real reason behind the performance issues.
Live Kernal Patching:
Now, you can apply kernel patches live using the Cockpit web console. From now, we are no longer required to use Terminal or ant third-party software to apply live kernel patches.
Enhanced Security:
- Smart card authentication using the web console.
- Integration of OpenSSL 3.
- Additional security profiles for SELinux.
- Allows users to verify the integrity of the Operating System.
There are some other improvements such as improved container development, updated packages, link-time optimization, and much more so if the given reasons are enough to convince you to upgrade from RHEL 8 to RHEL 9.
Upgrading from RHEL 8 to RHEL 9
The given process won’t take much time and has been kept simple so that each RHEL 8 user can benefit from it. But before going through the upgradation process, let’s have a look at the requirements for RHEL 9.
Requirements
- A working RHEL 8.6 system.
- A Working internet with sufficient bandwidth to perform a full upgrade.
- Free space at boot partition (Minumun of 100Mb)
Let’s start the upgrade procedure.
Step 1: Remove “tmp_leapp_py3” Directory
If you previously performed an upgrade from RHEL 7 to RHEL 8, you are required to remove the tmp_leapp_py3 directory using the following command.
$ sudo rm -rf /root/tmp_leapp_py3
Step 2: Verify RHEL Subscription
This is a crucial step as we are required to have a working Red Hat Enterprise Linux Server subscription in order to perform the upgrade. To check whether we have an active subscription, use the following command:
$ sudo subscription-manager list --installed

Step 3: Verify RHEL Repositories
As we are going to upgrade from RHEL 8 to RHEL 9, having all the essential repositories enabled is crucial. You can easily cross-check them by the following command:
$ sudo subscription-manager repos --enable rhel-8-for-x86_64-baseos-rpms --enable rhel-8-for-x86_64-appstream-rpms

Step 4: Lock the System to RHEL 8.6
We must set 8.6 as the beginning point for upgradation. Use the following command to lock your system at 8.6 as we are going to initiate the process from 8.6.
$ sudo subscription-manager release --set 8.6

Step 5: Enable RHUI Repositories [for AWS Only]
If you are upgrading from RHEL 8 to RHEL 9 using Red Hat Update Infrastructure (RHUI) on AWS, enabling RHUI for seamless upgrade is essential.
$ sudo dnf config-manager –set-enabled rhui-client-config-server-8
$ sudo dnf -y install rh-amazon-rhui-client-ha leapp-rhui-aws
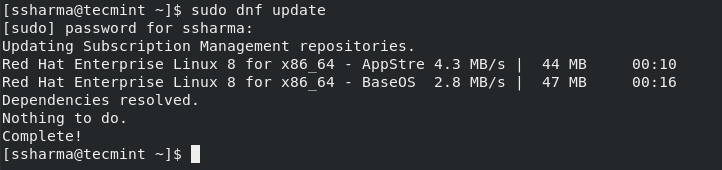
Step 6: Update RHEL Repositories
After going through the changes we made, let’s update the repositories by running the following command:
$ sudo dnf update
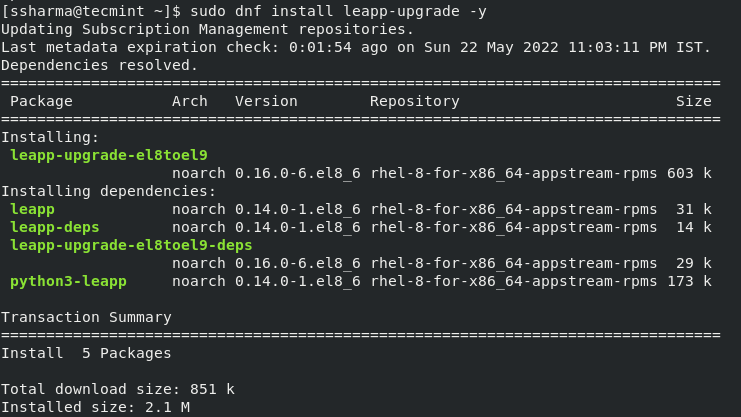
Step 7: Install the Leapp Utility
Leapp is the most interesting part of this process as it is going to automate the whole process of upgradation. To install the Leapp utility, use the given command:
$ sudo dnf install leapp-upgrade -y
Step 8: Remove Versionlock Plugin
If you have used the versionlock plugin which will lock the packages at a specified version, you have to remove it by using the following command:
$ sudo dnf versionlock clear
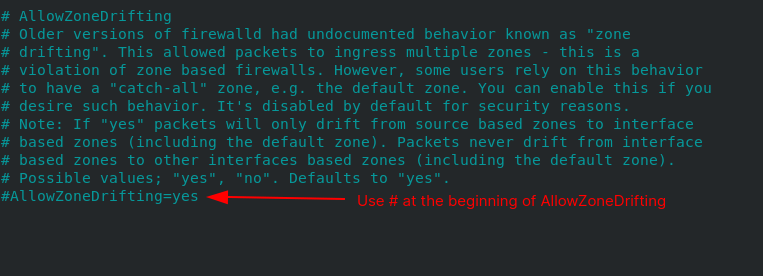
Step 9: Disable AllowZoneDrifting
This will cause major issues during the upgrade process and gives you an error such as given below:

To disable AllowZoneDrifting, open the firewalld config file by the given command:
$ sudo nano /etc/firewalld/firewalld.conf
Go to the end of the file and you will find the option of AllowZoneDrifting, just disable it by adding the # at the beginning of the line to overcome the error.
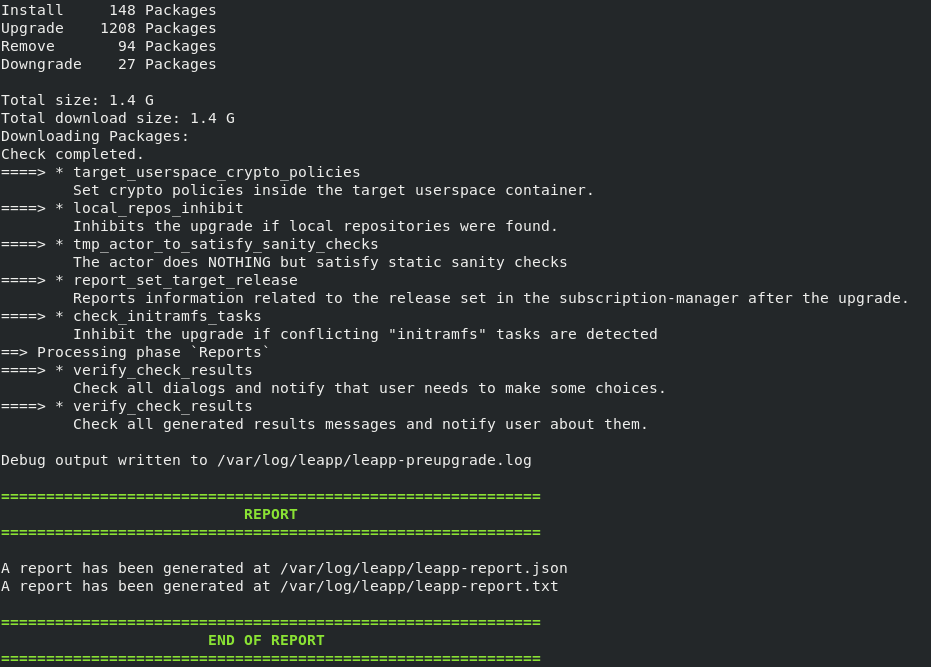
Step 10: Perform the Pre-upgrade Phase
Upgrading the system is big deal and this is the best way to check whether there are any issues related to packages for the upcoming upgrade session. The below command will check for package availability and check for system issues (if any).
$ sudo leapp preupgrade --target 9.0
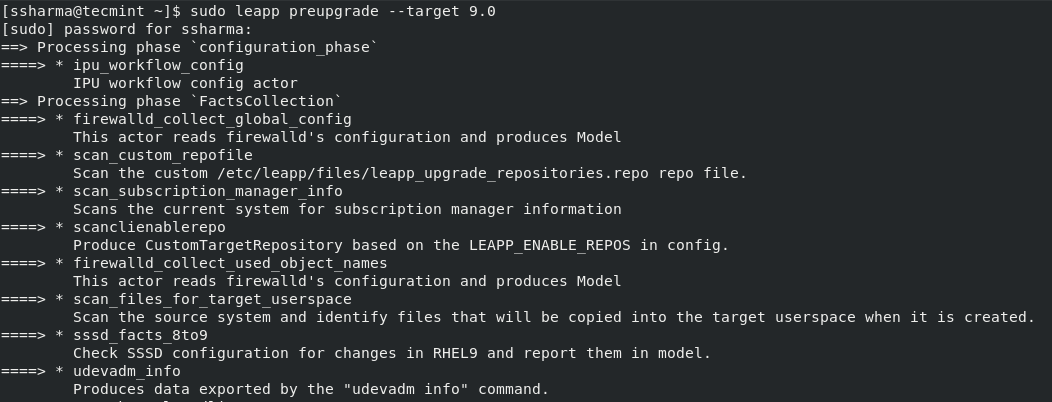
If things go smooth, it will bring summery with the size of the packages and will also generate a report at /var/log/leapp/leapp-report.json.
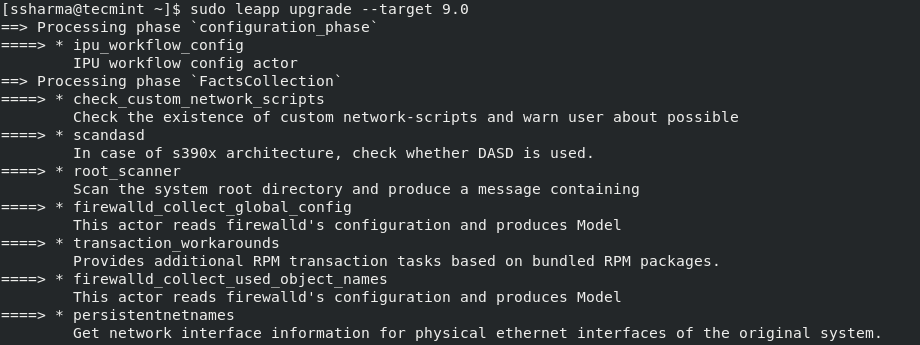
Step 11: Upgrading from RHEL 8 to RHEL 9
Now, we are ready to download and install new packages using the Leapp utility which we have installed previously. To start the upgradation process, use the following command:
$ sudo leapp upgrade --target 9.0
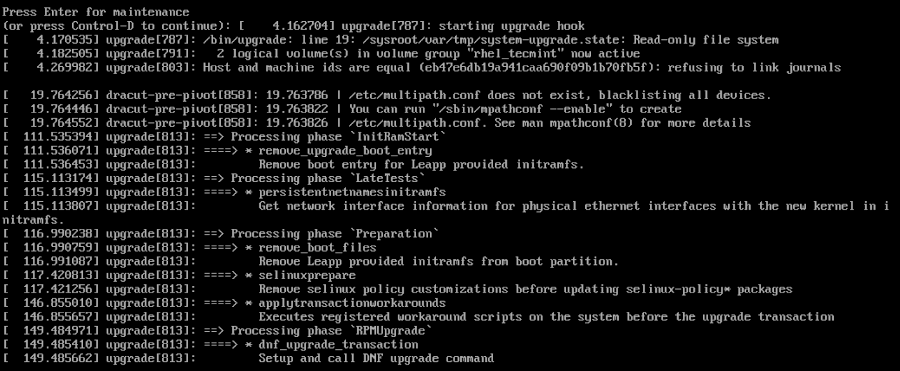
Once the process of downloading and installing new packages is done, reboot your system.
$ reboot
Step 12: Choose RHEL-Upgrade-initramfs
Once you reboot, choose the third option labeled “RHEL-Upgrade-initramfs”.

Press CTRl+D to start the upgrading process.
Step 13: Verify RHEL 9 Upgrade
Once we are done with the installation process, let’s cross-check the installed version. To check the current version by the following command:
$ sudo cat /etc/redhat-release

To verify whether the newly installed RHEL 9 is subscribed to our plan, use the following command:
$ sudo subscription-manager list --installed
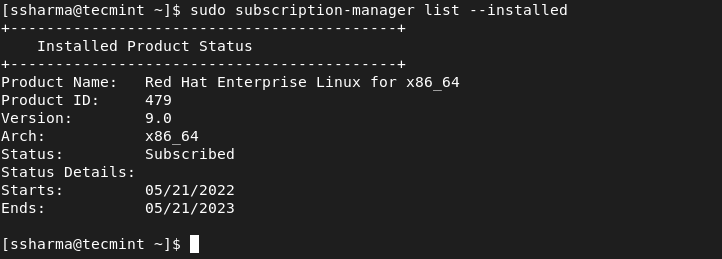
As you can see, we have successfully upgraded from RHEL 8 to RHEL 9.
The given article explains the easiest way to upgrade from RHEL 8 to RHEL 9 so that you can easily benefit from what it has to offer.


error: rpmdbNextIterator: skipping h# 1582
Header V3 RSA/SHA1 Signature, key ID bdda8475: BAD
Header SHA256 digest: OK
Header SHA1 digest: OK
error: rpmdbNextIterator: skipping h# 1582
Header V3 RSA/SHA1 Signature, key ID bdda8475: BAD
Header SHA256 digest: OK
Header SHA1 digest: OK
Error: An rpm exception occurred: package not installed
============================================================
END OF ERRORS
============================================================
Debug output is written to /var/log/leapp/leapp-upgrade.log