PowerShell is both a command-line shell and fully-developed scripting language that is built on the .NET framework. Just like Bash, it is designed to carry out and automate system administration tasks.
Until recently, PowerShell was strictly a preserve for the Windows environment. That changed in August 2016 when it was made open-source and cross-platform with the introduction of PowerShell Core which is built on the .NET core.
PowerShell is now available for Windows, macOS, Linux, and ARM platforms such as Raspian. In this guide, we will walk you through the installation of Microsoft PowerShell on Fedora Linux.
For this guide, we will use Fedora 34. There are two simple ways that you can use to install PowerShell on Fedora and we shall cover them in turn.
Method 1: Installing PowerShell Using Microfost Repositories
This is a 4-step installation method that involves the following steps:
Add Microsoft RedHat Repository in Fedora
The first step is to add the Microsoft Signature Key by running the following command.
$ sudo rpm --import https://packages.microsoft.com/keys/microsoft.asc
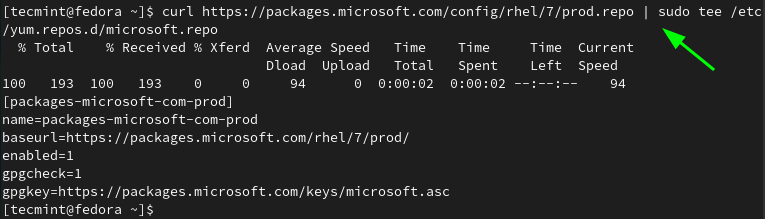
Next, use the curl command to add the Microsoft RedHat repository.
$ curl https://packages.microsoft.com/config/rhel/7/prod.repo | sudo tee /etc/yum.repos.d/microsoft.repo
Then update Fedora to sync with the newly added repository.
$ sudo dnf update
Install Powershell on Fedora
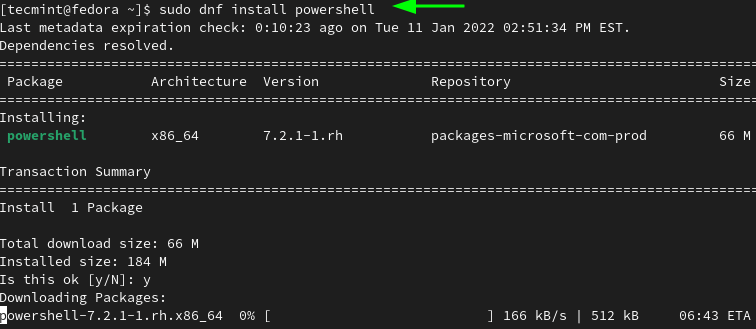
Finally, install PowerShell using the dnf package manager as follows:
$ sudo dnf install powershell -y
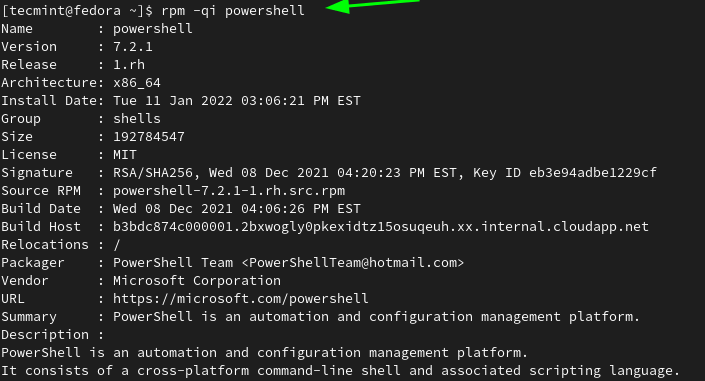
To verify that PowerShell is installed, execute the command:
$ rpm -qi powershell
This provides detailed information such as the version, release installation date, architecture, etc of the newly installed Powershell package.
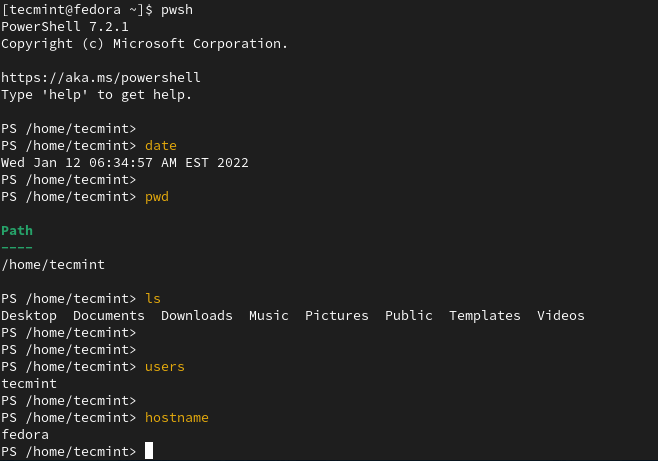
To access the Powershell prompt, simply run the following command:
$ pwsh
From here you can run Linux commands and perform scripting tasks on your newly installed PowerShell instance.
To exit Powershell, execute:
> exit
Method 2: Installing PowerShell from an RPM File
This is a more direct way of installing PowerShell and is not meaningfully different from the first method. PowerShell 7.2 has made available the universal packages for major Linux distributions such as Debian, Ubuntu, CentOS, OpenSUSE, and Fedora. You can have a glance at these packages from the PowerShell GitHub repository.
When executed, the RPM file basically adds the GPG key and the Microsoft repository on your system and proceeds to install PowerShell.
So, run the following command to install PowerShell using the RPM file from the Github repository.
$ sudo dnf install https://github.com/PowerShell/PowerShell/releases/download/v7.2.1/powershell-lts-7.2.1-1.rh.x86_64.rpm
Uninstall PowerShell from Fedora Linux
If PowerShell is not your cup of tea, you can install it by running the command:
$ sudo dnf remove powershell
The UNIX shell is still the preferred environment by most Linux users. It’s clean, more effective, and well documented. Therefore, It’s no secret that most users would prefer working with bash than Powershell given the flexibility and ease of use it provides.
Nonetheless, PowerShell is still hugely popular and packed with multiple cmdlets for executing administrative tasks. In this guide, we have demonstrated how you can install PowerShell on Fedora.


The question should be “WHY to install Power Shell in Fedora (or any other Linux distro)?” What functionality does Power Shell provide that native Linux/Unix shells do not? What are its advantages over Linux/Unix shells? Or is it just so one can brag “Look at me! I have Power Shell installed”.
I’d much rather install and use ZSH or FISH shell. I did not switch from Windows to Linux to go back to using Microsoft products.
thank you very much
Hi Ravi,
This is Kumar, after reading this article. I tried to install the Fedora-18 live DVD ISO, I have Fedora 18 x86_64 iso. After booting the fedora DVD. I’m not able get the second screen “Live System User” screen goes blank. could you help me in resolving this issue.
Reg,
SKumar
I had a similar issue, the live user wasn’t even listed, so I clicked not listed and wrote root as user, then to begin the installation I went to the file manager, and in the desktop of this user double clicked the shortcut to begin install.
You should try using root user instead
If you are trying to install in Fedora 18 as a virtual machine guest (VMware or VirtualBox) disable 3D acceleration in the VM settings. You should then see the “Live System User”.