Every newbies will get confuse of the word array. Array is just a collection of disks. In other words, we can call array as a set or group. Just like a set of eggs containing 6 numbers. Likewise RAID Array contains number of disks, it may be 2, 4, 6, 8, 12, 16 etc. Hope now you know what Array is.
Here we will see how to grow (extend) an existing array or raid group. For example, if we are using 2 disks in an array to form a raid 1 set, and in some situation if we need more space in that group, we can extend the size of an array using mdadm –grow command, just by adding one of the disk to the existing array. After growing (adding disk to an existing array), we will see how to remove one of the failed disk from array.
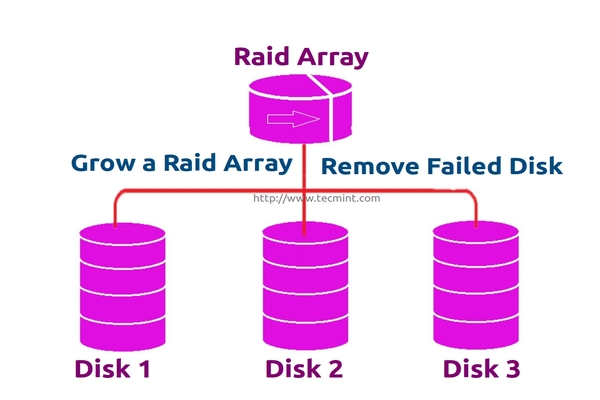
Assume that one of the disk is little weak and need to remove that disk, till it fails let it under use, but we need to add one of the spare drive and grow the mirror before it fails, because we need to save our data. While the weak disk fails we can remove it from array this is the concept we are going to see in this topic.
Features of RAID Growth
- We can grow (extend) the size of any raid set.
- We can remove the faulty disk after growing raid array with new disk.
- We can grow raid array without any downtime.
Requirements
- To grow an RAID array, we need an existing RAID set (Array).
- We need extra disks to grow the Array.
- Here I’m using 1 disk to grow the existing array.
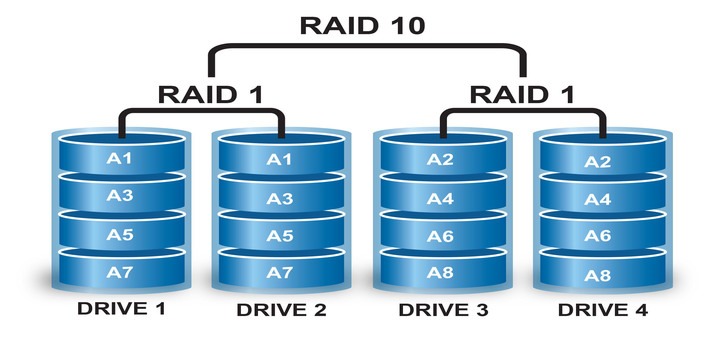
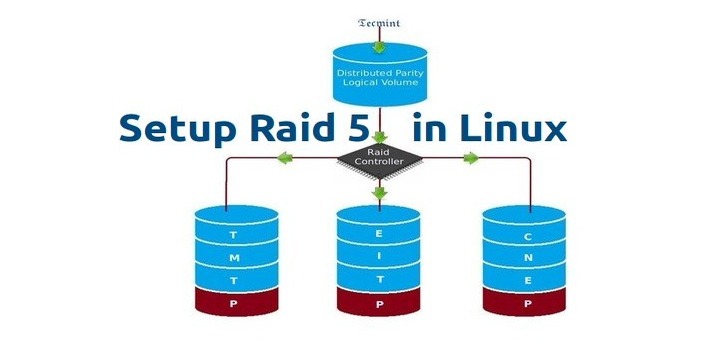
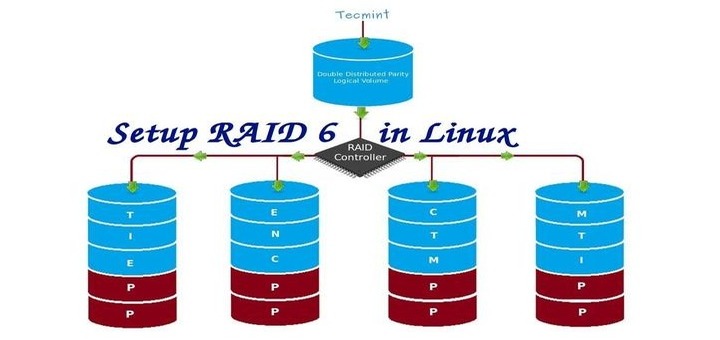
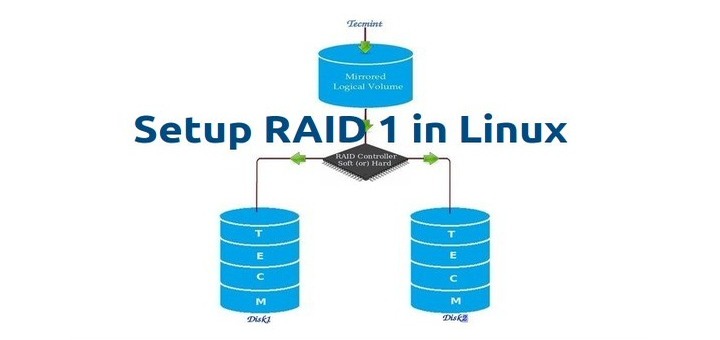
Before we learn about growing and recovering of Array, we have to know about the basics of RAID levels and setups. Follow the below links to know about those setups.
My Server Setup
Operating System 	:	CentOS 6.5 Final
IP Address	 	:	192.168.0.230
Hostname		:	grow.tecmintlocal.com
2 Existing Disks 	:	1 GB
1 Additional Disk	:	1 GB
Here, my already existing RAID has 2 number of disks with each size is 1GB and we are now adding one more disk whose size is 1GB to our existing raid array.
Growing an Existing RAID Array
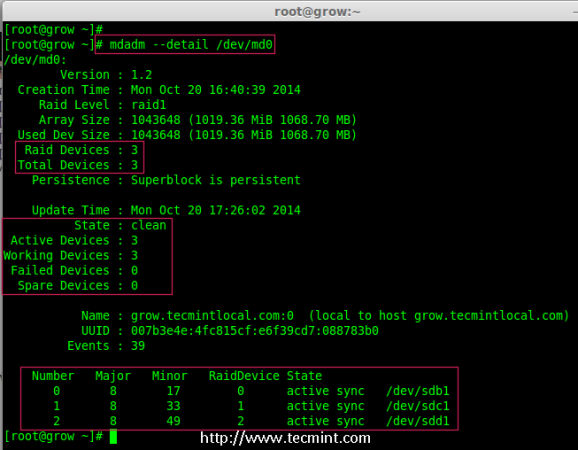
1. Before growing an array, first list the existing Raid array using the following command.
# mdadm --detail /dev/md0
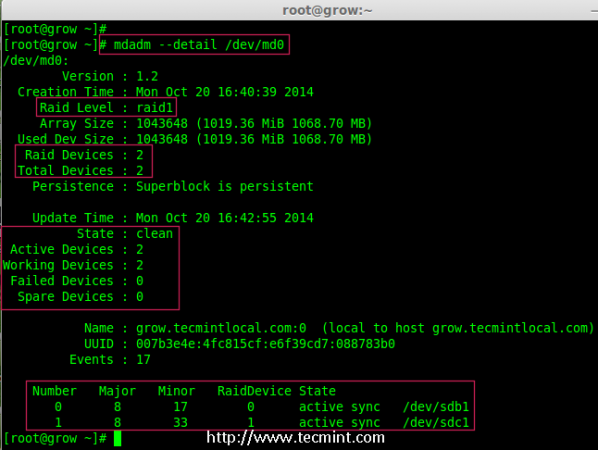
Note: The above output shows that I’ve already has two disks in Raid array with raid1 level. Now here we are adding one more disk to an existing array,
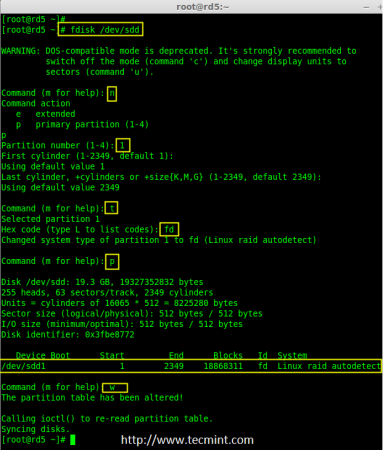
2. Now let’s add the new disk “sdd” and create a partition using ‘fdisk‘ command.
# fdisk /dev/sdd
Please use the below instructions to create a partition on /dev/sdd drive.
- Press ‘n‘ for creating new partition.
- Then choose ‘P‘ for Primary partition.
- Then choose ‘1‘ to be the first partition.
- Next press ‘p‘ to print the created partition.
- Here, we are selecting ‘fd‘ as my type is RAID.
- Next press ‘p‘ to print the defined partition.
- Then again use ‘p‘ to print the changes what we have made.
- Use ‘w‘ to write the changes.
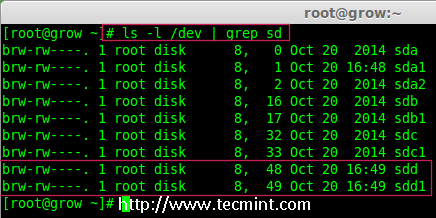
3. Once new sdd partition created, you can verify it using below command.
# ls -l /dev/ | grep sd
4. Next, examine the newly created disk for any existing raid, before adding to the array.
# mdadm --examine /dev/sdd1
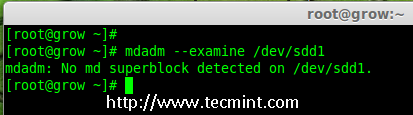
Note: The above output shows that the disk has no super-blocks detected, means we can move forward to add a new disk to an existing array.
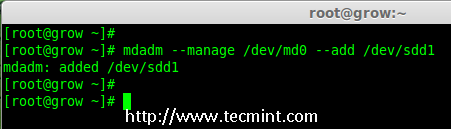
4. To add the new partition /dev/sdd1 in existing array md0, use the following command.
# mdadm --manage /dev/md0 --add /dev/sdd1
5. Once the new disk has been added, check for the added disk in our array using.
# mdadm --detail /dev/md0
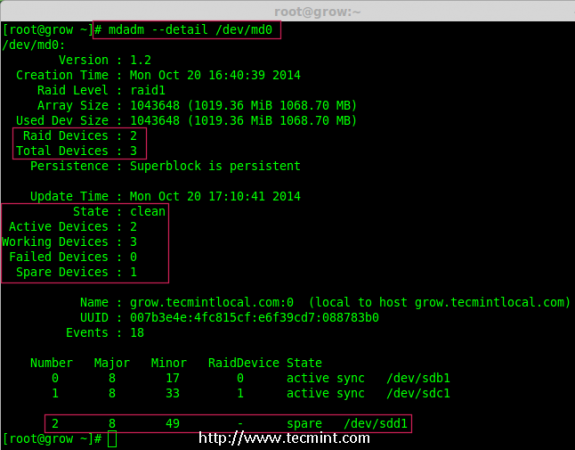
Note: In the above output, you can see the drive has been added as a spare. Here, we already having 2 disks in the array, but what we are expecting is 3 devices in array for that we need to grow the array.
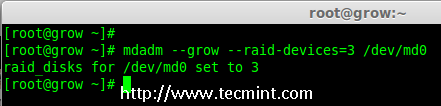
6. To grow the array we have to use the below command.
# mdadm --grow --raid-devices=3 /dev/md0
Now we can see the third disk (sdd1) has been added to array, after adding third disk it will sync the data from other two disks.
# mdadm --detail /dev/md0
Note: For large size disk it will take hours to sync the contents. Here I have used 1GB virtual disk, so its done very quickly within seconds.
Removing Disks from Array
7. After the data has been synced to new disk ‘sdd1‘ from other two disks, that means all three disks now have same contents.
As I told earlier let’s assume that one of the disk is weak and needs to be removed, before it fails. So, now assume disk ‘sdc1‘ is weak and needs to be removed from an existing array.
Before removing a disk we have to mark the disk as failed one, then only we can able to remove it.
# mdadm --fail /dev/md0 /dev/sdc1
# mdadm --detail /dev/md0
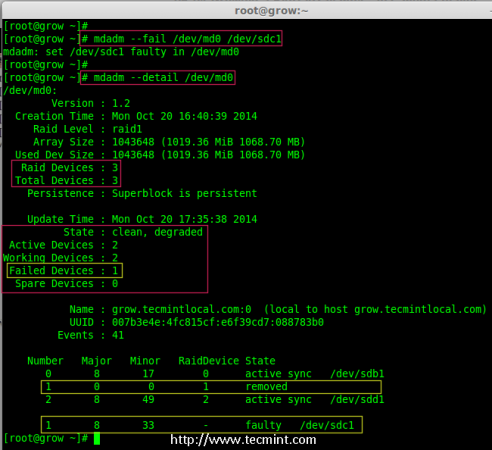
From the above output, we clearly see that the disk was marked as faulty at the bottom. Even its faulty, we can see the raid devices are 3, failed 1 and state was degraded.
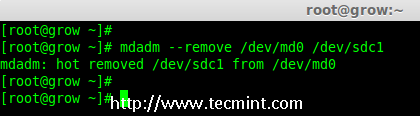
Now we have to remove the faulty drive from the array and grow the array with 2 devices, so that the raid devices will be set to 2 devices as before.
# mdadm --remove /dev/md0 /dev/sdc1
8. Once the faulty drive is removed, now we’ve to grow the raid array using 2 disks.
# mdadm --grow --raid-devices=2 /dev/md0
# mdadm --detail /dev/md0

From the about output, you can see that our array having only 2 devices. If you need to grow the array again, follow the same steps as described above. If you need to add a drive as spare, mark it as spare so that if the disk fails, it will automatically active and rebuild.
Conclusion
In the article, we’ve seen how to grow an existing raid set and how to remove a faulty disk from an array after re-syncing the existing contents. All these steps can be done without any downtime. During data syncing, system users, files and applications will not get affected in any case.
In next, article I will show you how to manage the RAID, till then stay tuned to updates and don’t forget to add your comments.

How can i use this new partition in whm?
What happens in case of no failed drive to be taken out ?? can we add 2 drives to add capacity of the array if it is raid 1 ? Will it synch automatic and give the increased space ?
FYI, I’ve used mdadm for years, including quite a few RAID upgrades for a home user. One awesome thing I’ve found that isn’t talked about much is that a mirror (RAID1) can have 2 or more disks. So instead of marking one faulty and pulling it, just add a third (or fourth) drive to the mirror. Only once the mirror is sync-ed again, then remove the 1st drive. This way you always have your mirror in place while upgrading to bigger disks.