Everyone has a collection of movies, songs, music videos, pictures, and more. Many people wonder how they can stream this content to all their home devices.
The solution is to use Plex Media Server, which allows you to stream your videos over a LAN network in your home to devices such as smart TVs, iPads, mobiles, tablets, and laptops.
In our previous articles, we covered how to install TrueNAS Server and configure ZFS and NFS storage shares.
In this post, we will show you how to set up a home-based streaming server using the Plex Media Server plugin in TrueNAS.
Hardware Requirements
At a minimum, you’ll need one hard drive to store your media files, which can be either a traditional HDD or an SSD based on your performance needs and budget.
For a more robust setup, using at least two disks to enable a RAID configuration, such as RAID 1, which provides redundancy by keeping your data safe on the remaining disk if one fails.
The number of disks you need will also depend on the size of your media library. For instance, if you have a large collection of 4K movies, you’ll require more storage space compared to a collection of standard HD content.
Step 1: Creating a Storage Pool for Plex
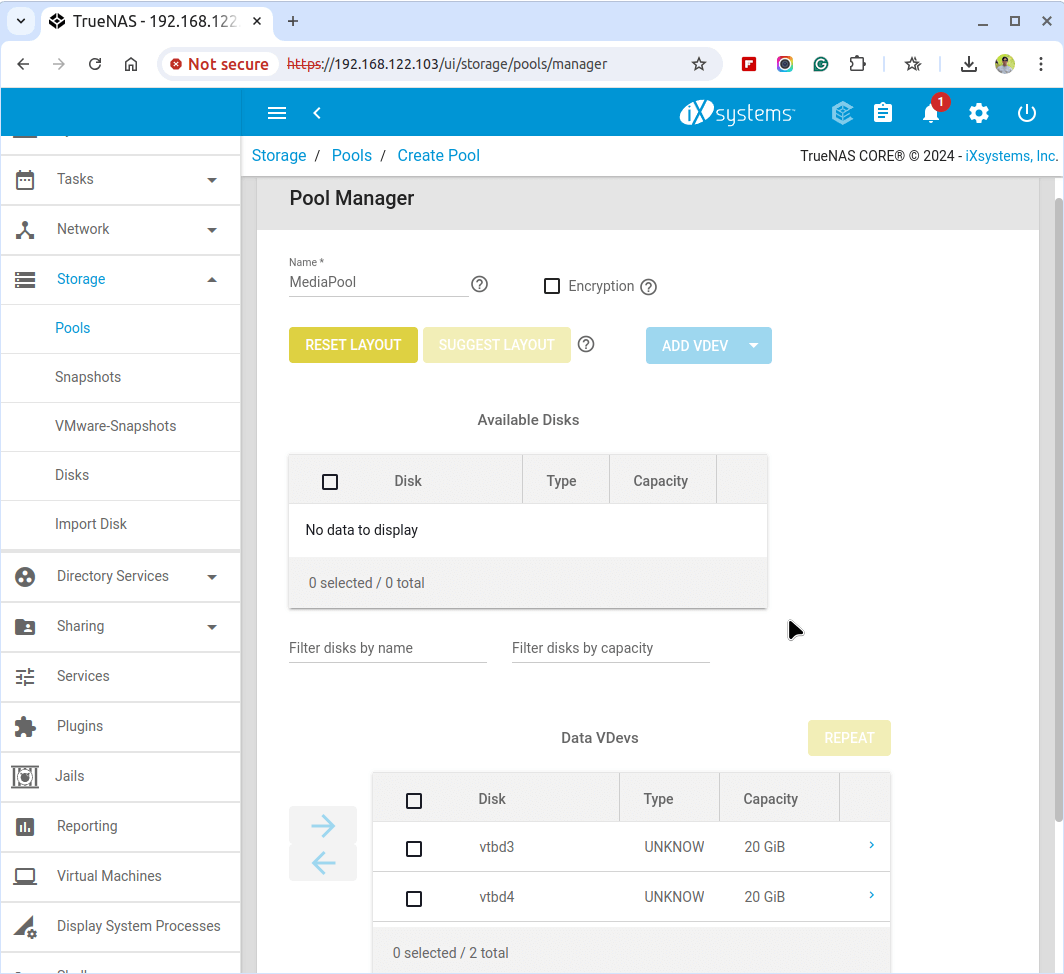
To create a storage pool for your Plex media, you’ll need to connect additional drives for storing your media files (the capacity should be based on your needs). For my setup, I am using two 20GB drives to create a Plex pool using the RAID1 mirror method.
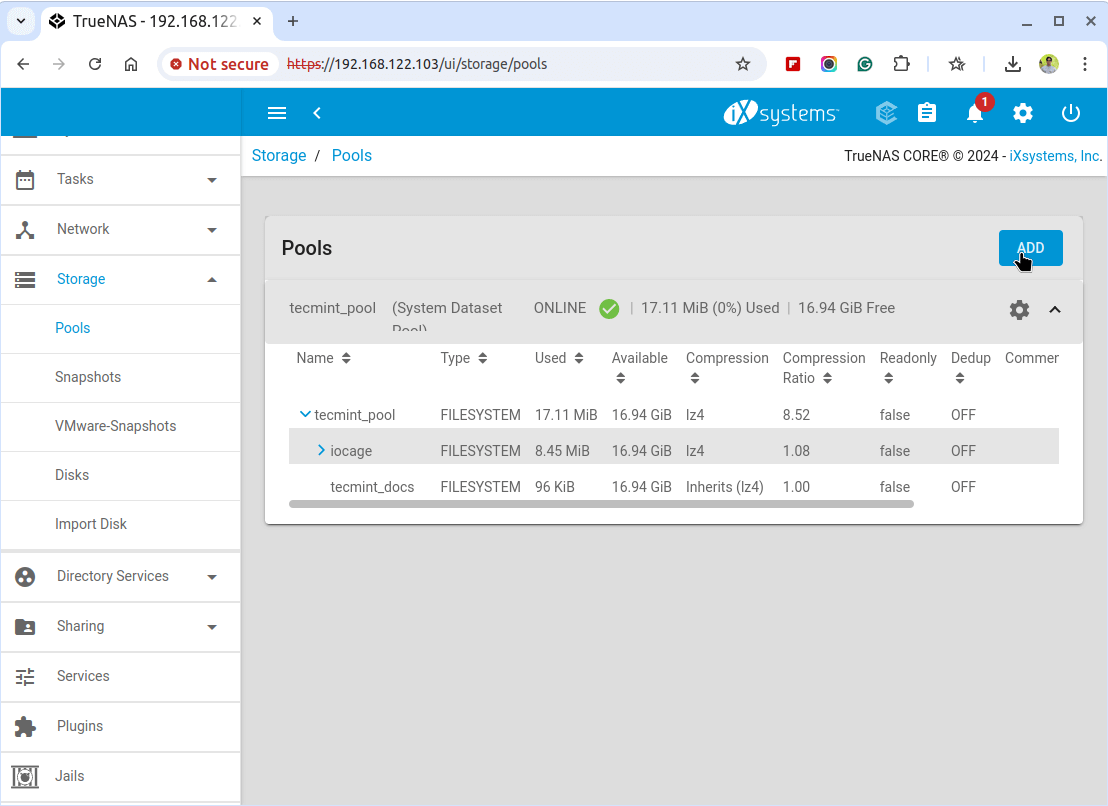
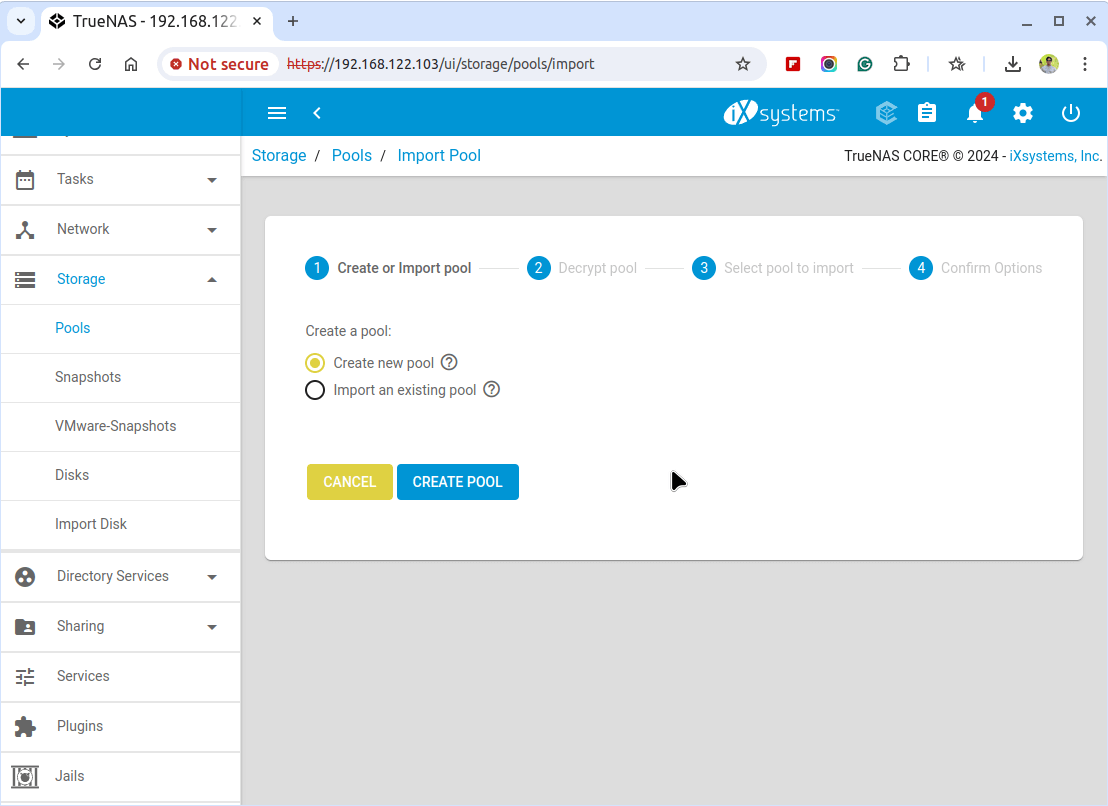
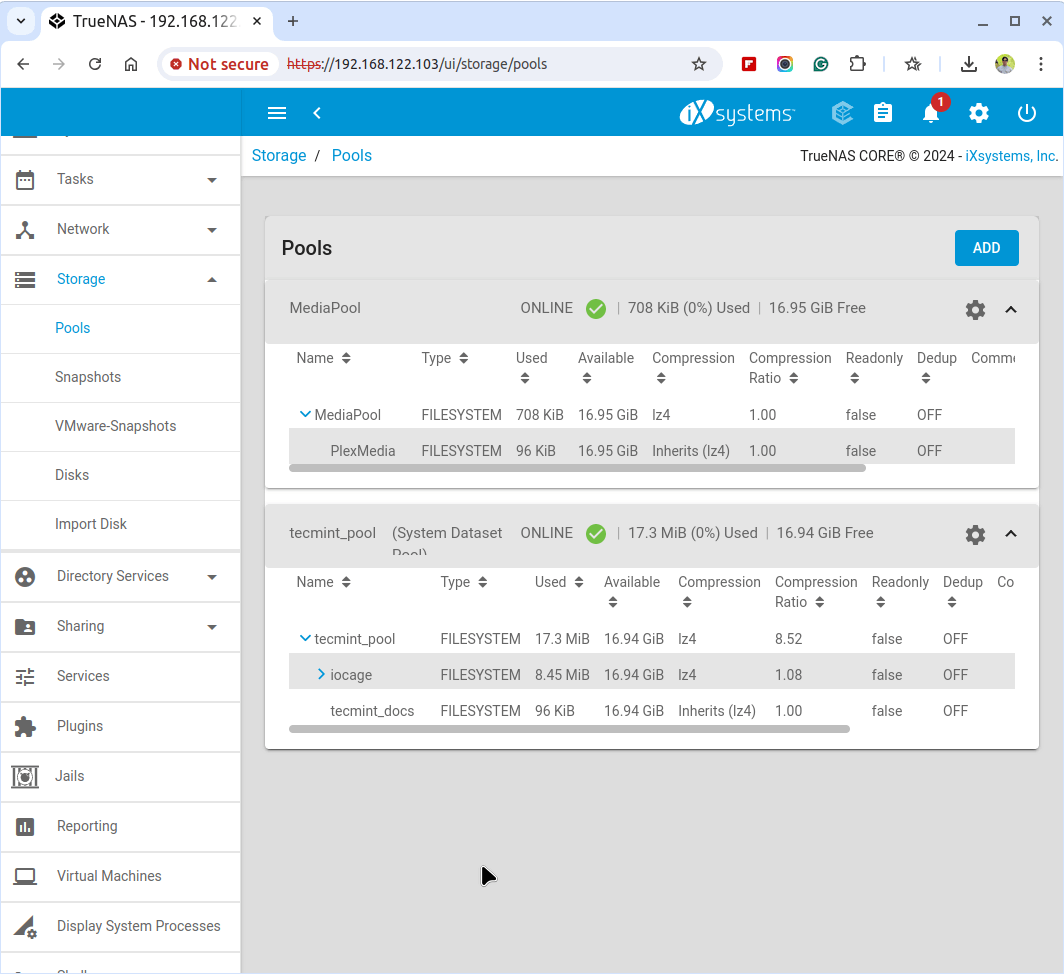
Open a web browser, navigate to your TrueNAS server’s IP address, and log in with your admin credentials. Then, go to the “Storage” > “Pools” and click on the “Add” button.
Next, enter a name for your pool (e.g., “MediaPool”) and select your two 20GB disks from the list of available disks. Click “Add Vdev” to include these disks in your pool, then click “Create” to finalize the setup.
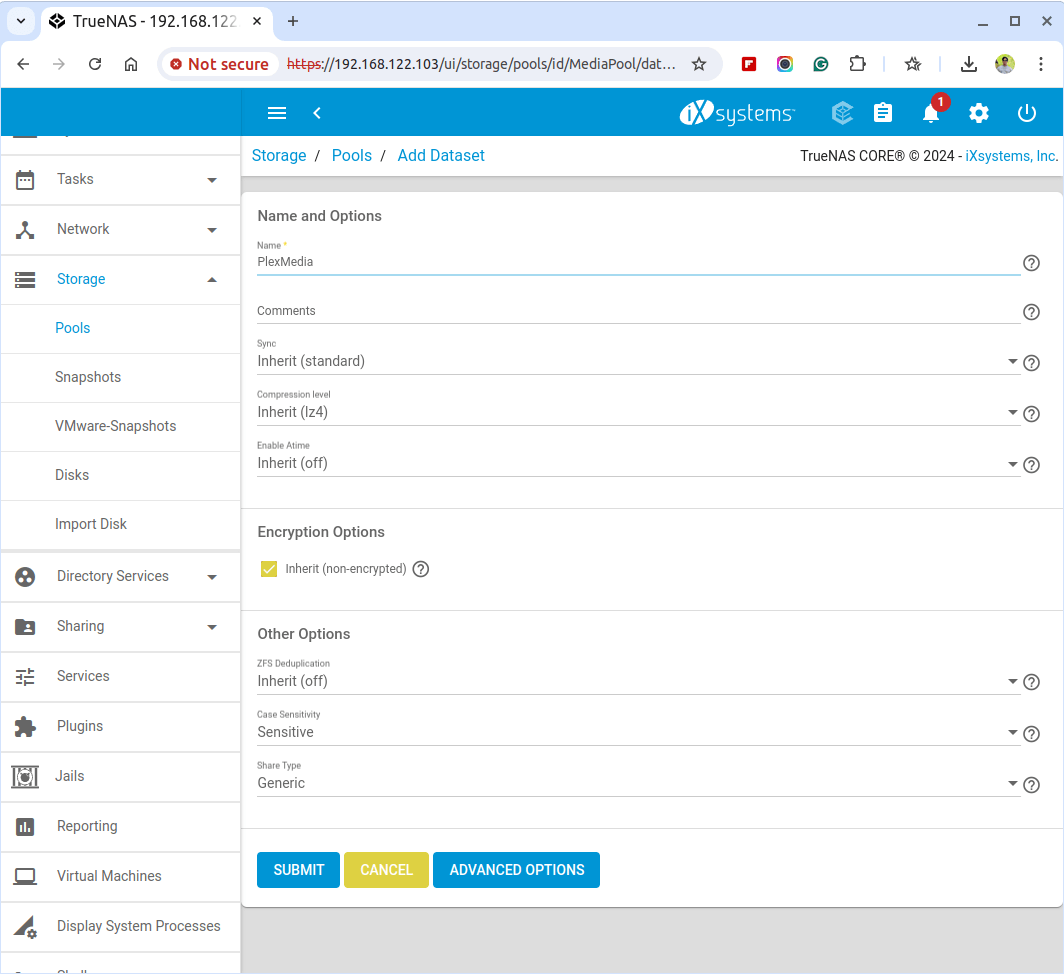
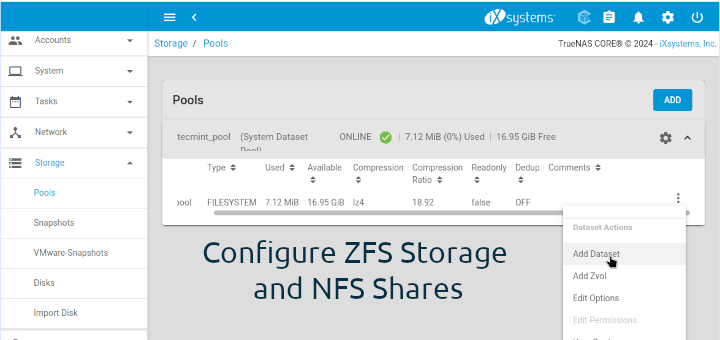
Step 2: Creating a Datasets for Plex
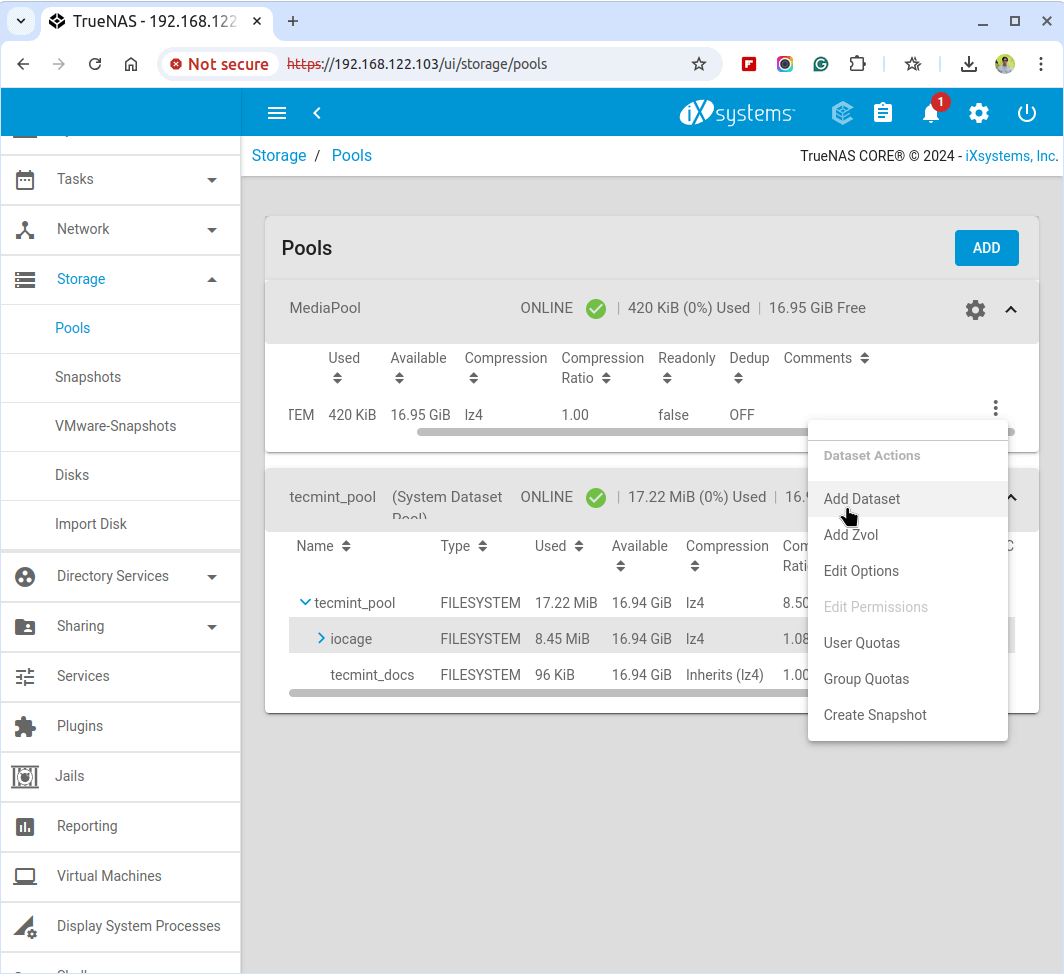
Navigate to your newly created MediaPool, click on Add Dataset, enter a name for the dataset (e.g., PlexMedia), configure the settings as needed, and then click “Save” to create the dataset.
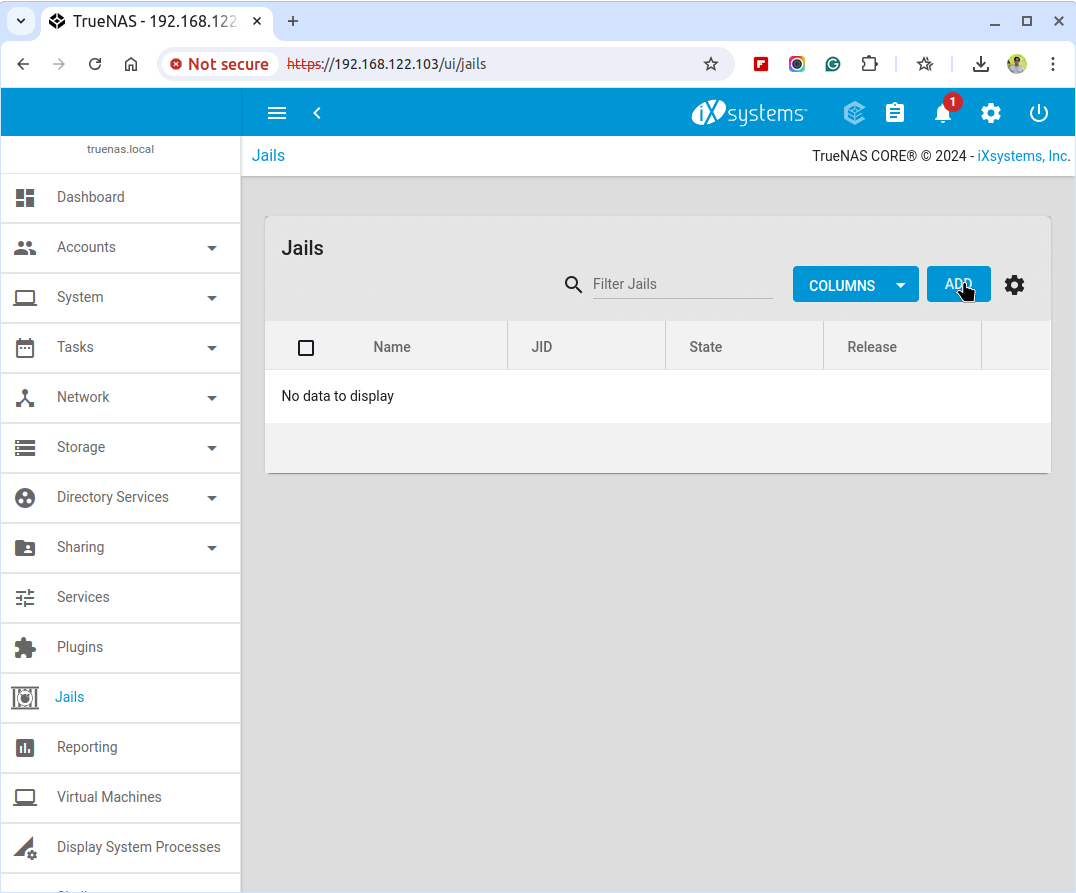
Step 3: Creating a Jail for Plex
A jail is an isolated environment within TrueNAS that allows you to run applications like Plex without affecting the rest of the system.
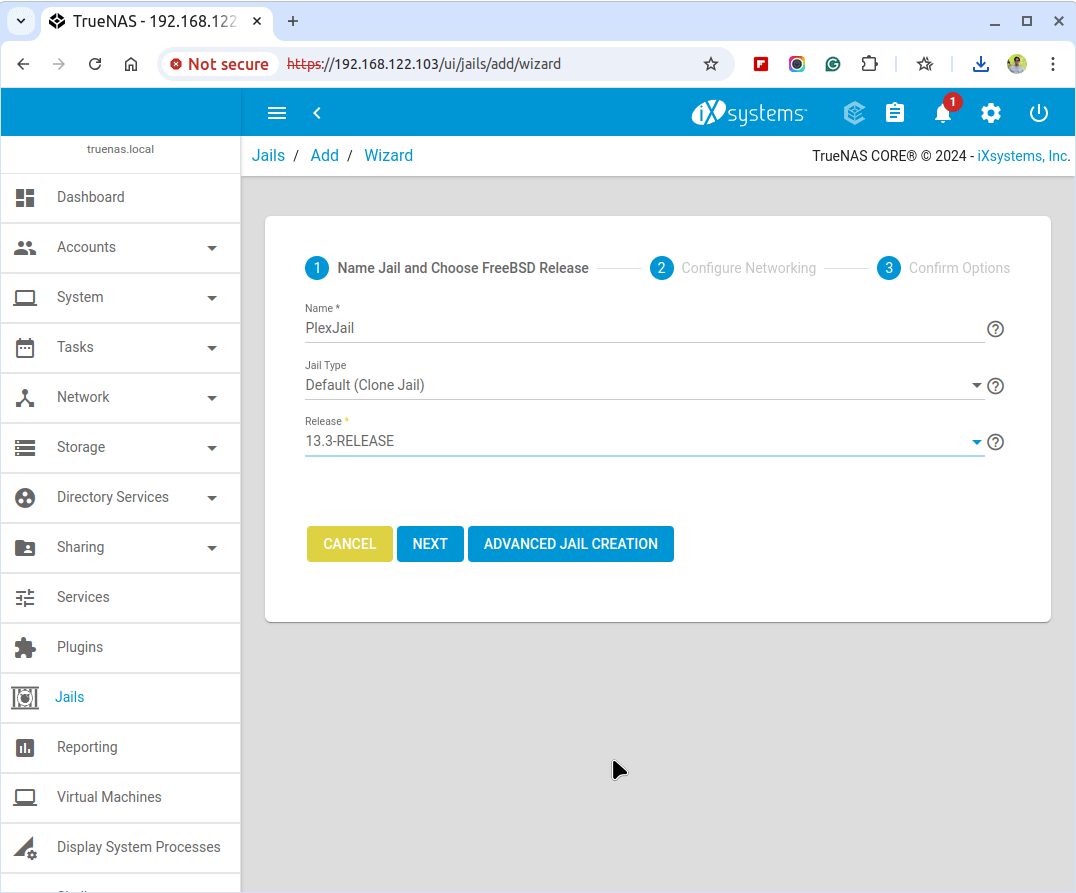
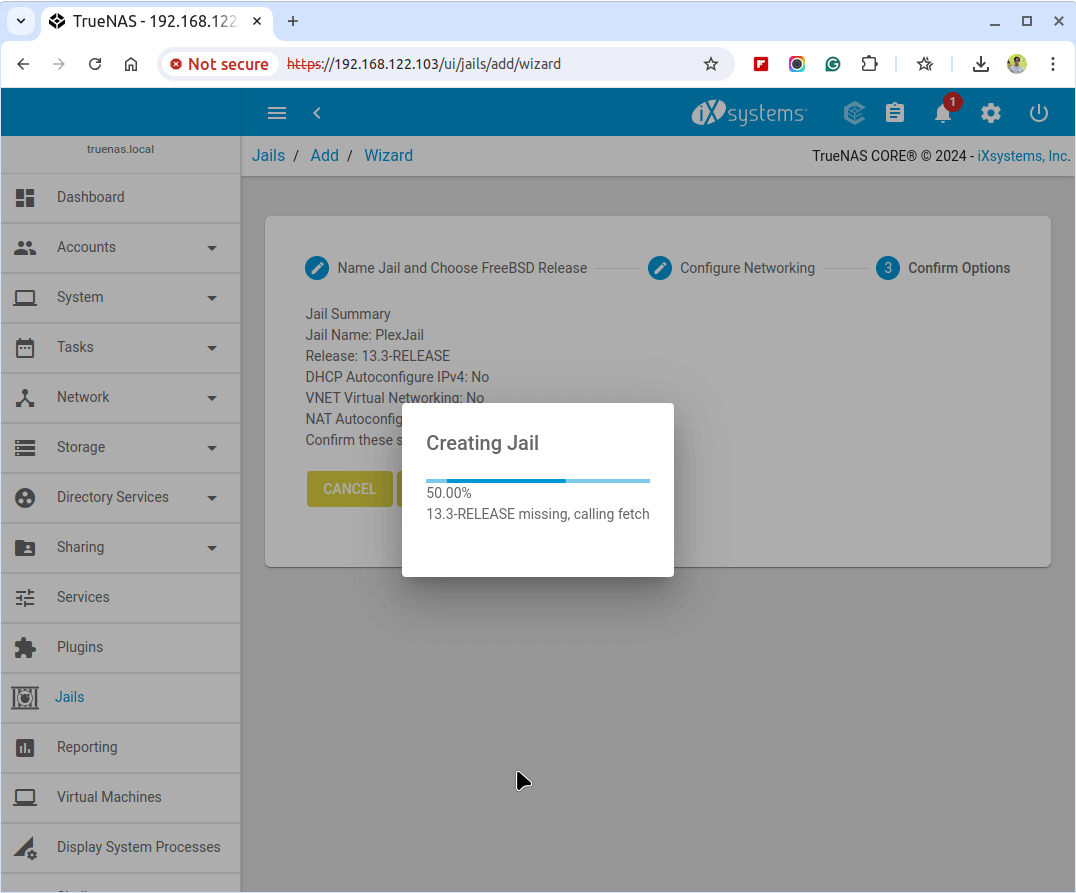
To create a Jails, navigate to Jails and click on “Add” to create a new jail.
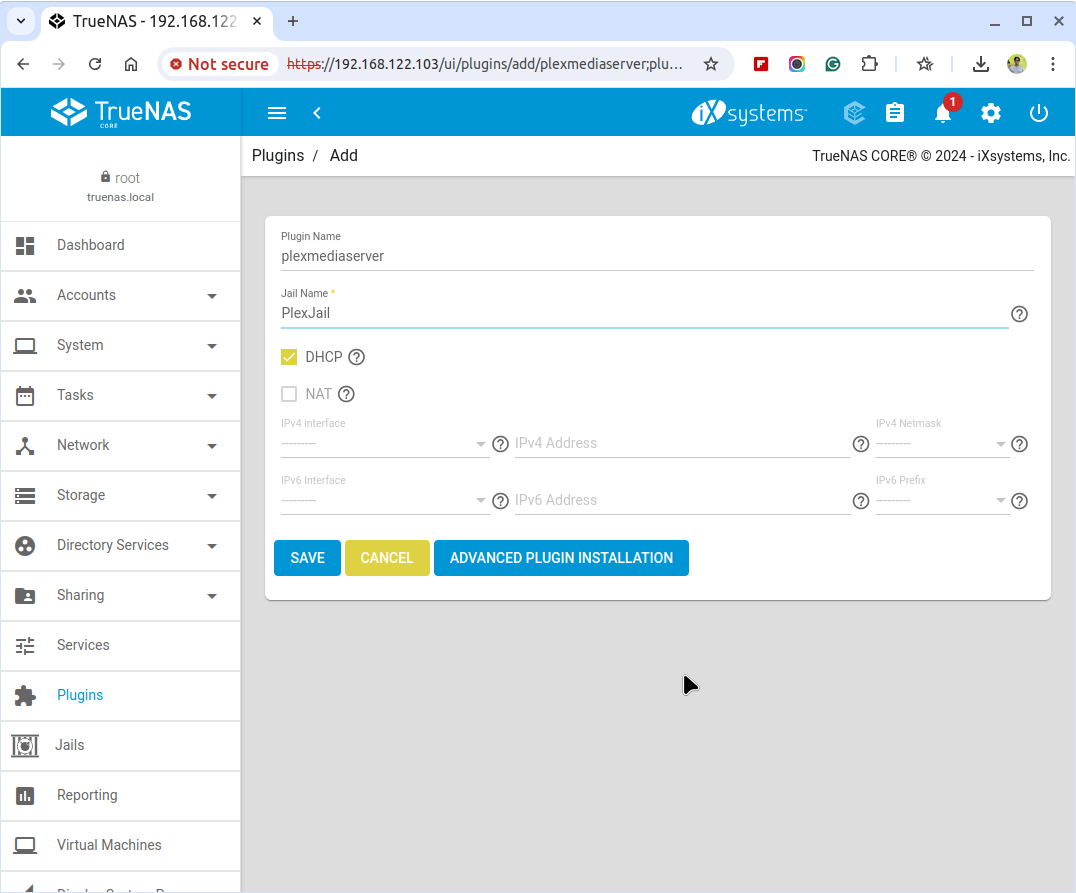
Next, enter a name for the jail (e.g., “PlexJail”) and configure the settings as needed.
Step 4: Installing Plex Media Server on TrueNAS
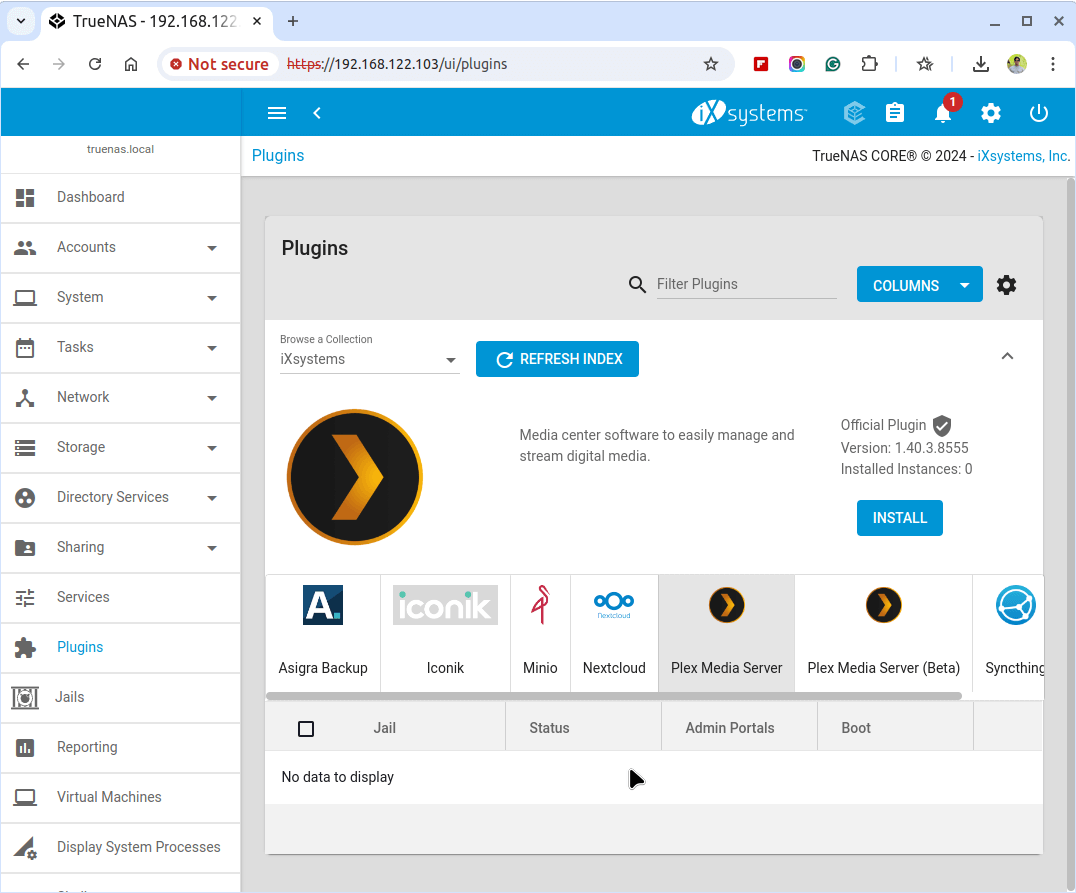
Once the jail is created, navigate to Plugins, search for Plex Media Server among the available plugins, click Install, and follow the prompts to complete the configuration.
Next, choose the option to install Plex within the jail you created (e.g., “PlexJail”).
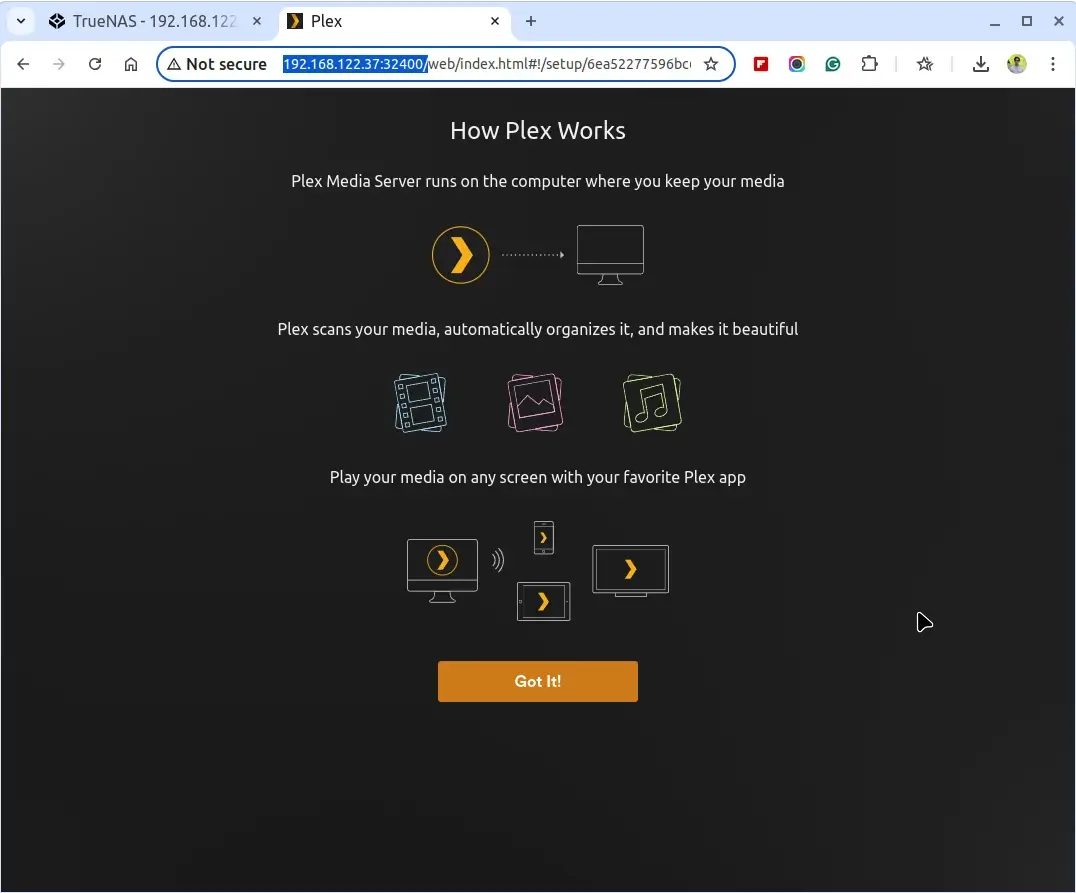
After installation and configuration, open a web browser and navigate to the following URL, make sure to replace jail_ip with the IP address of your PlexJail.
http://http://192.168.122.37:32400/web)
Step 5: Adding Media Files to Plex
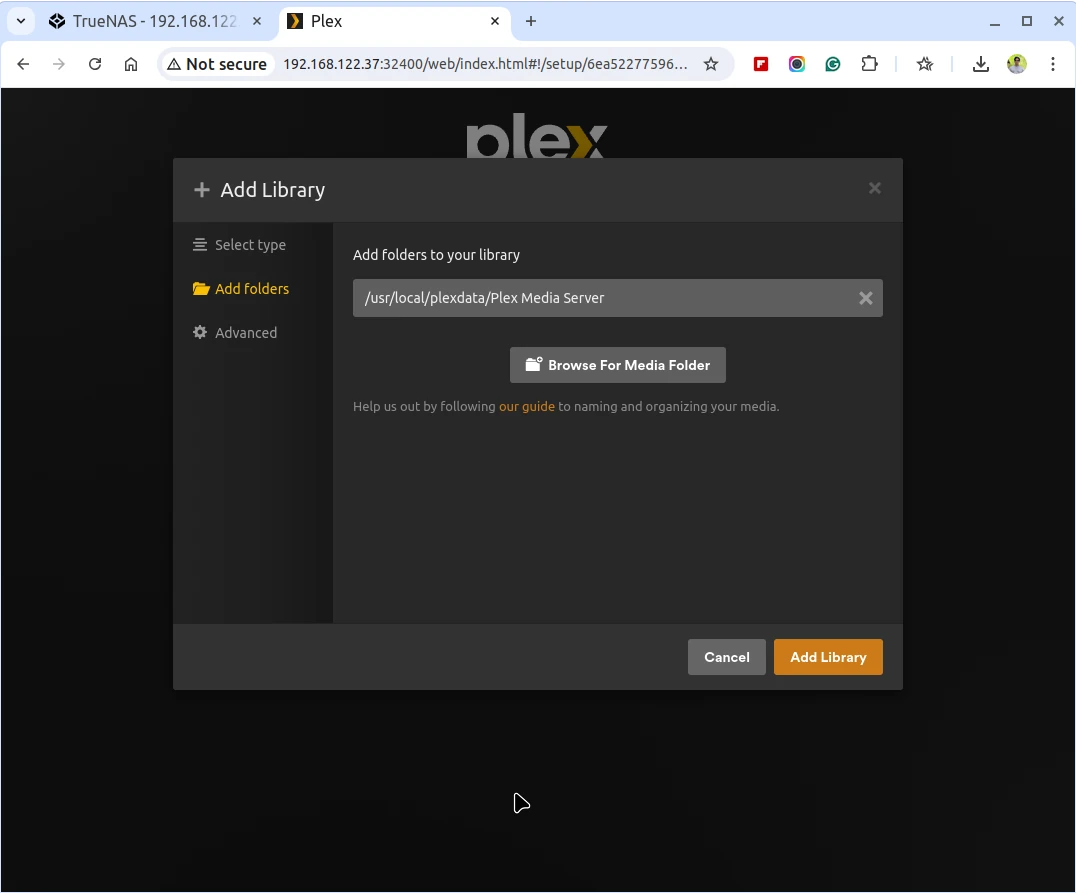
In Plex, navigate to “Settings” and then “Libraries,” click “Add Library,” and choose the type of media you want to add, such as Movies or TV Shows.
Next, browse and select the dataset you created earlier, for example, “PlexMedia”, it will then scan this dataset for media files and add them to your library.
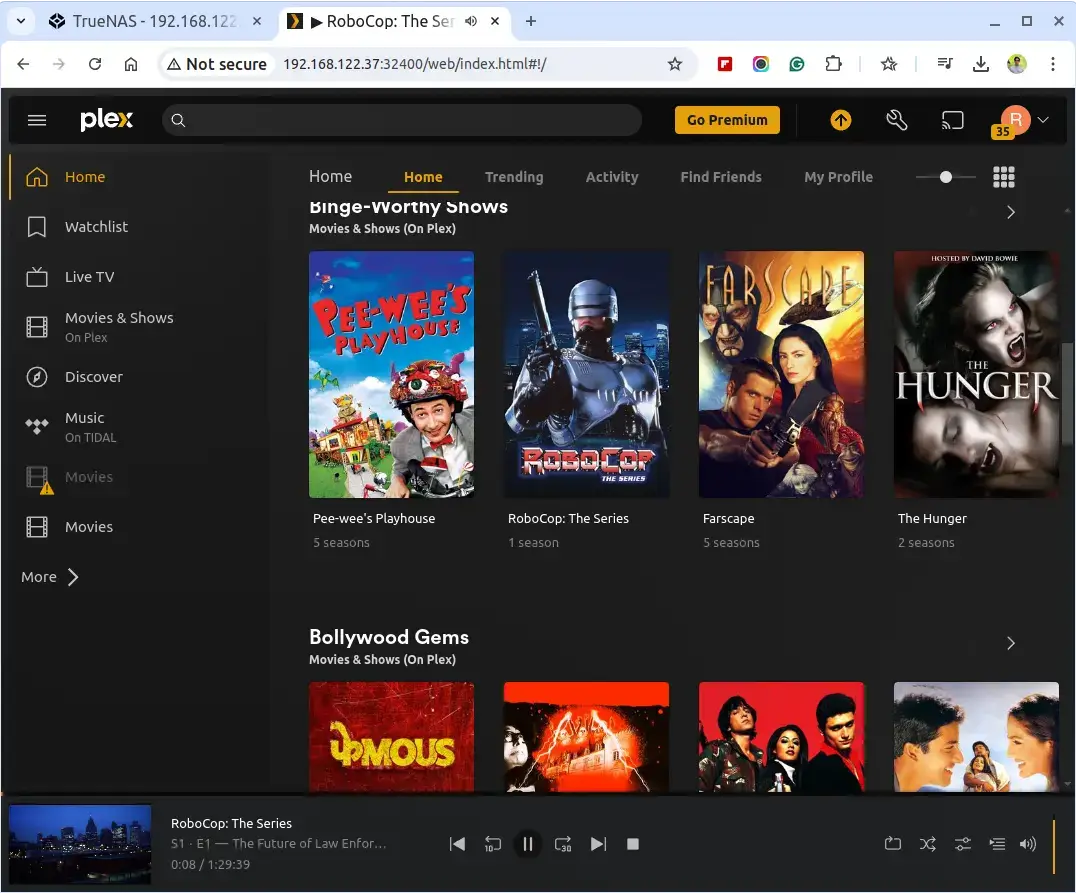
Now that Plex is set up and your media is organized, you can access it from any device connected to your network. First, install the Plex app on your phone, tablet, or smart TV. Then, open the app and sign in with your Plex account. You should now see your media libraries and can start streaming content.
Conclusion
You’ve successfully set up a home media streaming server using Plex with TrueNAS. You can now enjoy streaming your favorite movies, TV shows, and more from any device connected to your network.
Hi, please help me at Plex plugin part.. it’s not working for me :( I’m almost there :'(
@Panpan,
Are you getting any errors? Could you please share with us?
Hello, i got it already. Turns out i’m using FreeNAS x86 that’s why the plugins doesn’t work. Thanks :)
Wozza, i had that same problem. It’s very simple. If you click on plexmedia and it asks you something about security you followed the steps on page 2. When u did that the service automatically turned off again. So u need to again turn the plugin on. Then it will work! Awesome tutorial, set it all up in my house. Thanks!
Followed to the letter, but does not work. Fresh install of FreeNAS 9.10, but when you click on the link to go to the Plex Media setup screen, just comes up with “Page not found”. Can’t see why :(
Turn the service Plex on again. It automatically turned off when u clicked ok and then tried to click on ‘here’ for plex media. Check the plugin, its turned off.
I don’t get it how this is a streaming server. This is just a storage solution.
I don’t get what you don’t get. The Plex Media Server plugin allows your server to transcode and stream content from your server to other devices (PS3, Roku, SmartTVs, Xbox One etc)
No I’m in the same boat here – I guess the question (and step that has been omitted) is once I’ve done all of that, where do I put my media files so that my Xbox can see them on the DLNA server?
@Bob read from the below Link @ Page 3 step 21
https://www.tecmint.com/home-media-streaming-server-using-plex-with-freenas/3/