AlmaLinux is a free and open-source community-driven operating system developed as a perfect alternative to CentOS 8 which RedHat discontinued in favor of CentOS Stream. It is 1:1 binary compatible with RHEL and is built to support enterprise and production-grade workloads.
AlmaLinux first graced the Linux community on 30th, March 2021 with AlmaLinux 8.4 as the first release. AlmaLinux 9 was released on 26, May 2022. Codenamed Emerald Puma, AlmaLinux 9 provides an array of new features and enhancements to improve user experience and functionality.
In this guide, we will walk you through the installation of AlmaLinux 9.0.
Prerequisites
Before you get started, ensure that you have the following:
- A 16 GB USB drive to serve as the installation medium.
- a Fast and reliable internet connection for downloading the ISO image.
Additionally, ensure that your system meets the following minimum requirements.
- Minimum of 2GB of RAM.
- Minimum of 1 GHz Dual-core processor.
- 20 GB of free hard disk space.
Step 1: Download AlmaLinux 9 ISO Image
The first step is to download the AlmaLinux ISO image. Once you have downloaded the image, create a bootable USB drive using one of the free useful tools for creating a bootable USB.
With the installation medium ready, plug it in and reboot your PC. Ensure that the BIOS is configured to boot from the USB installation medium by setting the medium as the first boot priority.
Step 2: Boot the System with AlmaLinux 9
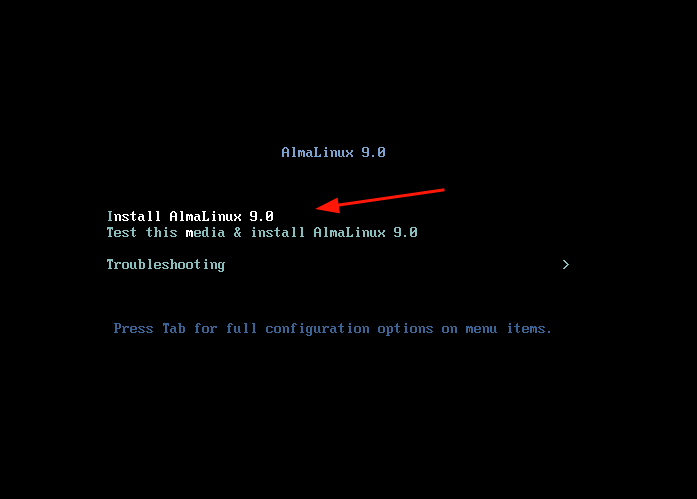
Once your system boots, the following screen will be shown. Select the first option on the list ‘Install AlmaLinux 9.0’.
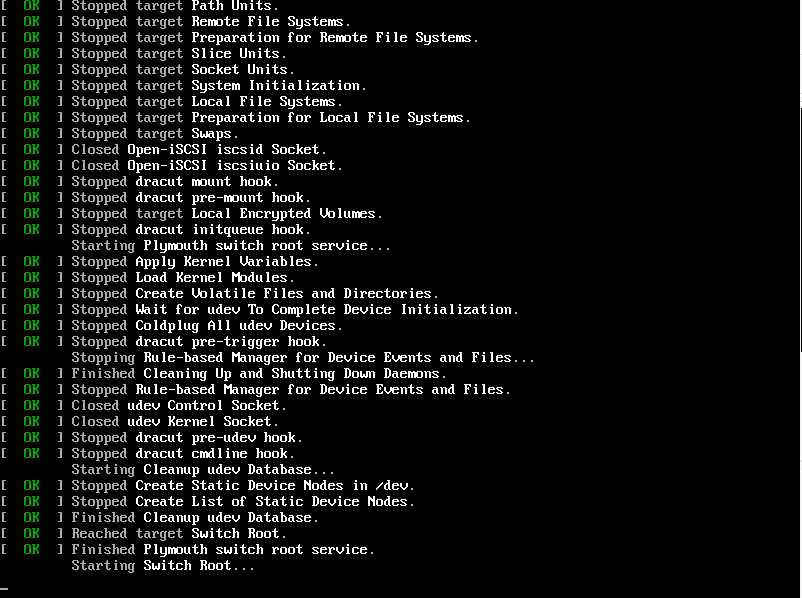
Thereafter, some boot messages will appear on the screen.
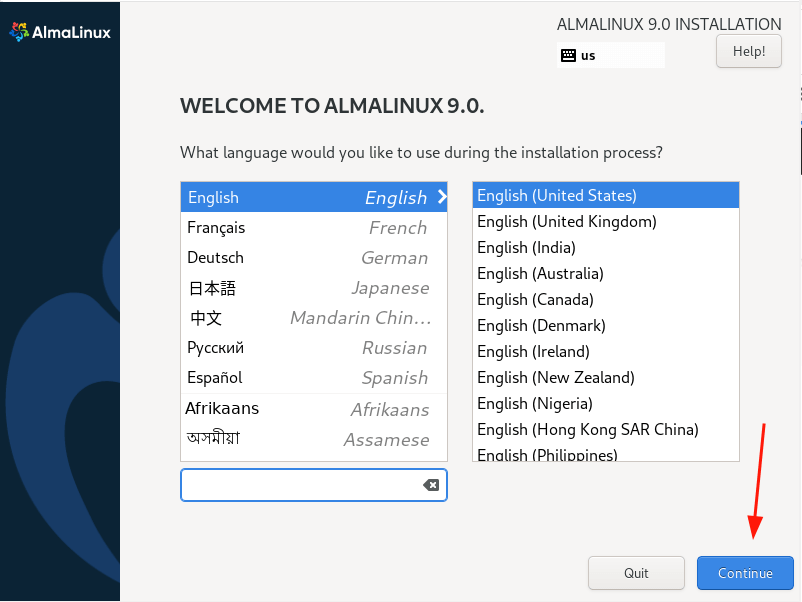
Next, select your preferred language from the list and then click on the ‘Continue’ button.
Step 4: Disk Partitioning of AlmaLinux 9
The next step presents you with an installation summary that is broken down into four sections as follows.
- LOCALIZATION
- SOFTWARE
- SYSTEM
- USER SETTINGS
We will pay attention to three items that are mandatory before proceeding with the installation and these are:
- Installation Destination (Configuring Partitioning).
- Setting up the Root Account.
- Setting up the Regular account.
The other default settings will work just fine and can be configured later after installation.
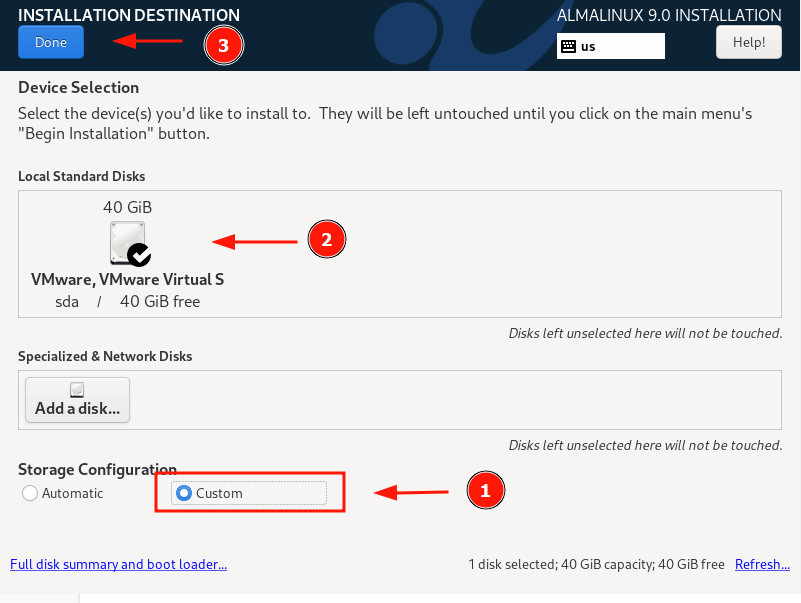
To proceed, click on ‘Installation Destination‘. By default, the partitioning is set to Automatic, which means that the installer creates partitions automatically on the selected disk. If you wish to go with this option, ensure that the ‘Automatic’ option is selected as shown.
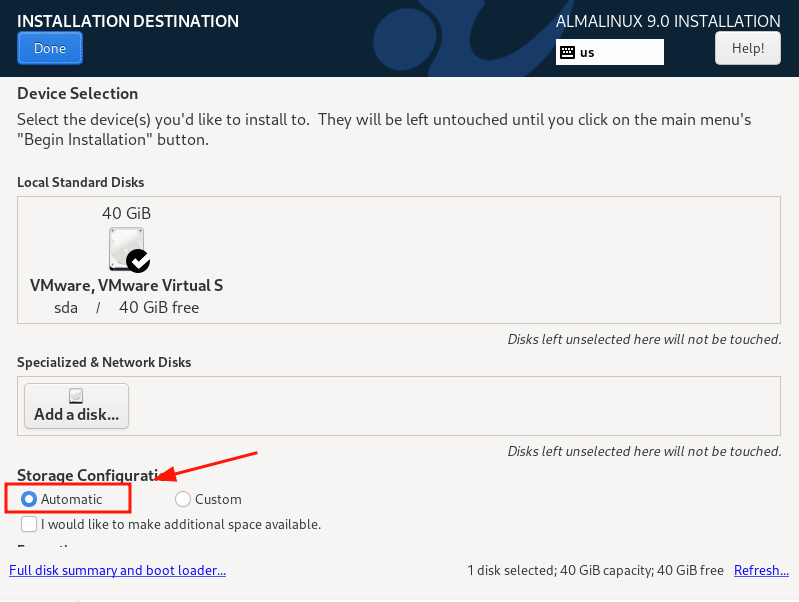
Otherwise, if you wish to manually create your own partitions, select the ‘Custom’ option. And this is the direction we are taking to demonstrate to the less skilled users how to manually partition the hard drive during installation.
Next, ensure the hard drive is selected, and then click ‘Done’.
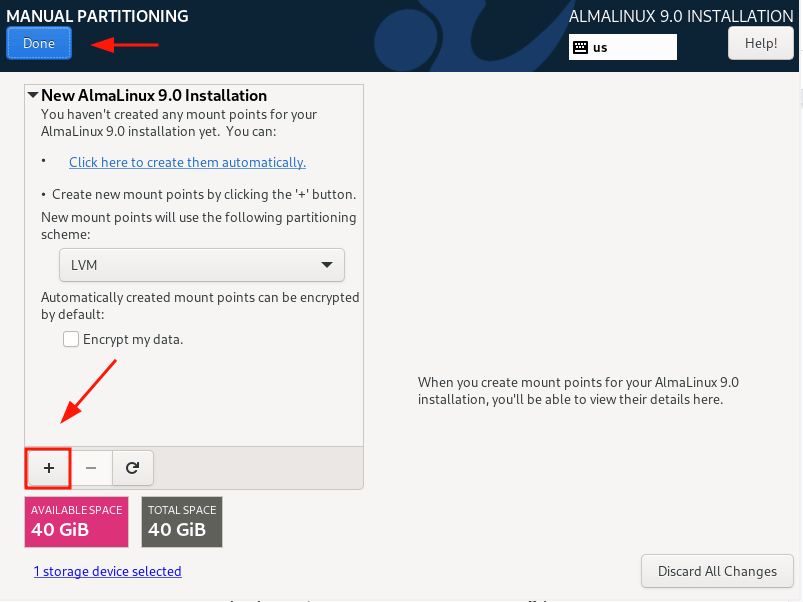
This takes you to the ‘Manual Partitioning’ section. The LVM partitioning scheme is selected by default, which will work just okay,
To start creating the partitions, click on the plus [+] sign.
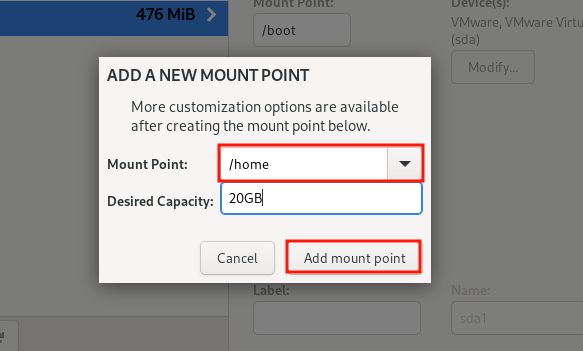
In this guide, we will manually partition the disk by creating the following separate partitions.
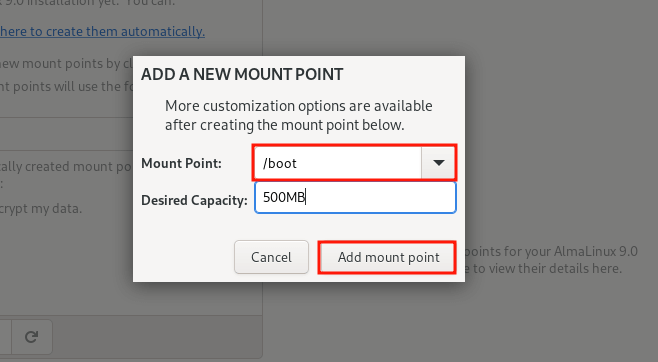
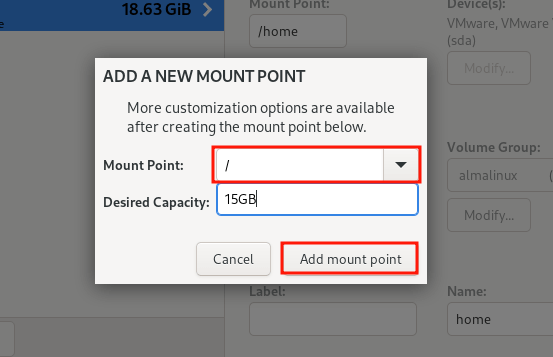
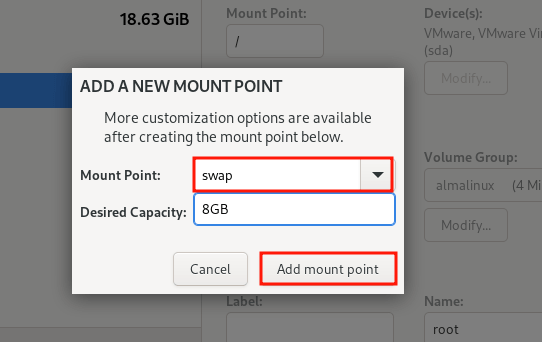
/boot -	500MB
/home -	20GB
/     -	15GB
Swap -  8GB
Specify the /boot partition on the pop-up that appears as shown.
The partition table below shows the /boot partition that we have just created.
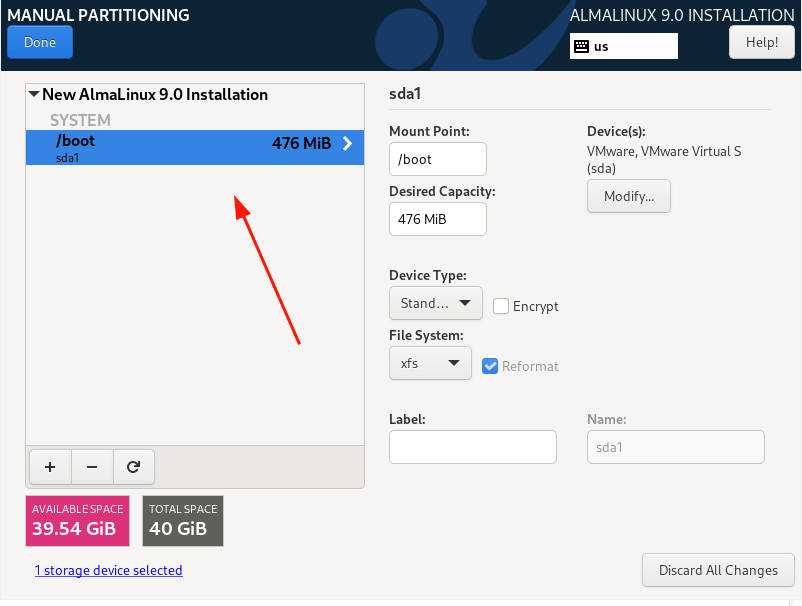
Repeat the same steps and create the /home, / (root), and swap mount points.
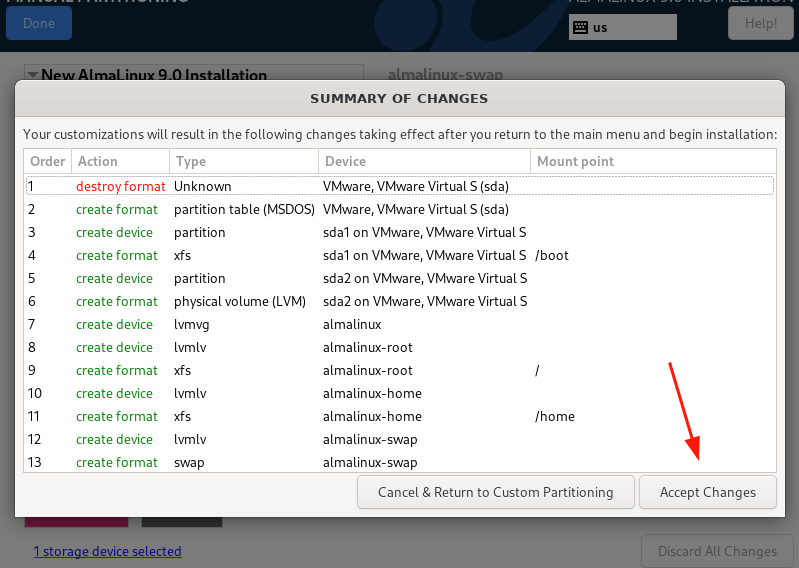
Once all the partitions are created, click on ‘Done’ to save the changes.
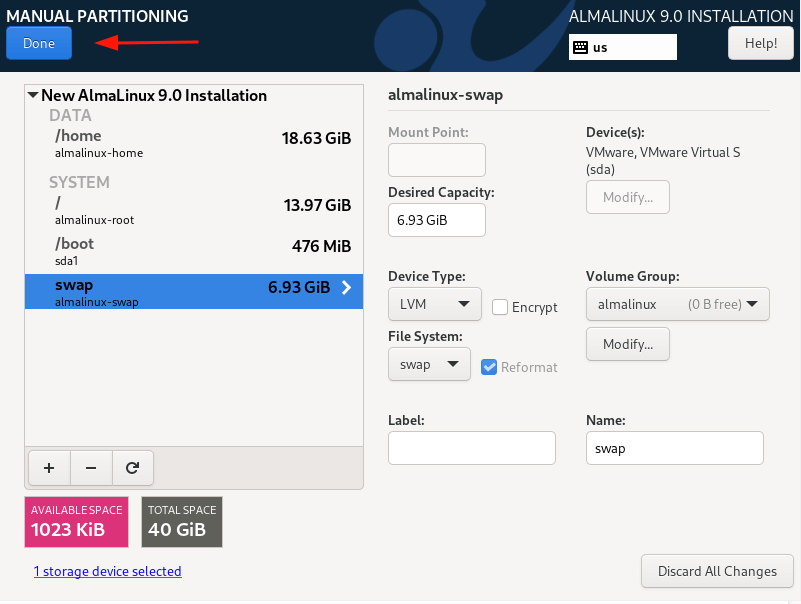
Then click ‘Accept Changes’ to write the changes to the hard disk.
Step 4: Configure User Settings
Next, we are going to configure user settings starting off with the root password. So, click on the ‘Root Password’ icon.
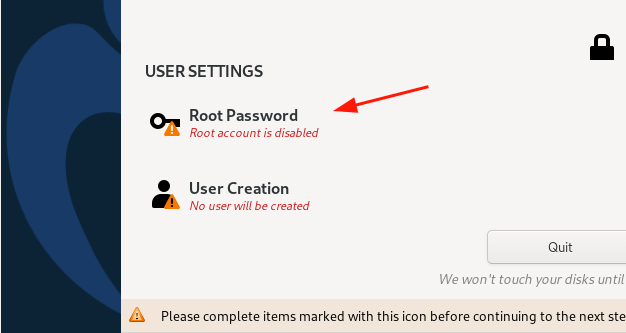
By default, the Root account is locked and the SSH root login is disabled by default.
To unlock it, provide the root password and confirm it. Feel free to decide whether to allow remote login by root user over SSH. In this case, we have enabled remote root login.
Then click ‘Done’.

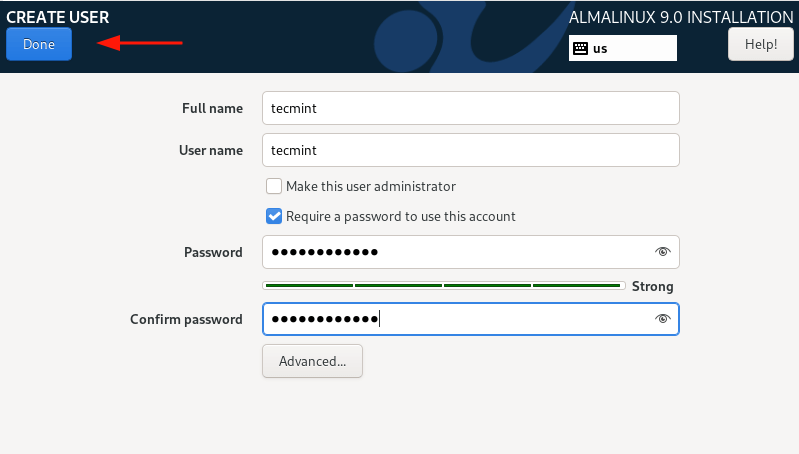
Next, create a regular login user by selecting ‘User creation’. Provide the username and password details of the user and click ‘Done’.
Step 5: Begin AlmaLinux 9 Installation Process
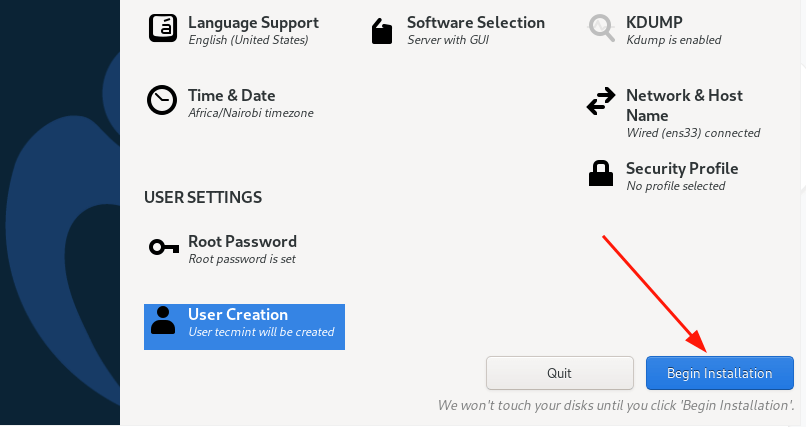
Now that we have configured the necessary parameters for the AlmaLinux 9 installation, click on ‘Begin Installation’ to continue.
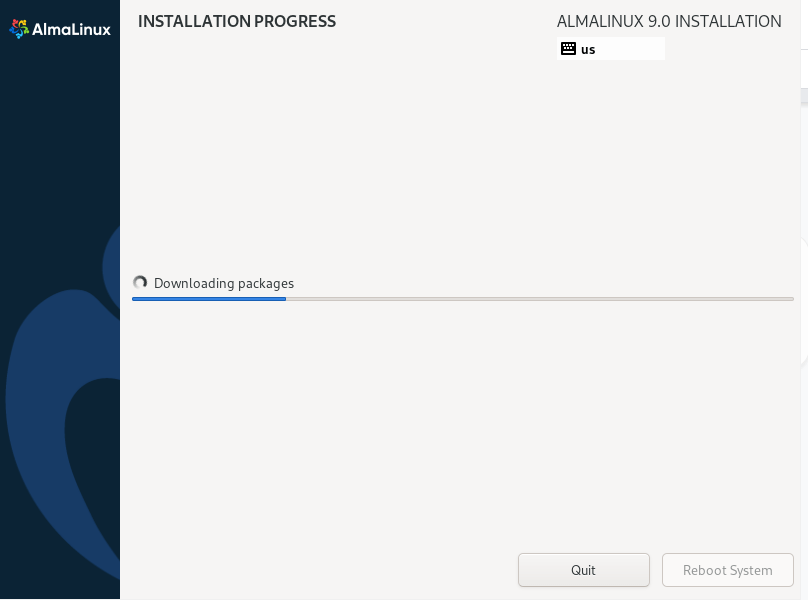
The installation will take a while as the installer downloads and installs all the required packages from the ISO image. At this point, you can take a breather and grab some coffee.
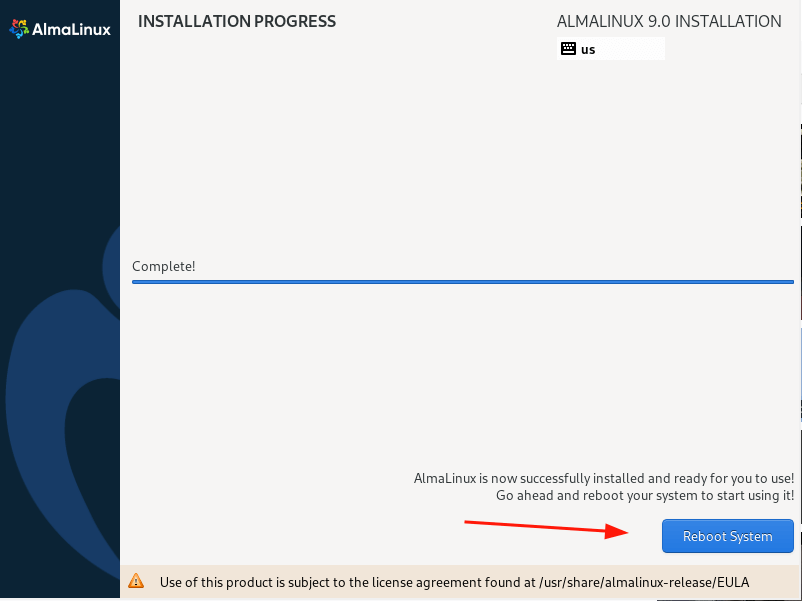
Once the installation is completed, click on ‘Reboot System’ to reboot the system in order to log in to your fresh installation of AlmaLinux 9.
Step 6: Log In To AlmaLinux 9
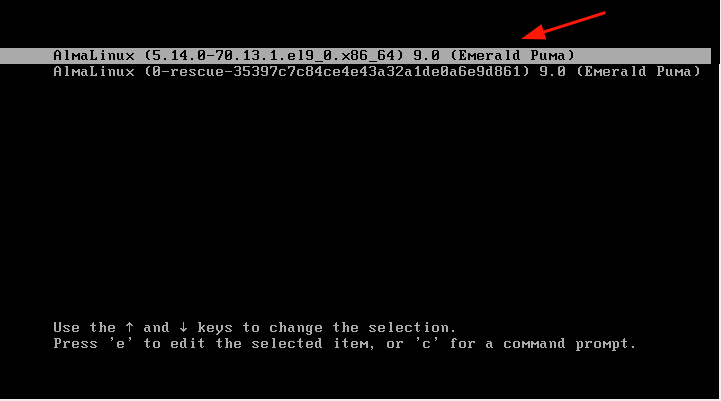
Once the reboot is complete, you will be presented with the grub menu as shown. Be sure to select the first option and hit ‘ENTER’.
Next, log in using the login credentials for the regular user that you created.

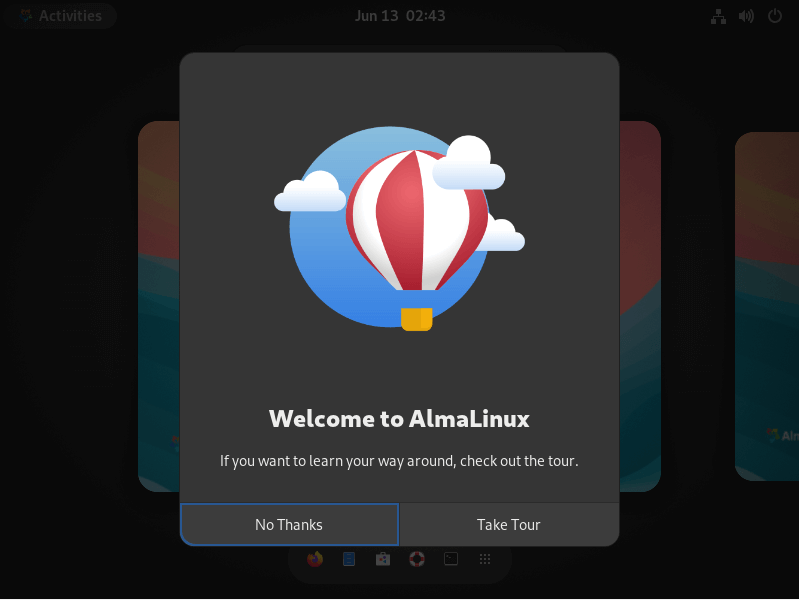
Once you have logged in, a Welcome Tour wizard will be displayed on your screen. You can take the Tour or decline. In this case, we will decline by clicking on ‘No Thanks’
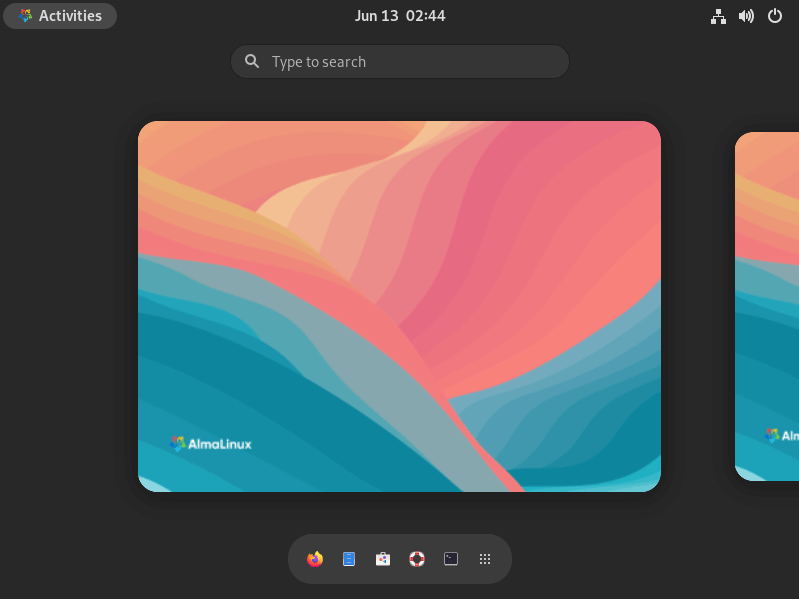
This will present to you the AlmaLinux 9 desktop. Notice how different it looks from previous releases thanks to the new-look GNOME 42 which also features in RHEL 9.
Feel free to confirm system information by opening the terminal and running the following command:
$ cat /etc/redhat-release
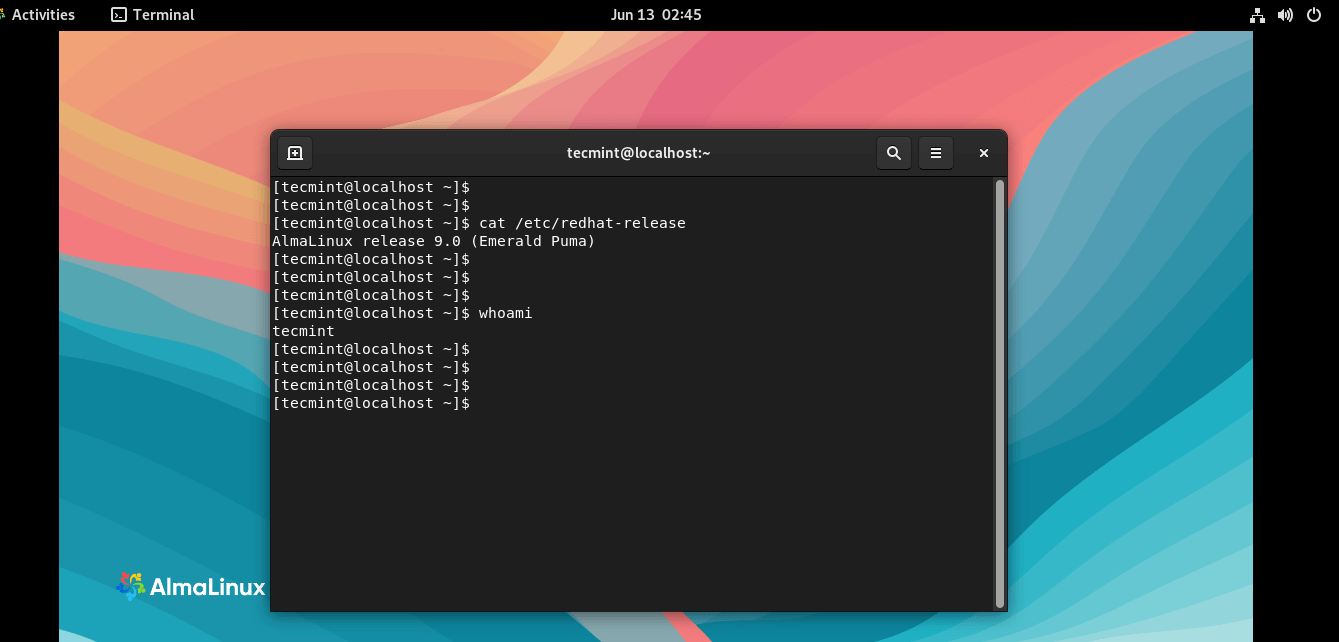
And that’s it, guys. We have successfully installed AlmaLinux 9. Feel free to explore the new-look GNOME 42 and savor the new desktop background and other graphical elements.


It’s very hard for me but now all is clear!
Thanks for the resources!
Thank you, Williams. We hope you have managed to install AlmaLinux on your system comfortably.