Apache Cassandra is a robust free and opensource NoSQL database that stores data in key-value pairs. Cassandra was initially developed by Facebook and later on acquired by Apache Foundation.
Apache Cassandra is built to provide consistency, horizontal scalability, and high availability with no single point of failure. It implements a Dynamo-style replication providing fault tolerance and guaranteeing 99.99% uptime. This makes it ideal for use in business-critical applications that cannot afford any downtime.
Some of the notable companies that implement Apache Cassandra in their environments include Netflix, Facebook, Twitter, and eBay to mention a few.
In this guide, we focus on the installation of Apache Cassandra on CentOS 8 and RHEL 8 Linux distributions.
Installing Java in CentOS 8
To start off, we are going to install OpenJDK 8 on our system which will provide Java. But first, let’s check if Java is installed. To do so, invoke the command:
$ java -version
If Java is not present on your system, you will get the output shown:
bash: java: command not found...
To install OpenJDK 8, run the following dnf command.
$ sudo dnf install java-1.8.0-openjdk-devel
This will install OpenJDK 8 alongside other dependencies as shown.

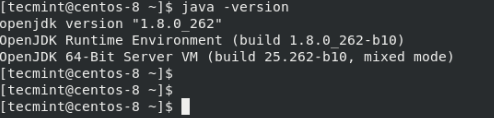
Once the installation is done, once again verify that you have installed OpenJDK as shown:
$ java -version
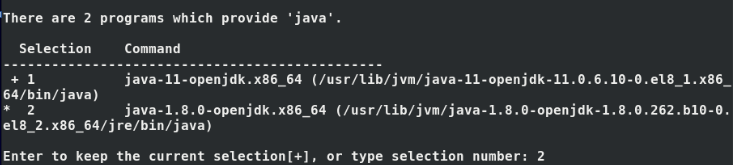
NOTE: If another version of OpenJDK is installed apart from OpenJDK 8, you can set the default Java version to OpenJDK 8 by running the command below.
$ sudo alternatives --config java
Thereafter, select the option that corresponds to OpenJDK 8. In the screenshot below, we have switched the default Java version from OpenJDK 11 to OpenJDK 8.
Installing Apache Cassandra on CentOS 8
After installing Java, we can now proceed to install Apache Cassandra. Create a new repository file for Apache Cassandra as shown below:
$ sudo vim /etc/yum.repos.d/cassandra.repo
Then add Cassandra’s repository as shown.
[cassandra]
name=Apache Cassandra
baseurl=https://www.apache.org/dist/cassandra/redhat/311x/
gpgcheck=1
repo_gpgcheck=1
gpgkey=https://www.apache.org/dist/cassandra/KEYS
Save and exit the repository file.
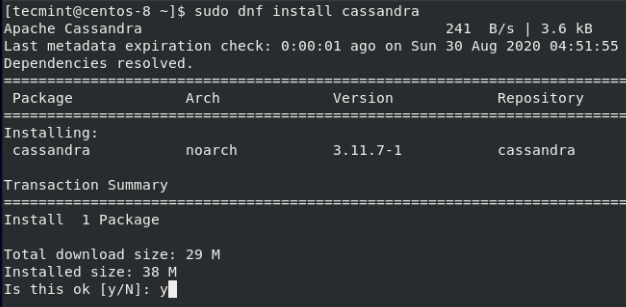
Next, install Apache Cassandra using the command:
$ sudo dnf install Cassandra
Thereafter, accept numerous GPG keys.
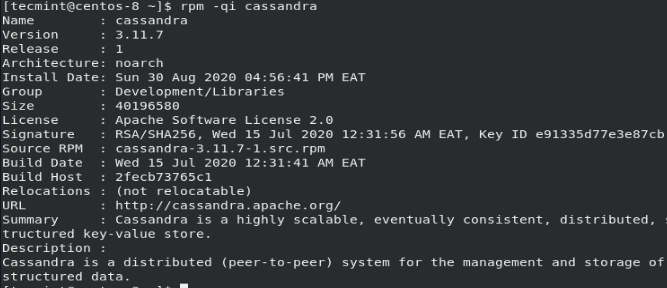
Once the installation is complete. Verify that Apache Cassandra has been successfully installed by running the rpm command below:
$ rpm -qi Cassandra
You will get detailed information about Apache Cassandra such as the version, release, architecture, size, license, and a brief description to mention a few.
Thereafter, create a systemd service file for Cassandra as shown.
$ sudo vim /etc/systemd/system/cassandra.service
Add the following lines:
[Unit]
Description=Apache Cassandra
After=network.target

[Service]
PIDFile=/var/run/cassandra/cassandra.pid
User=cassandra
Group=cassandra
ExecStart=/usr/sbin/cassandra -f -p /var/run/cassandra/cassandra.pid
Restart=always

[Install]
WantedBy=multi-user.target
Save and exit the file.
Next, start Cassandra and confirm its status by invoking the command:
$ sudo systemctl start cassandra
$ sudo systemctl status Cassandra
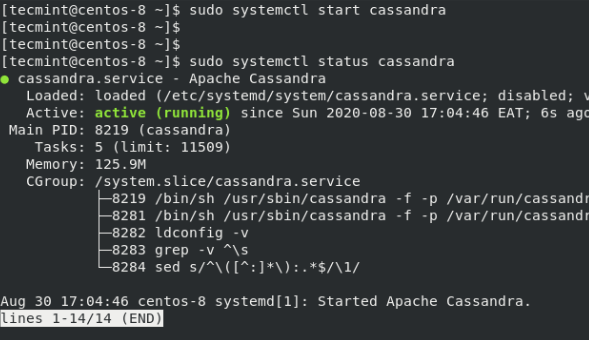
The output confirms that Cassandra is up and running. Additionally, you can enable Cassandra to start on boot or upon a reboot by issuing the command:
$ sudo systemctl enable Cassandra
To log in to Cassandra and interact with Cassandra Query language, we are going to use the cqlsh command-line tool. But for this to work, we need to have Python2 interpreter installed.
If you try to log in without Python2 installed, you will get the error shown below:
$ cqlsh

No appropriate python interpreter found.
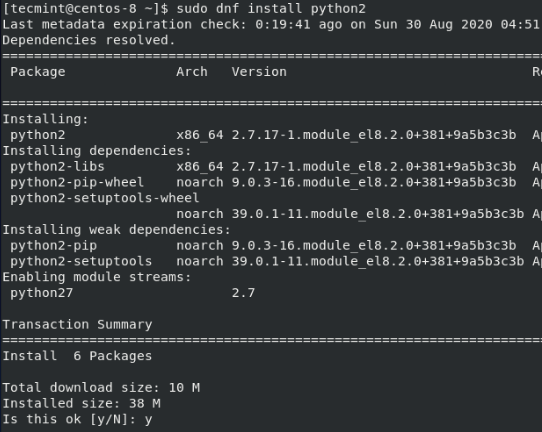
Therefore, Python2 is essential and needs to be installed. To install it, run the command:
$ sudo dnf install python2
This installs Python2 alongside other dependencies as shown.
Try logging in and this time around, the login will be successful.
$ cqlsh

Configuring Apache Cassandra in CentOS 8
To modify Cassandra’s default settings, check out the configuration files which are found in the /etc/cassandra directory. Data is stored in /var/lib/cassandra path. Start-up options can be tweaked in the /etc/default/cassandra file.
By default, Cassandra’s cluster name is ‘Test Cluster’. You can change this to your preferred cluster name by logging in and running the command below.
UPDATE system.local SET cluster_name = 'Tecmint Cluster' WHERE KEY = 'local';
In this example, we have set the cluster name to ‘Tecmint Cluster’.
Next, head over to the cassandra.yaml file.
$ sudo vim /etc/cassandra/default.conf/cassandra.yaml
Modify the cluster_name directive accordingly as shown below.

Save and exit the configuration file and restart the Cassandra service.
$ sudo systemctl restart Cassandra
Log in again to confirm the cluster name as shown.
This brings us to the end of this tutorial. We hope that you have succeeded in installing Apache Cassandra on CentOS 8 and RHEL 8 Linux distributions.


I want more after this tutorial I managed to Apache Cassandra. This is very useful to have Cassandra configuration knowledge.
I want to have all the deep dive of Apache server & applications in for a Linux administrator
The Insight of Cassandra & is very much helpful to Linux administrators.
Thanks Fahad for your feedback, I’m glad that this guide was beneficial. We will work on providing in-depth guides on Apache Cassandra in the near future.