Have you ever fancied a portable instance of a CentOS 7 installation in your USB pen drive? You probably might not have known it, but you can easily install CentOS 7 in a USB drive just as you would install it in a physical hard drive or a virtual environment.
Read Also: How to Install Linux OS on USB Drive and Run it On Any PC
This would enable you to plug your USB on any PC and seamlessly run your CentOS 7 after setting the PC to boot from your USB drive. Sounds cool right?
In this article, we will show you how to install CentOS 7 in a USB drive.
Prerequisites
Before you begin with the installation, perform a flight check and ensure you have the following:
- An installation media (DVD or USB drive of 4 GB or more).
- A 16 GB USB drive onto which we will install CentOS 7. This needs to be formatted by Gparted and the existing filesystem deleted to create unallocated space for installation.
- A software utility for making the USB drive bootable. For this guide, we will use Rufus.
- A CentOS 7 Live CD. This can be downloaded at CentOS main website.
- A PC. It’s important to note that no changes will be made to your system, so no worries.
- Internet Connection
Installing CentOS 7 in USB Drive
With all the prerequisites in check, it’s time now to make the USB drive bootable by downloading a copy of Rufus utility tool.
Once the download is complete, double click on the installer and the Window below will be displayed. Be sure to select your USB drive and the CentOS 7 Live installer ISO.
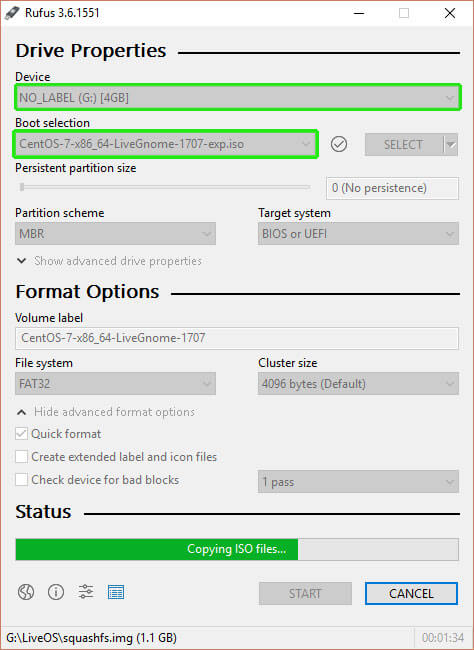
With everything in place, hit the ‘START‘ button to begin copying the installation files onto the USB drive. When the process is complete, eject the USB drive and plug it into a PC and reboot. Ensure to configure the boot order in the BIOS set up so that the PC first boots from the USB drive.
Save the changes and allow the system to boot.
Select the Appropriate Installation Option
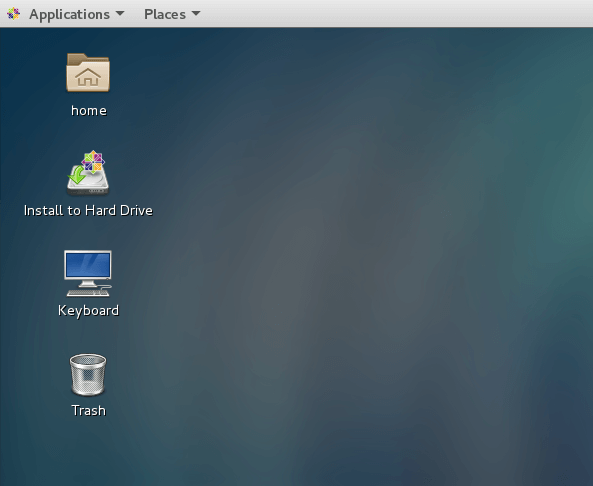
Upon booting the Live CD medium, the default CentOS 7 home screen will be displayed as shown below. Click on the ‘Install to Hard Drive‘ option to begin the installation process.
Select the Language
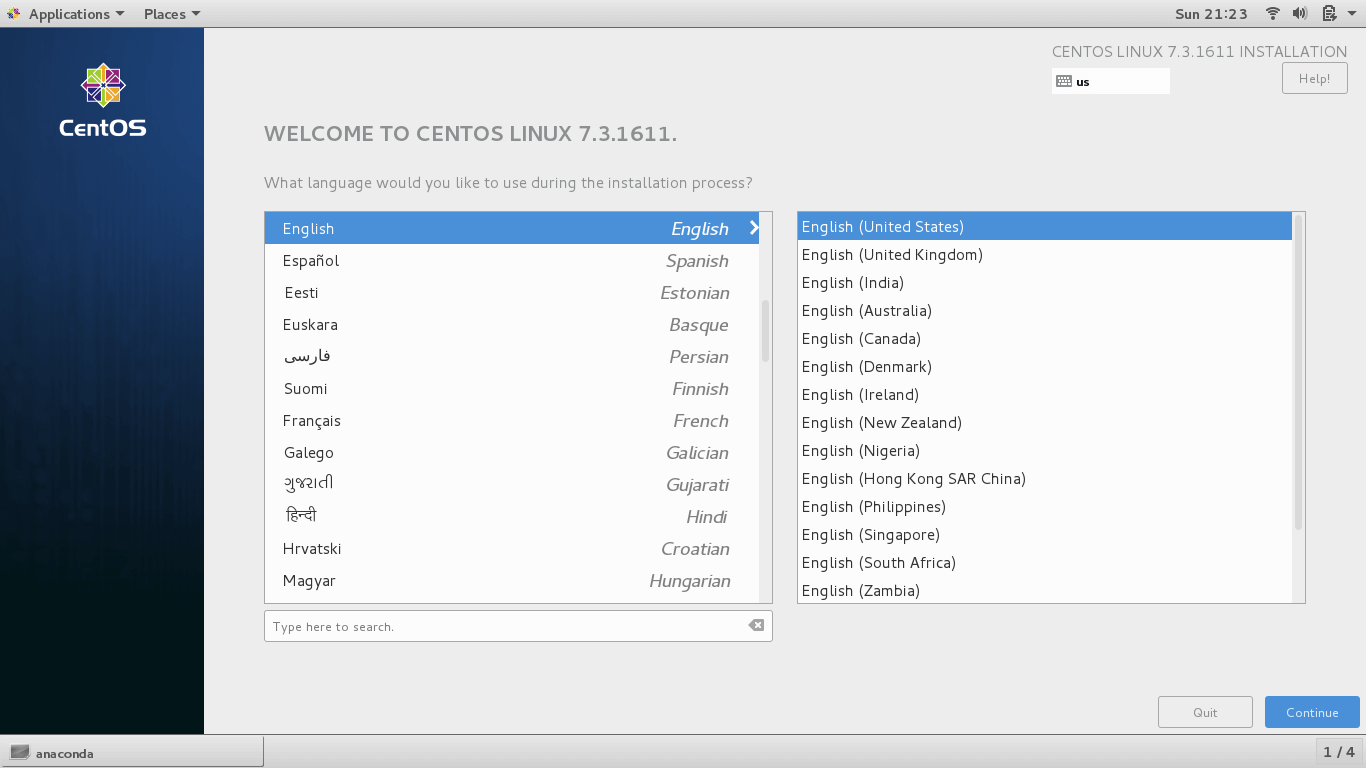
This takes you to the next step where you will be required to select your language of choice and hit the ‘Continue‘ button.
Configure Date and Time
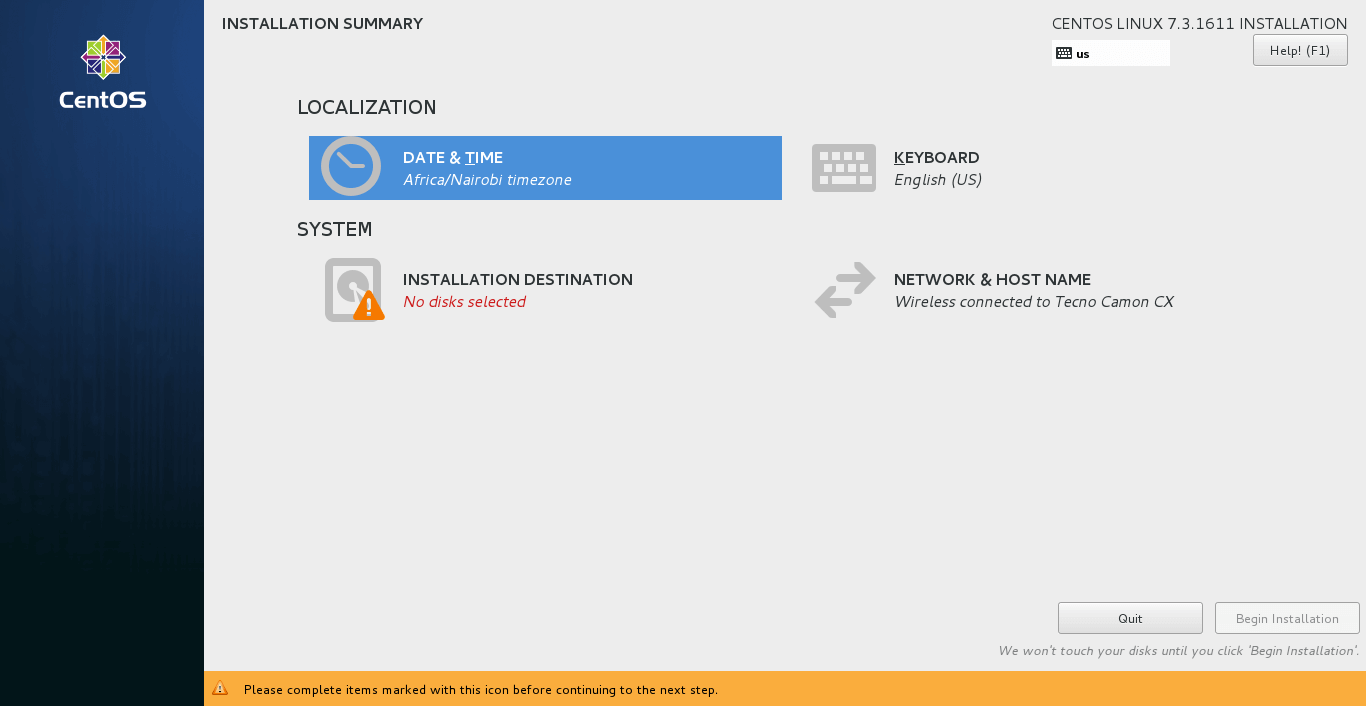
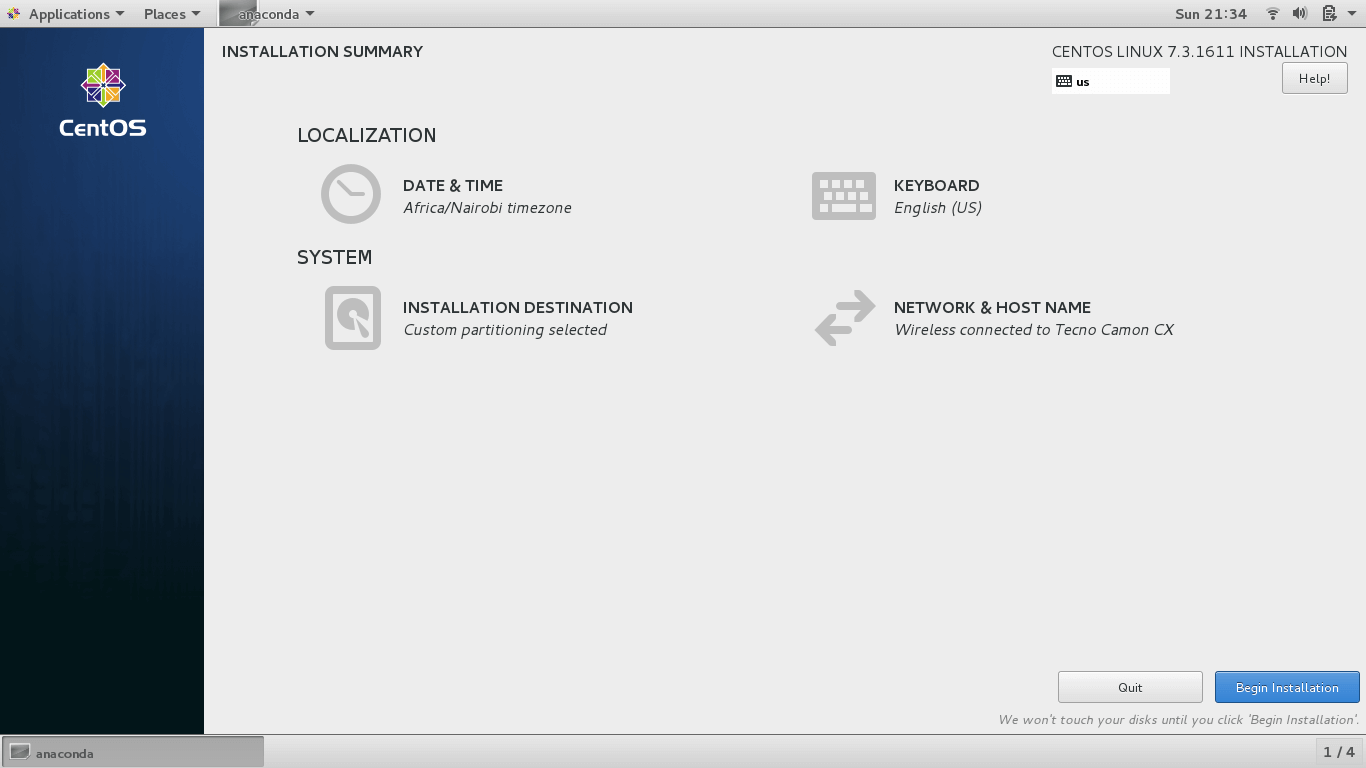
The next step will prompt you to make a few configurations – Date and Time, Keyboard settings, Installation destination, and Network & Hostname.
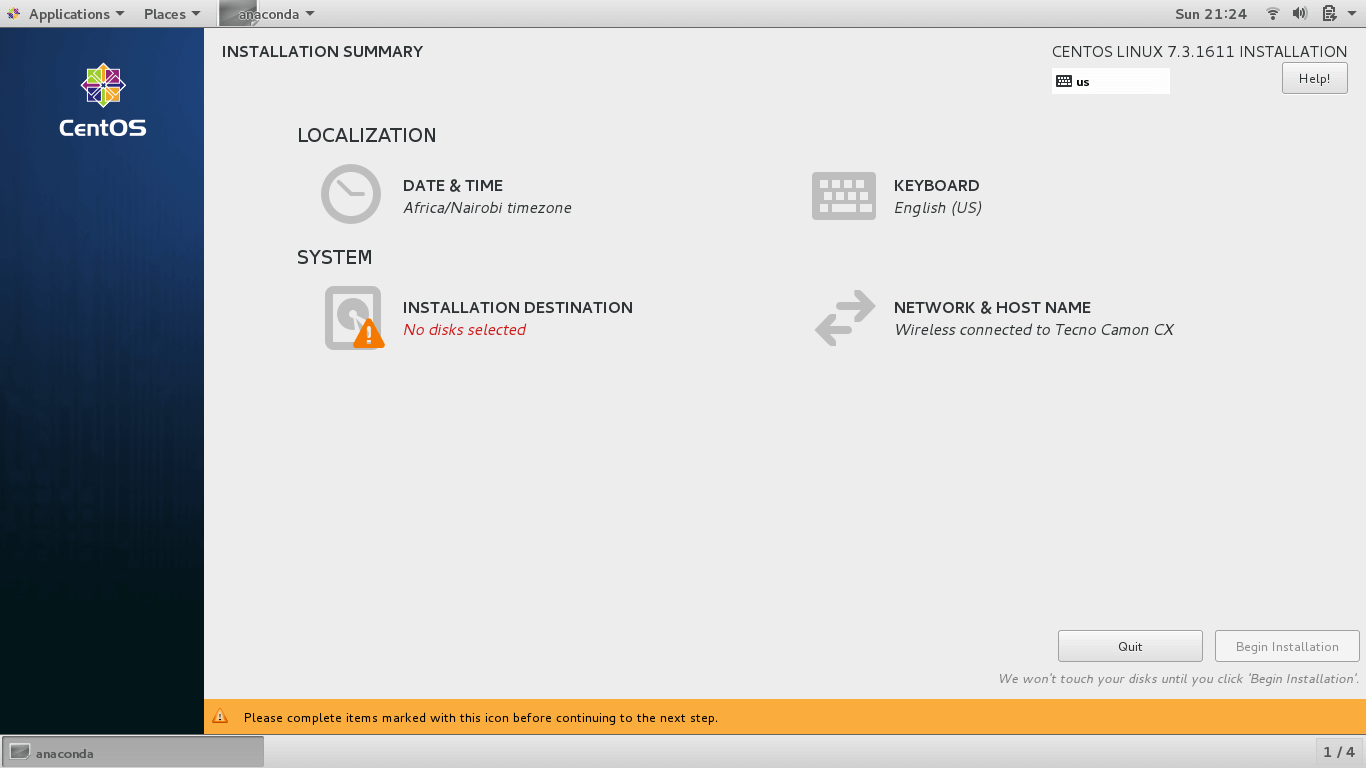
To configure Date and Time, click on the ‘DATE & TIME‘ option.
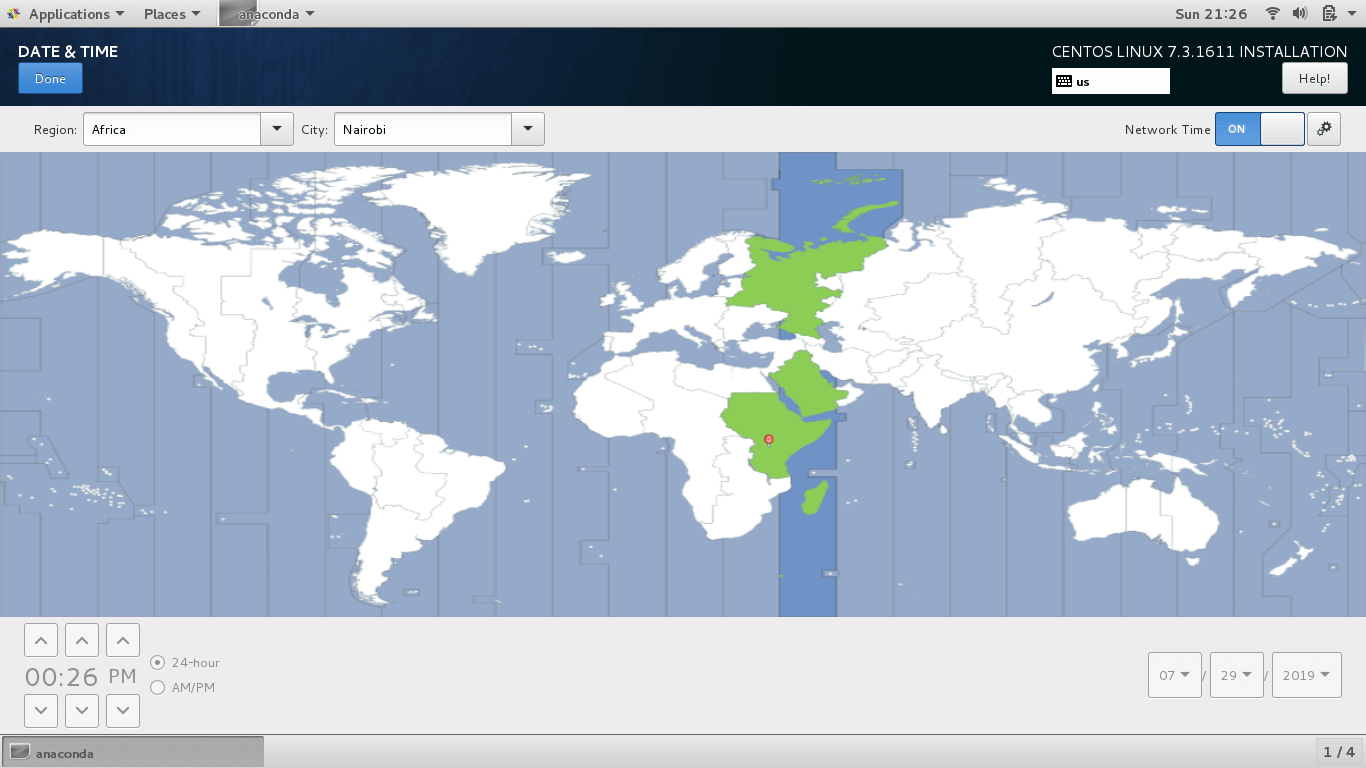
This displays the world’s map. If your PC is already connected to the internet via internet or LAN cable, the installer will auto detect your current location, date and time.
Next, click on the ‘Done‘ button to save the changes.
Configure Keyboard
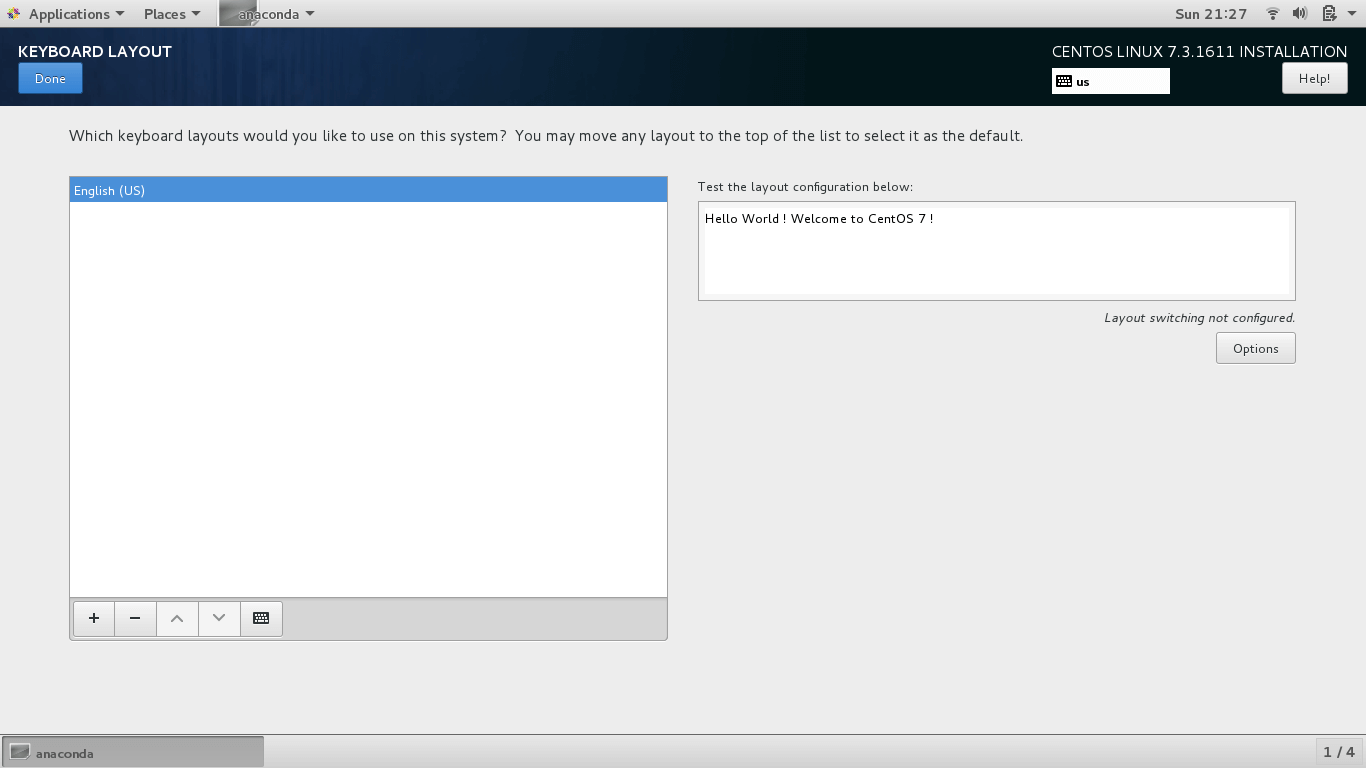
Next step is the keyboard configuration. Click on the ‘KEYBOARD‘ option.

In the KEYBOARD LAYOUT section, you can test the keyboard configuration on the right text input field and when you are satisfied with the results, click on the ‘DONE‘ button as before.
Select Installation Source
In the next step click on ‘INSTALLATION SOURCE‘ to customize your installation using other sources other than the traditional USB/DVD. This is the section that we shall instruct the installer to install the CentOS 7 OS on the USB drive.

There are two main partitioning configurations: Automatic and Manual.
Automatic Partitioning
With automatic partitioning, the system automatically and intelligently partitions the hard drive without your input into the three main partitions.
- The
/(root) - The
/home - The
swap
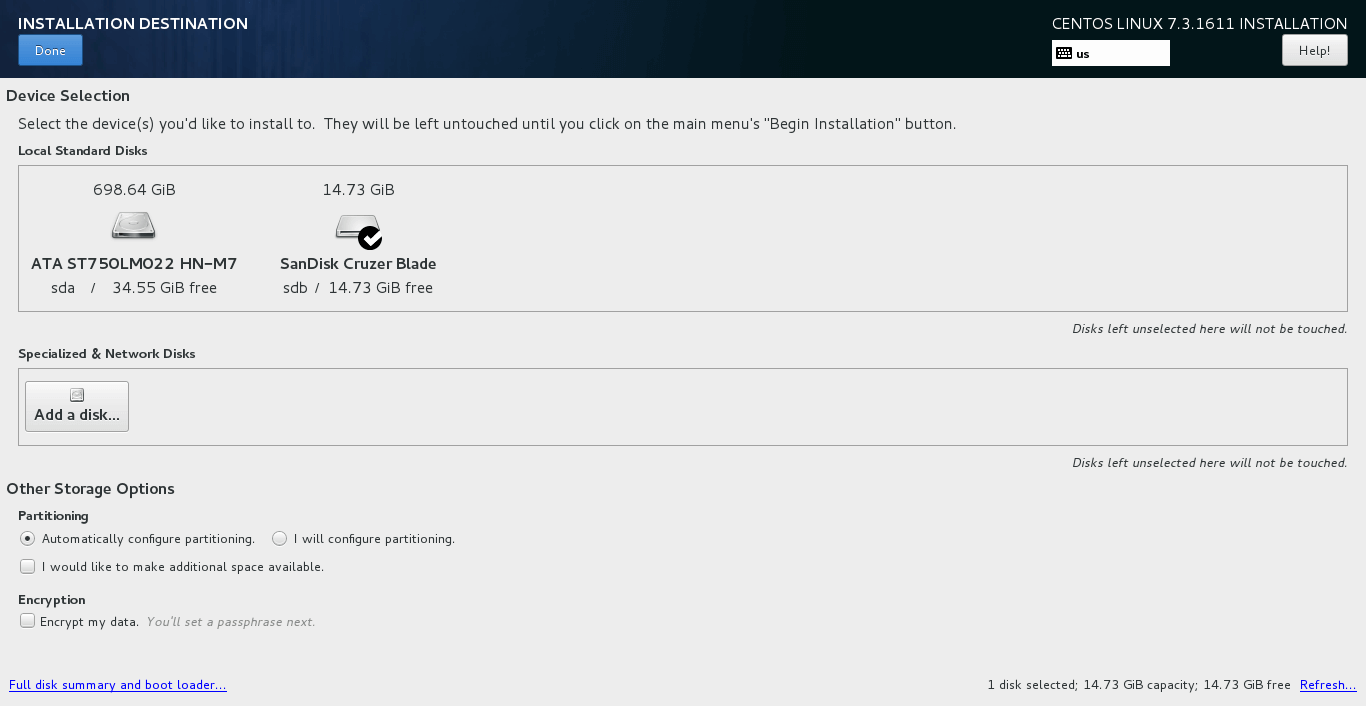
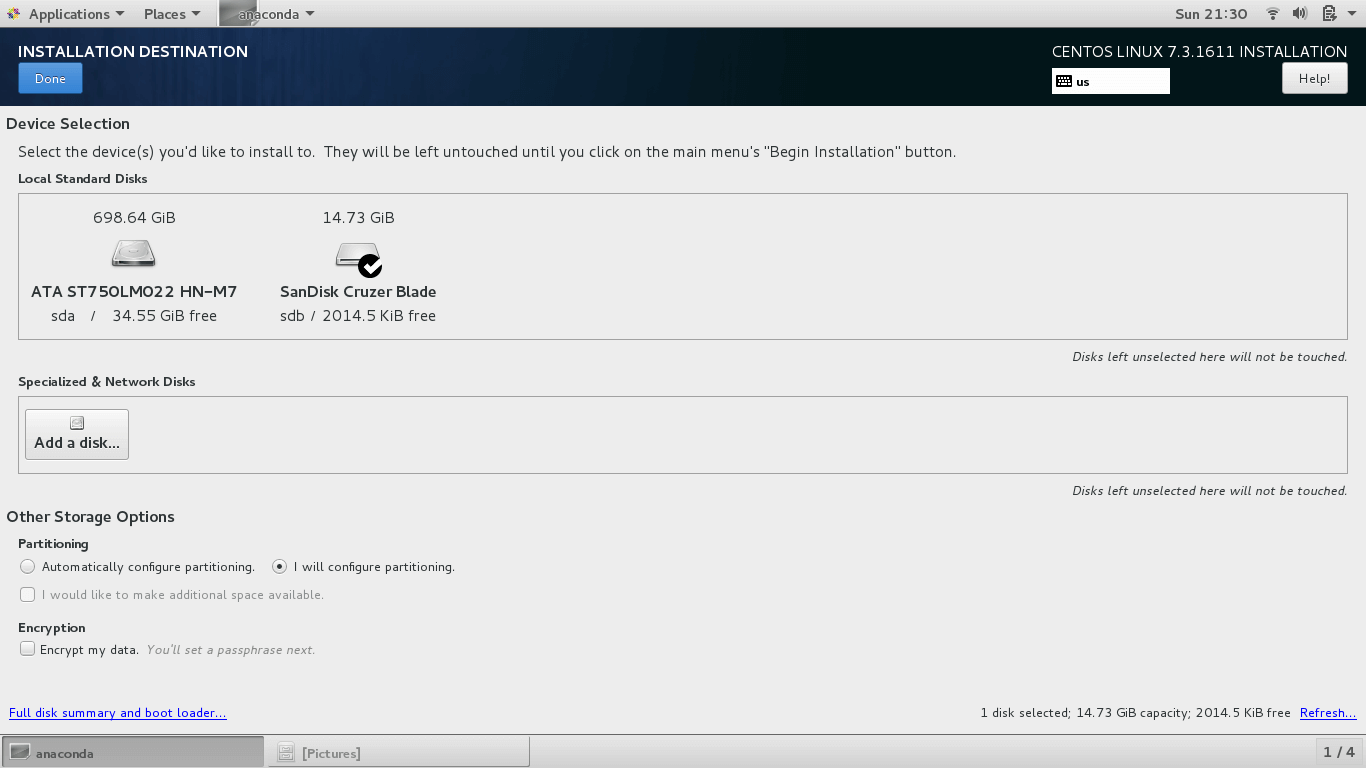
To take advantage of this nifty and useful feature, click on the hard drive and click on the ‘Automatic configure partitioning‘ as shown below.
Click on the USB drive and click on ‘Automatically configure partitioning‘ to allow the installer to intelligently partition the USB drive for you. Hit the ‘Done‘ button to save the changes.
Manual Partitioning
If you wish to manually partition the USB drive and specify the memory capacity, click on ‘I will configure partitioning‘ option.
This pops up the window as shown with LVM as the default option.
Other mount points you can choose from include:
- Standard Partition
- LVM Thin provisioning
- Btrfs
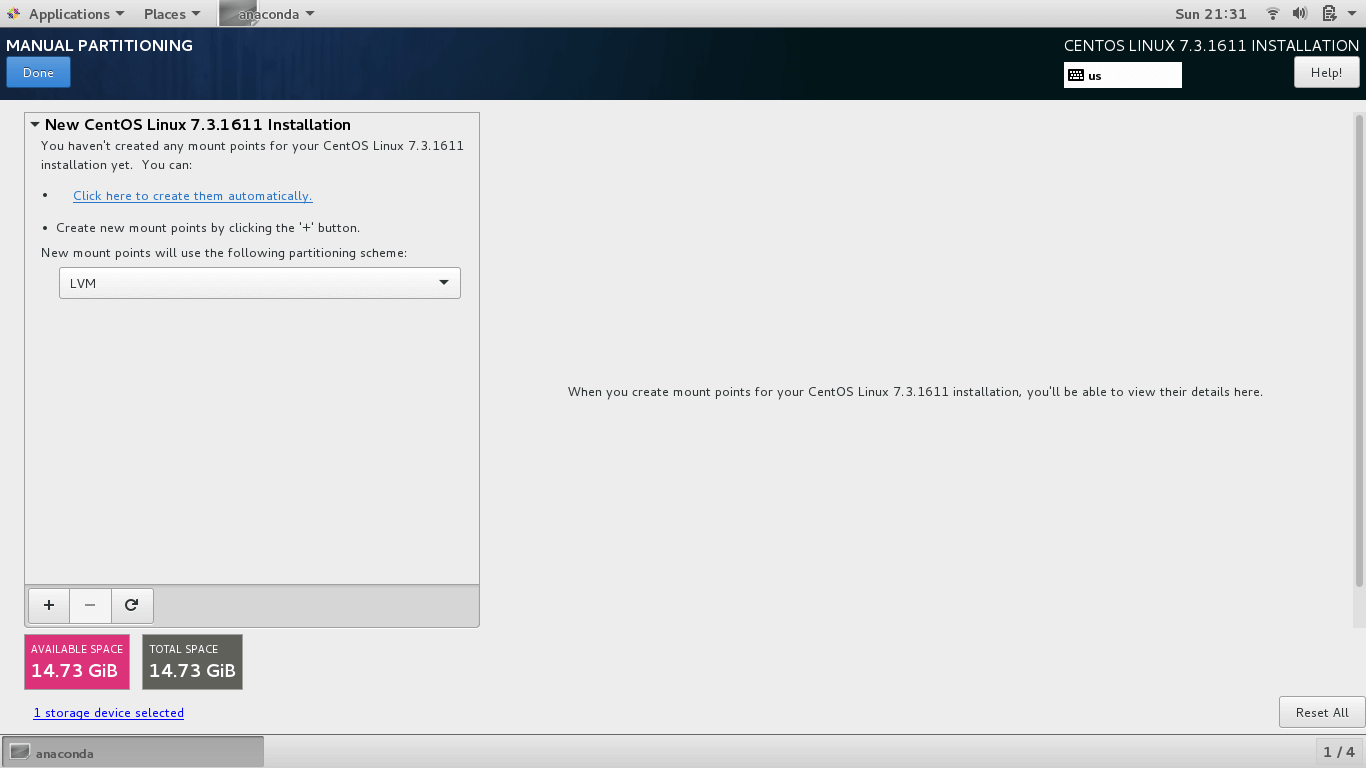
To make your work easy, click ‘Click here to create them automatically‘ option. The USB drive will be automatically be partitioned by the Installed into the crucial mount mounts such as root, /boot and swap.
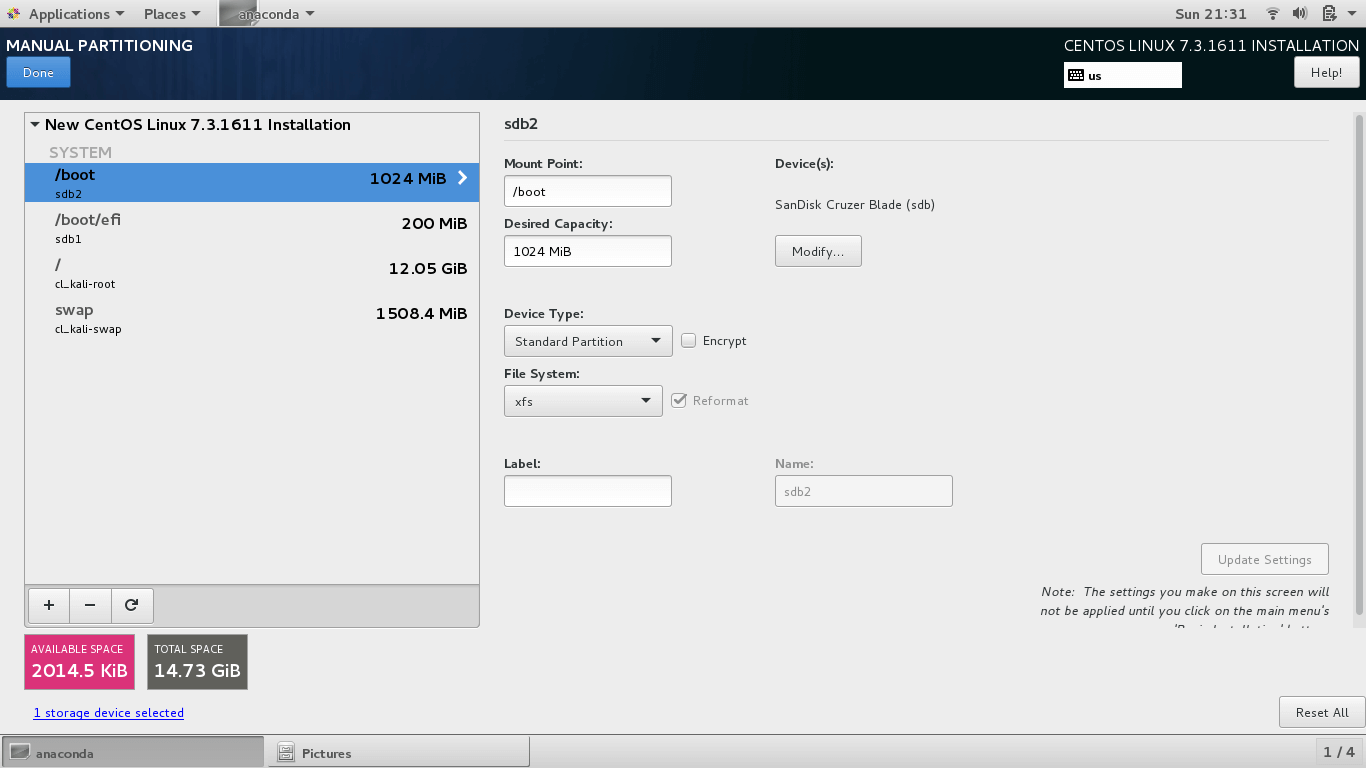
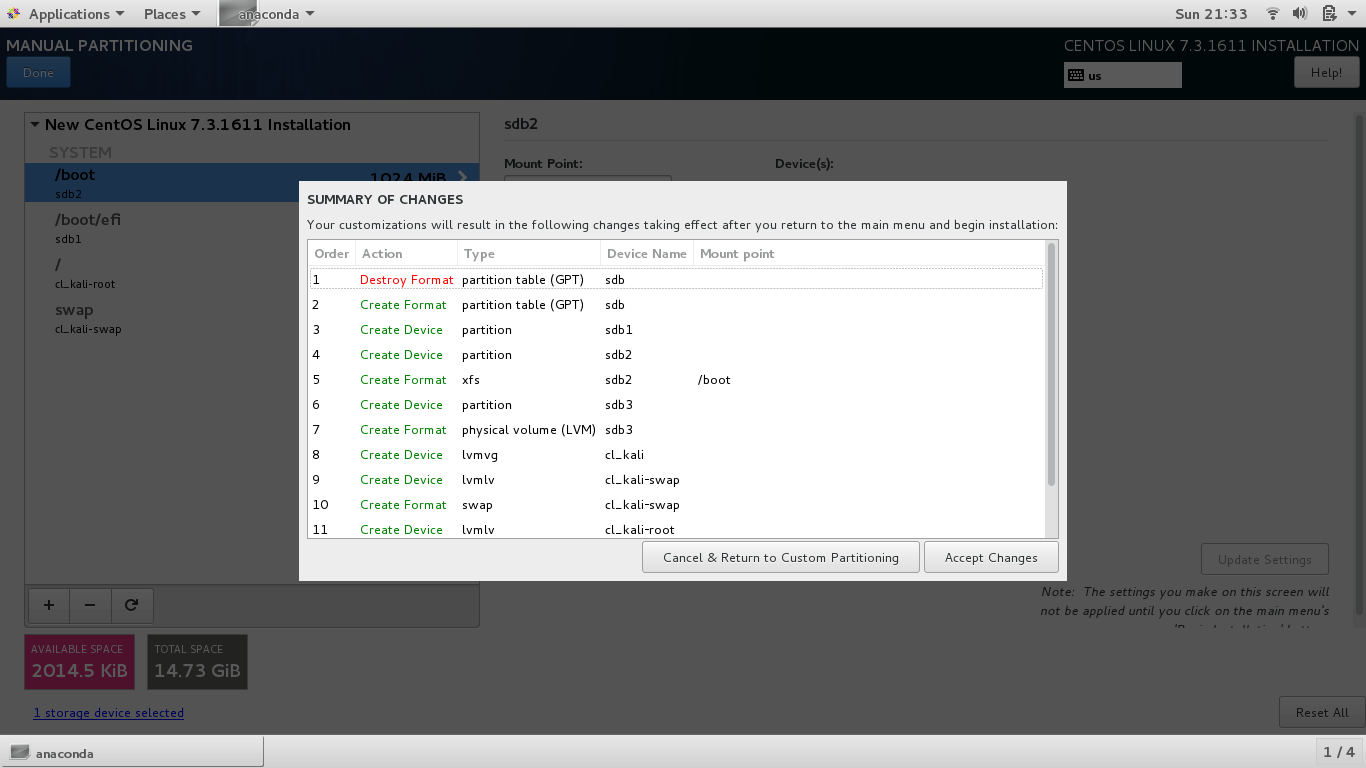
Click on the ‘Done‘ button to save the changes. A pop up will display a summary of changes that will be made to the disk. If all looks good, click on ‘Accept Changes‘.
Configure Hostname
Lastly, click on the ‘NETWORK & HOSTNAME‘ option to define the system’s hostname. Type your desired hostname in the text field and click on ‘Apply‘. Once again, click on ‘Done‘ to save the changes.

Begin CentOS 7 Installation
With everything set and ready, click on the ‘Begin Installation‘ button to commence the installation process.
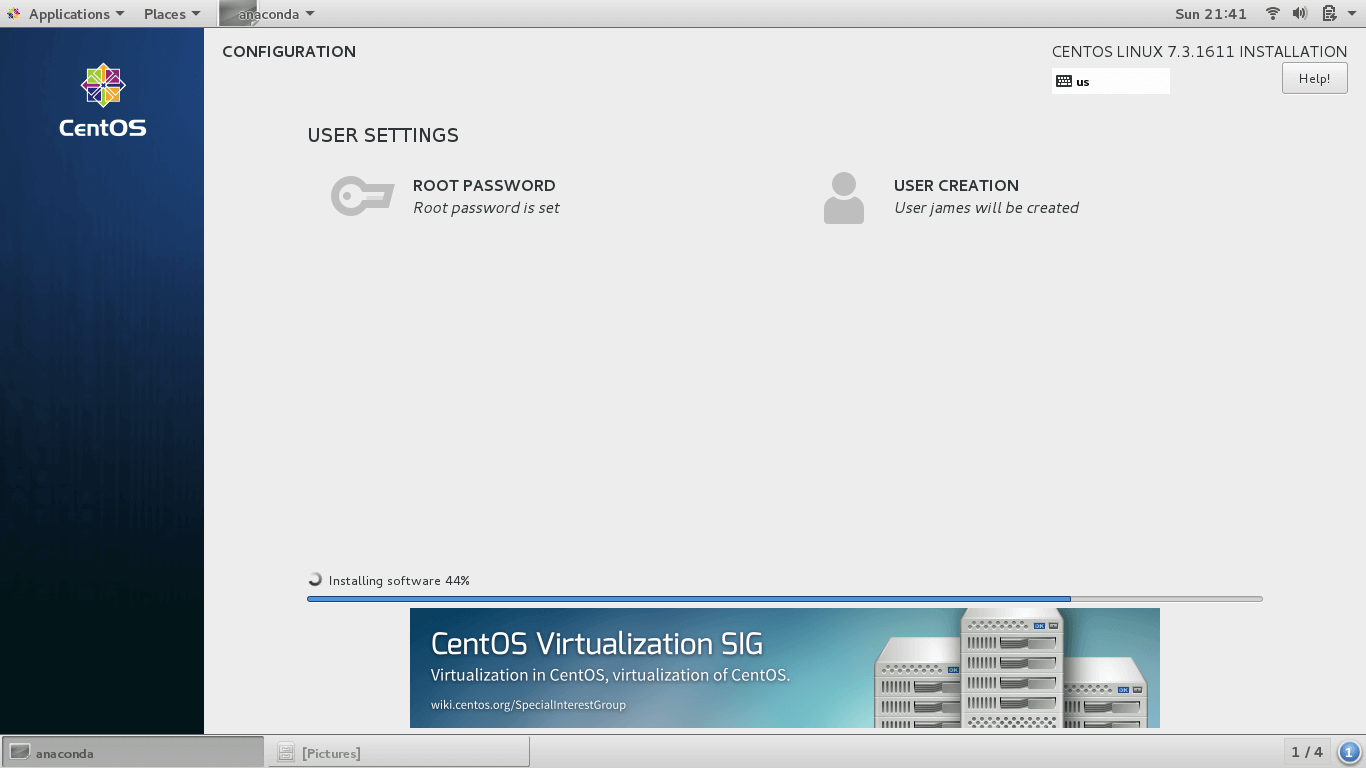
Set Root Password and Create a New User
The next step will require you to set the Root Password and create a new user.
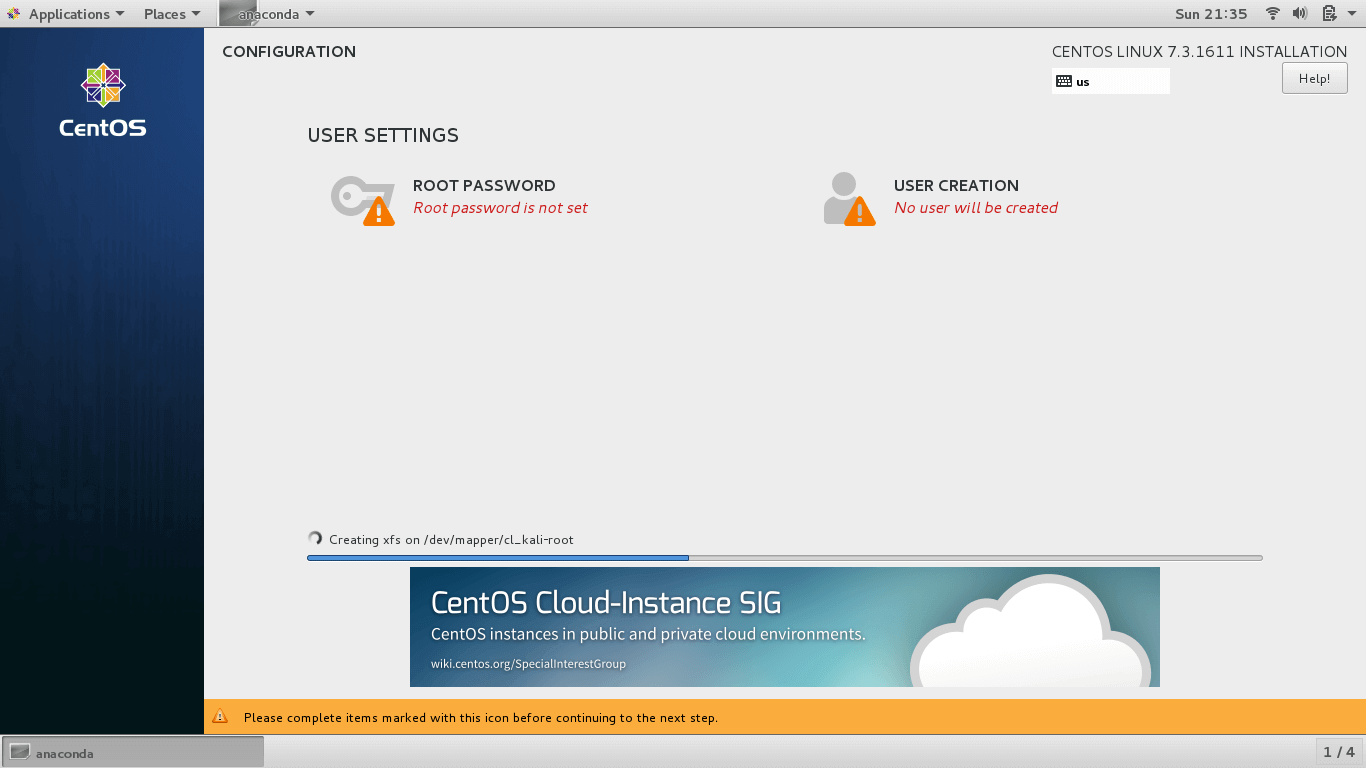
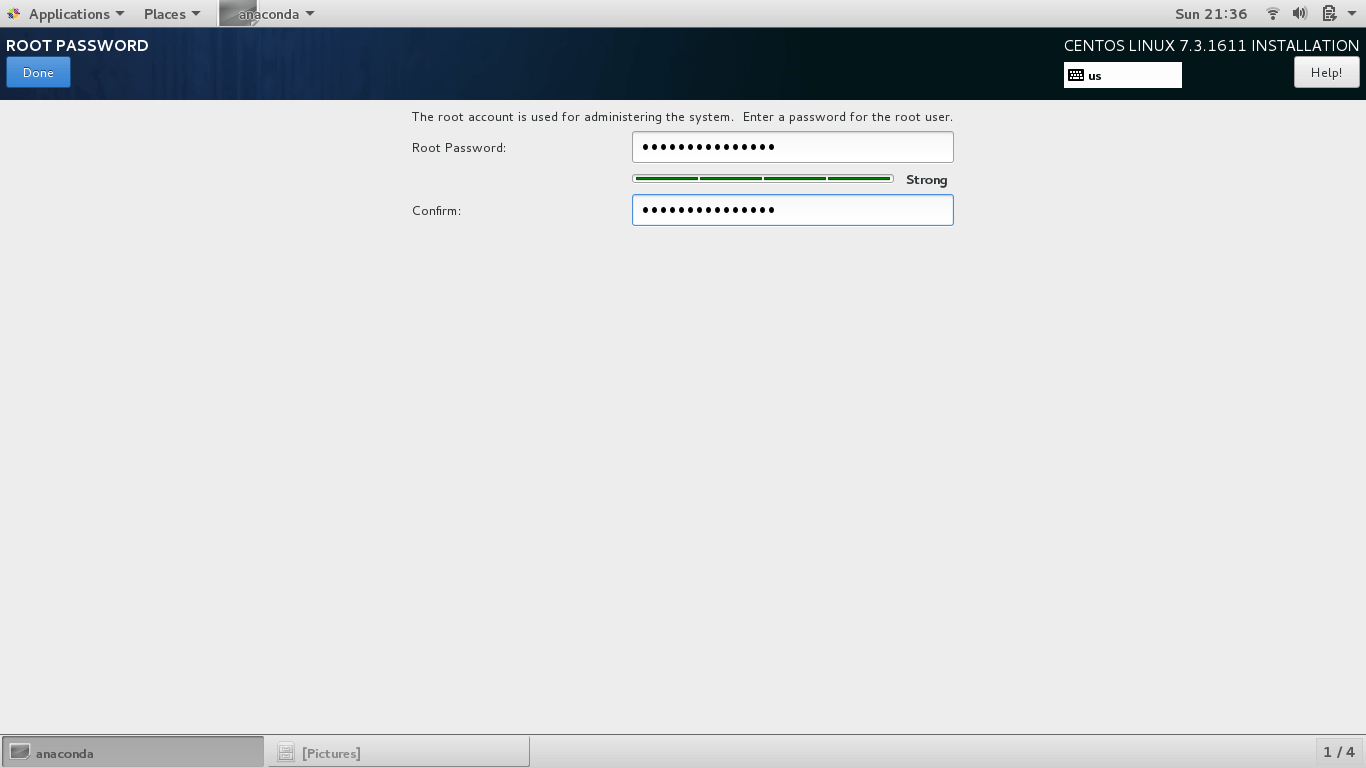
Click on ‘ROOT PASSWORD‘ to create the root password. Type a strong password and click on ‘Done‘.
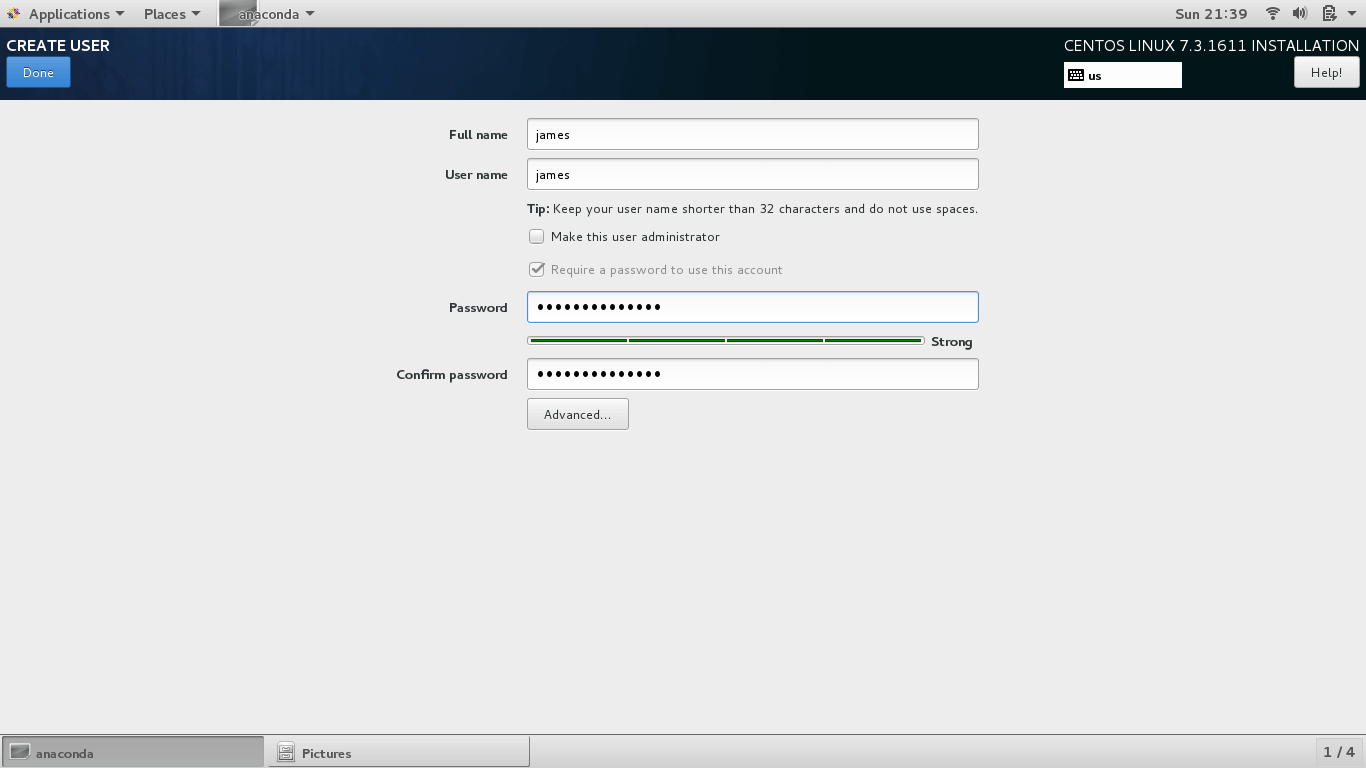
Next, click on ‘USER CREATION‘ to create a New User. Fill all the required details and click on the ‘Done‘ button to save the changes.
With the root password set and a new regular user created, the installer will begin to install the CentOS system together with all the required packages, repositories, libraries, and bootloader.
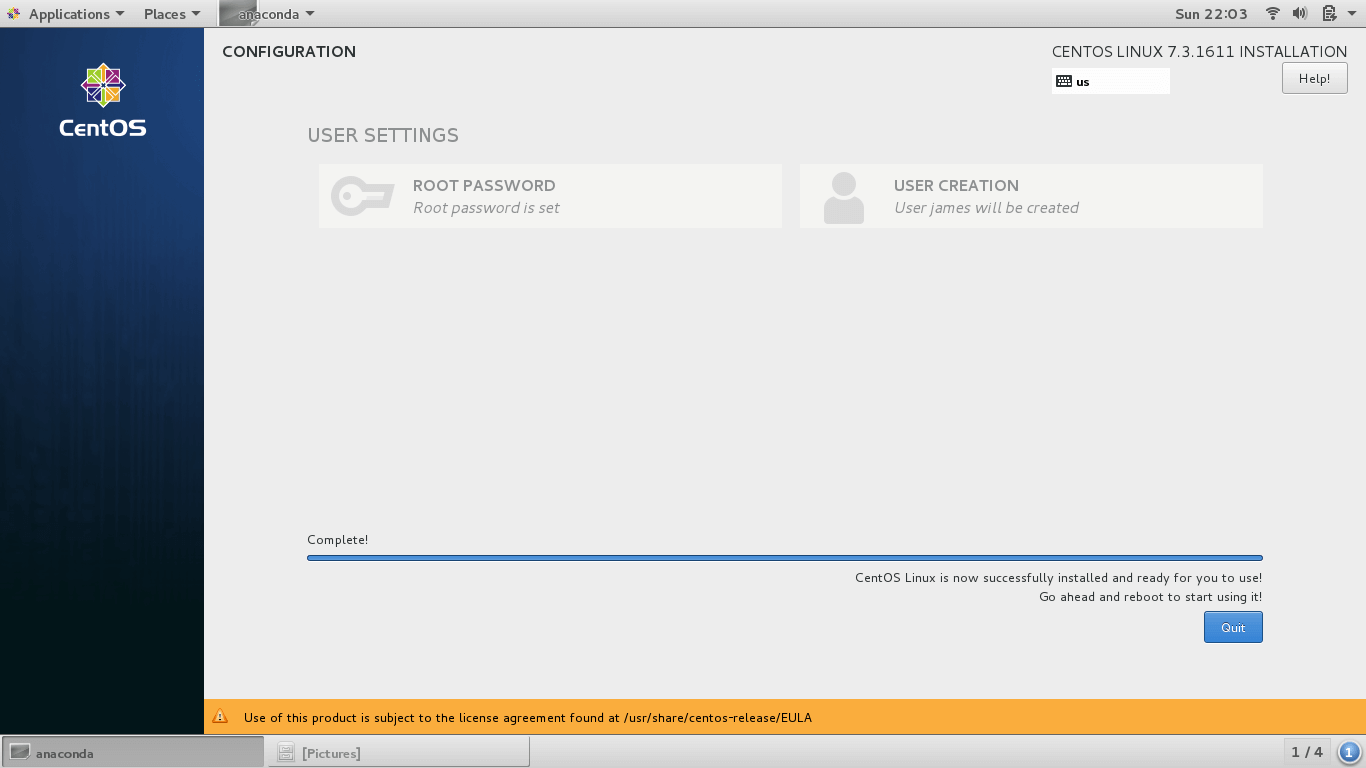
Finalizing the CentOS 7 Installation
At the end of the installation process, you will get a notification at the bottom right corner that the system has been successfully installed.
Click on the ‘Reboot‘ button to finish up the configuration. Remove the installation media but keep the 16 GB USB drive plugged in.
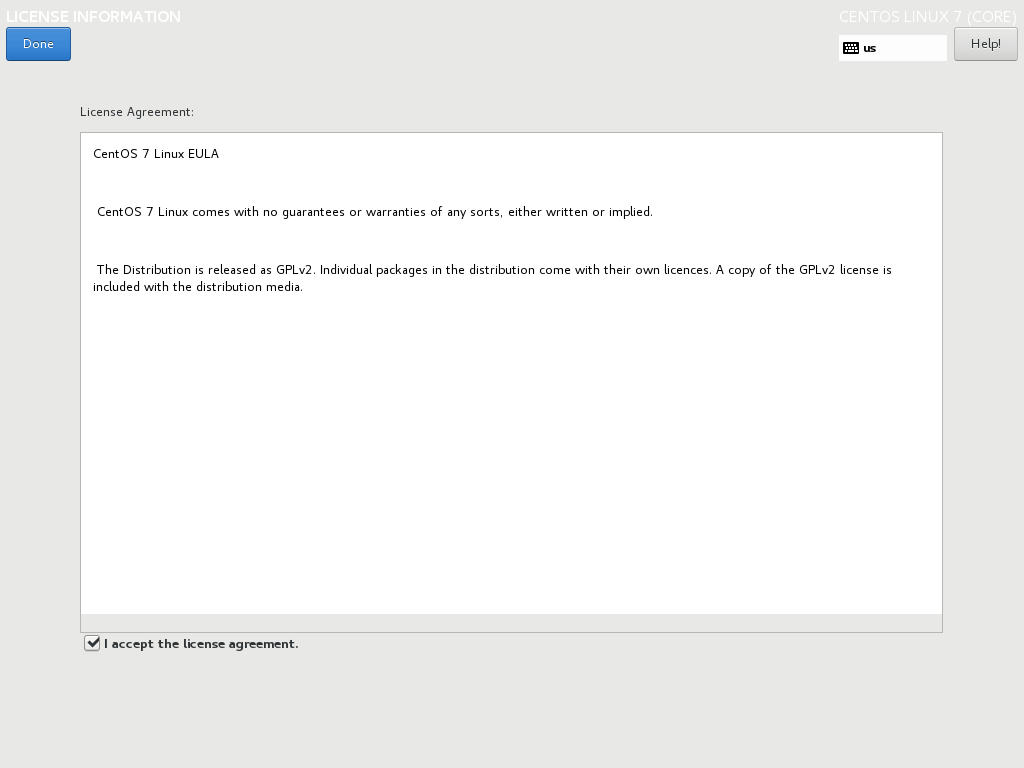
Once the system reboots click on ‘LICENSE INFORMATION‘.
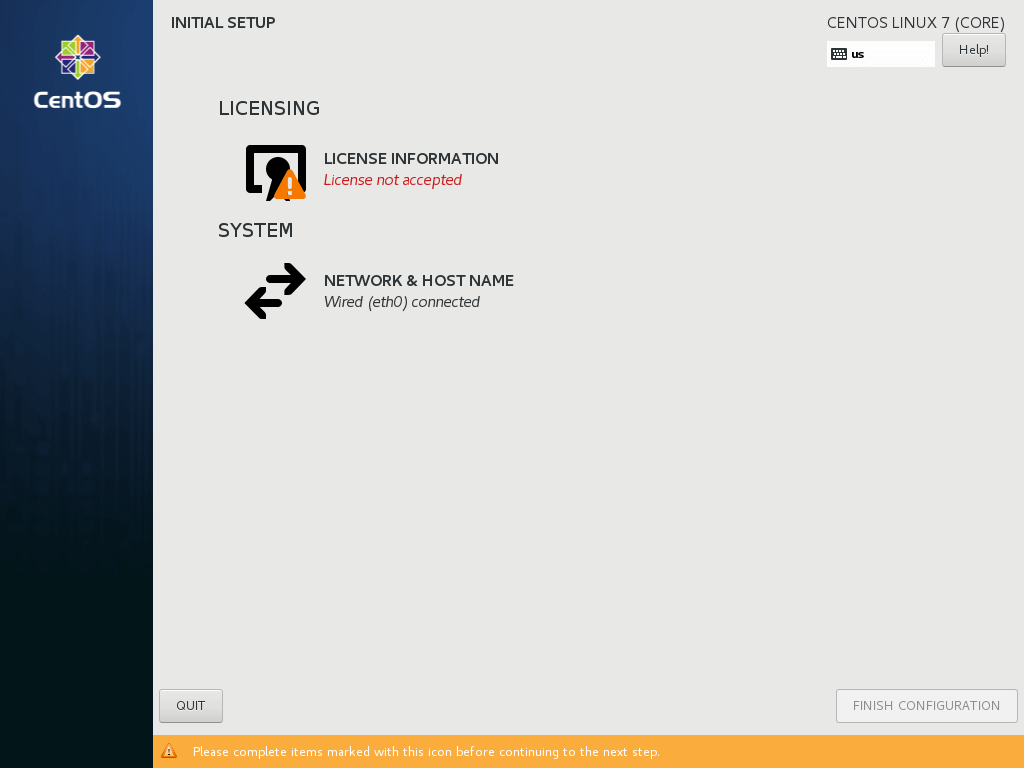
Accept the End User Agreement License by checking on the checkbox. Next, click on the ‘Done‘ button.
Finally, click on ‘FINISH CONFIGURATION‘ to complete the process. The system will reboot, and you will be prompted for a user name and password of the user you just created.
Conclusion
We have successfully installed CentOS 7 on a USB Drive. Going forward, you can plug this drive on another PC and boot into your CentOS 7 new installation and start working! Take care not to lose your drive.


Have you guys ever thought of doing a toolkit USB tutorial? I have a 64 GB USB capable of installing multiple Distros and running various tools such as Kali and Debian in live environments.