Gitlab is an open source, very powerful, robust, scalable, secure, and efficient software development and collaboration platform. Gitlab is among the best alternatives to Github, which allows you to plan your software development process; write code, and verify it; package software, and release with an in-built continuous delivery functionality; automatically manage configurations, and monitor performance.
Read Also: How to Install and Configure GitLab on CentOS 7
It offers scalable Git-based fully integrated services with features such as issue tracker, moving of issues between projects, time tracking, powerful branching tools, and protected branches and tags, file locking, merge requests, custom notifications, project roadmaps, burndown charts for project and group milestones, and so much more.
In this article, we will explain how to install and configure Gitlab (Git-repository manager) on Ubuntu or Debian Linux distributions.
Step 1: Install and Configure Required Dependencies
1. First start by updating your system software packages and then install necessary dependencies using apt package manager as shown.
$ sudo apt update
$ sudo apt install -y curl openssh-server ca-certificates
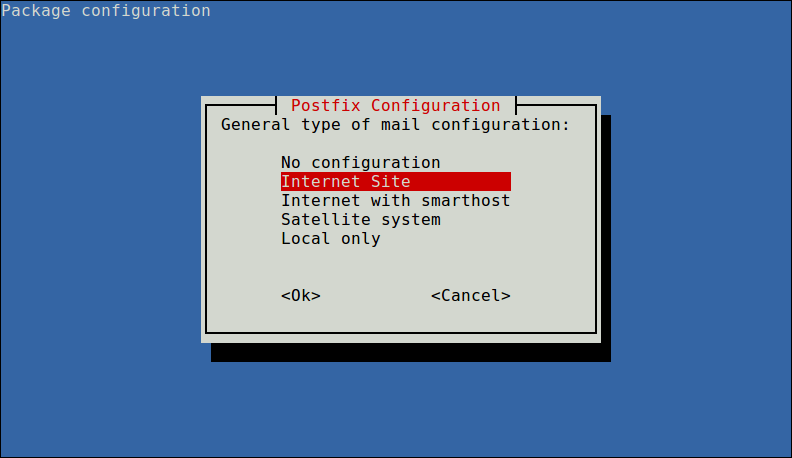
2. Next, install Postfix mail service to send email notifications.
$ sudo apt install postfix
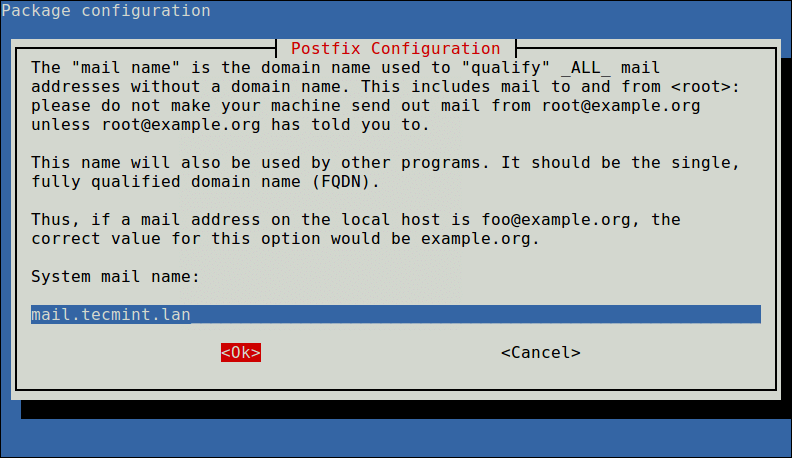
During postfix installation process, you will be asked to configure the Postfix package. Choose “Internet Site” and hit the [Enter]. Remember to use your server’s external DNS for ‘mail name‘ and hit [Enter]. For any extra configuration screens, press [Enter] to use the to accept the default values.
Step 2: Add GitLab Repository and Install Package
3. Now add the GitLab package APT repository to your system by running a following script.
$ curl https://packages.gitlab.com/install/repositories/gitlab/gitlab-ce/script.deb.sh | sudo bash
4. Next, install the GitLab Community Edition with the help of the following command and change URL ‘http://gitlab.tecmint.com‘ to as per your requirements to access GitLab via a web browser.
$ EXTERNAL_URL="http://gitlab.tecmint.com" sudo apt install gitlab-ce
Note: If you want to change the above URL for some reason later, you can re-configure the URL in the main configuration file /etc/gitlab/gitlab.rb in the external_url section and re-configure the gitlab using following command.
$ sudo gitlab-ctl reconfigure
5. If you have a UFW firewall configured, you need to open port 80 (HTTP) and 443 (HTTPS) to allow connections requests the Gitlab.
$ sudo ufw allow 80/tcp
$ sudo ufw allow 443/tcp
Step 3: Perform Initial Gitlab Setup
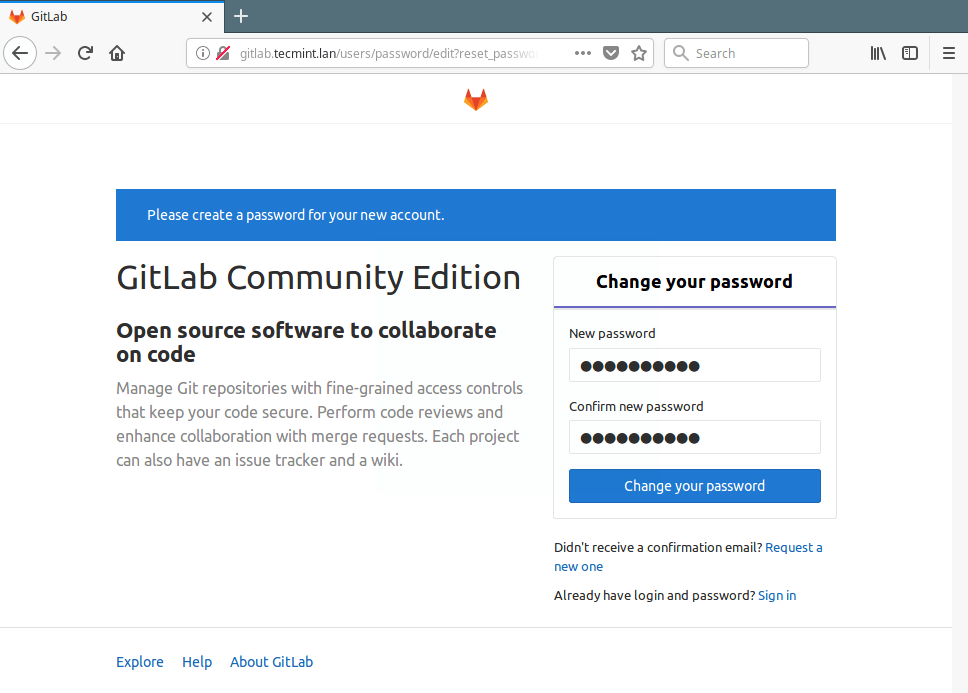
6. Now access your gitlab instance via a browser at the following URL.
http://gitlab.tecmint.com
7. Once you open, it will be redirected to a password reset screen, here you need to set a new password by clicking on “Change your password” for you new admin account. Once set, you will be redirected to login screen again.

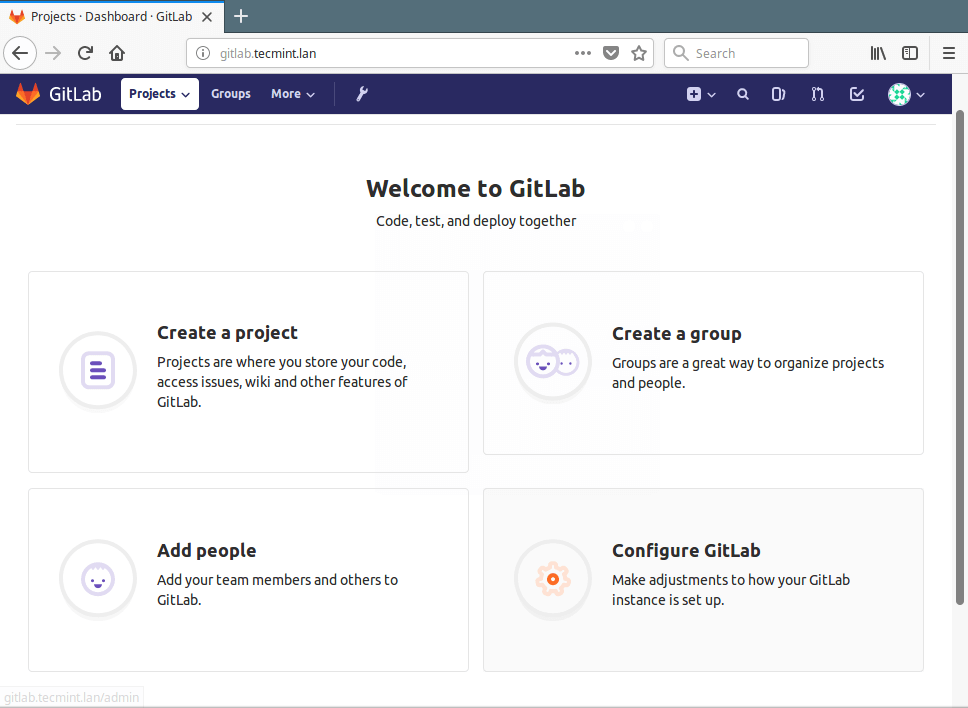
8. After signing in, you will access the admin user control panel as shown in the screenshot. You can create an object, create a group, add people or configure your gitlab instance. You can also edit your user profile and add SSH keys to your gitlab instance, configure your communication preferences, and do more.
For more information, go to Gitlab About Page: https://about.gitlab.com/.
Read Also: How to Migrate from GitHub to GitLab
That’s it for now! Gitlab is an advanced, robust and efficient application for handling software development and operations (DevOps) lifecycle. In this article, we have explained how to install and configure Gitlab in Ubuntu and Debian.
If you have any questions or thoughts to add to this article, use the comment form below to reach us.


