
How to Install Wget in Linux

In this article, you will learn how to install wget non-interactive network downloader in Linux. Wget is a tool developed by the GNU project used for retrieving or downloading files from web or FTP servers.

The command downloads files that are served with FTP, HTTP or HTTPS protocol. It’s an amalgamation of the words World Wide Web and the word get to form wget. It’s used in Unix/Linux systems to download files and packages on the terminal.

Install wget on Ubuntu/Debian

To install wget on Ubuntu/Debian distros, log in via SSH as root and run the command.

# apt-get install wget
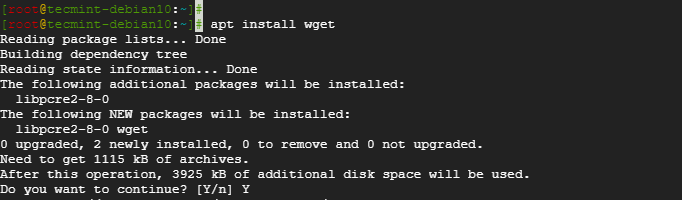
Install Wget in Debian and Ubuntu

To confirm the installation of the wget tool, run the command.

# dpkg -l | grep wget

Confirm Wget Installation on Debian and Ubuntu

Alternatively, you can check its version by running.

# wget --version

Check Wget Version
Check Wget Version

Install wget on RHEL / CentOS / Fedora

To install wget on RHEL, CentOS and Fedora distros, log in via SSH as root and run the command.

# yum install wget
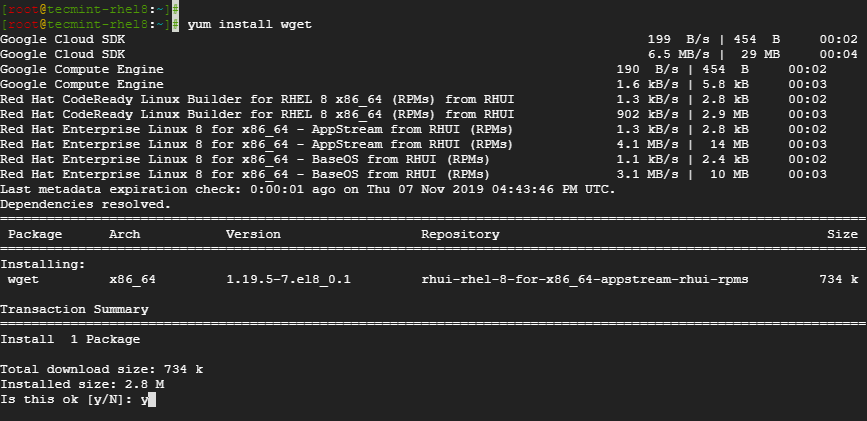
Install Wget in CentOS, RHEL and Fedora

To confirm the installation, run the command.

# rpm -qa | grep wget

Confirm Wget Installation on CentOS

Install wget on OpenSUSE

On OpenSUSE, install wget by running.

# zypper install wget
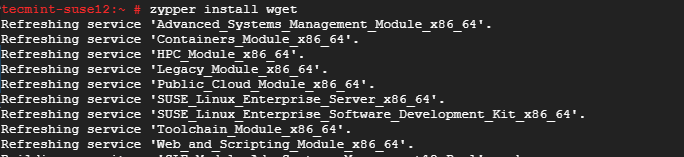
Install Wget on OpenSUSE

To confirm the installation run.

# zypper se wget
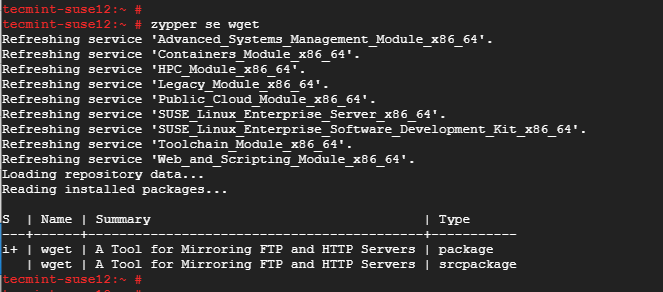
Confirm Wget Installation on OpenSUSE

Install wget on ArchLinux

On ArchLinux, install wget by running the command.

# pacman -Sy wget
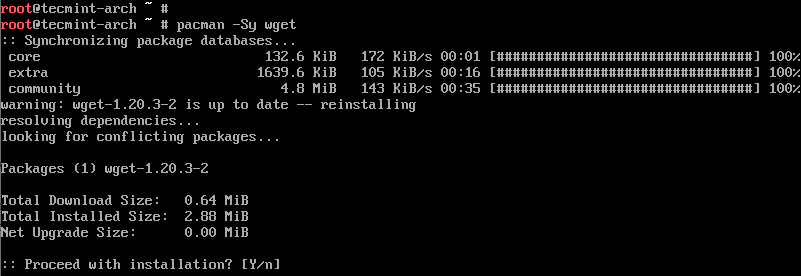
Install Wget in Arch Linux

To check if wget is installed and print more information about the tool run.

# pacman -Qi wget
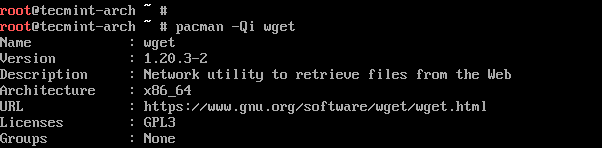
Confirm Wget Installation on Arch Linux

To know more about wget usage and examples, I suggest you read our following articles that explain how you can use wget command-line utility for downloading files from the web.

  1. 10 Wget (Linux File Downloader) Command Examples in Linux
  2. How to Limit File Download Speed Using Wget in Linux
  3. How to Download Files to Specific Directory Using Wget
  4. How to Rename File While Downloading with Wget in Linux

And with that, we have come to the end of this article. In this tutorial, you learned how to install wget in different Linux distributions.

Two small things before you go

If something didn’t work on your setup, leave a comment and tell me which distro and version you’re on. I read every one, and most of these articles got better because a reader pointed out what was missing.

And if it did work, share it. TecMint has stayed free for 14 years because people pass these articles around, and that traffic is what pays for writing the next one.

Leave a comment
Get two free Linux courses

Learn the Linux basics with two free courses and join 34,000+ readers getting practical TecMint tutorials and selected Pro TecMint articles every week.

Pro TecMint
Get lifetime access for $99

If you want to go beyond the free tutorials, Pro gives you 18 courses, 5 ebooks, and every future course I add. One payment, lifetime access, no renewals.

James Kiarie
James Kiarie
Contributor
About the author

This is James, a certified Linux administrator and a tech enthusiast who loves keeping in touch with emerging trends in the tech world. When I'm not running commands on the terminal, I'm taking listening to some cool music. taking a casual stroll or watching a nice movie.

1 Comment

Leave a Reply

Got Something to Say? Join the Discussion...

Thank you for taking the time to share your thoughts with us. We appreciate your decision to leave a comment and value your contribution to the discussion. It's important to note that we moderate all comments in accordance with our comment policy to ensure a respectful and constructive conversation.

Rest assured that your email address will remain private and will not be published or shared with anyone. We prioritize the privacy and security of our users.