The GNU C Library (glibc) is a fundamental component of the Linux operating system, providing essential functionality for various applications.
In some cases, you may need to install multiple versions of glibc to support different applications or to ensure compatibility with older software.
This guide will show you how to install and manage multiple glibc libraries on your Linux system using simple steps.
Understanding the Need for Multiple glibc Libraries
The primary reason for installing multiple glibc libraries is to support different applications that require different versions of the library.
This can occur when you need to run older software that is not compatible with the latest version of glibc. For instance, some older applications might rely on specific features or functions that were available in earlier versions of glibc.
Step 1: Installing the Required Packages
Before installing multiple glibc libraries, ensure that your system is up to date.
sudo apt update    [On Debian-based Systems]
sudo yum update    [On RedHat-based Systems]
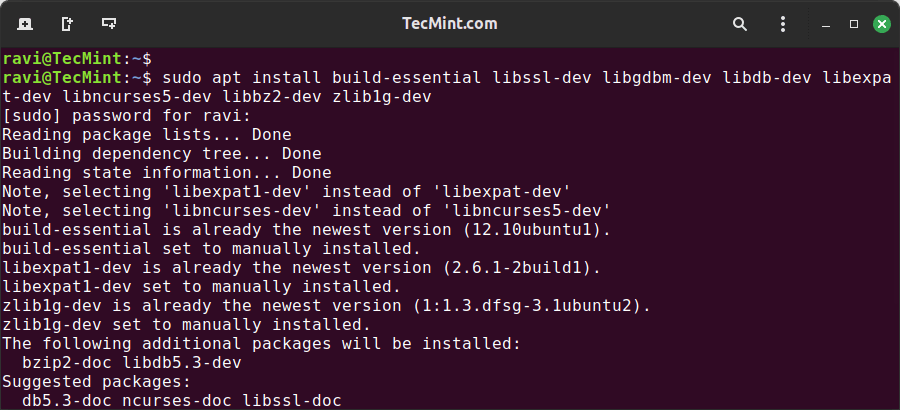
Next, install the required necessary packages for building and installing glibc on Debian-based distributions.
sudo apt install build-essential libssl-dev libgdbm-dev libdb-dev libexpat-dev libncurses5-dev libbz2-dev zlib1g-dev gawk bison
For RedHat-based distributions, install the Development Tools package.
sudo yum groupinstall "Development Tools"
Step 2: Installing Multiple glibc Libraries
To install multiple glibc libraries, you will need to compile and install each version separately as shown.
First, download the required versions of glibc from the official glibc repository or a reliable source, or use the following wget command to download the glibc 2.39 and glibc 2.38 versions.
wget https://ftp.gnu.org/gnu/glibc/glibc-2.39.tar.xz
wget https://ftp.gnu.org/gnu/glibc/glibc-2.38.tar.bz2
Next, extract the downloaded source code using the following tar command, which will create a new directory containing the glibc source code.
tar -xvf glibc-2.39.tar.xz
tar -xvf glibc-2.38.tar.xz
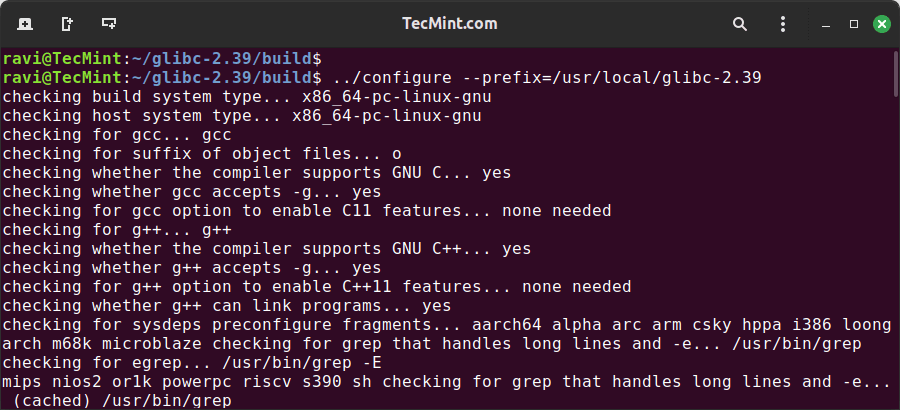
Navigate to the extracted directory and run the following command to configure the build and install glibc, which allows you to install multiple versions of glibc without conflicts.
For glibc 2.39:
cd glibc-2.39
mkdir build
cd build
../configure --prefix=/usr/local/glibc-2.39
make -j4
sudo make install
For glibc 2.38:
cd glibc-2.38
mkdir build
cd build
../configure --prefix=/usr/local/glibc-2.38
make -j4
sudo make install
Managing Multiple glibc Libraries
After installing multiple glibc libraries, you need to manage them to ensure that the correct version is used by your applications.
To use a specific glibc version, you need to set the LD_LIBRARY_PATH environment variable.
For glibc 2.39:
export LD_LIBRARY_PATH=/usr/local/glibc-2.39/lib:$LD_LIBRARY_PATH
For glibc 2.38:
export LD_LIBRARY_PATH=/usr/local/glibc-2.38/lib:$LD_LIBRARY_PATH
You can add these lines to your .bashrc or .profile file to make the changes permanent.
Finally, check the glibc version to ensure it’s correctly installed.
/usr/local/glibc-2.39/lib/ld-2.30.so --version
/usr/local/glibc-2.38/lib/ld-2.31.so --version
Run Applications with Specific glibc Versions
To run an application with a specific glibc version, use the LD_PRELOAD environment variable.
For example, to run an application with glibc 2.39, use.
LD_PRELOAD=/usr/local/glibc-2.39/lib/ld-2.30.so ./your_application
Conclusion
By following these steps, you can install and manage multiple glibc versions on your Linux system, which allows you to run applications that depend on different glibc versions without interfering with your system’s default libraries.


You need to run the following command:
(Same for version 2.38) before running the
make installcommand.If you don’t, the process will fail with the following error:
Hi,
I followed the script and was able to install both glibc-2.39 and glibc-2.38, but I do not have the file ld-2.30.so.
I tried to use the code with the file ld-linux-x86-64.so.2, but it failed.
LD_PRELOAD=/usr/local/glibc-2.38/lib/ld-linux-x86-64.so.2 /opt/python/${PYTHON_VERSION}/bin/pip install ipykernelSegmentation fault (core dumped)
@Stefano,
This could be due to compatibility issues between the versions of glibc and your Python installation.
Verify that the version of ld-linux-x86-64.so.2 you are using is compatible with your installed glibc versions in the same directory.
You can try setting the
LD_LIBRARY_PATHto include the glibc library path before running the pip install command.export LD_LIBRARY_PATH=/usr/local/glibc-2.38/lib:$LD_LIBRARY_PATH /opt/python/${PYTHON_VERSION}/bin/pip install ipykernelAnother approach is to create a symbolic link to the required version of ld-linux-x86-64.so.2 in the directory where your ld-2.30.so is expected.
If the segmentation fault persists, you may want to debug it using gdb.
gdb --args /opt/python/${PYTHON_VERSION}/bin/python -m pip install ipykernelHi,
Thanks a lot
very useful article