Brief: In this guide, we will take a look at how to install GNOME desktop (GUI) on Rocky Linux 9. This guide will be useful for users who have installed a basic functionality using the Minimal Install but later decided to switch to the Graphical Interface.
Linux is a widely adopted operating system, which is used to run many mission-critical applications in data centers. It is known for its stability and performance. One other reason for its popularity is its exceptional command-line support. Linux users can manage the entire system using the command line interface (CLI) only. This allows us to manage Linux servers more efficiently by automating repetitive tasks.
Many users and administrators prefer to use the command line interface to perform their day-to-day tasks. However, in some cases, a user-friendly graphical interface makes our lives easy. For example, we can use the graphical interface to browse the internet, read/compose media-rich e-mails, and so on.
In this guide, we will see the detailed steps on how to install the GNOME Desktop (GUI) on Rocky Linux 9. We will also see how to enable the graphical mode so that system can boot into graphical mode by default. After following this guide beginners will be able to operate the Linux system effortlessly using the easy-to-use graphical interface.
Prerequisites
Before proceeding, we must ensure that the system meets the following installation requirements:
- A stable internet connection with moderate to high speed.
- A user with superuser privileges. In our case, this will be a root user which is indicated by the hash
(#)prompt. - At least 2 GB of RAM with an additional 1 GB of disk space.
Please note that the last requirement will vary from system to system. For example, a heavily used system will require more hardware resources whereas a moderately used system will require average hardware resources.
Installing Gnome Desktop in Rocky Linux 9
First, let’s find out the currently installed base environment using the dnf group sub-command:
# dnf group list --installed

As we can see, currently the system is using a Minimal Install base environment that provides basic functionality without a graphical interface.
Rocky Linux provides multiple base environments that can be listed using the following command:
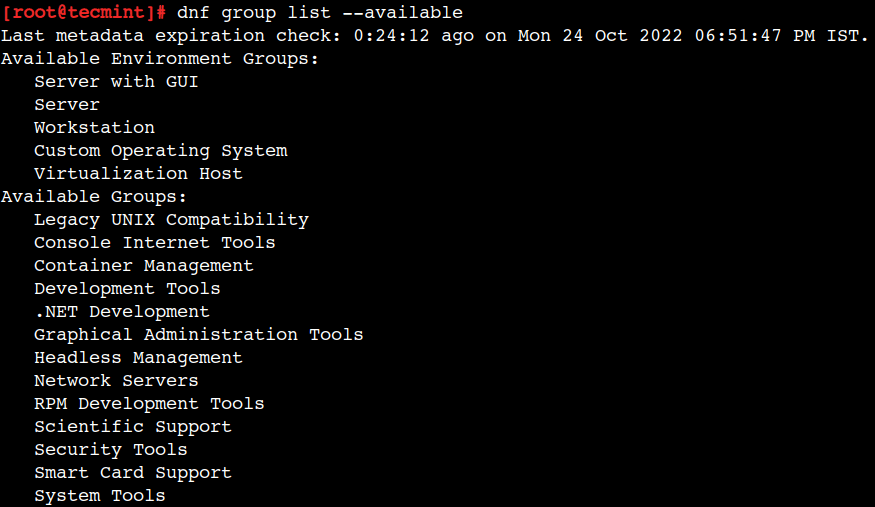
# dnf group list --available
Here, we can see all the available environment groups such as Server With GUI, Server, Workstation, Custom Operating System, and Virtualization Host. These are located under the Available Environment Groups section.
Out of these environments, the Workstation and Server With GUI support the GNOME Desktop environment.
The prime difference between the Workstation and Server With GUI is that the former is ideal for laptops and PCs whereas the latter is ideal for data center servers. Hence both of these base environments provide a different set of packages.
For example, Workstation provides email, chat, video conferencing, and office suite packages. Whereas Server With GUI provides debugging and monitoring tools, an email server, an FTP server, and other similar packages.
We can choose the appropriate environment group as per our requirements. For example, to set up the Workstation environment we can use the following command:
# dnf group install "Workstation"
Similarly, to install Server With GUI we can use the following command:
# dnf group install "Server with GUI"
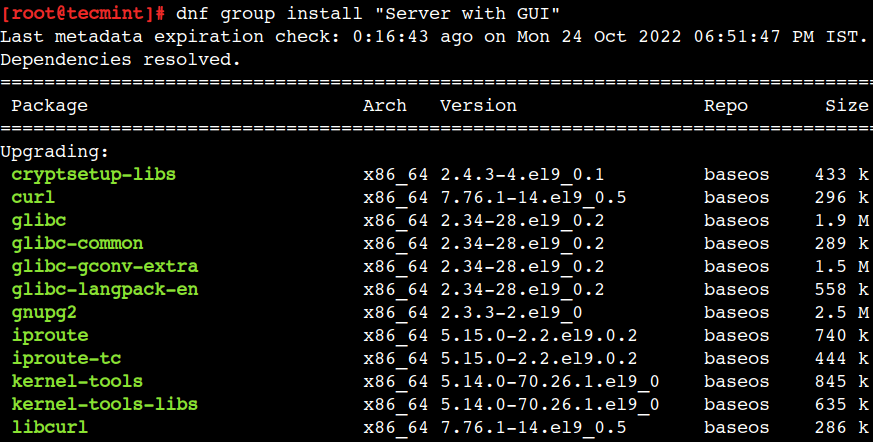
The above command shows the installation summary such as the package name, its version, repository, and its size. In addition to this, it also shows the transaction summary which includes the number of packages that will be installed and the total download size.
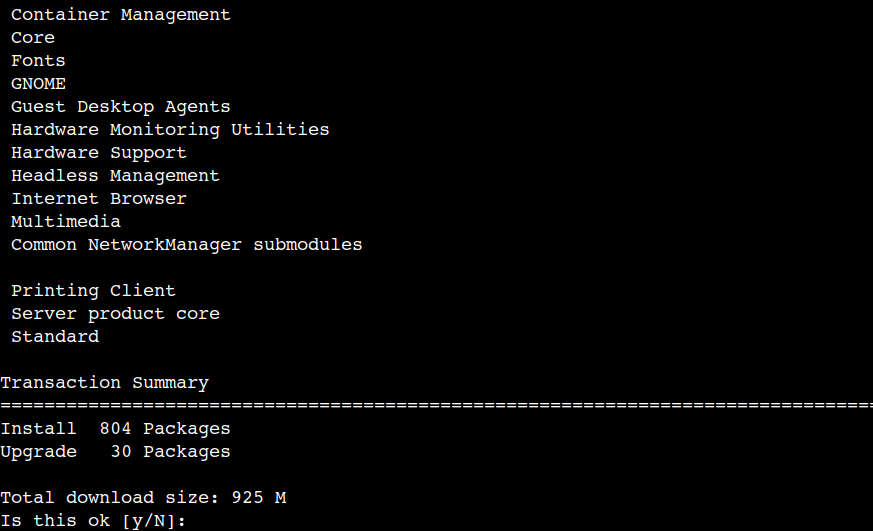
Let’s type y and press the enter key to begin the installation.
Enabling the Graphical Mode in Rocky Linux 9
Just now we installed the GNOME Desktop Environment. However, this is not sufficient to use the graphical interface. Because the default target of the system is still non-graphical. So let’s set it to the graphical mode.
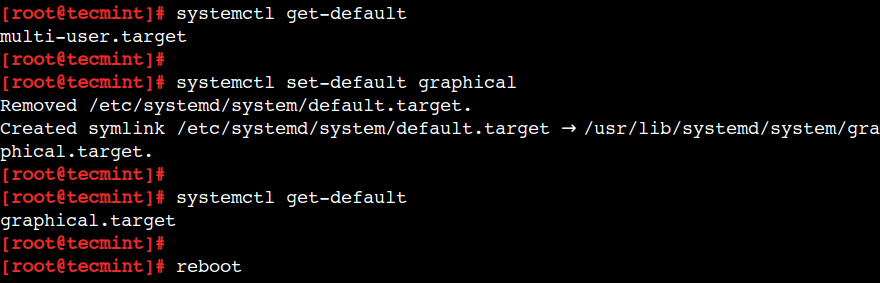
First, check the current target of the system using the following command:
# systemctl get-default

multi-user.target
Here, the multi-user.target represents the run-level 3.
Next, set the graphical mode as the default target of the system:
# systemctl set-default graphical
This will ensure that the system boots into graphical mode every time unless we change it.
Now, verify that the default target of the system is updated:
# systemctl get-default

graphical.target
Finally, reboot the system to boot into the graphical mode:
# reboot
In the next section, we will see how to set up the GNOME Desktop Environment.
Setting Up the Gnome Desktop Environment in Rocky Linux 9
Now, we can see the GNOME welcome screen. Let’s follow the on-screen instruction to complete initial the setup.
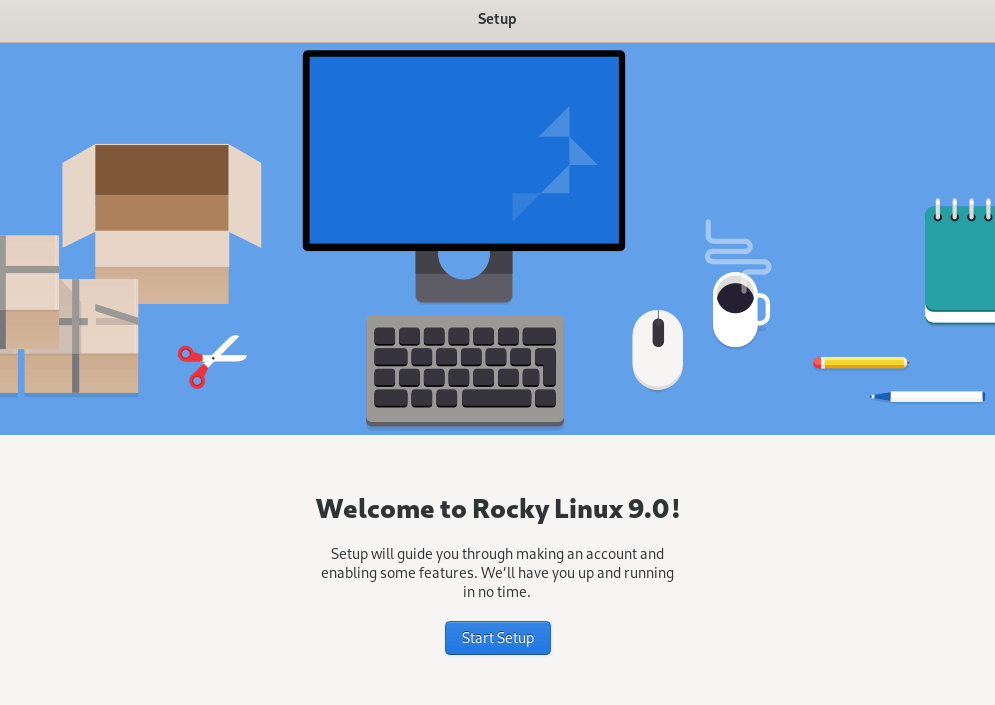
The initial setup will ask for basic information such as location settings, online accounts, optionally new user creation, and so on.
That’s it, now we can start using the system using the GNOME Desktop environment.
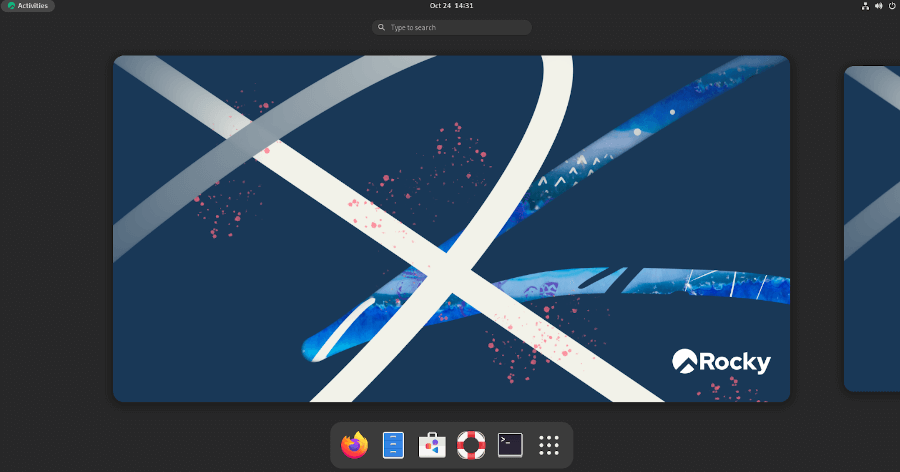
In this step-by-step guide, first, we saw how to install the GNOME Desktop Environment on Rocky Linux 9. Then, we updated the default target of the system to boot it into the graphical mode. Finally, we completed the initial setup using the GNOME welcome screen.
Did you find this information useful? Let us know your views in the comments below.


Hi friends, this document is very useful for installing X Windows on a minimal installation of Rocky Linux. It worked for me on a Windows host OS with VirtualBox, using Rocky Linux as the guest OS.