When it comes to creating websites, one of the easiest ways to have your site up and running is using a CMS (content management system) that usually comes with bundled PHP code and all themes and plugins you need.
Apart from WordPress, the other popular CMS is Joomla. Joomla is a free and open-source CMS that is built on PHP and stores its data on an SQL-based database engine on the backend.
In this article, you will learn how to install Joomla on Ubuntu 20.04/18.04 and newer Ubuntu releases.
Step 1: Update Ubuntu System Packages
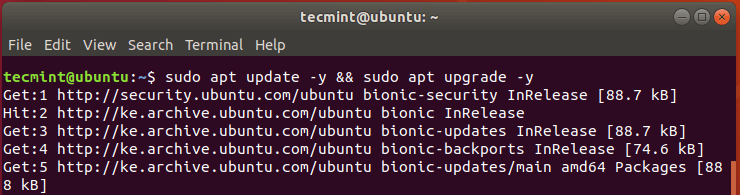
It’s always a great idea to update system packages and repositories before anything else. So update & upgrade your system by running.
$ sudo apt update -y && sudo apt upgrade -y
Step 2: Install Apache and PHP in Ubuntu
Joomla is written on PHP and stores data in MySQL at the back-end. Further, users will access any Joomla-based site via a browser and for that reason, we need to install an Apache web server that will serve Joomla pages.
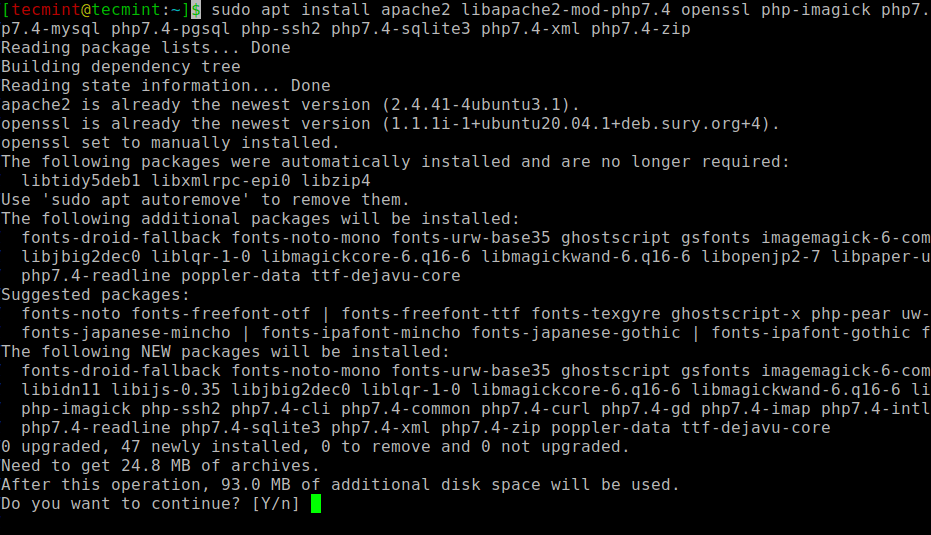
To install Apache and PHP ( we are going to use PHP 7.4) execute the commands below on your Ubuntu release.
Install PHP 7.4 on Ubuntu 20.04
$ sudo apt install apache2 libapache2-mod-php7.2 openssl php-imagick php7.2-common php7.2-curl php7.2-gd php7.2-imap php7.2-intl php7.2-json php7.2-ldap php7.2-mbstring php7.2-mysql php7.2-pgsql php-smbclient php-ssh2 php7.2-sqlite3 php7.2-xml php7.2-zip
Install PHP 7.4 on Ubuntu 18.04
$ sudo apt -y install software-properties-common
$ sudo add-apt-repository ppa:ondrej/php
$ sudo apt-get update
$ sudo apt install apache2 libapache2-mod-php7.4 openssl php-imagick php7.4-common php7.4-curl php7.4-gd php7.4-imap php7.4-intl php7.4-json php7.4-ldap php7.4-mbstring php7.4-mysql php7.4-pgsql php-ssh2 php7.4-sqlite3 php7.4-xml php7.4-zip
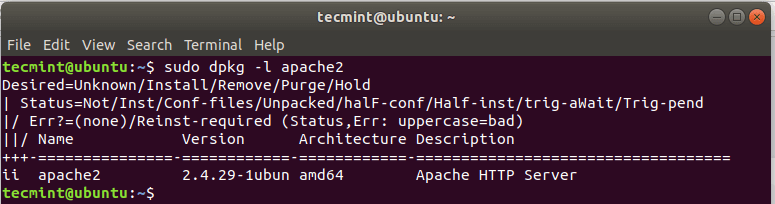
With the installation complete, you can verify the version of Apache installed by running the dpkg command.
$ sudo dpkg -l apache2
Now start and enable the Apache webserver.
$ sudo systemctl start apache2
$ sudo systemctl enable apache2
To confirm that Apache is up and running, run the command:
$ sudo systemctl status apache2
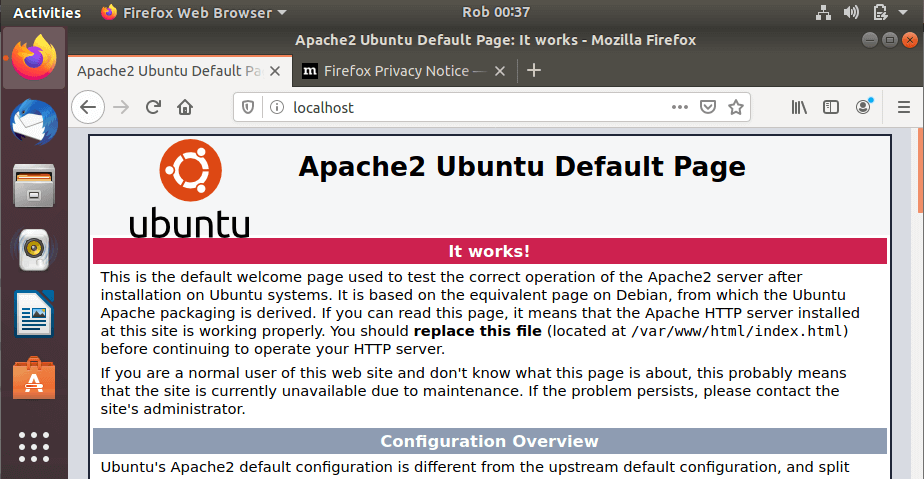
Now head over to your browser and type in your server’s IP address in the URL bar as shown:
http://server-IP
You should get a webpage below showing that Apache is installed and running.
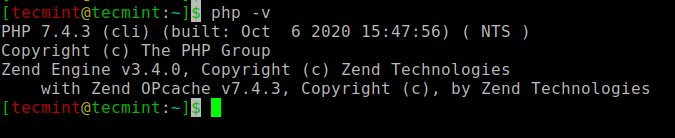
To confirm if PHP is installed execute the command.
$ php -v
Step 3: Install MariaDB in Ubuntu
Since Joomla will require a database on the backend to store its data, we need to install a relational database server. For this guide, we will install the MariaDB server which is a fork of MySQL. It’s a free and open-source database engine that packs with improved features and functionality.
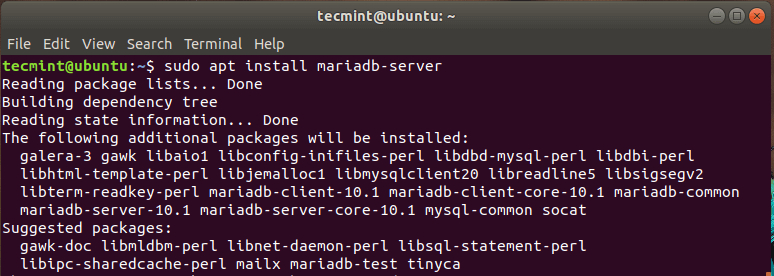
To install MariaDB execute the command:
$ sudo apt install mariadb-server
Since MariaDB is not secured by default, that leaves it vulnerable to potential breaches. As a precaution, we are going to secure the database engine
To achieve this, issue the command:
$ sudo mysql_secure_installation
Hit ENTER when prompted for the root password and press ‘Y’ to set the root password.

For the remainder of the section, just type ‘Y’ and hit ENTER to set it to the recommended settings that will fortify its security.
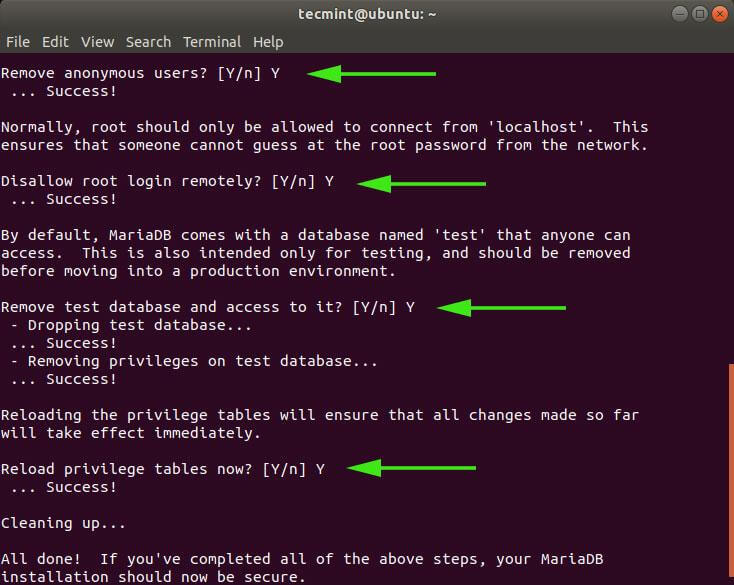
We have finally secured our database engine.
Step 4: Create a Joomla Database
As discussed earlier, Joomla stores its data on a backend SQL server, in this case, MariaDB. So we are going to create a database to store its files.
First, we are going to login to MariaDB using the command:
$ sudo mysql -u root -p
To create the database, database user, and grant privileges to the database user, run the commands below.
MariaDB [(none)]> create user 'USER_NAME'@'localhost' identified by 'PASSWORD';
MariaDB [(none)]> CREATE DATABASE joomla_db;
MariaDB [(none)]> GRANT ALL ON joomla_db.* TO ‘joomla_user’@’localhost’ IDENTIFIED BY ‘StrongP@ssword’;
MariaDB [(none)]> FLUSH PRIVILEGES;
MariaDB [(none)]> EXIT;
Step 5: Download Joomla in Ubuntu
In this step, we are going to download the installation file from Joomla’s official website. At the time of writing, the latest version is Joomla 3.9.26. To download the installation package, execute the wget command below:
$ sudo wget https://downloads.joomla.org/cms/joomla3/3-9-26/Joomla_3-9-26-Stable-Full_Package.zip
Once the download is complete. We need to unzip this to the webroot directory. So let’s make the directory and call it ‘Joomla’. You can give it whatever name you wish.
$ sudo mkdir /var/www/html/joomla
Next, unzip the zipped Joomla file to the just created ‘Joomla’ directory.
$ sudo unzip Joomla_3-9-26-Stable-Full_Package.zip -d /var/www/html/joomla
Once done, set the directory ownership of the directory to Apache user and change the permissions as indicated below:
$ sudo chown -R www-data:www-data /var/www/html/joomla
$ sudo chmod -R 755 /var/www/html/joomla
For the changes to come into effect, restart the Apache webserver.
$ sudo systemctl restart apache2
Step 6: Configure Apache for Joomla
We are going to configure the Apache webserver to server Joomla webpages. For this to happen, we will create a virtual host’s files for Joomla and call it Joomla.conf.
$ sudo vim /etc/apache2/sites-available/joomla.conf
Paste the configuration below into the file and save.
<VirtualHost *:80>
     ServerAdmin [email protected]
     DocumentRoot /var/www/html/joomla/
     ServerName example.com
     ServerAlias www.example.com

     ErrorLog ${APACHE_LOG_DIR}/error.log
     CustomLog ${APACHE_LOG_DIR}/access.log combined

     <Directory /var/www/html/joomla/>
            Options FollowSymlinks
            AllowOverride All
            Require all granted
     </Directory>
</VirtualHost>
Next, enable the virtual hosts’ file.
$ sudo a2ensite joomla.conf
$ sudo a2enmod rewrite
Then restart the Apache webserver service for the changes to come into effect.
$ sudo systemctl restart apache2
Step 7: Finalizing the Joomla Installation in Ubuntu
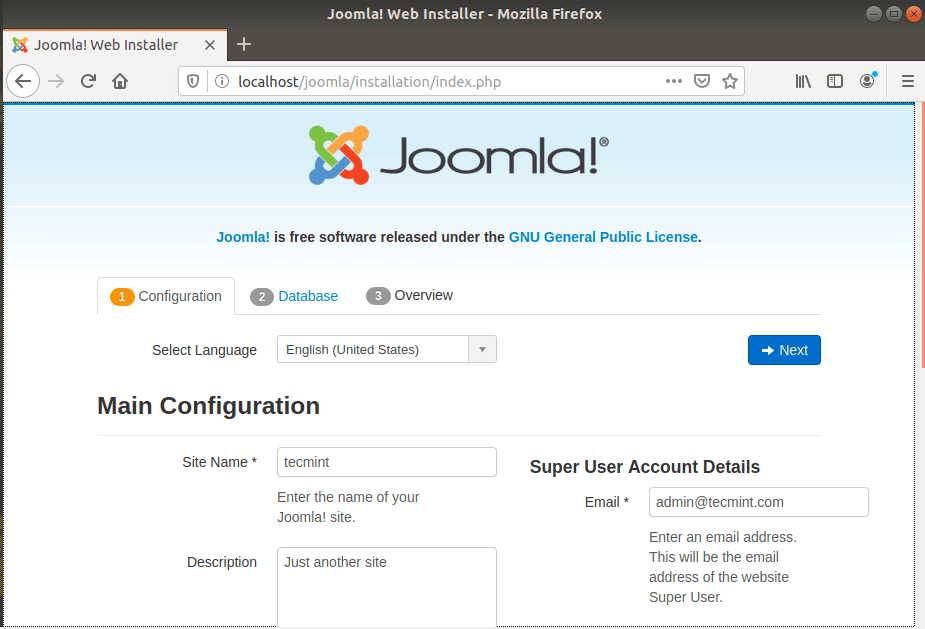
With all the configurations in place, the only step remaining is to set up Joomla via a web browser. So launch your browser and browse your server’s URL as shown
http:// server-IP/joomla
The webpage below will be displayed. Fill in the required details such as Site name, Email address, username, and password, and click on the ‘Next’ button.
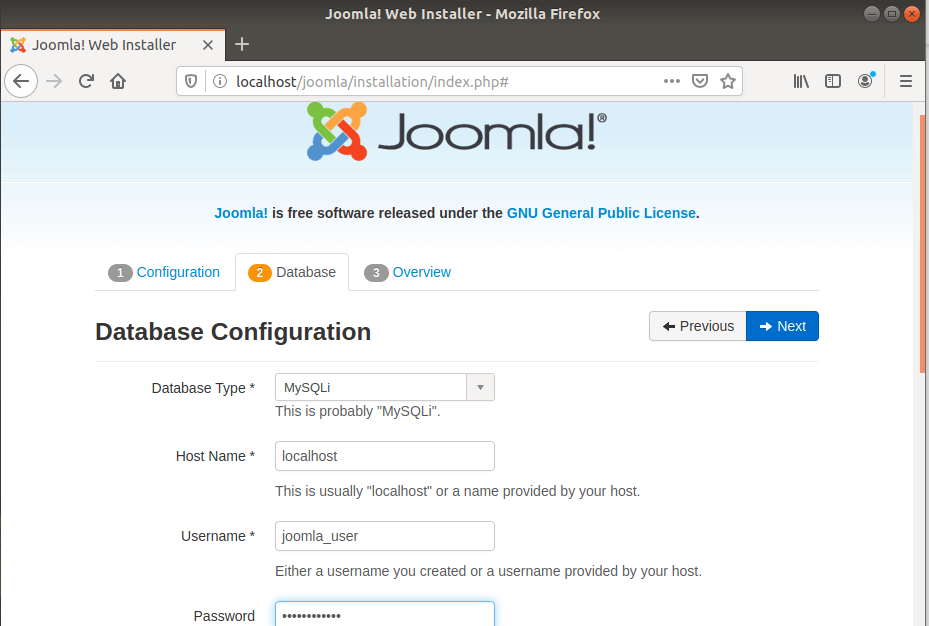
In the next section, fill out the database details such as database type (Select MySQLI), database user, database name, and database password. Then click ‘Next’.
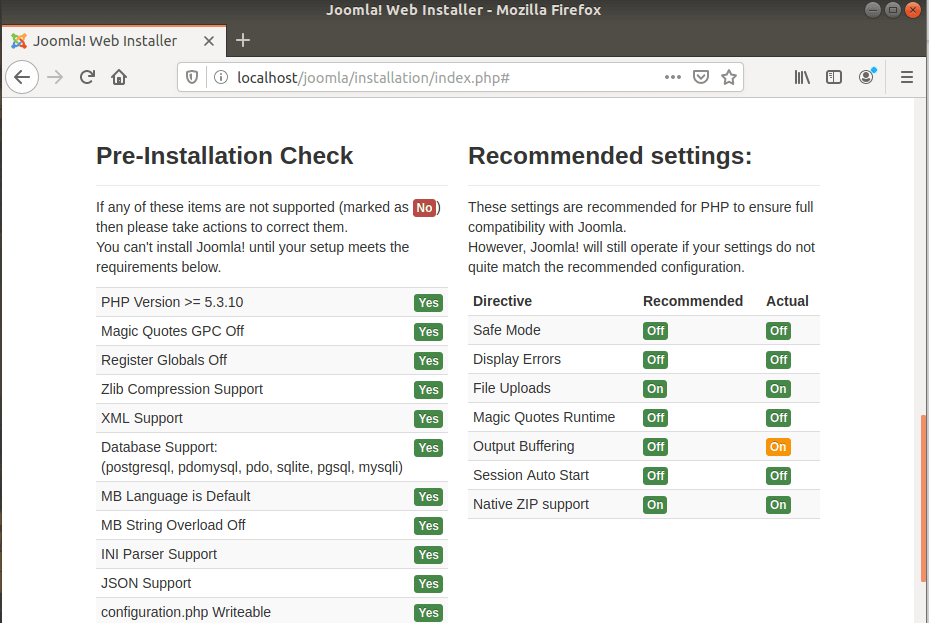
The following page provides an overview of all the settings and allows you to perform a pre-installation check.
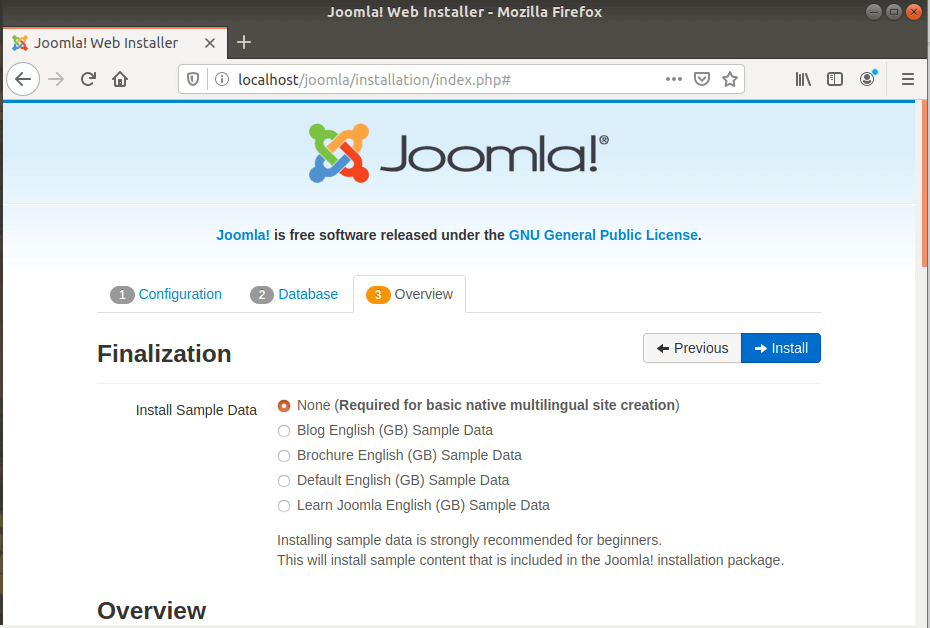
Scroll down to the ‘Pre-installation Check’ and ‘Recommended settings’ sections and confirm that all the required packages are installed and the settings are correct.
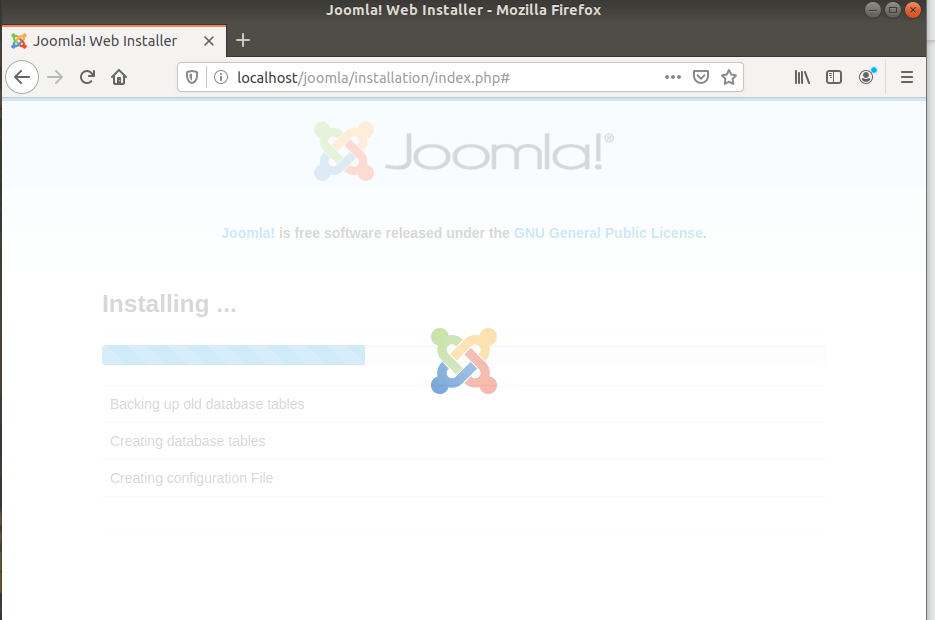
Then click the ‘Install’ button. The setup of Joomla will commence as shown.
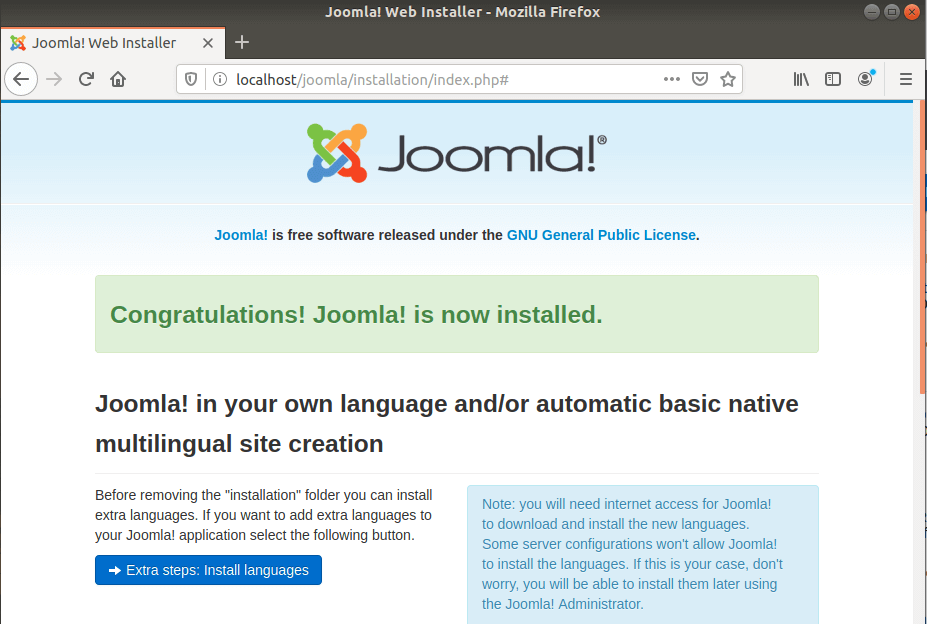
When complete, you will get the notification below that Joomla has been installed.
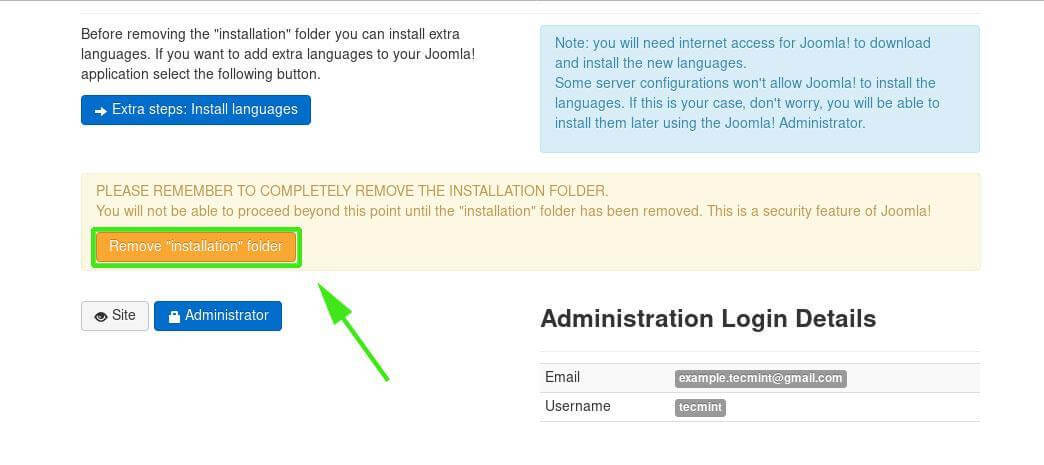
As a security precaution, the installer will require you to delete the installation folder before proceeding to log in, So scroll down and click on the ‘Remove installation folder’ button shown below.
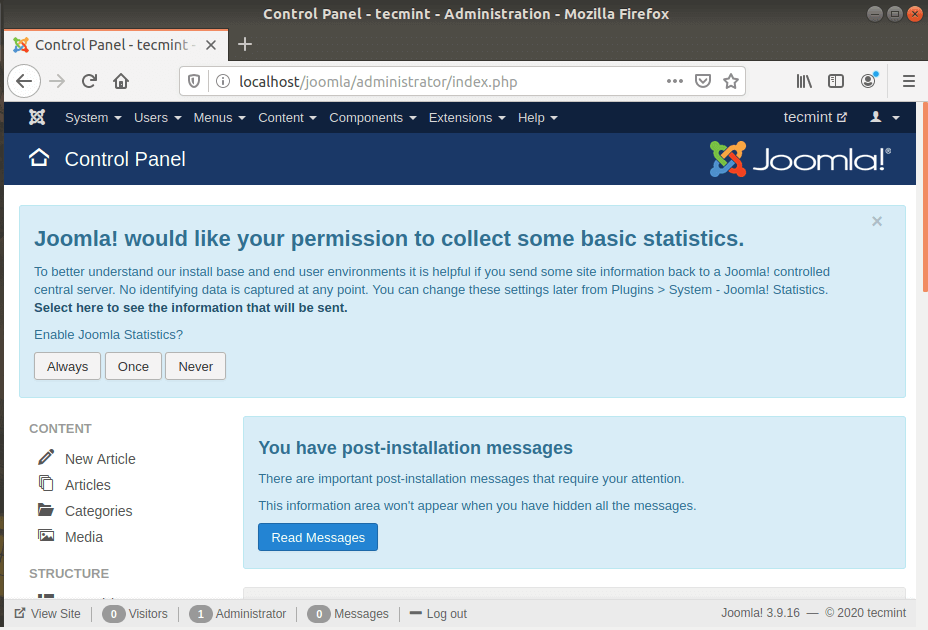
To log in, click on the ‘Administrator’ button which will direct you to the page below.

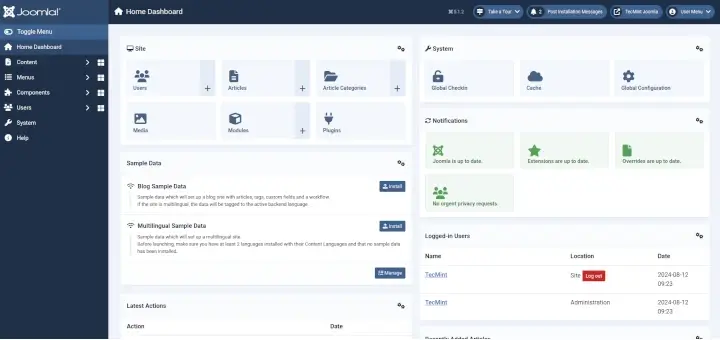
Provide your username and password and click on the ‘Log In’ button. This ushers you to the Joomla dashboard shown below.
You can now create your blog and use various plugins and settings to improve its appearance. We have finally wound up the installation of Joomla on Ubuntu 20.04/18.04.


Mariadb should say grant all privileges, not just grant all.
Your apache installs command for Ubuntu 20.04 doesn’t work. I had to use the command at the bottom of the 18.x version.
@Noah,
Can you share what error you getting while running the command for Ubuntu 20.04?
Good work.
1st: It is also missing a CREATE_USER for Maria db.
2nd: When we print it to pdf file the long commands line are garbled.
Can you fix that or provide a pdf download link?
@Clement,
Thanks for pointing, I have added a command to create a user for mariadb. About PDF, that’s not possible to send a pdf to each user…
Unfortunately, there are some sloppy mistakes in this tutorial so that you can not implement the information 1 to 1. To give just one example. The command: “sudo dpkg -l apache” was misspelled and should probably read: “sudo dpkg -l apache2“. There are still some mistakes in this way that need to be corrected.
@Ralf,
Thanks for the tip, I have corrected the command in the article, let me know what other mistakes you found on this article?