Written in PHP, Joomla is a popular CMS (Content Management System) used for creating stunning websites and blogs using themes, and tons of nifty add-ons. It comes second to WordPress as the most popular and widely used Content Management System.
Check out the guide on how to install WordPress on Rocky Linux and AlmaLinux.
This guide is a walkthrough of how you can install Joomla on Rocky Linux and AlmaLinux.
Prerequisites
Before setting Joomla, ensure that you first have an instance of the LAMP stack installed. We have a comprehensive guide on both.
Step 1: Install Additional PHP Modules
With the LAMP stack installed, let’s go ahead and install some additional PHP modules that will be required along the way during the installation.
$ sudo dnf install php-curl php-xml php-zip php-mysqlnd php-intl php-gd php-json php-ldap php-mbstring php-opcache
Next, open the php.ini file
$ sudo vim /etc/php.ini
Make the following changes and save the file.
memory_limit = 256
output_buffering = Off
max_execution_time = 300
date.timezone = Europe/London
Step 2: Create a Database for Joomla
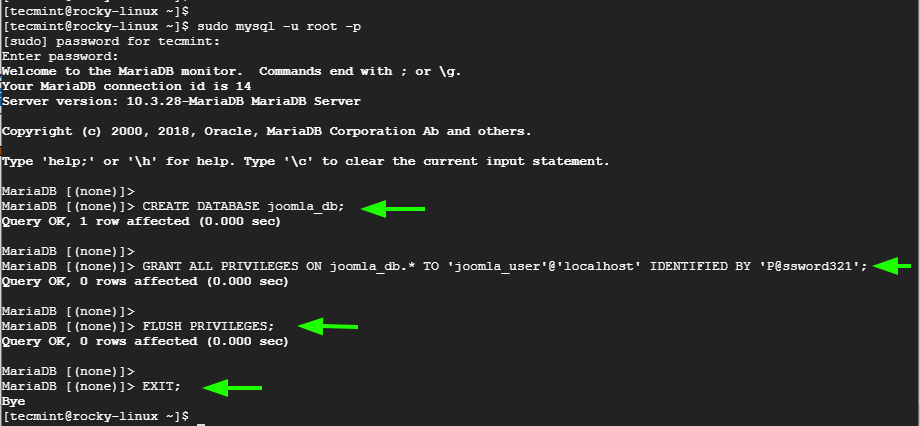
Moving on, we are going to create a database for Joomla. Therefore, access your MariaDB database server.
$ sudo mysql -u root -p
Create the database as follows. In this example, joomla_db is the database for Joomla.
CREATE DATABASE joomla_db;
Next, create a database user and grant all privileges to the Joomla database.
GRANT ALL PRIVILEGES ON joomla_db.* TO 'joomla_user'@'localhost' IDENTIFIED BY 'P@ssword321';
Save the changes and exit the MariaDB prompt.
FLUSH PRIVILEGES;
EXIT;
Here’s a summary of all the SQL statements.
Step 3: Download Joomla and Configure
After the database creation, download the Joomla from the website or grab the zip file using the wget command.
$ wget https://downloads.joomla.org/cms/joomla3/3-9-15/Joomla_3-9-15-Stable-Full_Package.zip?format=zip -O joomla.zip
Once downloaded, unzip the Joomla file to the document root.
$ sudo unzip joomla.zip -d /var/www/html/joomla
Be sure to grant ownership of the joomla directory to the apache user.
$ sudo chown -R apache:apache /var/www/html/joomla/
And set the permissions as follows.
$ sudo chmod -R 775 /var/www/html/joomla/
Step 4: Configure Apache Virtual Host for Joomla
We need to configure Apache to host Joomla. To achieve this, we are going to create a virtual host file for Joomla, and for that, we need to configure a virtual host file as shown
$ sudo vim /etc/httpd/conf.d/joomla.conf
Paste the following lines. For the directive, use the server’s Fully Qualified Domain Name (FQDN) or public IP.
<VirtualHost *:80>
   ServerAdmin [email protected]
   DocumentRoot "/var/www/html/joomla"
   ServerName domain.com
   ErrorLog "/var/log/httpd/example.com-error_log"
   CustomLog "/var/log/httpd/example.com-access_log" combined

<Directory "/var/www/html/joomla">
   DirectoryIndex index.html index.php
   Options FollowSymLinks
   AllowOverride All
   Require all granted
</Directory>
</VirtualHost>
Save and exit. Then restart the Apache HTTP webserver to apply the changes made.
$ sudo systemctl restart httpd
If you have firewalld running, you need to allow HTTP traffic to the webserver.
Run the following command:
$ sudo firewall-cmd --add-service=http --zone=public --permanent
You might also want to allow the HTTPS protocol which is a secure HTTP protocol.
$ sudo firewall-cmd --add-service=https --zone=public --permanent
Finally, reload the Firewall to apply the changes.
$ sudo firewall-cmd --reload
At this point, Joomla should be accessible from a web browser. Let’s go ahead and finalize the setup.
Step 5: Access Joomla from the Browser
Launch your web browser and browse the URL shown
http://server-ip or domain.com
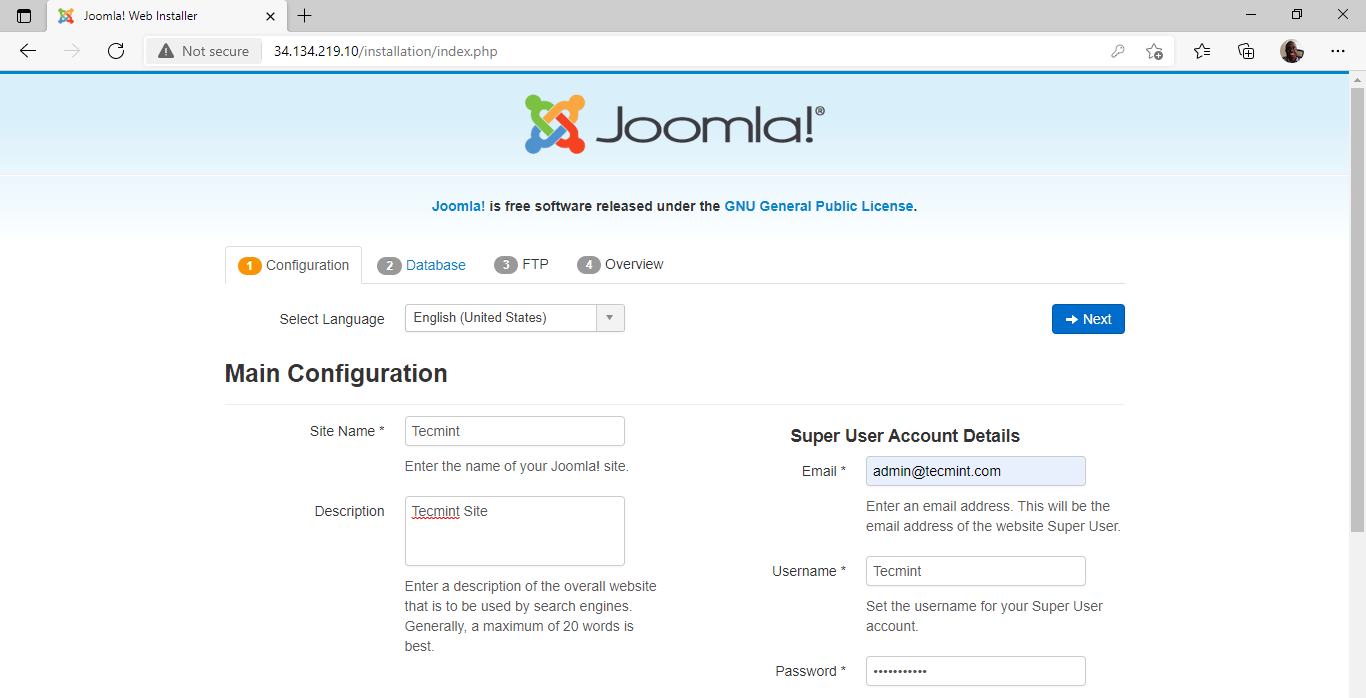
This directs you to the page shown. Provide all the necessary information such as Site name, email address, username, and password, and click ‘Next’.
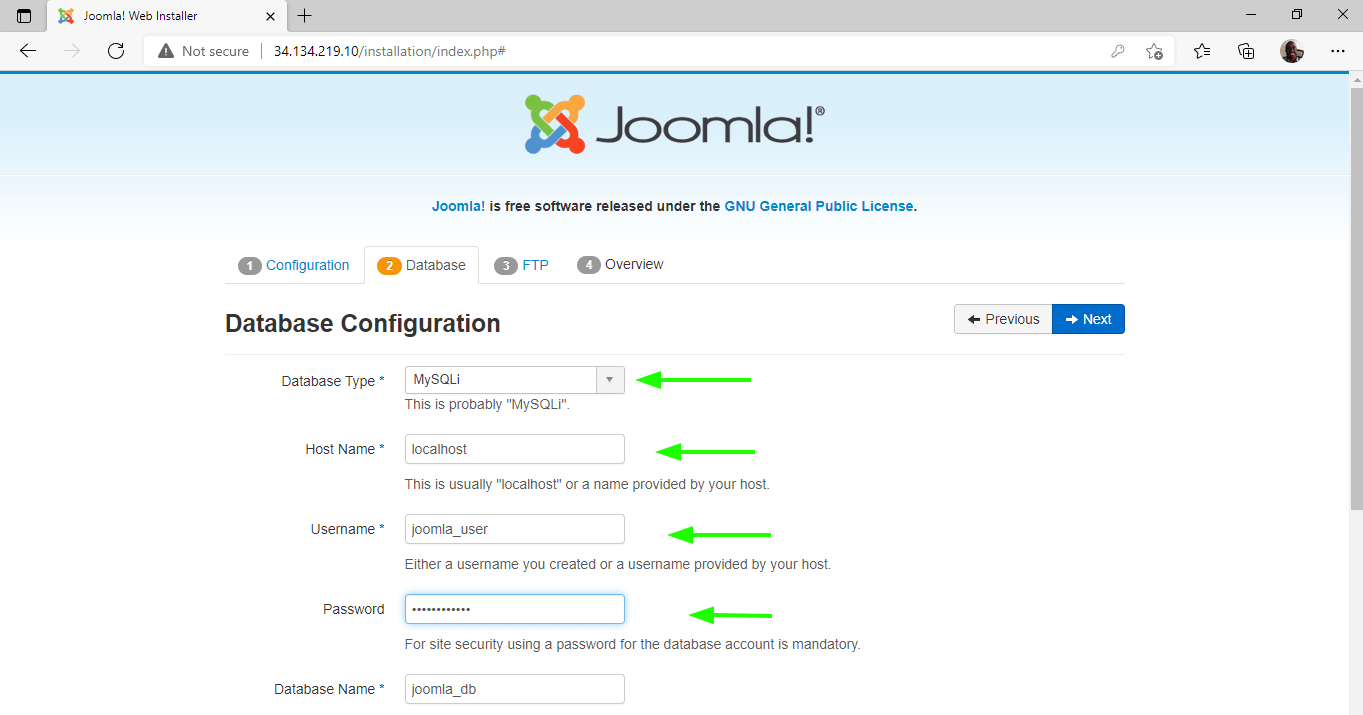
Fill in the database details and click ‘Next’.
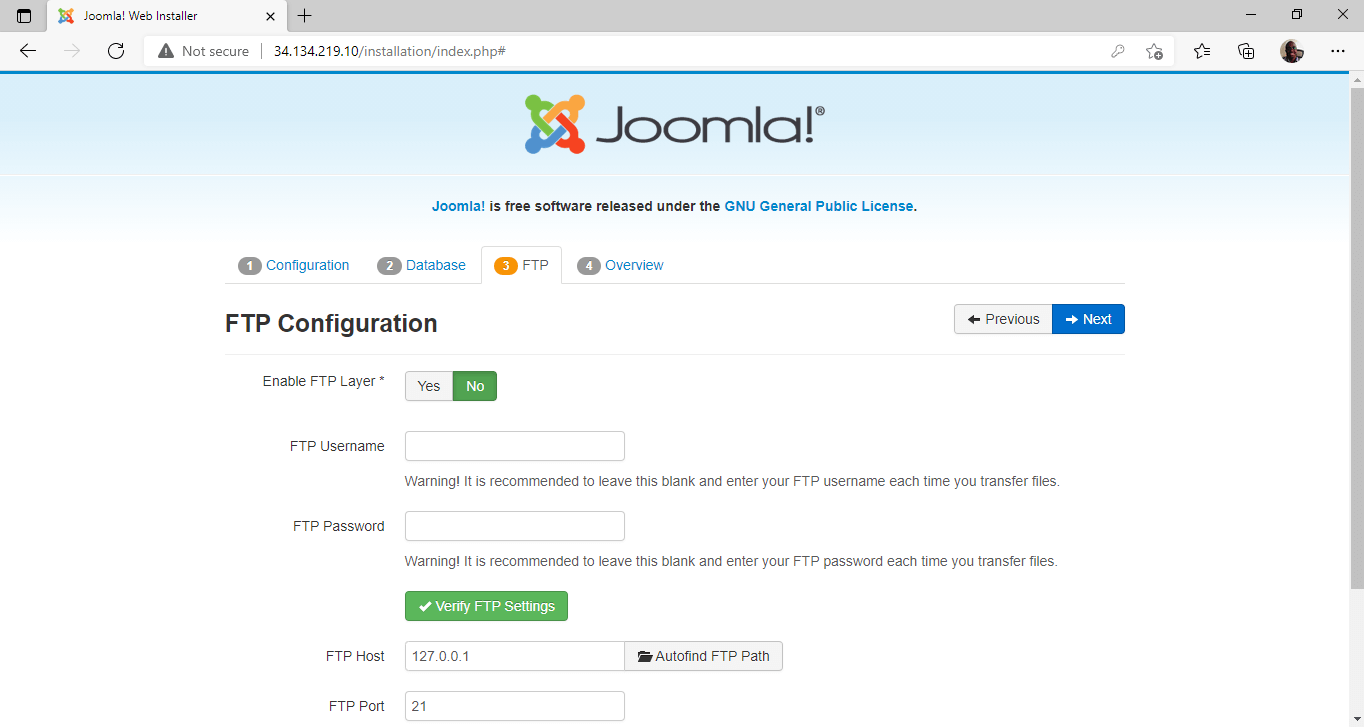
For the FTP section, it’s safe to leave everything blank for now and click ‘Next’.
The next screen will give you an overview of all the settings made and allows you to see if all the prerequisites have been met. Then click on ‘Install’.

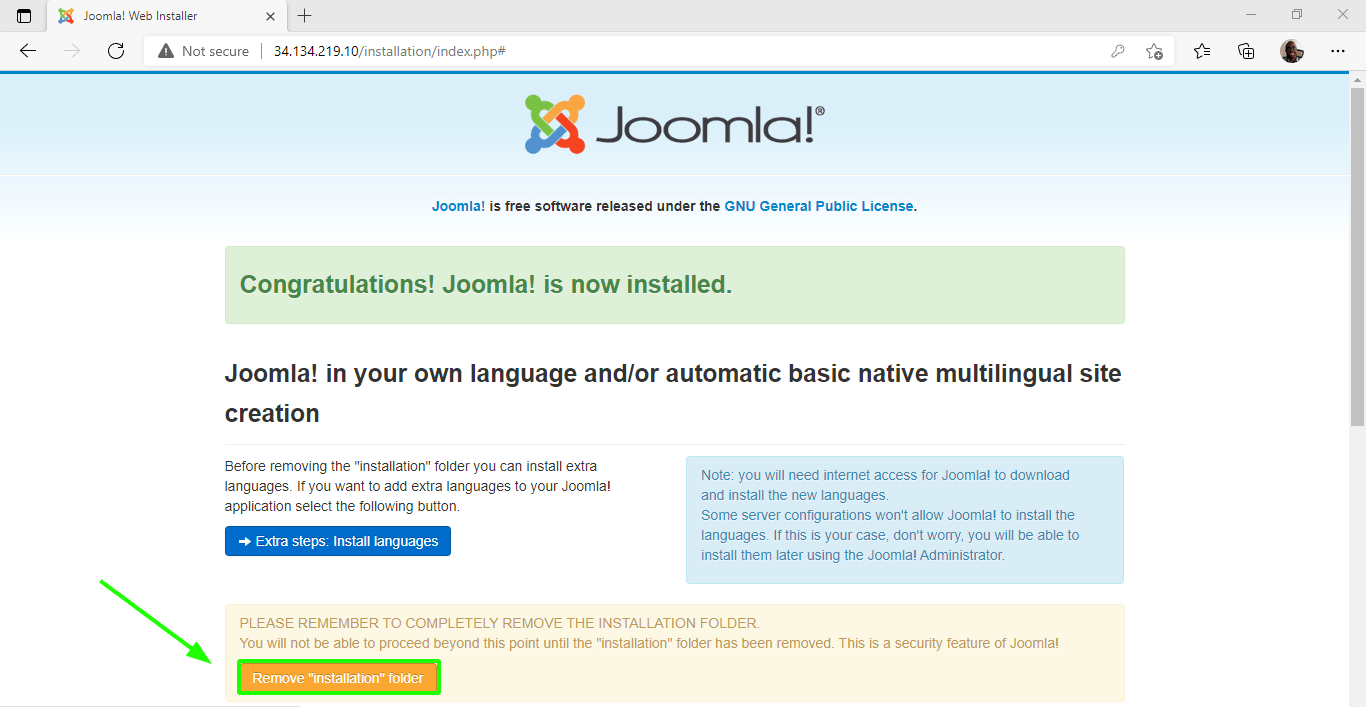
Once the installation has been completed successfully, you will be prompted to remove the installation folder. So, click on the ‘Remove installation folder” to purge the directory.
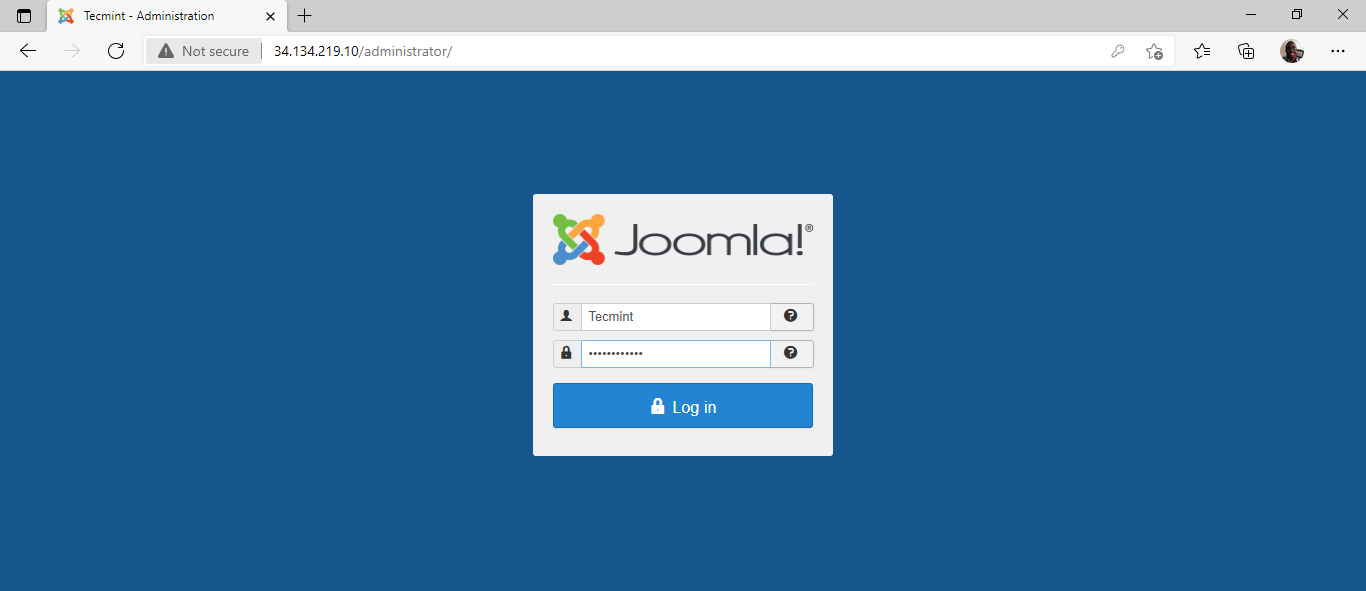
Then click on the ‘Administrator’ button. This will direct you to the login page shown. Enter your login credentials and click ‘Login’.
Finally, you will get a glance at Joomla’s dashboard as provided.
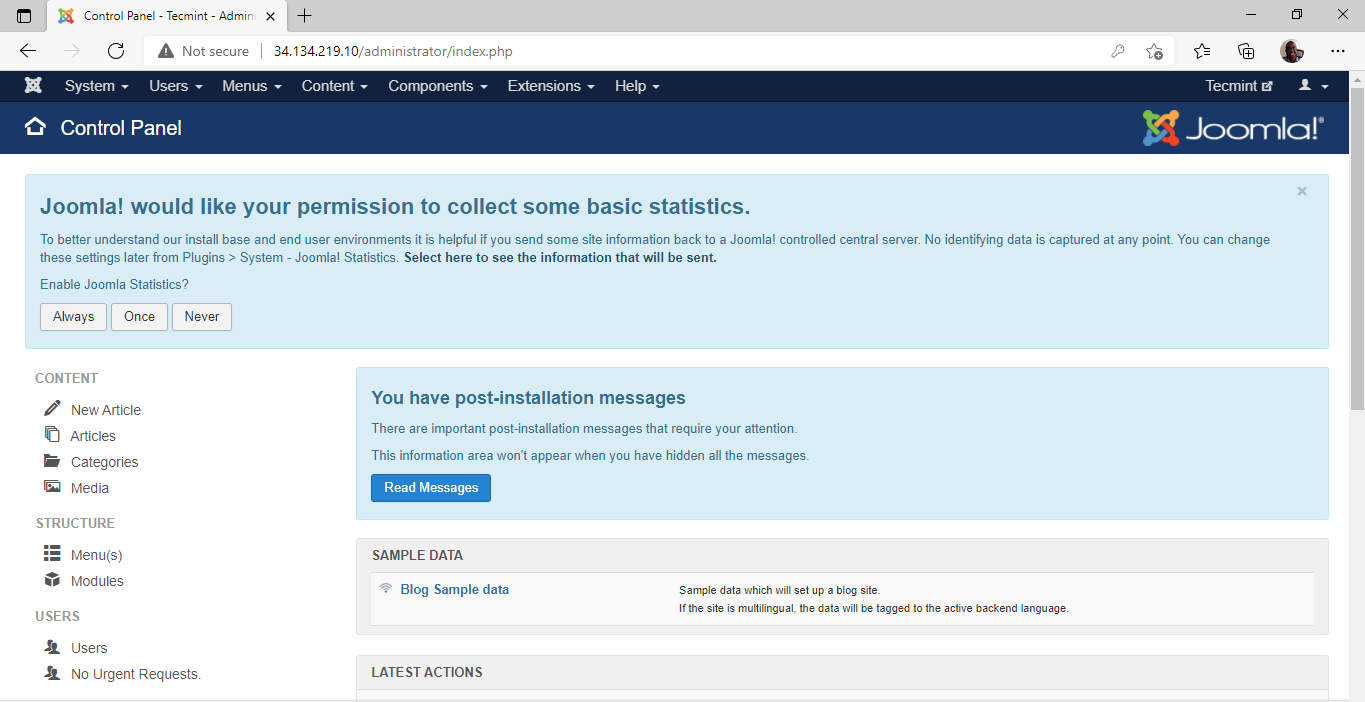
From here, you can create and customize your blog or website using various themes and plugins to your preference. That’s it, guys! We have walked you through the installation of Joomla on Rocky Linux and AlmaLinux.
Furthermore, you can also secure your Joomla by enabling HTTPS on the website.


