If you ever wanted to host your own website or just want to try your PHP programming skills, you will most definitely have stumbled upon LAMP.
For those of you, who don’t know what LAMP is, this is a stack of web service software. LAMP uses the first letter of each package included in it – Linux, Apache, Mysql/MariaDB and PHP.
In this article, we will show you how to install LAMP (Linux, Apache, MySQL/MariaDB and PHP) in Fedora 23 Server and Workstation.
I will assume that you have already completed the installation of Fedora 23 Server and Workstation, which basically completes the “Linux” part. But if you haven’t completed the Fedora install yet, you can check our guides here:
- How to Install Fedora 23 Workstation
- Installation of Fedora 23 Server and Administration with Cockpit
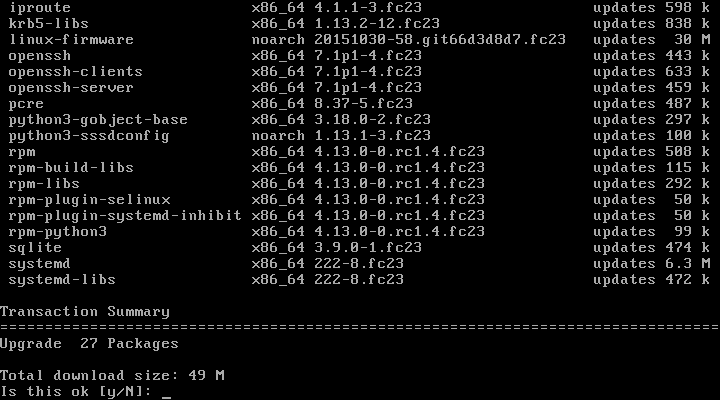
Before we start the installation of the rest of the packages, we recommend to update your packages with the following command:
$ sudo dnf update
Now we can safely proceed to the installation of the rest of the packages. For easier understanding and follow up, the article will be separated in three parts, one for each package.
Step 1: Installing Apache Web Server
1. Apache web server is the most used web server on the internet. It’s powering millions of websites and is one of the most reliable solutions you can get for a web server. There are plenty of modules that can help you customize the functionality of Apache and also security modules such as mod_security to protect your web sites.
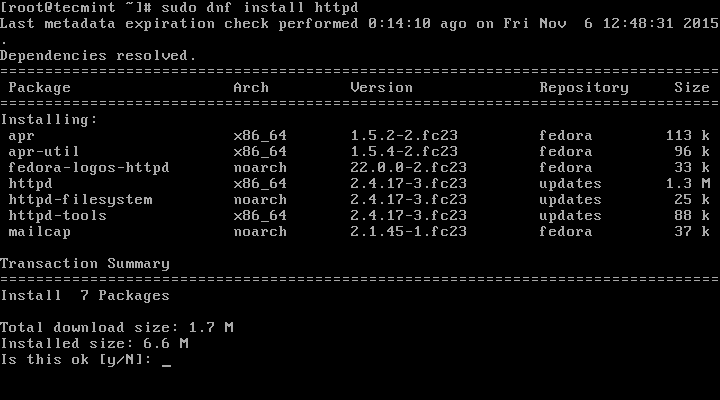
To install Apache in Fedora 23, you can simply run the following command:
$ sudo dnf install httpd
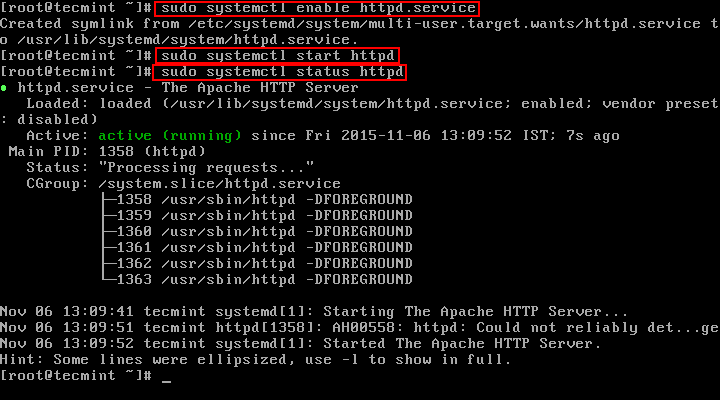
2. Once the install is complete, there are few more things to be done. First we will setup Apache to automatically start upon system boot and then we will start and verify the status of Apache.
For that purpose, run the following series of commands:
$ sudo systemctl enable httpd.service
$ sudo systemctl start httpd
$ sudo systemctl status httpd
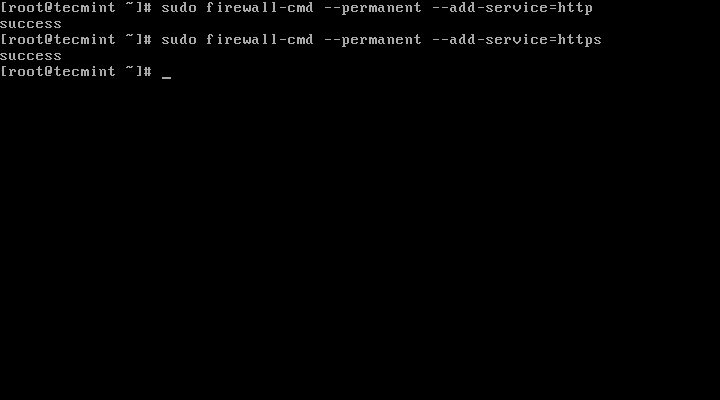
3. To allow access to the web server over HTTP and HTTPS, you will need to allow access to it in the system firewall. For that purpose, add the following rules in the fedora firewall:
$ sudo firewall-cmd --permanent --add-service=http
$ sudo firewall-cmd --permanent --add-service=https
$ sudo systemctl reload firewalld
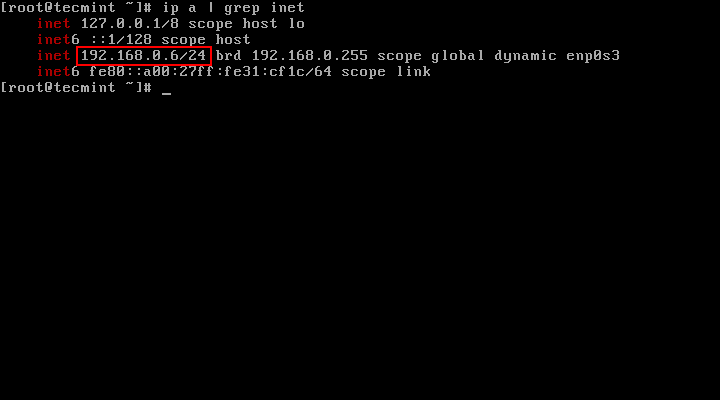
4. Now it’s time to check if Apache is running. Find your system’s IP address with command such as:
$ ip a | grep inet
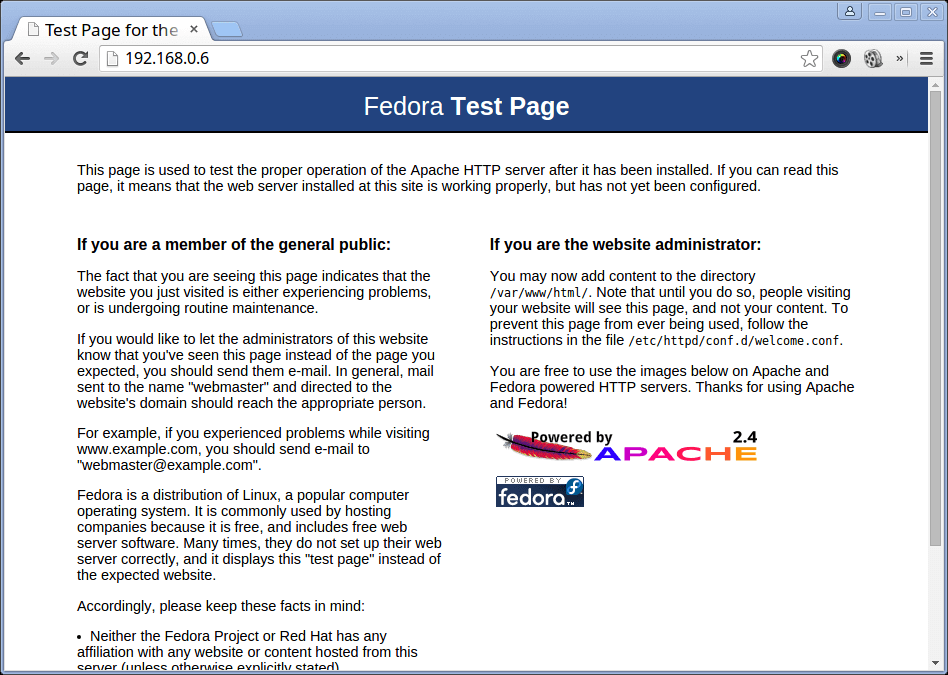
5. Now copy/paste that IP address in your browser. You should see the following page:
http://your-ip-address
The default Apache directory is:
/var/www/html/
If you need to have files accessible over web, you should place the files in that directory.
Step 2: Installing MariaDB Server
6. MariaDB is a relational database server. It has been forked by the MySQL creator, due to concerns over Oracles acquisition of the MySQL project.
MariaDB is meant to remain free under the GPU general public license. It’s community developed and is slowly becoming the preferred database server by most of the recently released distributions.
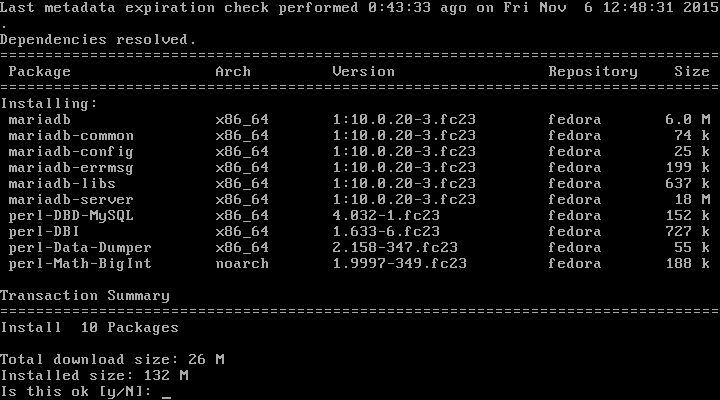
To install MariaDB in Fedora 23, run the following command:
# dnf install mariadb-server
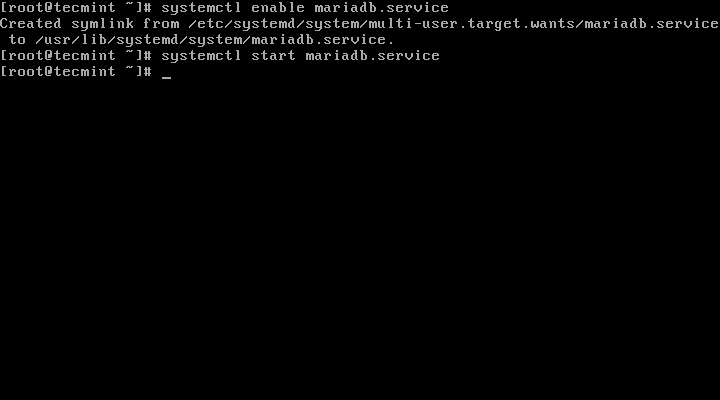
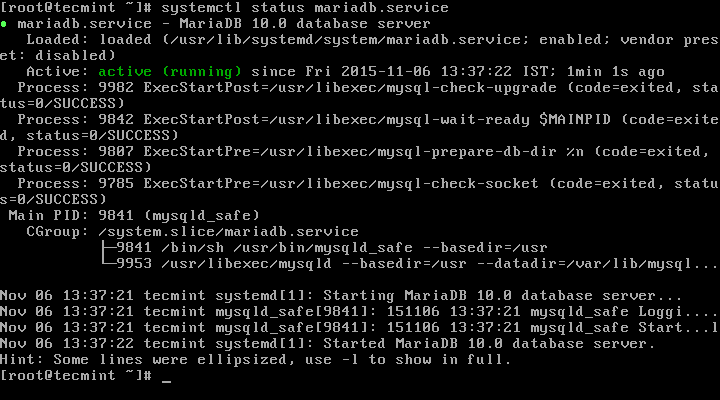
7. When the install finishes, configure MariaDB to automatically start after system boot and then start and verify the status of MariaDB with the following commands:
# systemctl enable mariadb
# systemctl start mariadb
# systemctl status mariadb
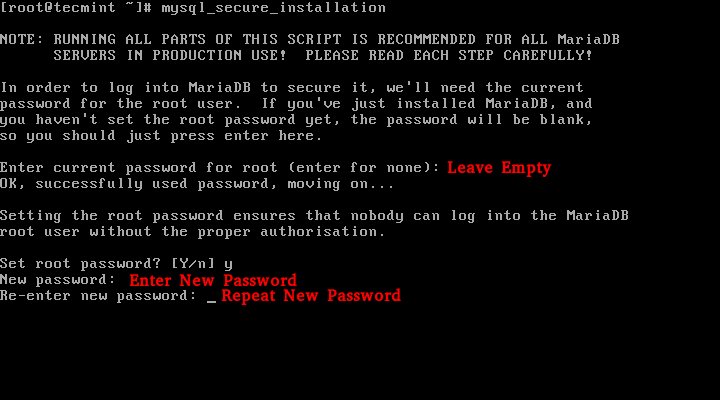
8. There are few settings that need to be adjusted in order to secure your MariaDB installation. To change this settings, we recommend running the following command:
# mysql_secure_installation
This action will start a series of questions that you will need to answer in order to improve the security of your MySQL server.
Here is what you will need to do.
- When asked for MySQL root password, leave empty. There is no password by default.
- After that you will be asked to enter the new “root” password for MariaDB. Make sure to select a strong one.
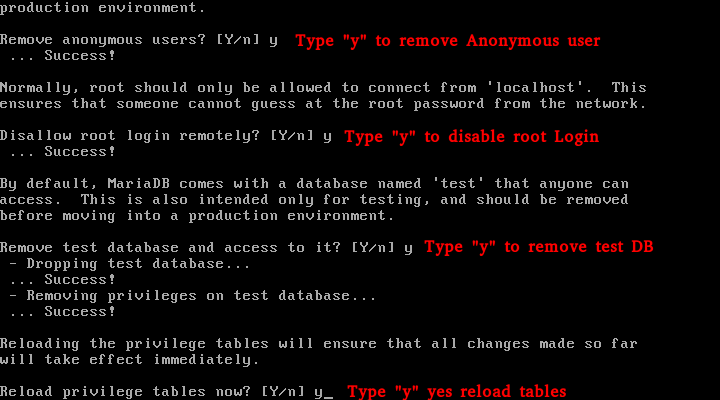
- After that, you will be prompted if you wish to remove the MariaDB anonymous user. This user is not needed, so your should be “y” for yes.
- Next, you will need to disallow remote access to the databases from root. The reason behind that is that you can later create separate users for each database that will be able to access the required databases.
- Continuing further, you will be asked whether or not you wish to remove the “test” database that was created upon installation of MariaDB. This database is not needed so you can safely remove it.
Finally reload the database privileges and you are done.
Step 3: Installing PHP
9. PHP is a programming language used on most of the websites over the internet. It’s used for creating dynamic websites. To give you an idea of what sites you can build with PHP, I will tell you that www.tecmint.com is built on PHP.
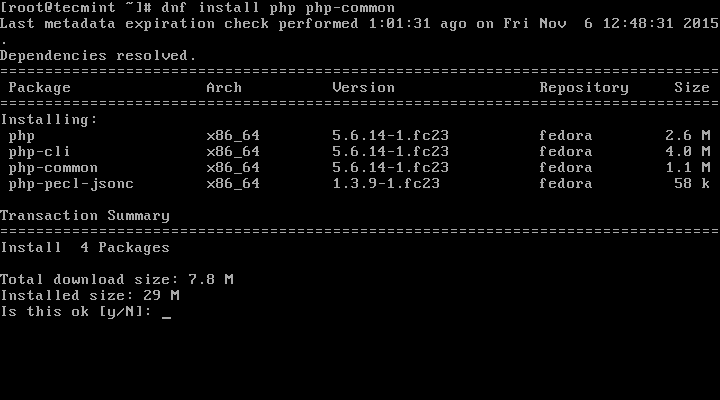
To install PHP in Fedora 23, you will need to run the following command:
# dnf install php php-common
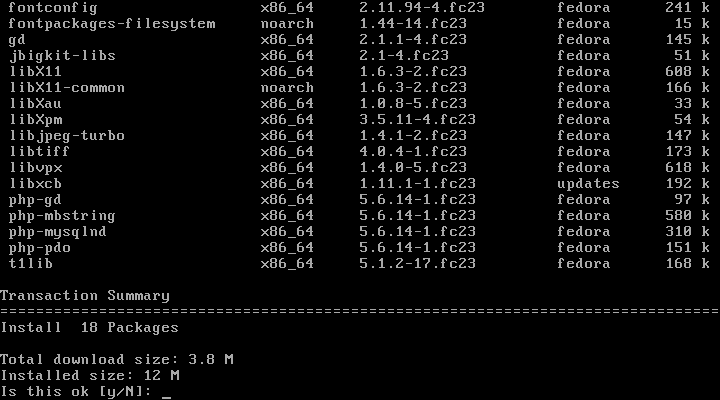
10. Next install required PHP modules to run PHP/MySQL applications using following command.
# dnf install php-mysql php-pdo php-gd php-mbstring
11. Once the installation is complete, restart Apache so it can start using PHP:
# systemctl restart httpd
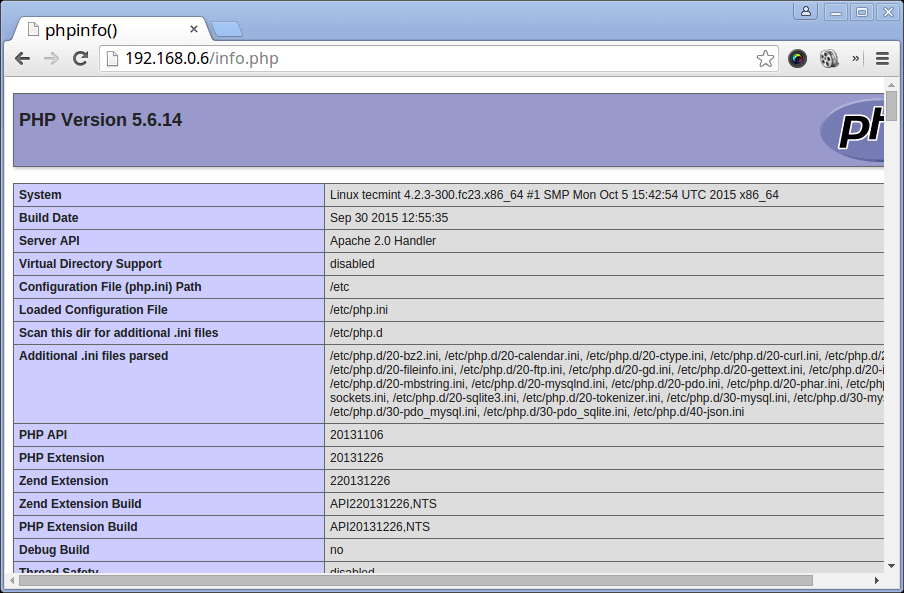
12. Now let’s test our settings. Create a file called info.php in the following directory: /var/www/html. You can use command such as:
# cd /var/www/html/
# nano info.php
Enter the following code:
<?php
phpinfo()
?>
Now save the file. Go back to your browser and enter the following:
http://your-ip-address/info.php
You should now be able to see the PHP info page that you just created:
Conclusion
Your installation of the LAMP stack on Fedora 23 is now complete and you can start creating your awesome web projects. If you liked the article or simply have a question, please do not hesitate to submit your comment in the section below.


The following php-mysql didn’t work out of that command.
Nicely explained. Any chance you will update this for the new version of Fedora? Also Is the process of install PHP on Debian same? I have been using a platform, Cloudways, where there is no need to install it manually. But I think it will be a good thing if I know how to do it manually.
@Olivedev,
Thanks for find it helpful, yes the same instructions also works on Fedora 24 and Fedora 25, but we already covered about LAMP installation on both latest Fedora distributions here:
Install LAMP on Fedora 24 and Fedora 25
If you are looking for LAMP on Debian, go through this article: Install and Configure LAMP Stack on Debian
Ravi, Thanks for the the LAMP on Debian tutorial.
Hi, thanks for the tutorial. It apply to fedora server 25, really appreciated it…
@Ahmad,
Yes, Fedora 25 is latest version of Fedora 23 with minor changes, so using these instructions you can easily install LAMP on Fedora 25 without any issues.
Hi..
Great Work Dude :)
I install apache, mysql and php as your instruction and succeeded. Now I want to know which is the url for phpmyadmin.
I started all the service, and run the file
info.phpand it show information about php but when I try to run http://my-server-ip/phpmyadmin it says not found.Help me with this BTW Article is great and worked successfully.. I am using fedora 24 workstation edition.
Thank You;
@Azhar,
This article is all about how to Install LAMP stack on Fedora 23 Server, which you’ve successfully installed as per instruction, but to install phpmyadmin on Fedora 23 Server, try to run the below command to install it.
Then access the phpmyadmin url like
http://my-server/phpmyadmin. If you still don’t know how to install phpmyadmin, I suggest you to go through this article here: https://www.tecmint.com/install-phpmyadmin-rhel-centos-fedora-linux/@Ravi
Command works successfully.
Nice Article.
Thank you.
Thank You Ravi.
Command Works Successfully..
Keep it up Dude.
:) :) :)
very nice tutorial.
Just started using Fedora. A great article! Waiting for more content like this on the Net
Thank you very much for the great step-by-step content.
HI !
I want to know how to remove the automatic starter
Thanks !
@Francisco,
What do you mean by automatic starter? could you describe it more clearly? or if I am not wrong, you want to disable auto starting of Apache or Mysql? if yes, here is the command to disable them.
Thank you so much for you play by play instructions. Most people do not do this as well as you do. They just assume readers know certain things and they continue leaving steps out….but you did not. So thank you and I hope you keep writing for us, some of us really need the help because we are new to linux but we hate windows so we are trying to break free and papers like this help us do that.
Thanks for your kind words David. If there are any specific tutorials you would like to see on Tecmint please let us know and we will do our best to cover them for you.
Nice everything worked well accept the php info file it only gives me a grey screen? however the php install said it completed successfully. I’m really disapointed that fedora doesn’t incluid a gui for: package management, mariadb, Apache. As a part time user having to remember command line details is really unrealistic.
Hia Pat. Could you please check if anyting is written in the apache error log? Share the lines with us in here.
Thank you very much!
Hi
Im using fedora server 23 with XAMPP PHP 7.0.5 and I want to upgrade PHP 7.0.6.
How do you advise me to do?
php settings lose? risk sites not to go?
tx!
@Lulian,
I think you should just update the XAMPP, it will automatically upgrade PHP to most recent version, check out XAMPP official docs for upgrading PHP..
Thanks , All working
Thank you
all I get on the browser is
rather then what it is suppose to show!
I did everything you suggested
Thank you very much for this tutorial. It is a very helpful explanation and it works like a charm.
thanks for posting, this is a great tutorial and very well written! Not sure if it was just an issue for me, but I had to reload the firewalld service as it didn’t quite enforce the service rules dynamically without a reload … (sudo systemctl reload firewalld).
@Lewerk,
Thanks for finding this article useful for you, yes you were correct, after enabling HTTP, we need to reload firewalld service to take new changes into effect. As per your suggestion, we’ve included the reload command in the article.
Best explanation and instruction I’ve ever read, thanks so much..
dnf isntall mariadb-server
isntall – false
install – true
@Xtsidx,
Thanks for pointing that typo, corrected in the article..
Setup went fine, however when I go to access a PHP page I get an error
Warning: Unknown: failed to open stream: Permission denied in Unknown on line 0
Fatal error: Unknown: Failed opening required ‘/var/www/html/edwinphp/demo/57_get.php’ (include_path=’.:/usr/share/pear:/usr/share/php’) in Unknown on line 0
Not sure what causes this
@Adam,
It seems some permission issue on edwinphp directory, just grant the correct permission to this directory and then try again..
Hi Marin,
I really hope you can help me.
Your tutorial is brilliant.
When I install everything like you say above but when I go to the http://localhost I don’t get the test page but if I create a test.html I can see that.
The main thing is that PH doesn’t seem to work it either shows a blank page or open the page as code or tries to download it as a file.
I have asked all over and search everywhere but stuck.
Hello John,
Can you please tell me if you have installed LAMP on Fedora Server or Desktop? Please check if the following line is present in the Apache configuration file:
AddHandler application/x-httpd-php .html .htm
Hi Marin,
I’ve been using ansible for a while but haven’t looked to get it working on fedora 22/23. Here’s how simple on centos/redhat ubuntu etc
enjoy. re: Rackspace Heat template to setup a LAMP stack on a single Linux server
LAMP manual installs
Red Hat:
yum install python-pip git python-devel python-virtualenv gcc -y
virtualenv /root/lampenv
. /root/lampenv/bin/activate
pip install paramiko PyYAML jinja2 httplib2 ansible
git clone https://github.com/rackspace-orchestration-templates/lamp
cd lamp/site-cookbooks/LAMP/files/default/lamp
ansible-playbook -i hosts site.yml