This tutorial will guide you on how to install Piwik open source analytics application in CentOS 7 and in Debian 9 and Ubuntu Server 16.04 LTS edition.
Piwik is a powerful self-hosted alternative to Google Analytics services that can be deployed on top of a LAMP stack in Linux.
With the help of Piwik Analytics platform, which uses a small JavaScript code that must be embedded into the targeted websites in between <head>...</head> html tags, you can track the number of websites visitors and create complex reports for the analyzed websites.
Requirements
Step 1: Initial Configurations for Piwik
1. Before starting to install and configure Piwik application, first log in to server terminal and issue the following commands in order to install unzip utility in your system.
# yum install unzip zip     [On CentOS/RHEL]
# apt install zip unzip     [On Debian/Ubuntu]
2. Piwik platform can be deployed on top of an existing LAMP stack in Linux systems. In addition to the standard PHP extensions installed in LAMP stack, you should also install the following PHP modues in your system by issuing the following command.
Install PHP Modules on CentOS and RHEL
# yum install epel-release
# yum install php-mbstring php-curl php-xml php-gd php-cli php-pear php-pecl-geoip php-pdo mod_geoip
Install PHP Modules on Debian and Ubuntu
# apt install php7.0-mbstring php7.0-curl php7.0-gd php7.0-xml php7.0-opcache php7.0-cli libapache2-mod-geoip php-geoip php7.0-dev libgeoip-dev
3. You should also install GeoIP package, GeoIP Geo location and PECL extension in your system by issuing the below command.
Install GeoIP on CentOS and RHEL
# yum install GeoIP GeoIP-devel httpd-devel
# pecl install geoip
Install GeoIP on Debian and Ubuntu
# apt install geoip-bin geoip-database geoip-database-extra
# pecl install geoip
# phpenmod geoip
4. After all required packages are installed into your system, next, issue the below command, depending on your Linux distribution, to open PHP configuration file and make change the following lines.
# vi /etc/php.ini                      [On CentOS/RHEL]
# nano /etc/php/7.0/apache2/php.ini    [On Debian/Ubuntu]
Search and change the following PHP variables as illustrated in the below line samples:
allow_url_fopen = On
memory_limit = 64M
upload_max_file_size = 64M
date.timezone = Europe/Bucharest
Visit the official PHP time zone list in order to find the suitable timezone according to your server geographical location.
5. Next, append the following line to PHP geoip configuration file, as shown in the below file excerpt.
# vi /etc/php.d/geoip.ini                          [On CentOS/RHEL]
# nano /etc/php/7.0/apache2/conf.d/20-geoip.ini    [On Debian/Ubuntu]
Add the following lines to file.
extension=geoip.so
geoip.custom_directory=/var/www/html/misc
Make sure you replace /var/www/html/ directory according to the path where you will install Piwik application.
6. Finally, restart Apache daemon to reflect changes by issuing the following command.
# systemctl restart httpd      [On CentOS/RHEL]
# systemctl restart apache2    [On Debian/Ubuntu]
7. Now, create Piwik MySQL database. Log in to MySQL/MariaDB console and issue the following commands to create the database and the credentials required to access the database.
Replace the database name, user and password variables accordingly.
# mysql -u root -p

MariaDB [(none)]> create database piwik;
MariaDB [(none)]> grant all privileges on piwik.* to 'piwik' identified by 'yourpass';
MariaDB [(none)]> flush privileges;
MariaDB [(none)]> exit
Step 3: Install Piwik on CentOS, Debian and Ubuntu
8. To install Piwik web analytics platform in your system, first go to Piwik download page and grab the latest zip package by executing the following command.
# wget https://builds.piwik.org/piwik.zip
9. Next, extract Piwik zip archive and copy the installation files located in piwik directory to /var/www/html/ directory by issuing the below commands.
Replace /var/www/html/ directory with your domain document root path, if that’s the case.
# unzip piwik.zip
# ls -al piwik/
# cp -rf piwik/* /var/www/html/
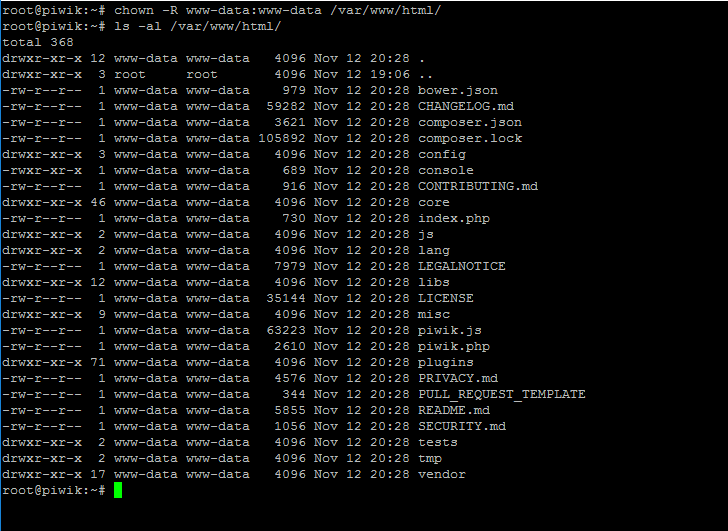
10. Before starting to install Piwik application via web interface, issue the following command in order to grant Apache HTTP server with write permissions to your domain document root path.
# chown -R apache:apache /var/www/html/      [On CentOS/RHEL]
# chown -R apache:apache /var/www/html/      [On Debian/Ubuntu]
List webroot path permission by executing ls command.
# ls -al /var/www/html/
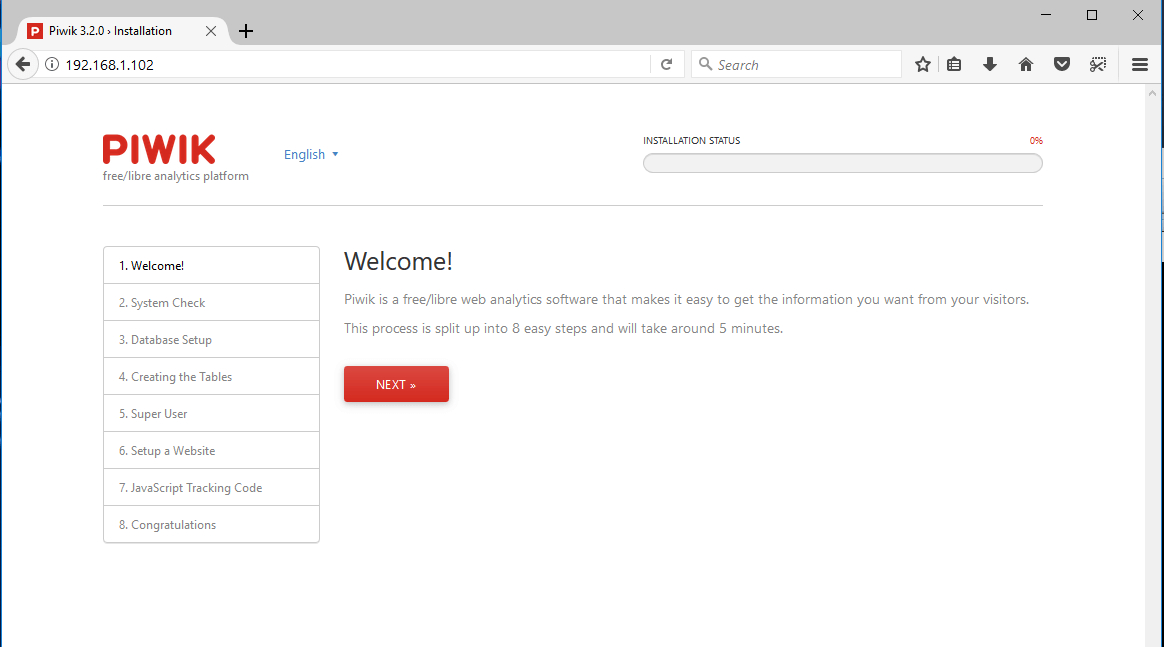
11. Now, start to install Piwik application in your system by opening and browser and visiting your server IP address or domain name via HTTP protocol. On the first welcome screen hit on Next button to start installation procedure.
http://your_domain.tld/
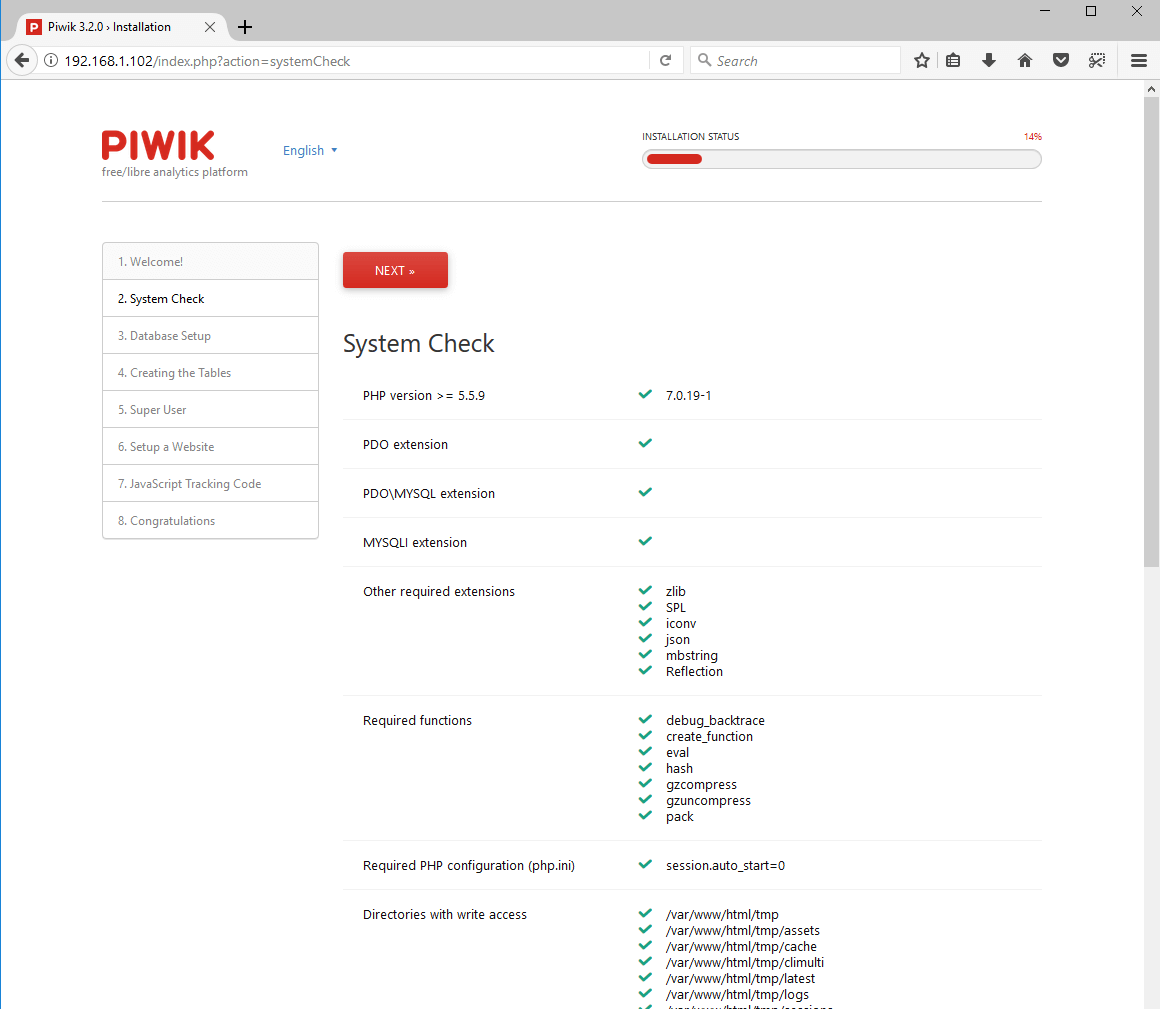
12. In the next System Check screen, scroll down and verify if all system and PHP requirements to install Piwik application are satisfied. When you finish hit on Next button to continue the installation procedure.
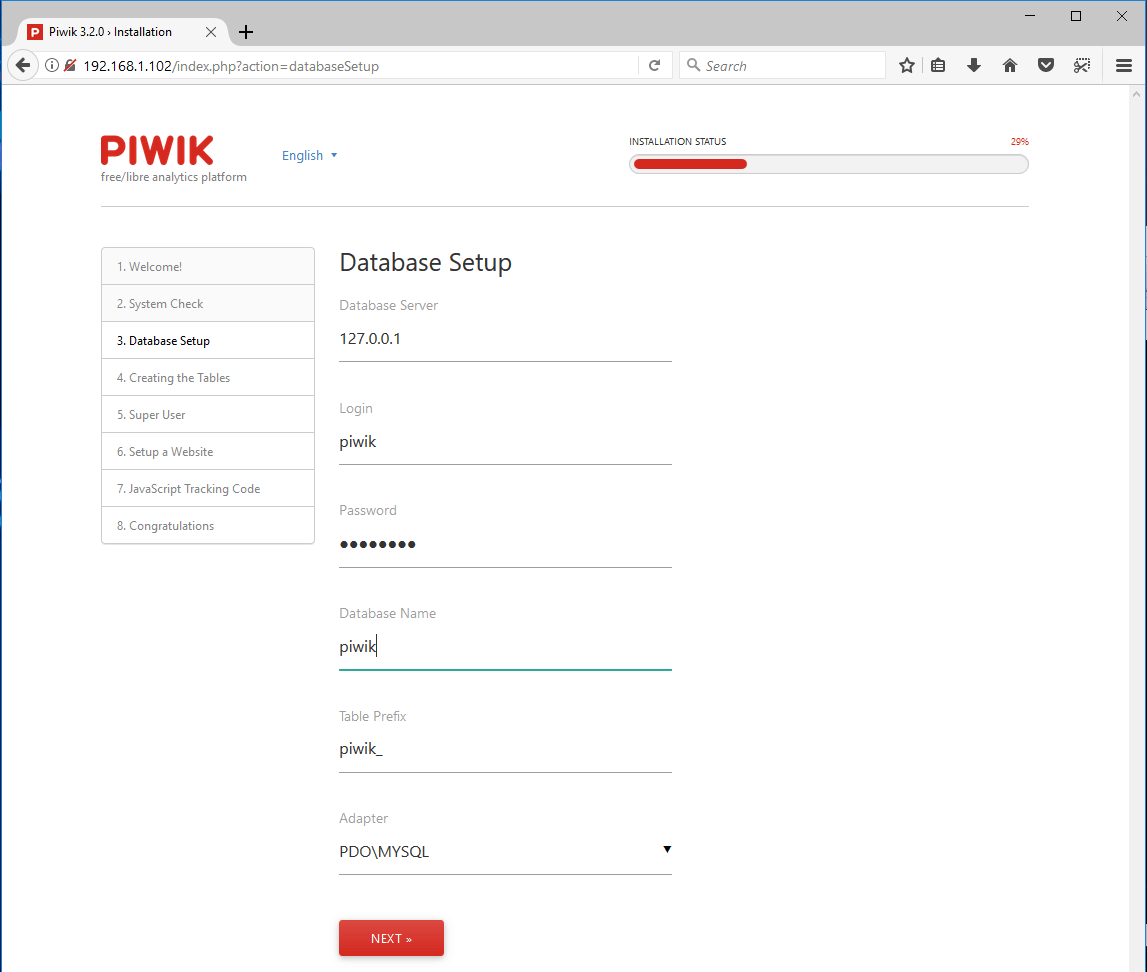
13. In the next step, add Piwik database information required by the installation script to access MySQL server, such as database server address, Piwik database name and credentials. Use piwik_ table prefix, select PDO/MYSQL adapter and hit on Next button to create database tables, as illustrated in the below screenshot.
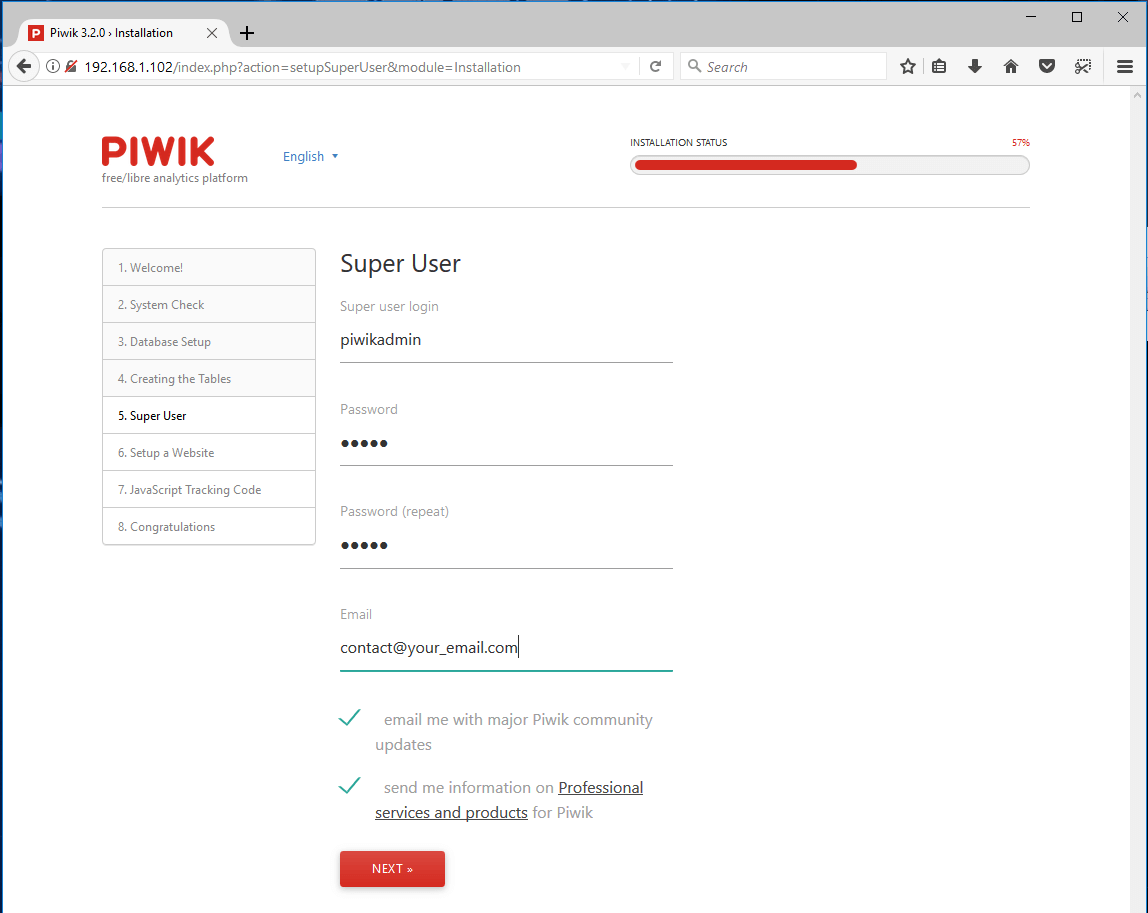
14. On the next step, add a Piwik super user admin name, type a strong password for super user admin and an email address and hit on Next button to continue the installation process.
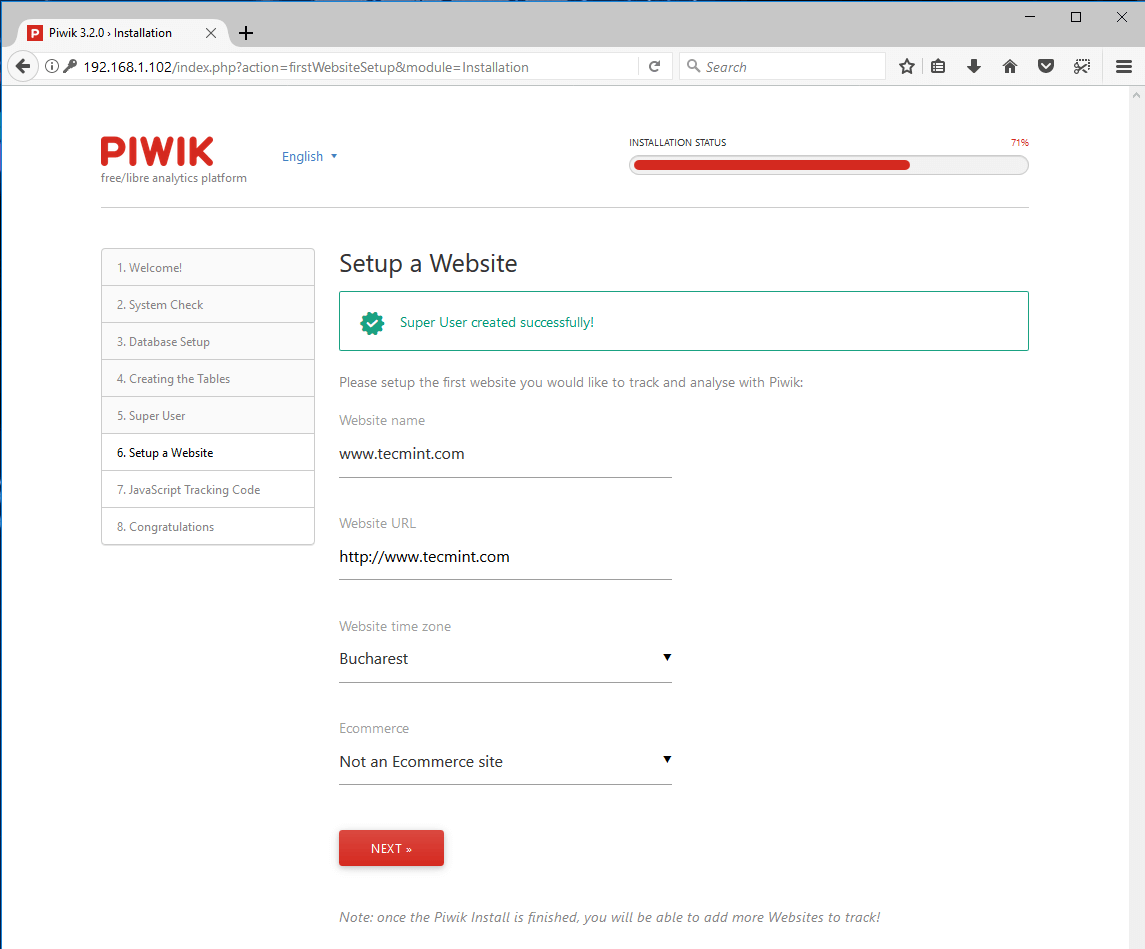
15. Next, add a website domain URL to be tracked and analyzed with Piwik, the added website time zone and specify if the added website is an e-commerce site and click on Next button to continue.
16. In the next installation screen, the JavaScript tracking code that needs to be inserted to your tracked website will be displayed in your browser. Copy the code to a file and hit on Next button to finish the installation process.
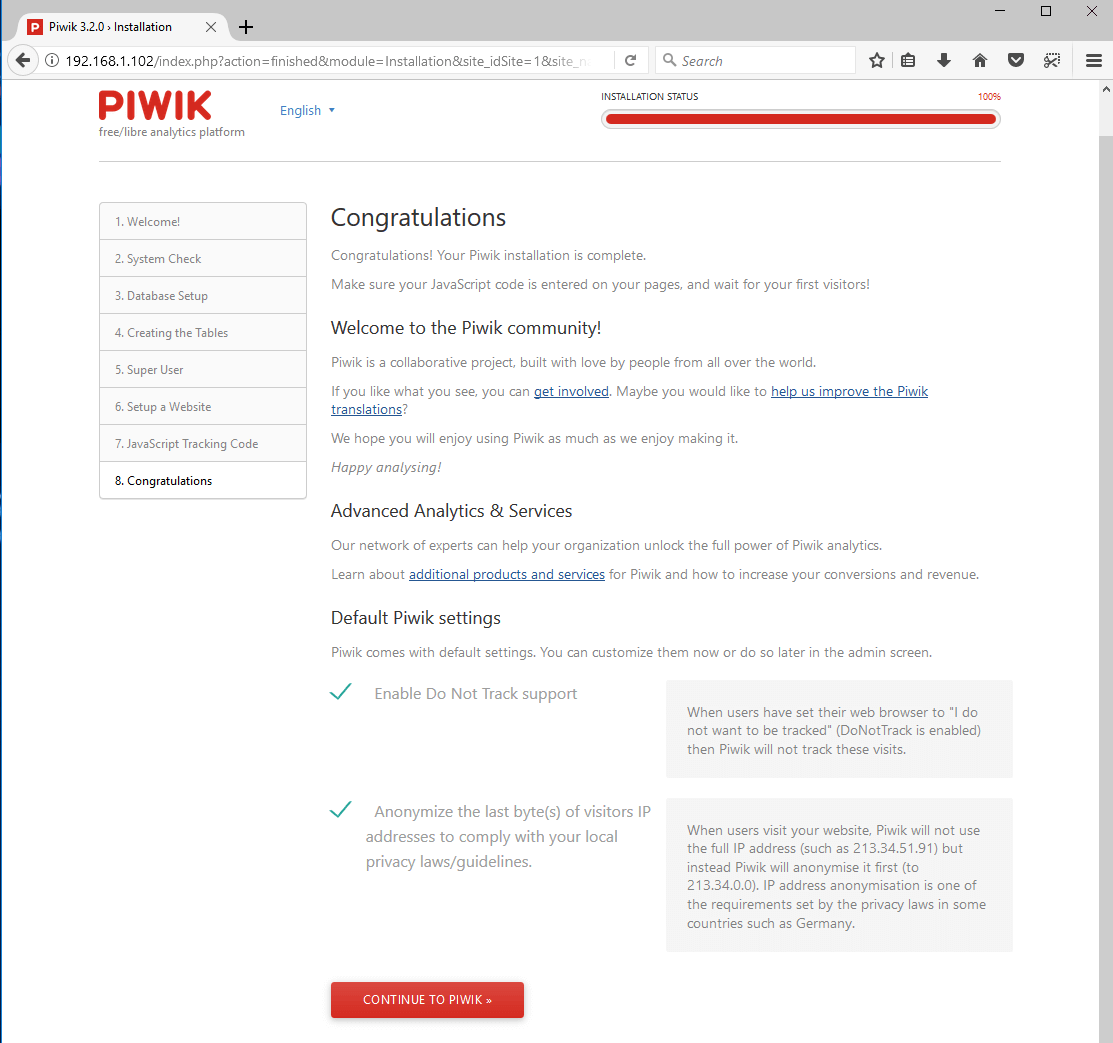
17. Finally, after Piwik installation completes, a “Congratulations” screen will appear in your browser. Review the congratulations screen and click on Continue to Piwik button in order to be redirected to Piwik log in page.
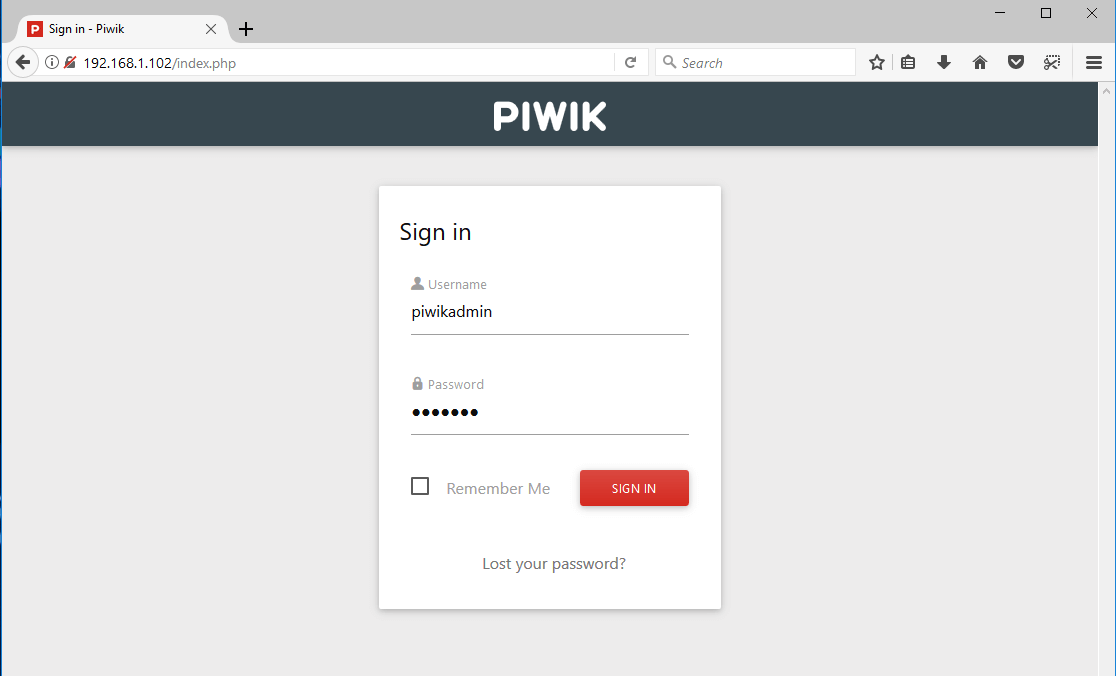
18. Sign in to Piwik web application with the super admin account and password configured earlier, as illustrated in the below screenshot, and you should be redirected to Piwik dashboard, from where you can further start managing the application.
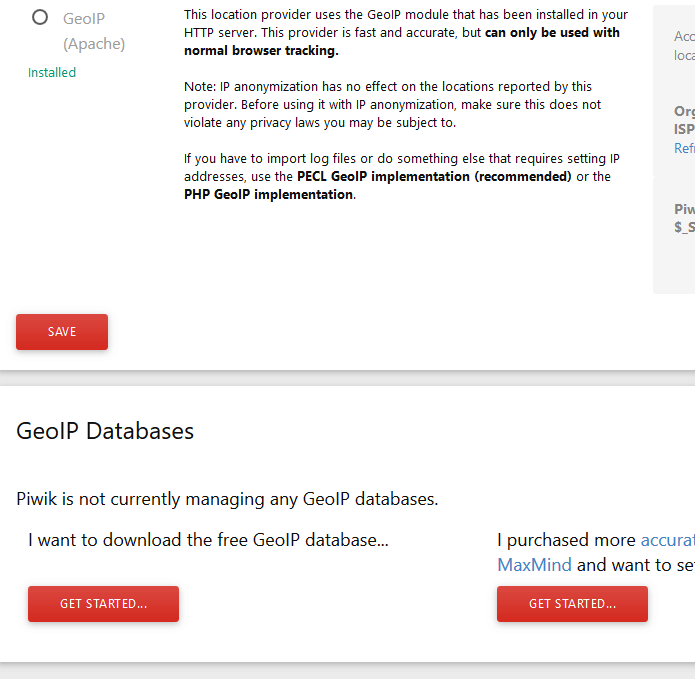
17. After logging in to Piwik web admin panel, skip the tracking code page and navigate to System -> Geolocation -> Location Provider and click on Get Started button from GeoIP Databases section in order to download and install the free GeoLiteCity database available for Piwik platform.
That’s all! You have successfully installed Piwik web analytics platform in your system. In order to add new websites to be tracked by the application, go to Websites -> Manage and use the Add a new website button.
After you’ve added a new website to be analyzed by Piwik, insert the JavaScript code to each page of the tracked website in order to start the tracking and analytics process.