Pop_OS is a Linux distribution based on Ubuntu and built by System76. It is specifically built for software developers, makers, and computer science professionals who use their computer as a tool to discover and create projects.
Key Pop_OS Features:
- Development tools and programming languages are supported natively.
- Has advanced window tiling management, workspaces, and keyboard shortcuts for easy navigation.
- Provides native access to the toolkits used for machine learning and artificial intelligence.
- Allows you to view apps and add to favorites for rapid access and much more.
System Requirements
- Support only 64-bit x86 architecture.
- At least 4 GB of RAM recommended.
- At least 20 GB of storage is recommended.
Installing Pop!_OS on Your System
In order to install Pop!_OS, we must first download Pop!_OS ISO image. Once you obtained it, create a bootable flash drive. There are a variety of tools you can use to write disk images to a flash drive or use Etcher to write the Pop!_OS .iso image to the drive.
Then place your bootable USB stick in the appropriate slot, reboot the machine and instruct the BIOS/UEFI to boot-up from the USB by pressing a special function key (usually F12, F10 or F2 depending on the hardware vendor specifications).
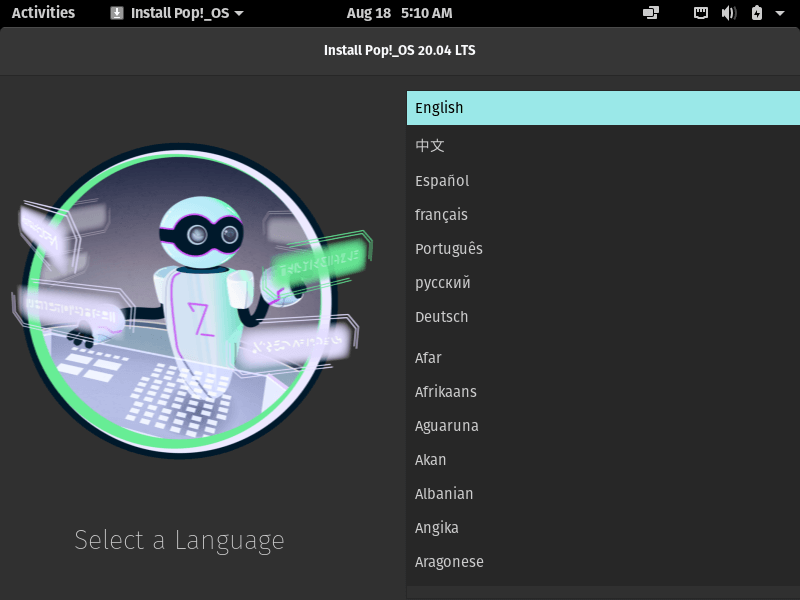
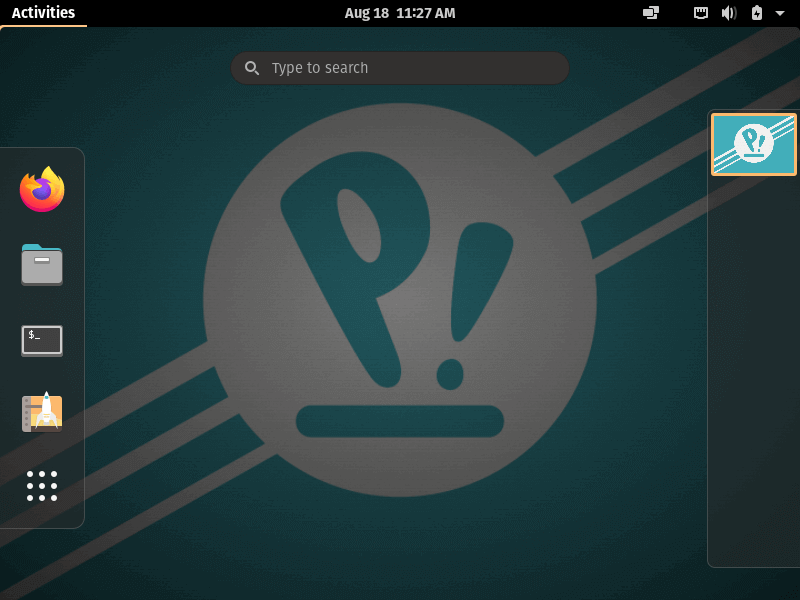
Next, choose your USB drive displayed on your system bootable devices list. After your system boots, you will be at the Pop!_OS desktop as shown below. At this point, you will see the installation welcome screen, choose the language you want to use for the installation process as shown in the screenshot below. Then click “Continue”.
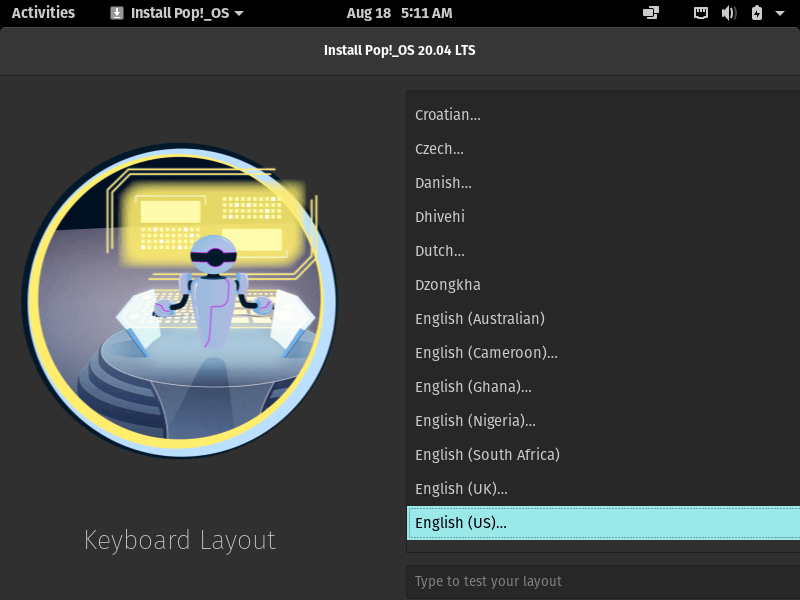
Then, select the keyboard layout you want to use, and click Continue, to proceed.
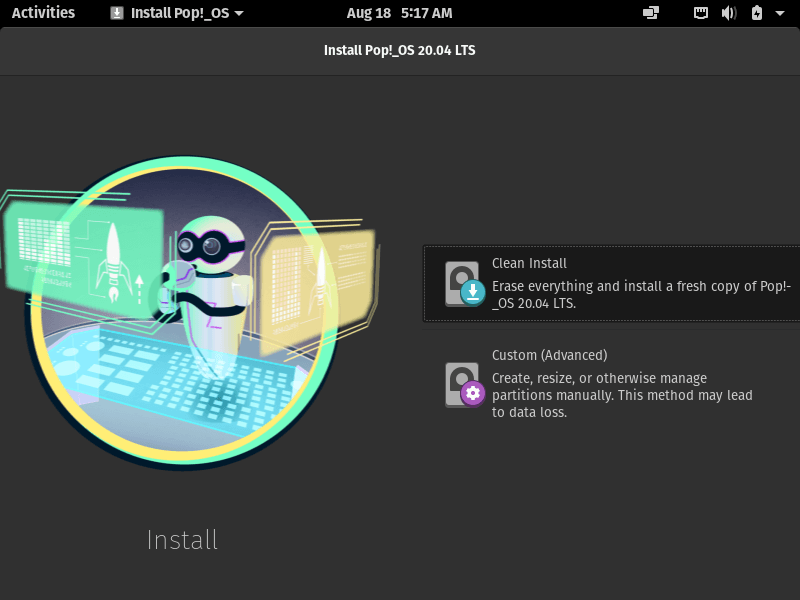
Next, you will see two options for how you can install Pop!_OS on your computer. If you already have another operating system installed (like another Linux distro or Windows or macOS) and you want to get rid of it – select the “Clean Install“. Otherwise, choose the “Custom (Advanced)” option to create partitions manually. If you need to Dual Boot or want to have a separate /home partition on a selected different drive.

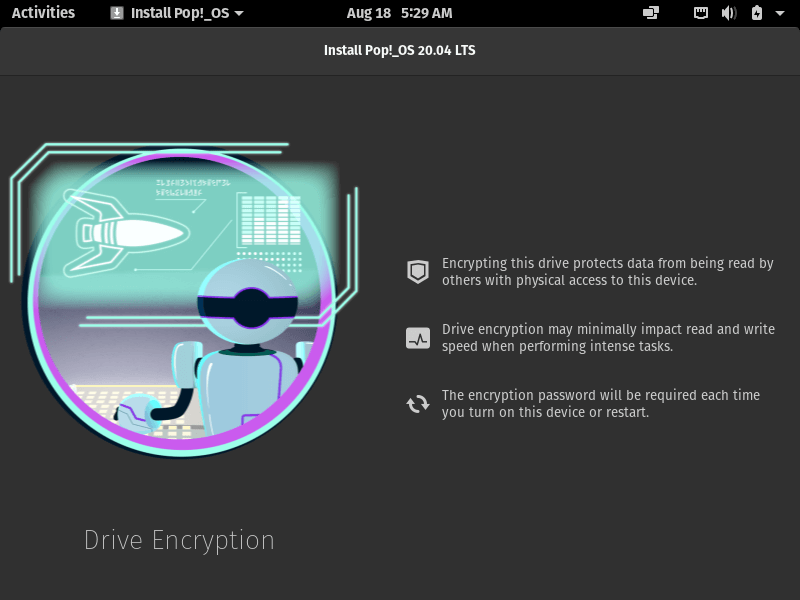
Next, you may want to encrypt your drive or to not encrypt your drive. If you would like to encrypt, then select the Choose Password button, if you don’t want to encrypt click the Don’t Encrypt button.
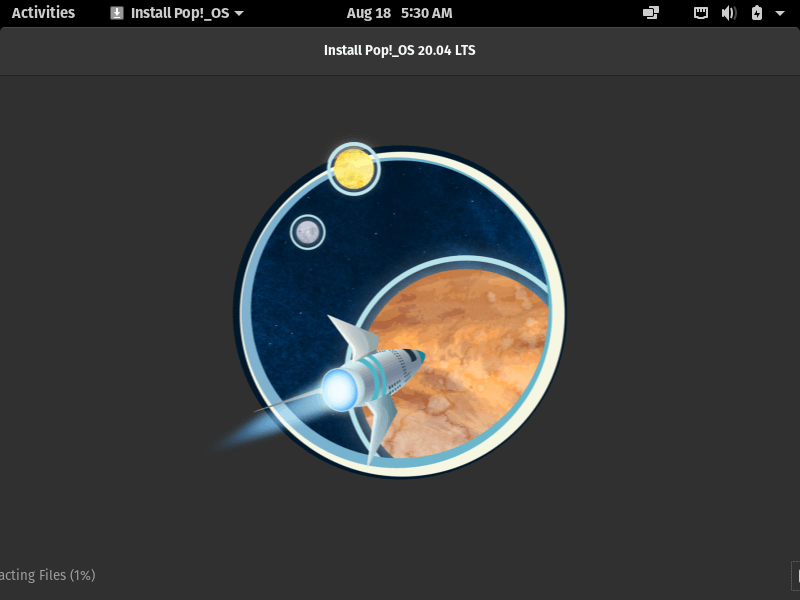
Now Pop!_OS will begin installing!
Pop!_OS has been successfully installed on your system! You can choose to reboot your computer to set up your Pop_OS installation.
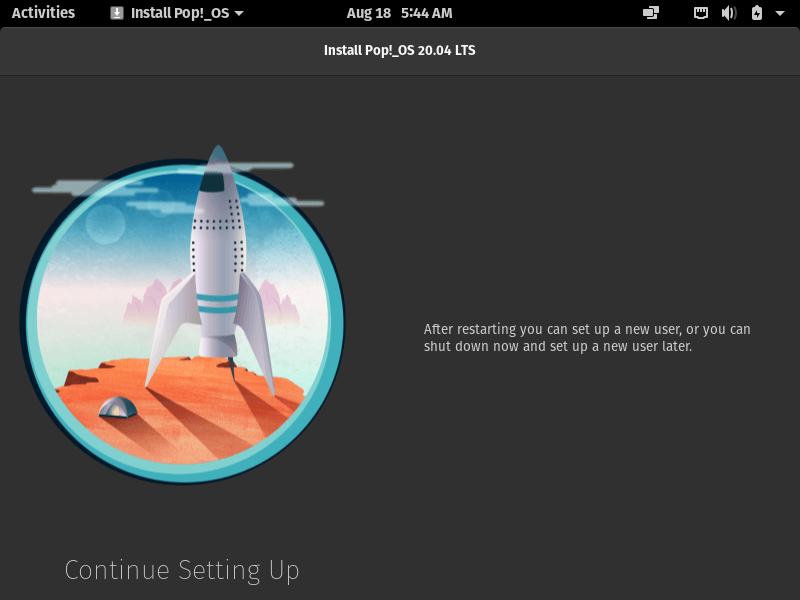
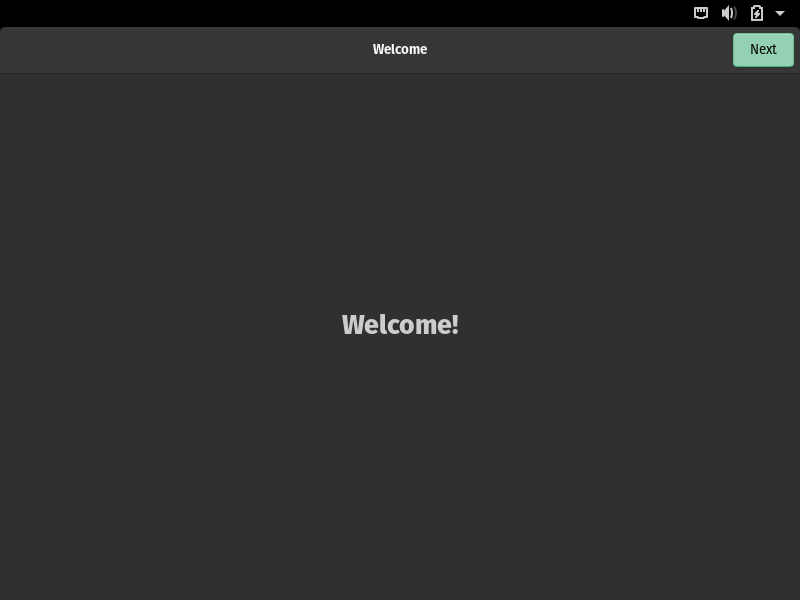
After rebooting your system, you will see the welcome screen below.
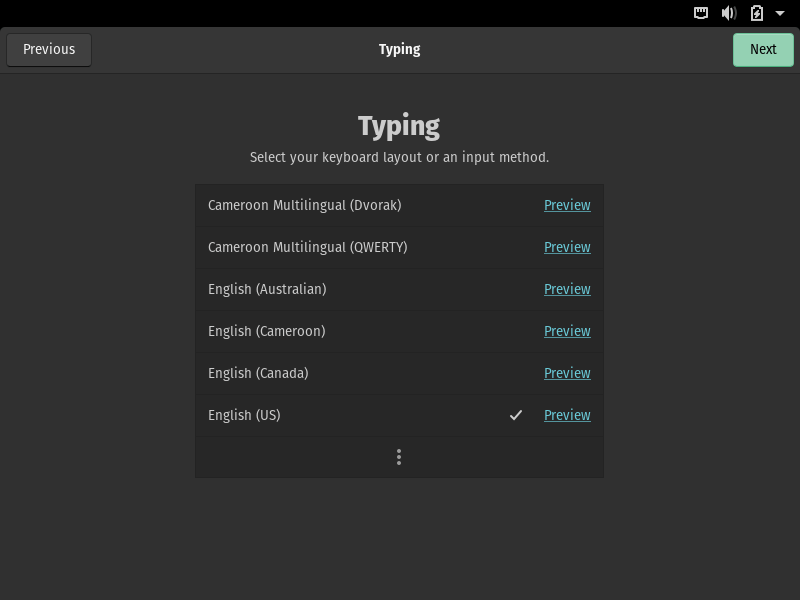
Now choose your input method or keyboard layout, and click Next, to continue.
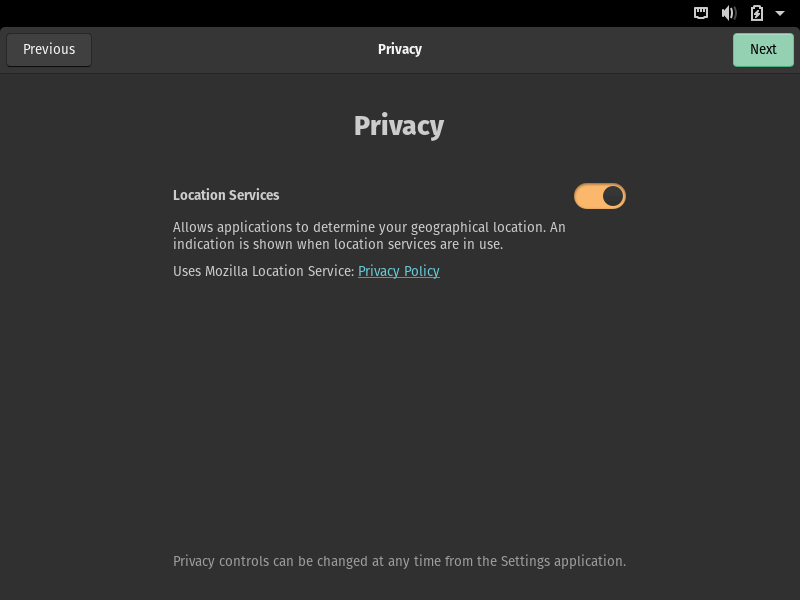
In this step, you are required to define your location settings. Once you are done, click Next, to proceed.
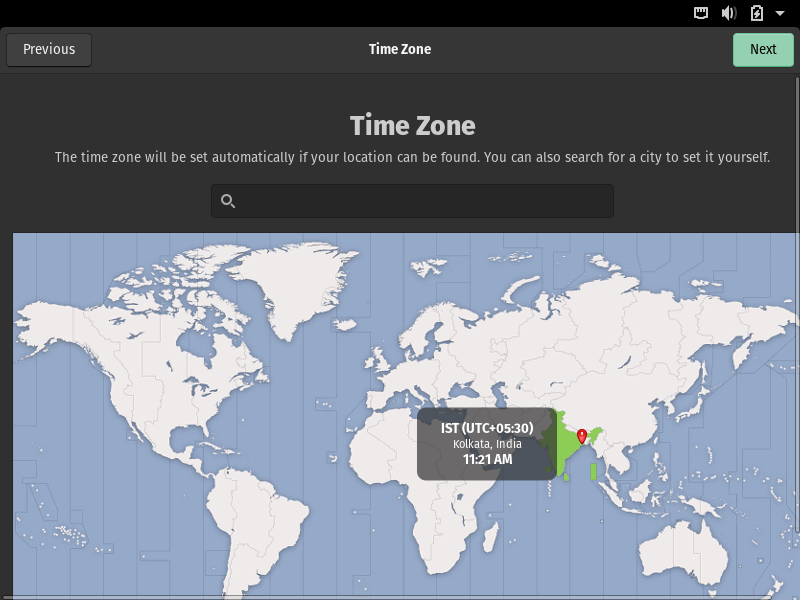
Next, define your system timezone, and click Next.
Next, connect your accounts to easily access your emails, calendar, documents, and photos.

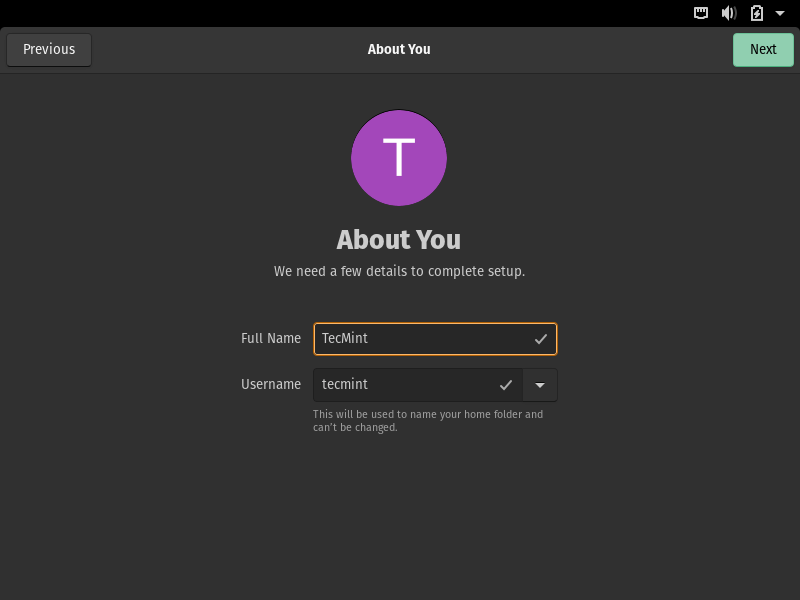
Then set the default system user‘s full name and username, and click Next, to continue.
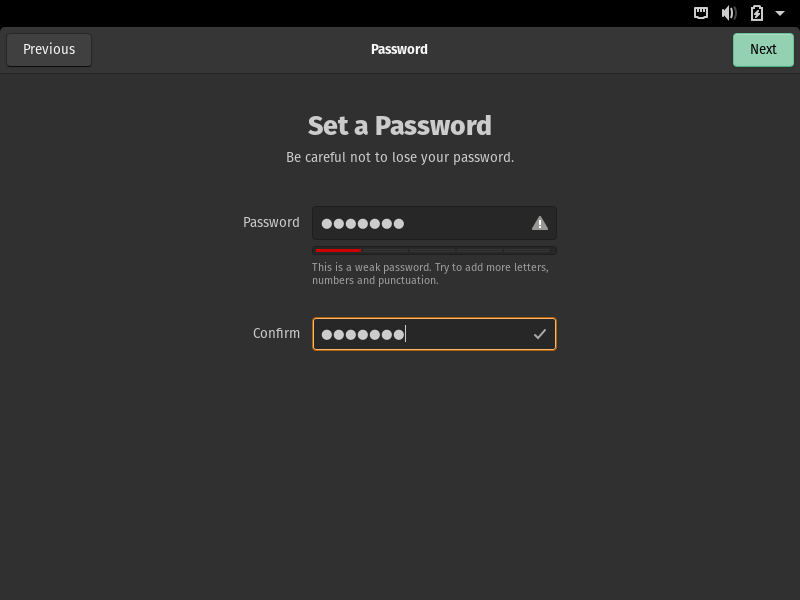
Also, set the default system user’s password, and click Next.
At this point, you should be ready to go. Click on “Start using Pop_OS” to access the desktop.
Congratulations! You have successfully installed Pop_OS on your computer. You can now unleash your potential. Remember to share your thoughts about this Ubuntu-based distro via the feedback form below.


I have got a problem installing the pop os. It was all ok until I got to where they ask me to select a drive to install because there wasn’t any drive to choose from! My laptop comes with Windows preinstall and I would like to change to Linux!! Would be thankful if you help me!
This is useless. I don’t need to be told how to click continue a zillion times. I need to know what’s going to happen when I click continue. Like, where is it going to install??? I have no idea how to create the partitions. This is no help at all.