Developed by Puppet Lans, Puppet is an open-source configuration management tool used for automating and centralizing the configuration of infrastructure such as servers just like Ansible and Chef. It helps the simple execution of repetitive tasks which would otherwise be cumbersome and time-consuming.
Puppet adopts a client-server architecture and comprises the following salient aspects.
- Puppet Master/Server – This node contains all the configuration required to manage client nodes on which the puppet slave is installed.
- Puppet Slave – These are the managed client nodes in your environment. All slaves are managed by the Puppet master and have the Puppet agent installed and running.
- PuppetDB – This is a database that stores all the data generated by Puppet.
In this guide, we will demonstrate how to install Puppet Master and Agent in RHEL-based distributions such as CentOS, Fedora, Rocky, and AlmaLinux.
Lab Environment Setup
Puppet Master Node with IP 139.144.20.170 - Rocky Linux 8
Puppet Slave with IP 45.79.206.178  - Ubuntu 22.04
Table of Contents
Step 1: Configure Hostname in Puppet Master and Slave
To get off the ground, log into your system and upgrade the software packages using the dnf command as follows.
$ sudo dnf update -y
Next, configure a hostname for your nodes, which will be valuable along the way as you set up Puppet on your system.
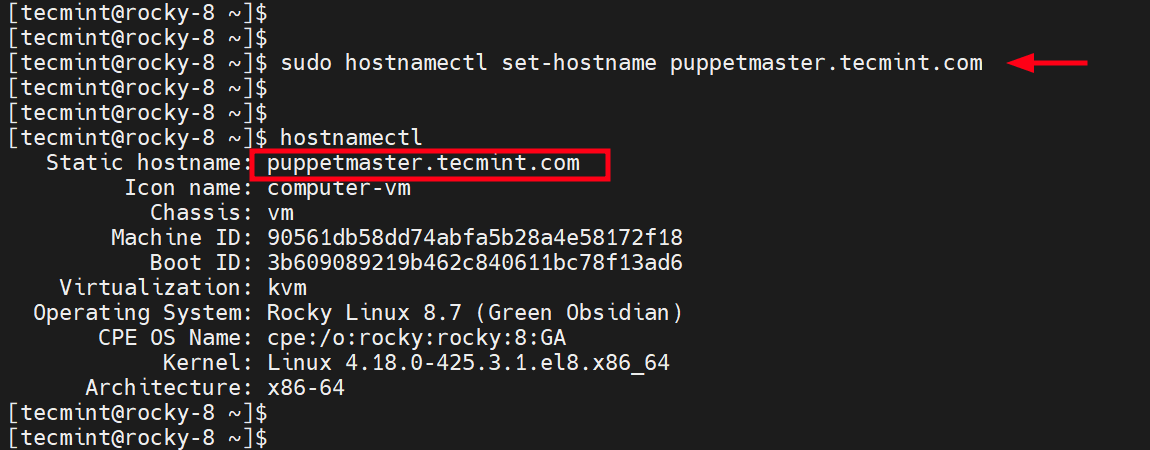
For Puppet Master
$ sudo hostnamectl set-hostname puppetmaster.tecmint.com
For Puppet Slave
$ sudo hostnamectl set-hostname puppet-agent
Confirm the new hostname using the hostnamectl command:
$ hostnamectl
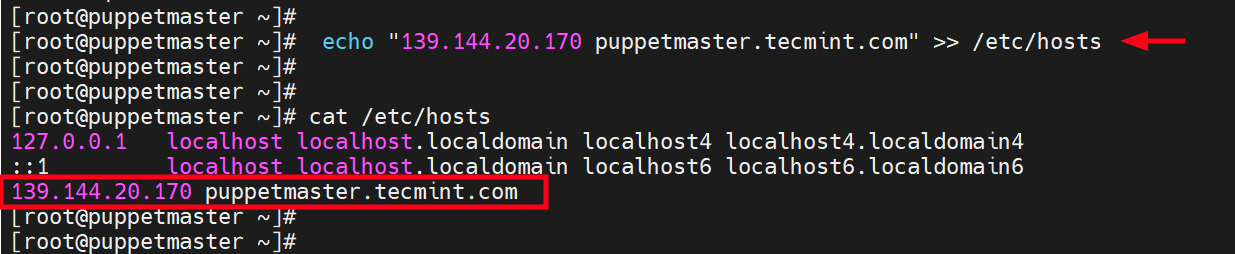
Next, update the /etc/hosts file for both systems with the hostname and DNS records as shown.
Switch to the root user.
$ su -
Next, update the /etc/hosts file with the IP address and hostname or FQDN of your system.
For Puppet Master
# echo "139.144.20.170 puppetmaster.tecmint.com" >> /etc/hosts
For Puppet Slave
# echo "45.79.206.178 puppet-agent" >> /etc/hosts
Once the hostnames and DNS records have been set up, proceed with the next step.
Step 2: Add Puppet Repository on Puppet Master (Rocky Linux)
To install Puppet, we need to add its repository to the system. To do so, run the following command.
$ sudo dnf install https://yum.puppet.com/puppet-release-el-8.noarch.rpm -y
![Add Puppet Repository on Rocky Linux [Puppet Master]](https://www.tecmint.com/wp-content/uploads/2014/10/Add-Puppet-Repository-on-Rocky-Linux.png)
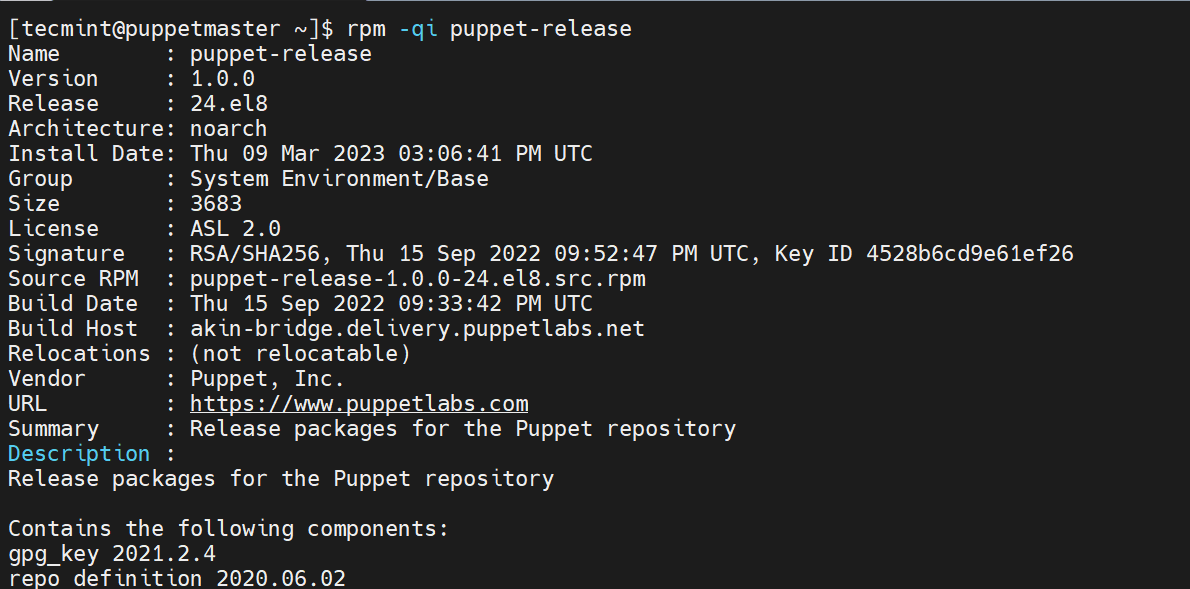
$ rpm -qi puppet-release
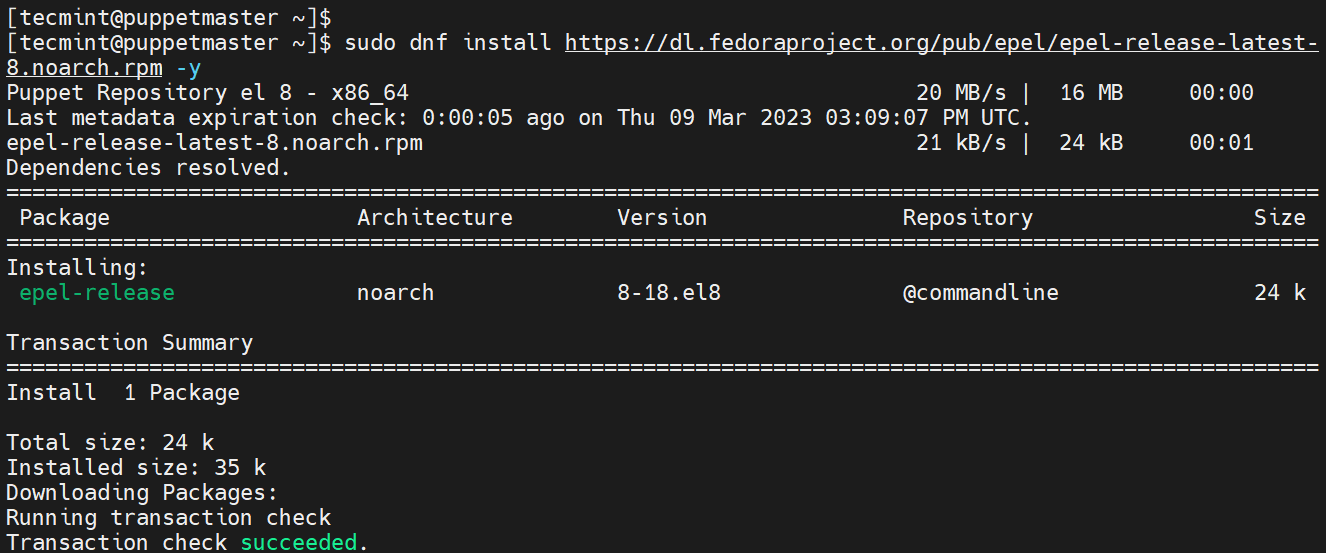
In addition, ensure to also add the EPEL repository as shown.
$ sudo dnf install https://dl.fedoraproject.org/pub/epel/epel-release-latest-8.noarch.rpm -y
Next, enable the Powertools repository which provides developer tools and libraries. The repository also provides a host of packages that are needed as dependencies when installing other applications.
$ sudo dnf config-manager --set-enabled powertools
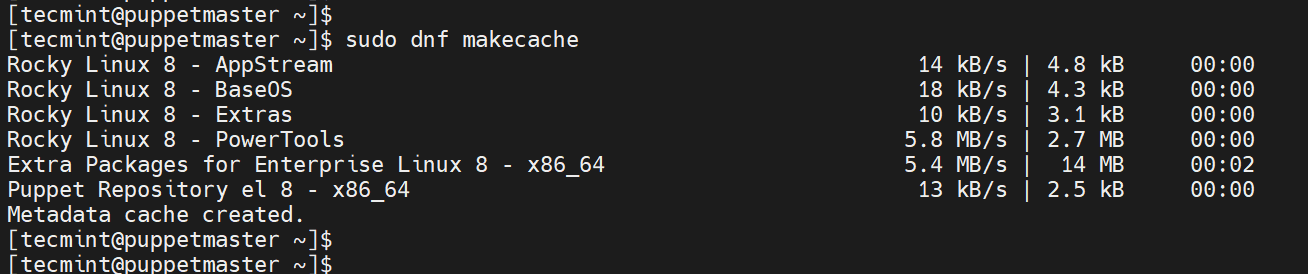
To ensure the cache is fully up to date with all metadata in place, build the cache as shown.
$ sudo dnf makecache
Step 3: Install Puppet on Puppet Master (Rocky Linux)
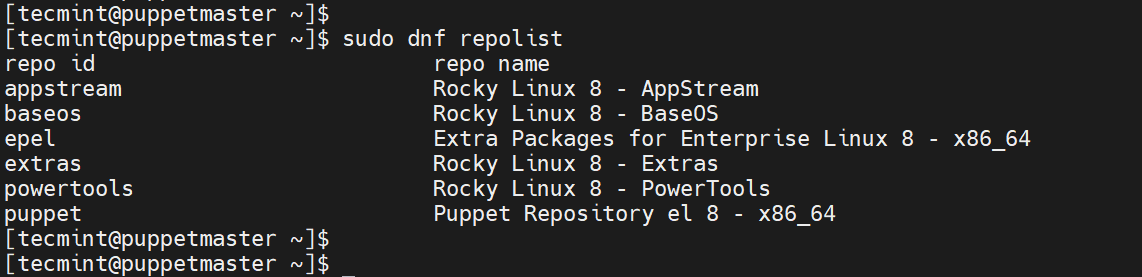
Before you install Puppet, ensure that all the required repositories have been enabled as follows.
$ sudo dnf repolist
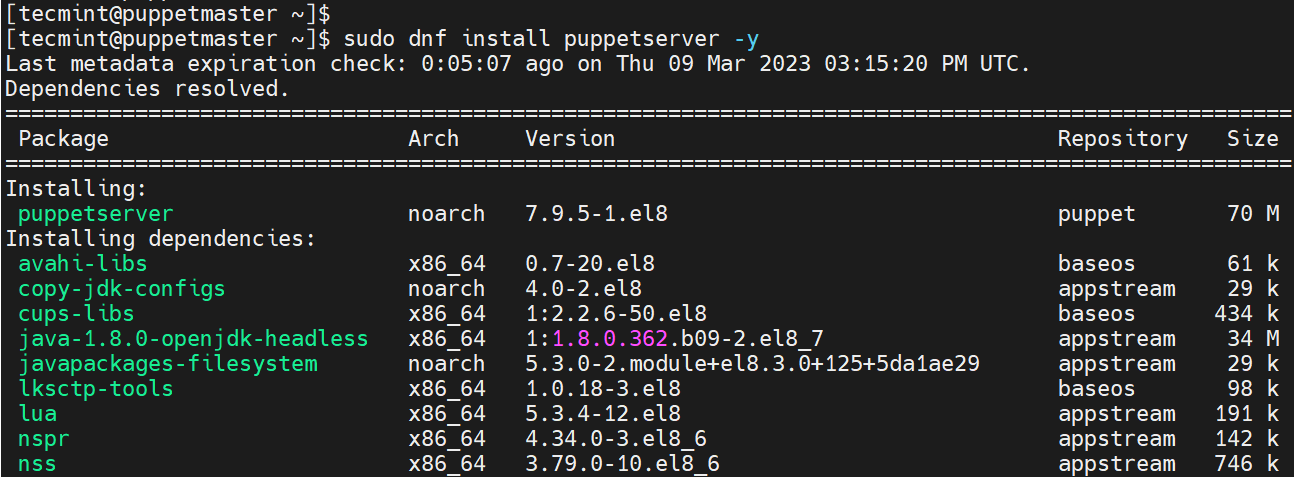
Next, install Puppet Server as follows.
$ sudo dnf install puppetserver -y
The command installs a host of packages including Pupper Server and Agent, Java OpenJDK, Lua, NSS, and many more. Below is the command output.
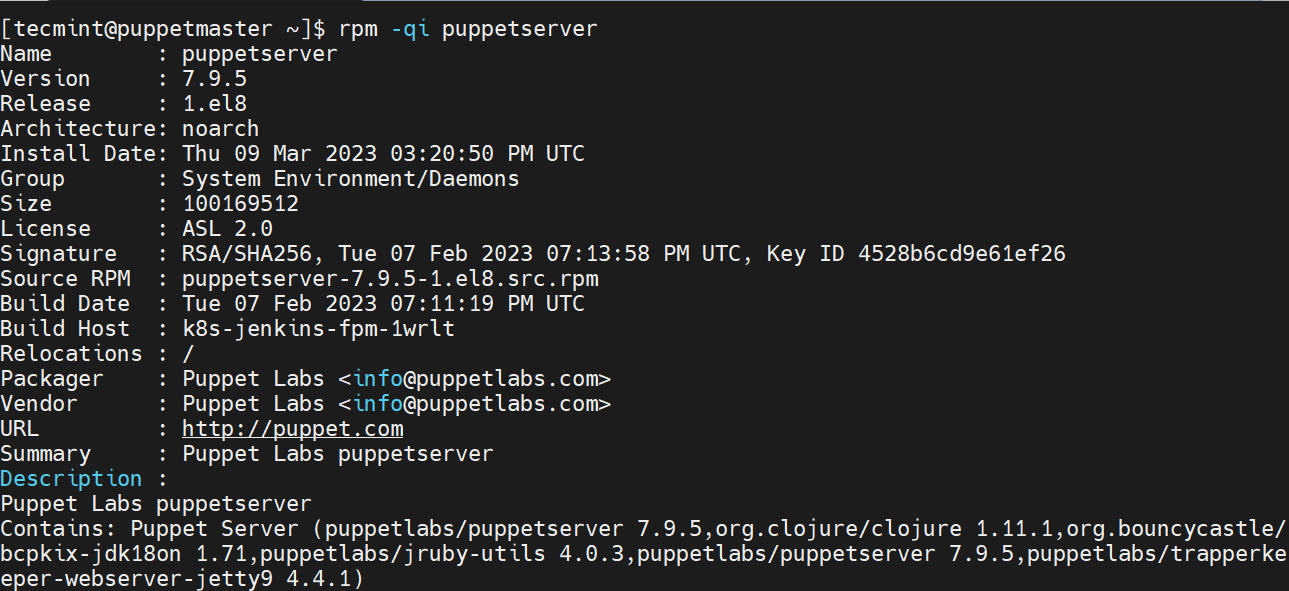
To confirm that the Pupper Server has been installed, run the command:
$ rpm -qi puppetserver
The command prints out detailed information such as name, version, release, architecture and install date to mention a few.
Step 4: Configure Puppet Master Server (Rocky Linux)
Once Puppet Server is installed, the next step is to configure it. Therefore, access the main configuration file for Puppet as shown.
$ sudo vim /etc/puppetlabs/puppet/puppet.conf
Under the [server] section add the DNS entry as shown.
dns_alt_names=puppetmaster.tecmint.com,puppetmaster,puppetserver
In addition, add the [main] section as follows, where puppetmaster.tecmint.com is the FQDN or hostname of your puppet server.
[main]
certname = puppetmaster.tecmint.com
server = puppetmaster.tecmint.com
environment = production
runinterval = 1h
This is what our configuration looks like.
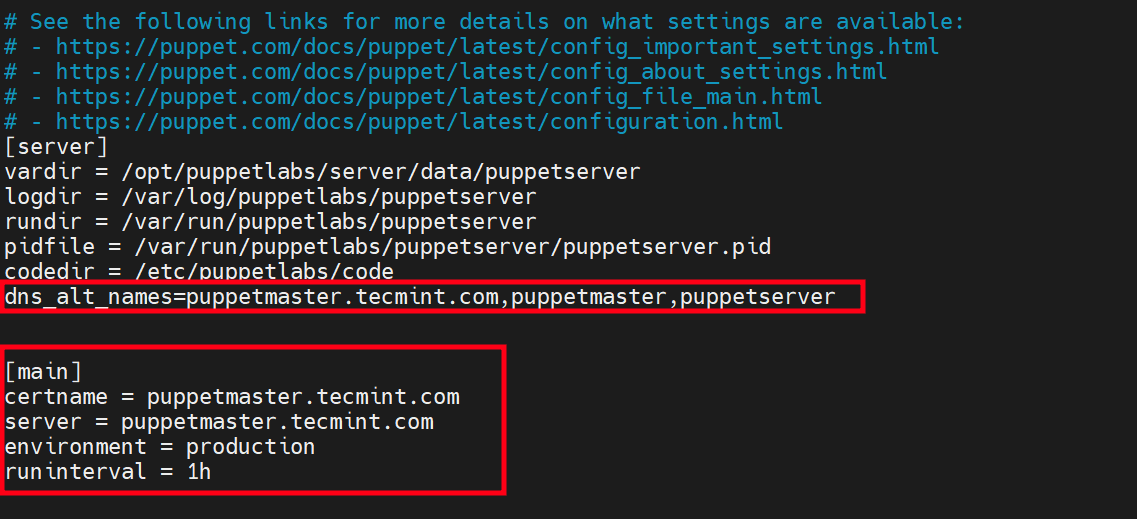
Save the changes and exit the configuration file.
Step 5: Configure JVM Memory Allocation (Optional)
By default, 2GB of JAVA memory is allocated to Puppet Master Server. If your system doesn’t have sufficient memory, you can edit the server configuration file and assign a lower value such as 1GB.
Therefore, access the configuration file.
$ sudo vim /etc/sysconfig/puppetserver
Locate these arguments: -Xms2g -Xmx2g and change 2g to 1g (means 1GB).

Save the changes and exit the configuration file.
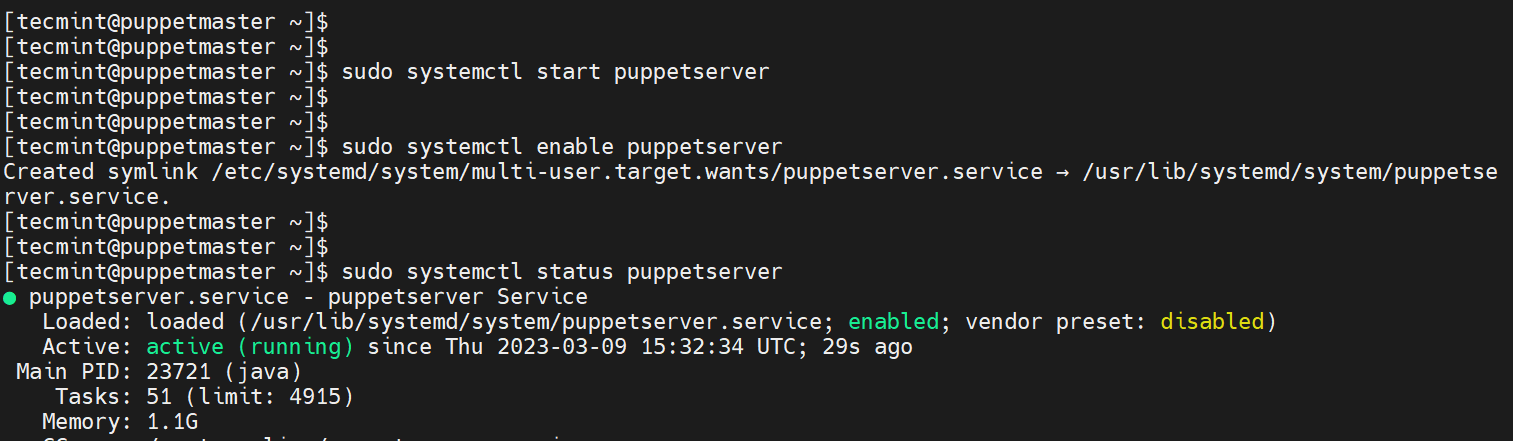
Step 6: Start and Enable Puppet Server
After making all the required changes, start the Puppet Server service as shown.
$ sudo systemctl start puppetserver
Then enable the service to start on boot time or system startup.
$ sudo systemctl enable puppetserver
To verify that the Puppet server is running, execute the command:
$ sudo systemctl status puppetserver
The following output confirms that the Puppet server is running.
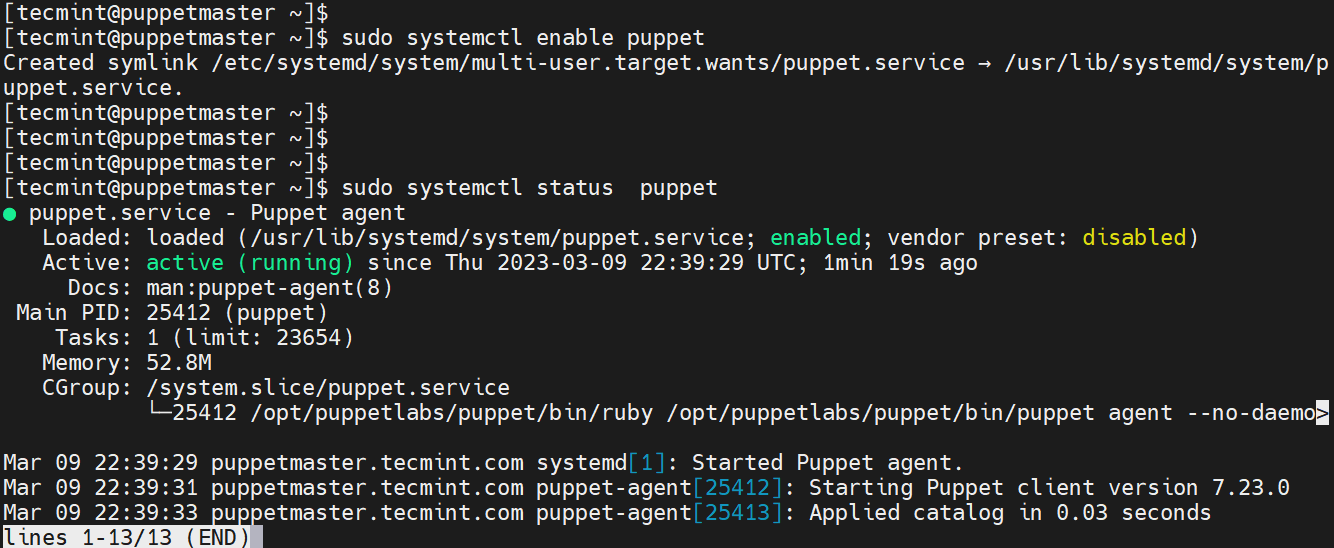
Step 7: Start and Enable Puppet Agent
The installation of Puppet Server also installs the agent as well. However, the agent does not start automatically, and you must do it manually.
To start the puppet agent, run the command.
$ sudo systemctl start puppet
Also, consider enabling the agent to start on boot.
$ sudo systemctl enable puppet
Now, verify if the agent is active and running by running the following command.
$ sudo systemctl status puppet
Step 8: Allow Puppet Service in Firewall
Another thing you need to consider is to allow the Puppet service across the firewall so that the server can be accessed over the network.
To do so, run the following commands.
$ sudo firewall-cmd --add-service=puppetmaster --permanent
$ sudo firewall-cmd --reload
Step 9: Add Puppet Binary Folder to $PATH
Puppet binaries are located in /opt/puppetlabs/bin. At the time of writing this guide, the directory is already placed in the $PATH.
To confirm this, run the printenv command as shown.
$ printenv | grep puppetlabs

You can also verify that as shown.
$ which puppet

/opt/puppetlabs/bin/puppet
If for some reason Puppet is not added to $PATH, switch to the root user
$ su -
Then run the following commands to add it to $PATH.
# echo 'export PATH=$PATH:/opt/puppetlabs/bin' | tee -a ~/.bashrc
# source ~/.bashrc
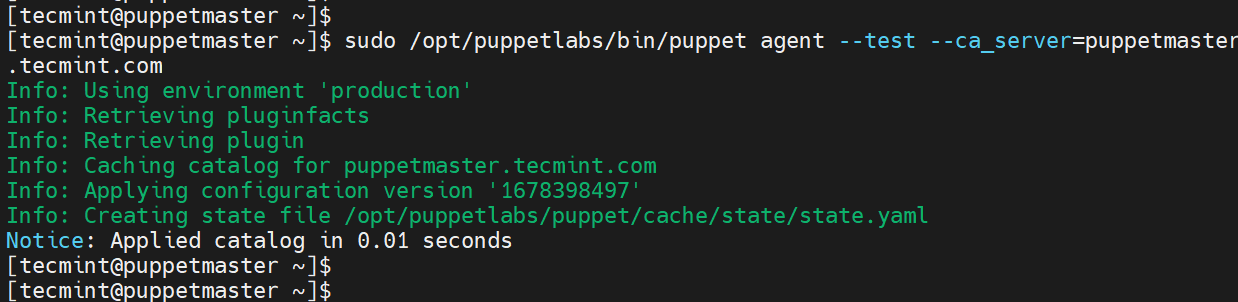
Step 10: Verify Puppet Server Using Puppet Client
To confirm that the Puppet server is running as expected, run the command:
$ sudo /opt/puppetlabs/bin/puppet agent --test --ca_server=puppetmaster.tecmint.com
The following output confirms that all looks good.
You can also achieve the same as the root user as shown
# puppet agent -t
To view available certificates on the Puppet Master node, execute the following command.
$ sudo /opt/puppetlabs/bin/puppetserver ca list --all

So far, we have managed to install Puppet Server and Agent on the Master node. If this is what you were looking for, then you are done and dusted.
However, we mentioned that Puppet works in a client-server architecture. In the following step, we will demonstrate how to install and configure the Puppet agent on the client node.
Step 11: Install and Configure Puppet Agent on Slave
In this section, we will install Puppet Agent on a Ubuntu Slave node and then establish communication between the Pupper Master node and the Client.
For Ubuntu 22.04
$ wget https://apt.puppetlabs.com/puppet7-release-jammy.deb
$ sudo dpkg -i puppet7-release-jammy.deb
$ sudo apt update
$ sudo apt install puppet-agent -y
For Ubuntu 20.04
$ wget https://apt.puppet.com/puppet7-release-focal.deb
$ sudo dpkg -i puppet7-release-focal.deb
$ sudo apt update
$ sudo apt install puppet-agent -y
Once installed, access the agent’s configuration file.
$ sudo vim /etc/puppetlabs/puppet/puppet.conf
Add the following section.
[main]
server = puppetmaster.tecmint.com
Save the changes and exit.
To apply the changes, restart the Puppet agent service.
$ sudo systemctl restart puppet
$ sudo systemctl enable puppet
Step 12: Connect Puppet Agent to Puppet Server
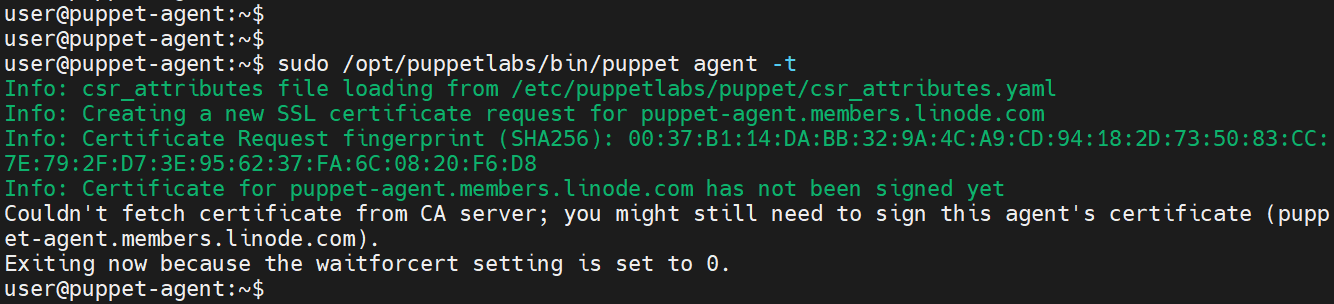
The last step is to establish a connection between the Puppet server and the agent installed on the client system. To do this, access the client node and generate certificates for the Pupper master to sign.
$ sudo /opt/puppetlabs/bin/puppet agent -t
You will get a notification that the certificate has not been signed yet.
Head over to the Pupper master node and list the certificates that are pending to be signed. Here, the certificate is listed as puppet-agent.members.linode.com.
$ sudo /opt/puppetlabs/bin/puppetserver ca list

Now sign the certificate using the following command:
$ sudo /opt/puppetlabs/bin/puppetserver ca sign --certname puppet-agent.members.linode.com

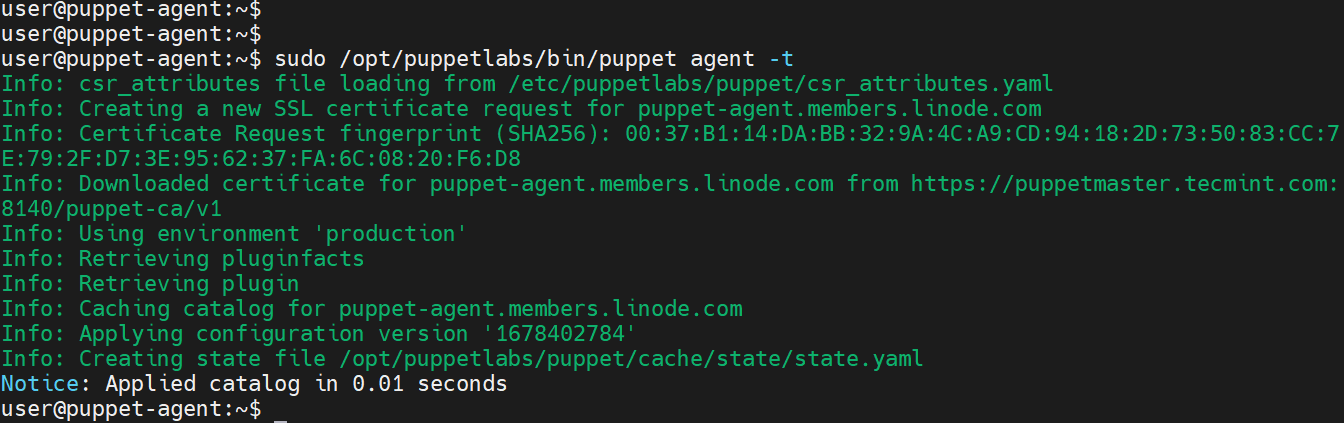
Finally, head back to the Client node and sign the certificate.
$ sudo /opt/puppetlabs/bin/puppet agent -t
Conclusion
This brings us to the end of this guide. In this article, we have demonstrated how to install Puppet Master and Agent on RHEL-based systems using Rocky Linux 8 nodes in our setup.


Hi Ravi,
I am getting the below error while generating a certificate in Master Server – CentOS
@Vamshidher,
I think you need to install libcrypt.so module by installing libxcrypt.
[root@vdi-puppet puppet-master]# rpm -ivh http://yum.puppetlabs.com/puppetlabs-release-el-7.noarch.rpmRetrieving http://yum.puppetlabs.com/puppetlabs-release-el-7.noarch.rpm
warning: /var/tmp/rpm-tmp.IX6QHl: Header V4 RSA/SHA1 Signature, key ID ef8d349f: NOKEY
Preparing… ################################# [100%]
Updating / installing…
1:puppetlabs-release-22.0-2 ################################# [100%]
[root@vdi-puppet puppet-master]#
root@vdi-puppet puppet-master]# yum install puppetserverLoaded plugins: fastestmirror, langpacks
Repository ‘puppetlabs-devel’: Error parsing config: Error parsing “baseurl = ‘https://yum.puppetlabs.com///devel/x86_64′”: URL must be http, ftp, file or https not “”
Loading mirror speeds from cached hostfile
Resolving Dependencies
–> Running transaction check
—> Package puppetserver.noarch 0:5.3.10-1.el7 will be installed
–> Processing Dependency: puppet-agent >= 4.99.0 for package: puppetserver-5.3.10-1.el7.noarch
–> Processing Dependency: java-1.8.0-openjdk-headless for package: puppetserver-5.3.10-1.el7.noarch
–> Running transaction check
—> Package puppet-agent.x86_64 0:5.5.17-1.el7 will be installed
—> Package puppetserver.noarch 0:5.3.10-1.el7 will be installed
–> Processing Dependency: java-1.8.0-openjdk-headless for package: puppetserver-5.3.10-1.el7.noarch
–> Finished Dependency Resolution
Error: Package: puppetserver-5.3.10-1.el7.noarch (puppet5)
Requires: java-1.8.0-openjdk-headless
You could try using –skip-broken to work around the problem
You could try running: rpm -Va –nofiles –nodigest
I am getting below error while generating certificate in one of our server. So how to resolve this issue?
[root@dctestserver bin]# puppet agent --test1 --ca_server=master.yumserver_rhel7/opt/puppetlabs/puppet/bin/ruby: /lib64/libcrypt.so.1: version `XCRYPT_2.0' not found (required by /opt/puppetlabs/puppet/lib/libruby.so.2.4)
/opt/puppetlabs/puppet/bin/ruby: /lib64/libc.so.6: version `GLIBC_2.25' not found (required by /opt/puppetlabs/puppet/lib/libruby.so.2.4)
/opt/puppetlabs/puppet/bin/ruby: /lib64/libcrypt.so.1: version `XCRYPT_2.0' not found (required by /opt/puppetlabs/puppet/lib/libruby.so.2.4)
/opt/puppetlabs/puppet/bin/ruby: /lib64/libc.so.6: version `GLIBC_2.25' not found (required by /opt/puppetlabs/puppet/lib/libruby.so.2.4)
Puppetmaster has been renamed to puppetserver to prevent twitter outrage mobs from attacking Puppetlabs. Slavery was invented by wypipo or something.
i installed downloaded and installed puppet rpm , but unable to open conf file for the same
[root@satyam]# rpm -qa | grep pup
puppetlabs-release-6-12.noarch
[root@satyam]# /etc/init.d/puppetmaster status
-bash: /etc/init.d/puppetmaster: No such file or directory
[root@satyam]#
Hi Avishek,
Can we install both master and agent on one machine? If so, can we just follow the above steps to do that?
Thanks
@Mahesh,
Yes you can install both master and agent by following the instructions given in this article…
Thanks Ravi.
Ravi,
If we install master and agent on one machine, there will be only one puppet.conf under /etc/puppet/, how to set different hostnames for master and agent(client)?
And, won’t there be any ssl related issues?
@Mahesh,
Use hosts file to setup hostnames for master and agent, and you can define both hostnames in puppet.conf file as shown:
Thanks.
So, here certname=puppet.vnet is the hostname of Agent, and server=puppet.vnet is the hostname of Master.
@Mahesh,
Yes you correct…:)
Very thanks!
Just an alert:
If you are running a centos 7, there is no script in /etc/init.d, because of systemd.
Then you need to control it via systemctl, as follows:
To verify service status:
systemctl status puppetmaster
To restart service:
systemctl restart puppetmaster
To enable service to start on boot:
systemctl enable puppetmaster
thanks bro
you’re a god damn hero
Step #1 has a substep #2. The hyperlink in this step is broken.
This link returns “404 Not Found.”
https://access.redhat.com/documentation/en-US/OpenShift_Enterprise/1/html/Client_Tools_Installation_Guide/Installing_Using_the_Red_Hat_Enterprise_Linux_Optional_Channel.html
How do I install the Optional Channel?
I wrote puppetinstall (bash script) sometime back : https://github.com/thilinapiy/puppetinstall It will install puppet (master/agent) on RHEL 6 but not in RHEL 7. Give a try if you can and also a pull request for RHEL7 too.
Dear Thilina,
Thanks for creating easy bash script to install puppet, will surely give it a try on RHEL/CentOS 7, will update you..
Hi Kumar,
Everybody knows how to install rpm’s. We need articles on how to maintain 50 production servers with puppet. How to make one single configuration in 50 servers change from one single click on master.
Thanks,
Dear Nagu,
me too believes the same.
Anyway, its now the admin’s responsibility what they want to include and exclude in the future article.