Red Hat Enterprise Linux is a Linux-based operating system developed by Red Hat and targeted the commercial market. The Red Hat Enterprise Linux 6.10 is available for x86, x86-64 for Itanium, PowerPC and IBM System z, and desktop versions.
This article explains how to boot the Red Hat Enterprise Linux 6.10 installation wizard (anaconda) to install Red Hat Enterprise Linux 6.10 on 32-bit and 64-bit x86 systems.
Download RHEL 6.10 ISO Image
To download the Red Hat Enterprise Linux 6.10 installation DVD, you must have a Red Hat subscription. If you don’t already have a subscription, either purchase one or get a free evaluation subscription from the RedHat Download Center.
There are numbers of new technology and features are added; some of the important features are listed below:
- Ext4 a default filesystem, and the optional XFS filesystem.
- XEN is replaced by KVM (Kernel-based Virtualization). However, XEN is supported till RHEL 5 life cycle.
- Supported future-ready Filesystem called Btrfs pronounced “Better FS”.
- Upstart event-driven which contains scripts that are only activated when they are needed. With Upstart, RHEL 6 has adopted a new and much faster alternative for the old System V boot procedure.
There are a number of installation types such as unattended installation called Kickstart, PXE installations, and Text-based Installer. I’ve used Graphical Installer on my testing environment. Please choose packages during installation as per your need.
So, let’s get started.
Installing RHEL 6.10 Linux
After you download an ISO image file, burn the ISO to a DVD, or prepare a bootable USB drive using Rufus, Etcher or Unetbootin tools.
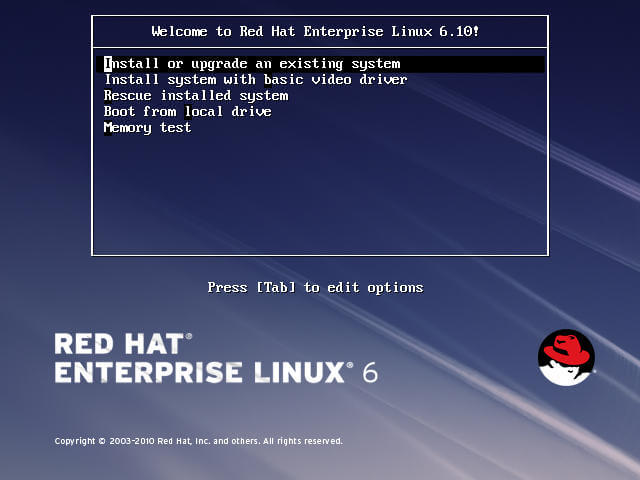
1. Once you create bootable USB, Plug in your USB flash drive and boot from it. When the first screen appears, you can choose to install or upgrade existing system options.
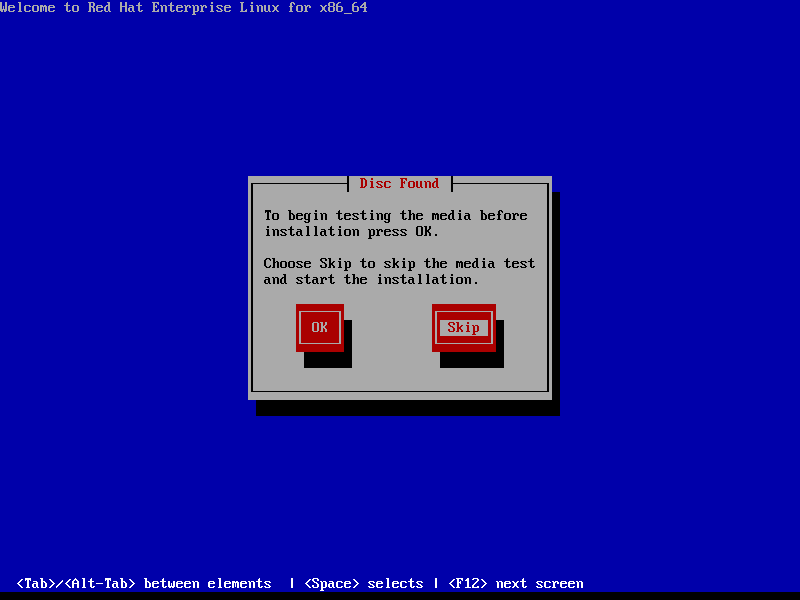
2. After booting, it prompts you to test the installation media or skip the media test and directly proceed with the install.
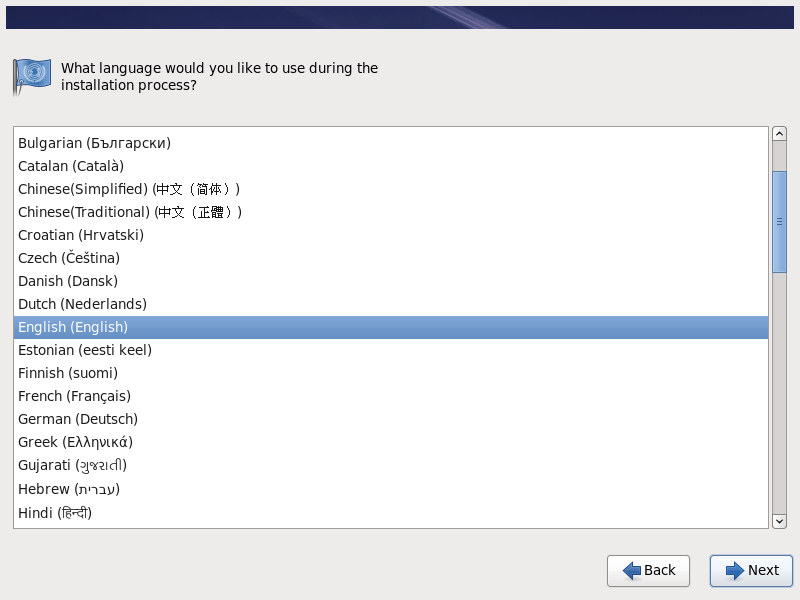
3. The next screen prompts you to choose the preferred language:
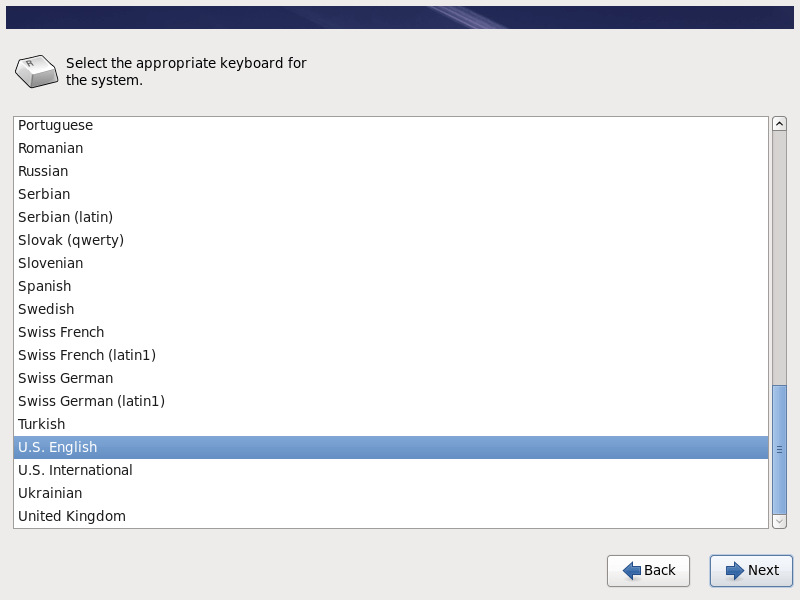
4. Next, select the appropriate keyboard for the system.
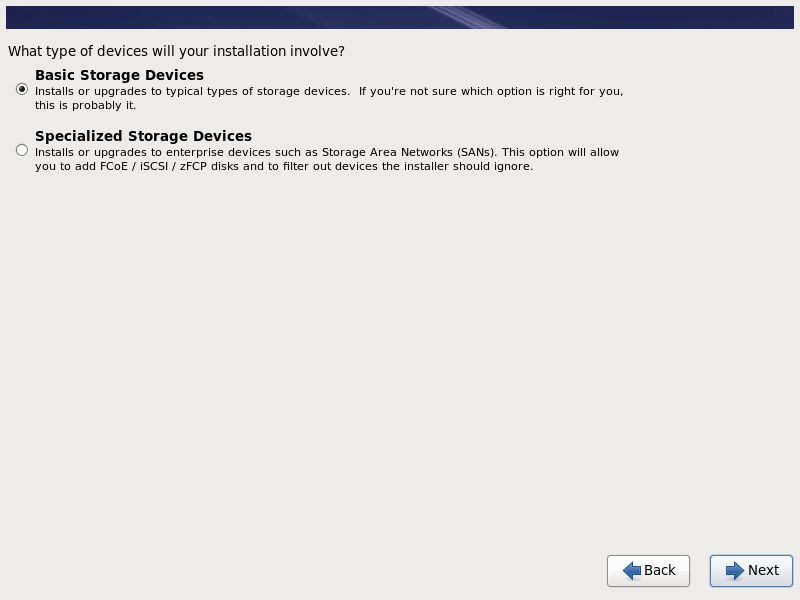
5. Select the basic storage device for your installation.
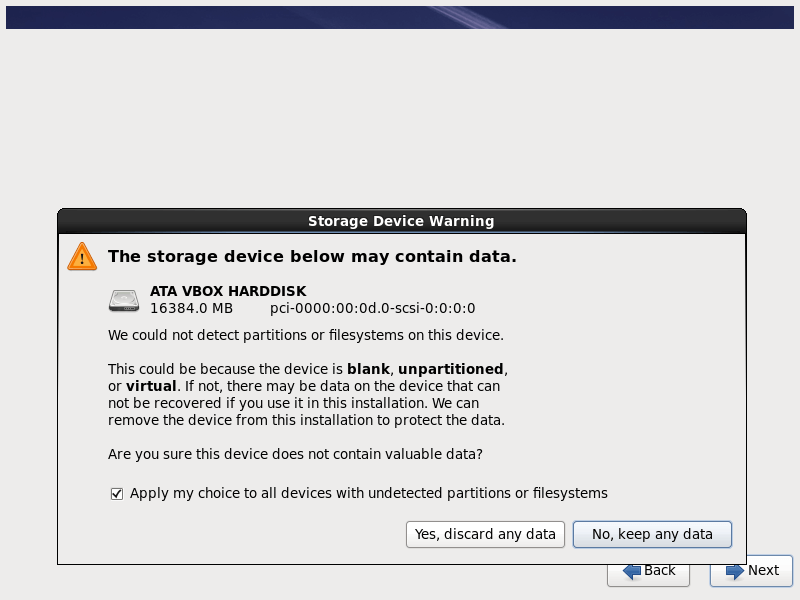
6. On the next screen, you will get a warning about storage, just choose ‘Yes, discard any data‘ option as we are doing a fresh installation.
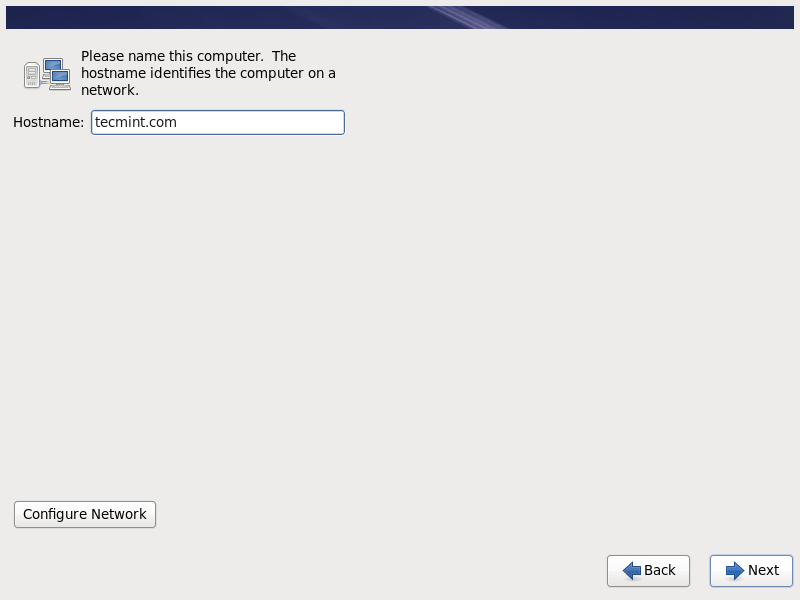
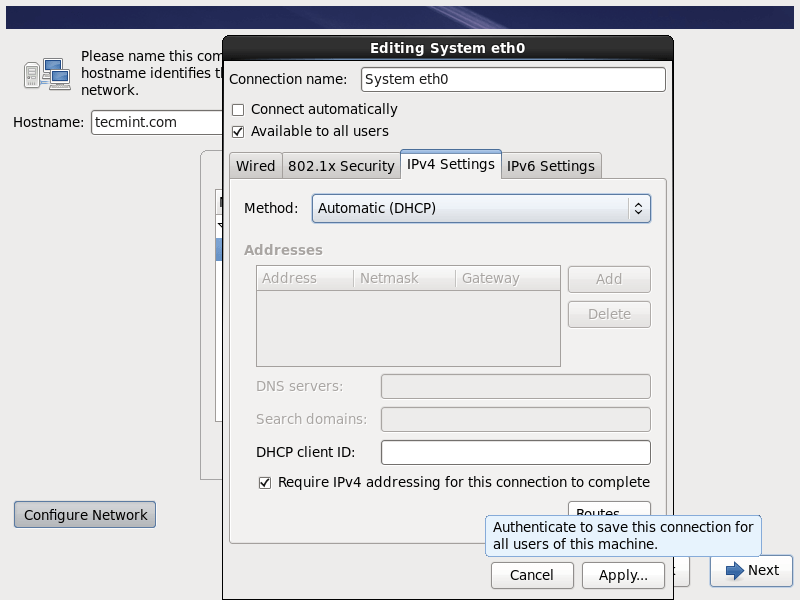
7. Next, set the HostName for this system and click on ‘Configure Network‘ if you want to configure networking during the installation process.
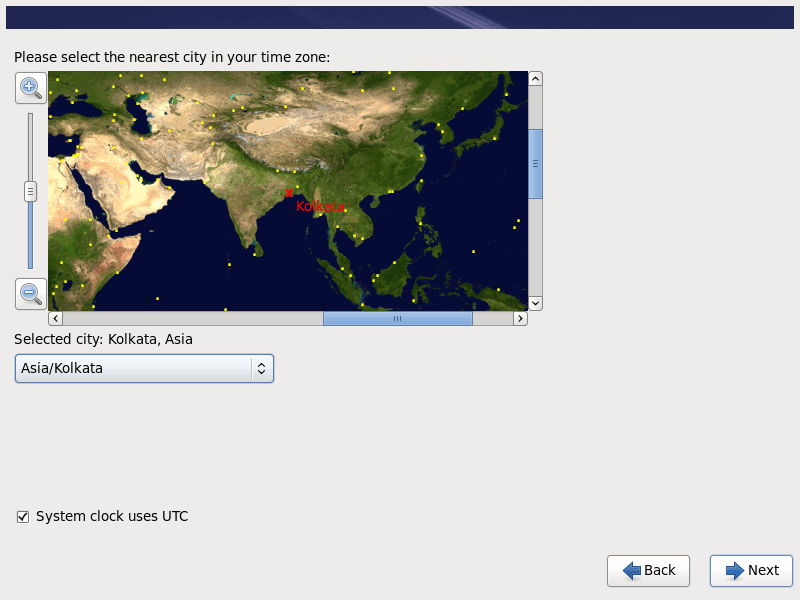
8. Select the nearest city in your timezone.
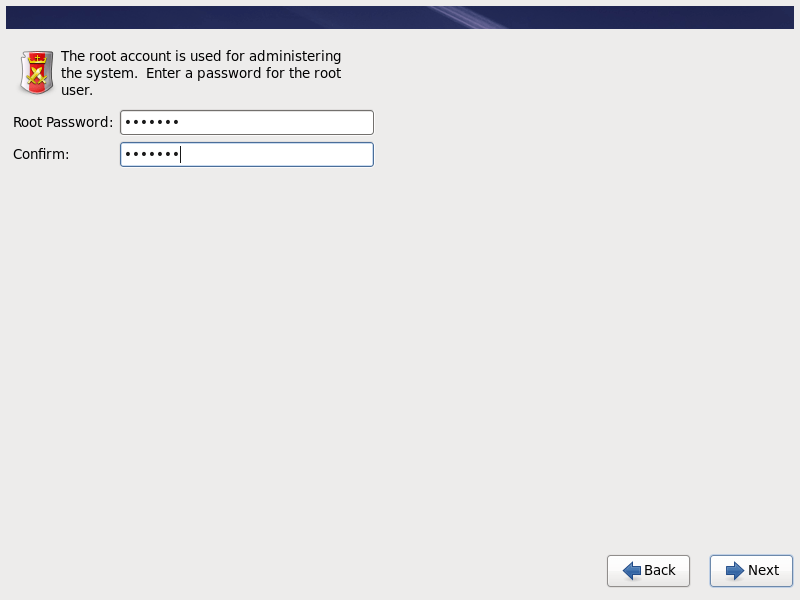
9. Set a new root password that is used to administering the system.
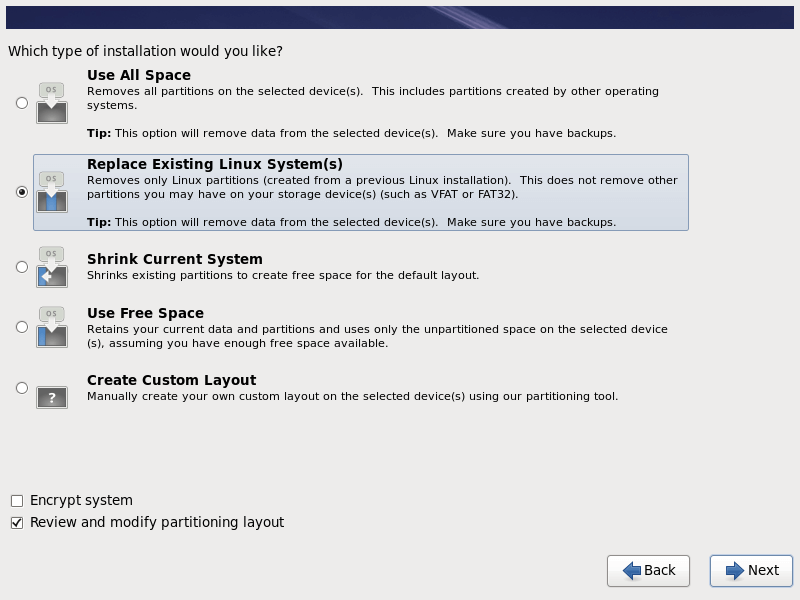
10. Now, select the type of installation you want. Here I am going with ‘Replace Existing Linux System(s)‘ because I don’t want to create customize partition table.
11. After the installer prompts you with a default partition layout, you can edit it as per your requirements (delete and recreate partitions and mount points, change partitions space capacity and file system type, etc.).
As the base scheme for a server, you should use dedicated partitions such as:
/boot - 500 MB - non-LVM
/root - min 20 GB - LVM
/home - min 20GB - LVM
/var -  min 20 GB - LVM

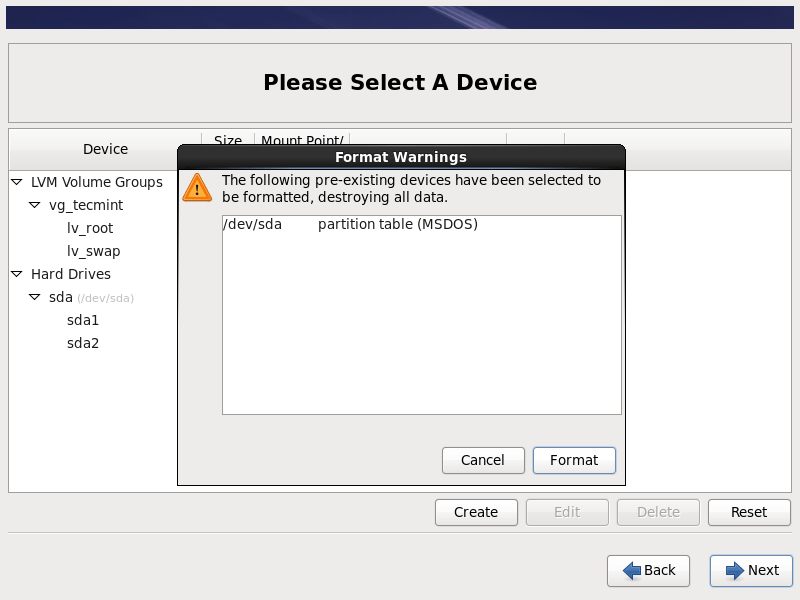
12. Next, select ‘Format‘ to format the default Partition table as Format is MSDOS.
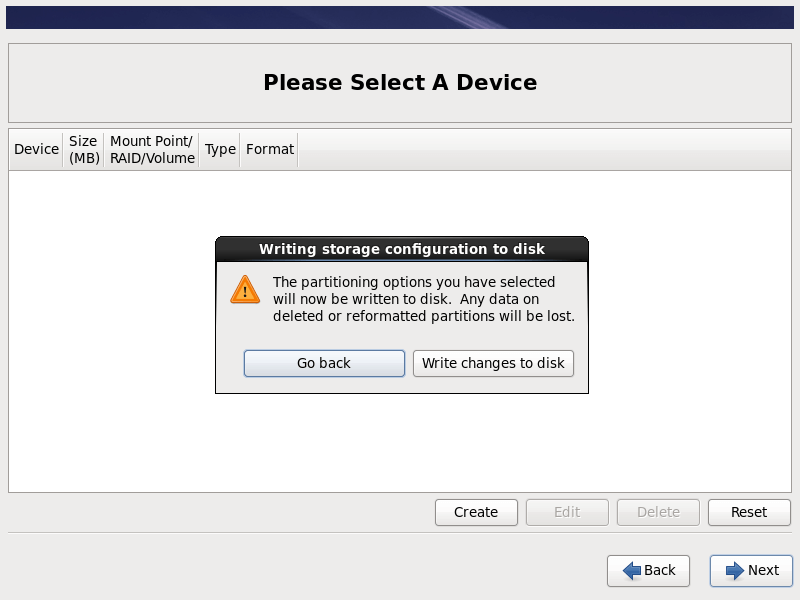
13. Select ‘Write changes to disk‘ to apply storage configuration.
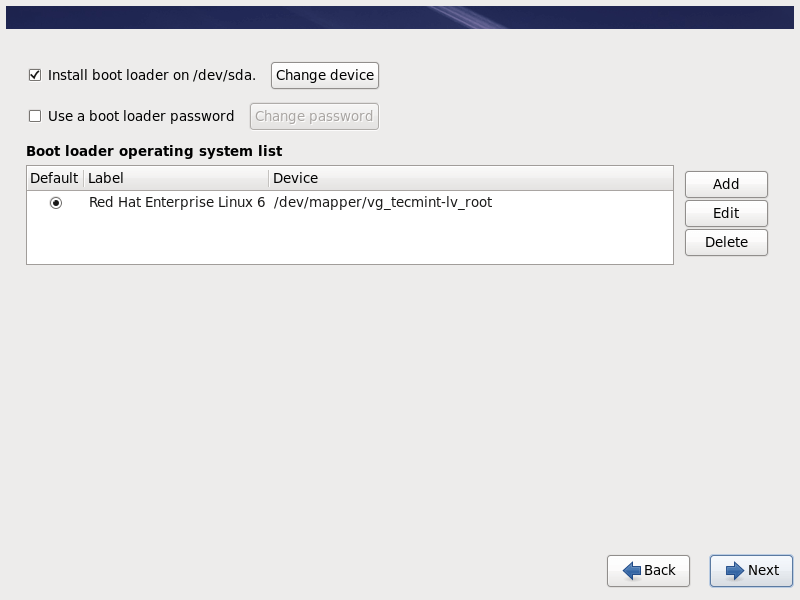
14. Install boot loader on the device, you can also set a password for the boot loader to enhance the security of the system.
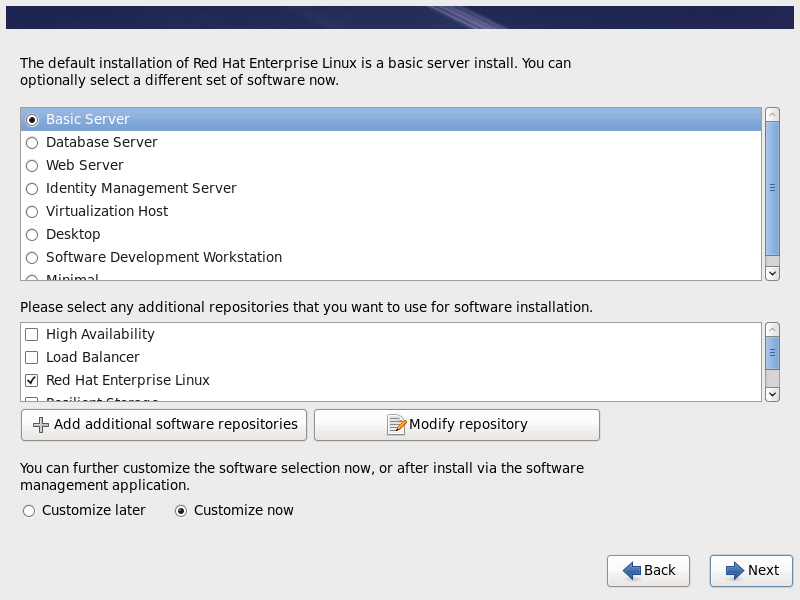
15. In the software installation window, you can select what software to install, which package to be installed during the installation process. You can choose the ‘Basic Server‘ option and select customize now.
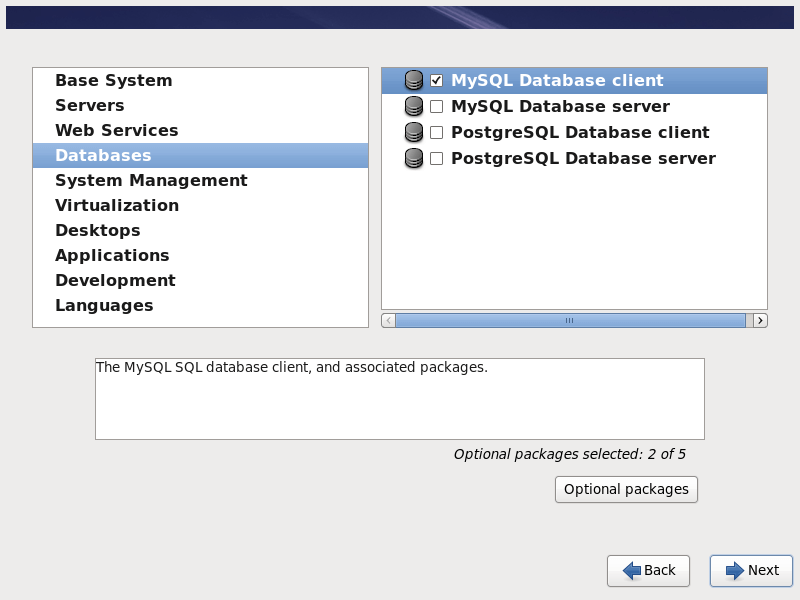
16. Now, choose packages that you wish to install on the system by using the right section of the screen:
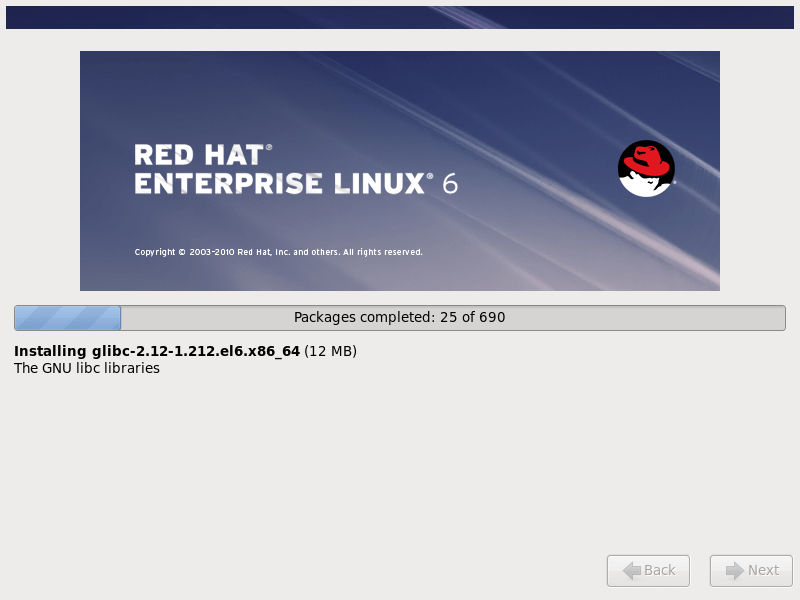
17. After selecting the software, the Installation has started as shown below.
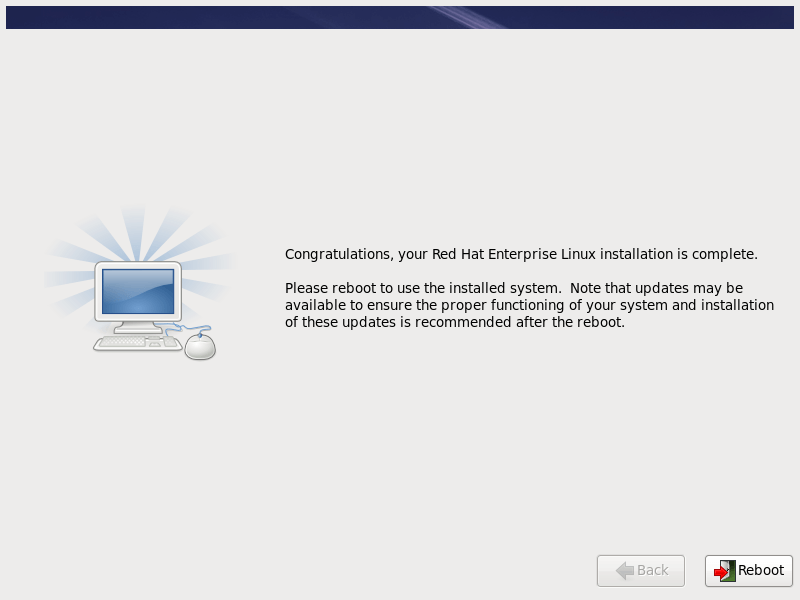
18. Congratulations, your Red Hat Enterprise Linux installation is complete.
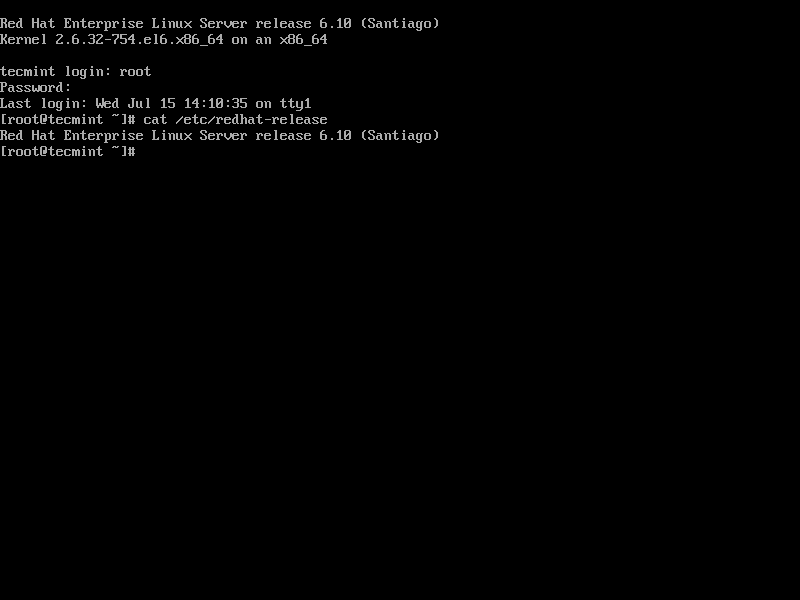
19. After reboot, Login using the root password that you have set during the installation.
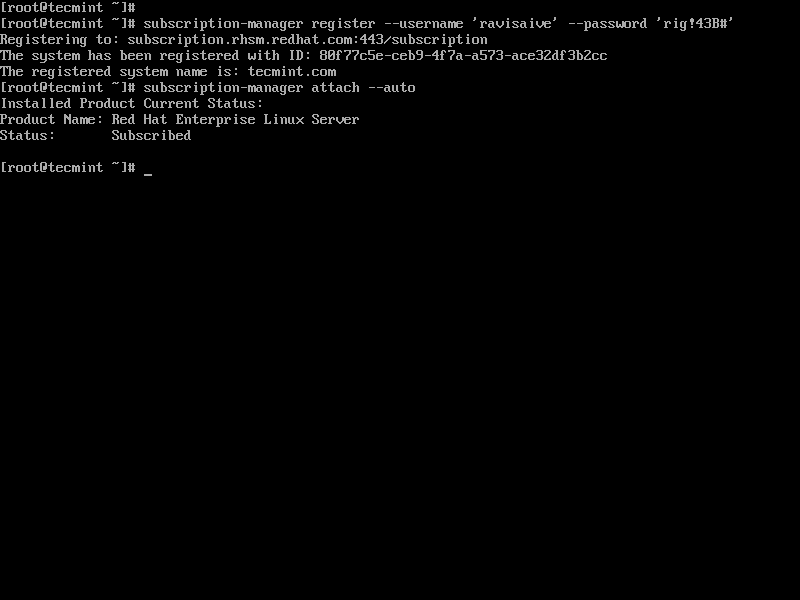
Enable Red Hat Subscription on RHEL 6.10
When you run 'yum update' you will get the following error on your RHEL 6.10 system.
This system is not registered with an entitlement server. You can use subscription-manager to register.
A Red Hat subscription enables you to install the latest packages, security updates, and bug fixes. To register your RHEL 6.10 system, run the commands:
# subscription-manager register --username your-redhat-developer-username --password your-redhat-password
# subscription-manager attach --auto
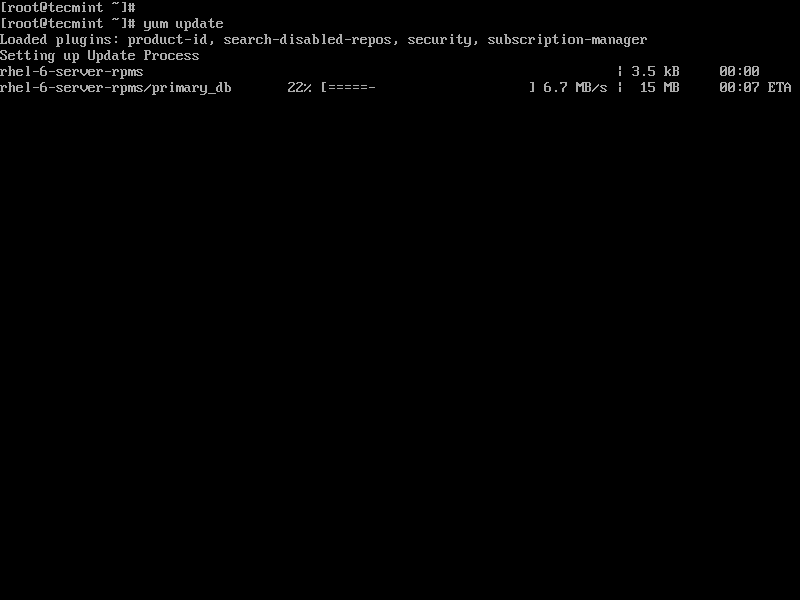
Once you enabled subscription, you can now proceed to update your system and install system packages.
# yum update
This concludes this topic on how to install RHEL 6.10 for free on your system.