First of all, let me say that I am a big fan of Puppy Linux. The reason for this is simple: Puppy and its multiple variations with support for application packages from bases ranging from Ubuntu to Slackware and Arch Linux while being one of the most commonly used operating systems for Linux laptops reign supreme.
Puppy Linux is a distribution created by Barry Kauler, Larry Short, Mick Amadio, and the Puppy community. It is a lightweight Linux distribution that focuses on ease of use and minimal memory footprint.
If you’re interested in learning more about Puppy Linux, take your time to read through this article.
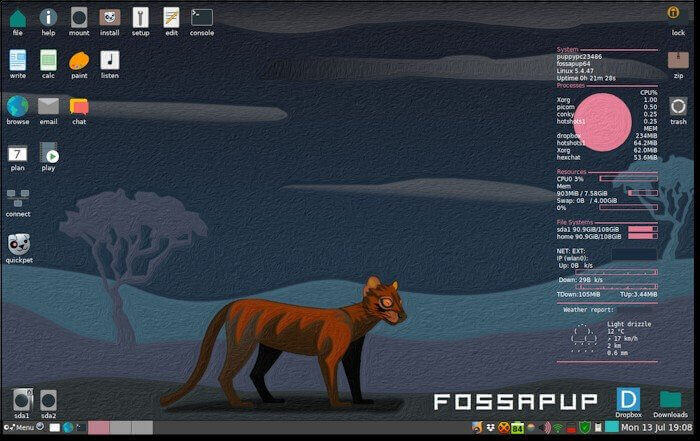
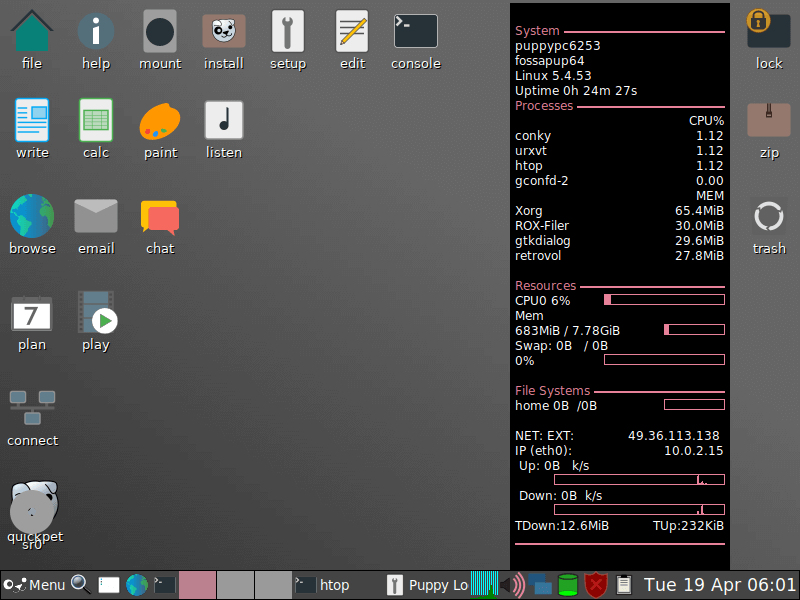
Live Puppy Linux Environment
To install or try Puppy Linux, go to the official page and download the Puppy Linux for your system architecture and prepare your install/tryout environment with the USB drive you’ve created.
If you haven’t already, grab a USB and burn the Puppy Linux image onto it using any of the USB creator’s tools. Once you’ve had that done you can simply insert it into the host system.
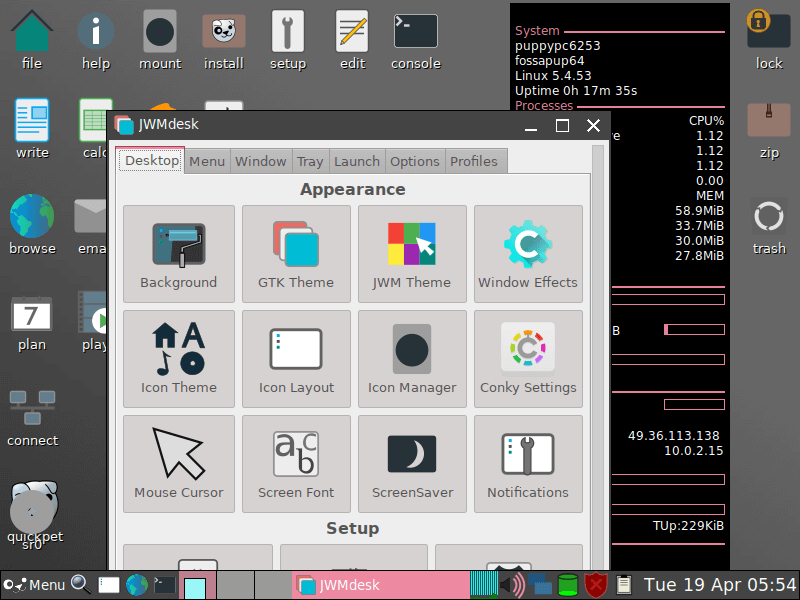
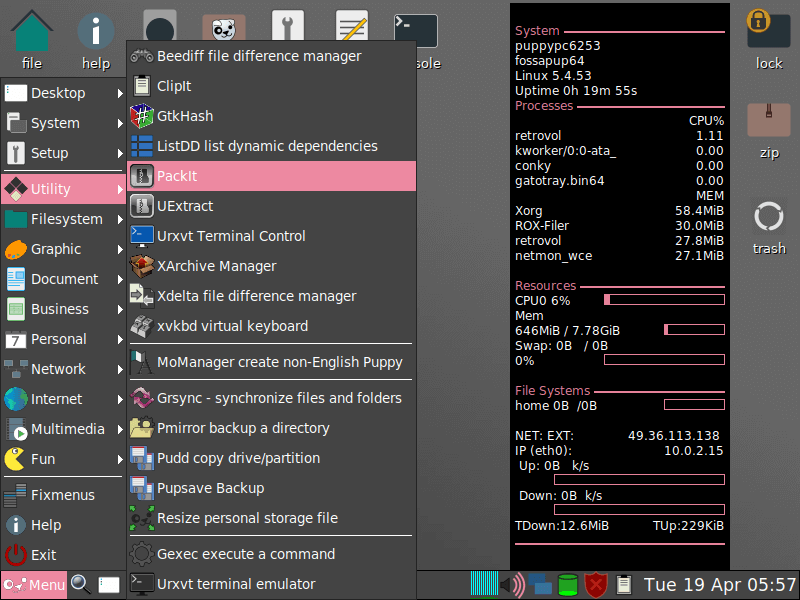
Using the Puppy Linux operating system guarantees the presence of several applications ready to roll on the boot. My ideal, however, is the Puppy Setup program.

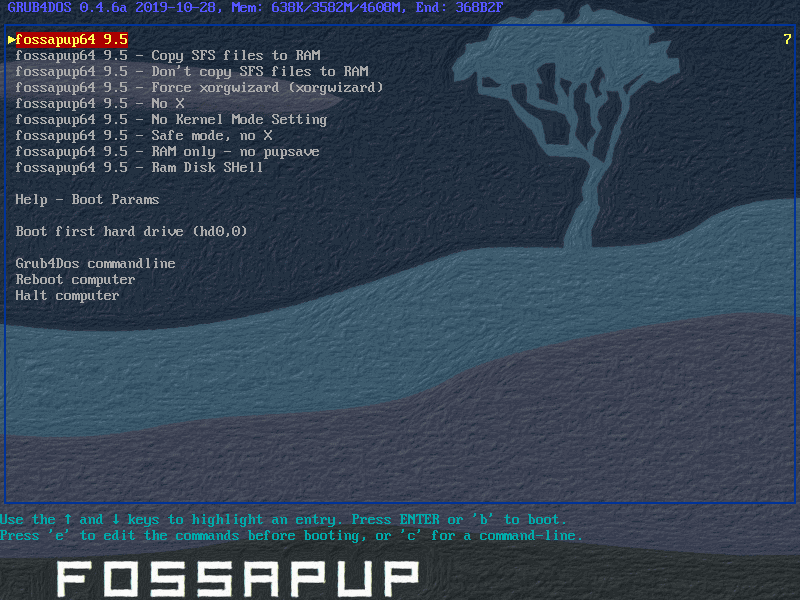
Considering that Puppy Linux utilizes ramdisk incredibly well, Puppy Linux is one of those few distros you can actually get away with using exclusively on an external media.

Puppy Linux generally loads faster in a non-install state on either a CD or USB due to its utilization of ramdisk.
Characteristics of Puppy Linux
The Puppy Package Manager (PPM) is peculiar in the sense that it presents traditional tarballs as .pet packages. That is, PET – acronym for “Puppy’s Enhanced Tarballs” – is the package management and extension variation to Debian/Ubuntu-based systems. However, Puppy Package Manager continues to support .pkg.tar.gz (Arch), .deb (Debian), .tgz (Slackware) and DotPet.
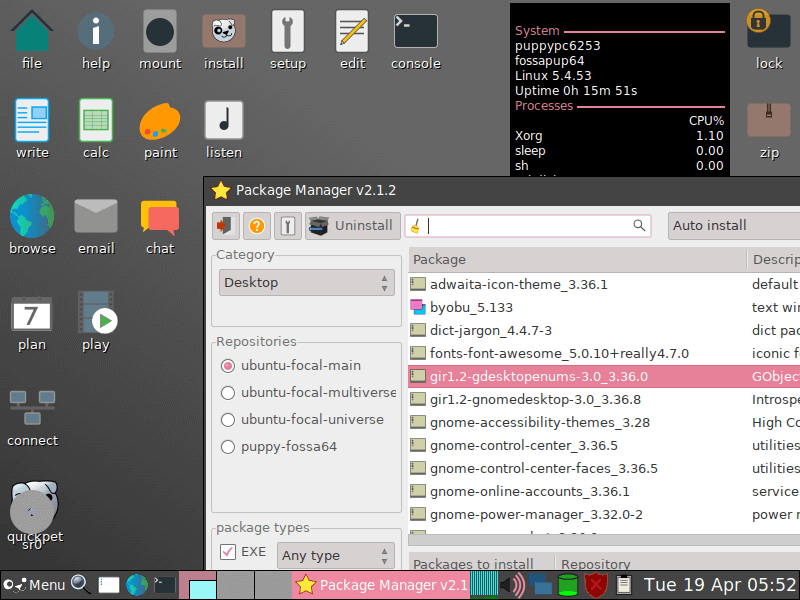
With the options of JWM and Openbox for desktop environments, Puppy Linux has based its core on simplicity and the ability to thrive in any hardware environment.
Part of the appeal of an operating system such as Puppy Linux is the inherent value of multiple package sources together with the ability to convert to and from. The tools that make this possible are deb2pet, pet2tgz, pup2pet, new2pet, and dir2pet.
Originally based on Vector Linux which in turn was based on Slackware, Puppy Linux started off strong and is now fully independent putting it in the same league as Arch, Debian, and its previous Slackware base.
Puppy Linux Recommendations
Puppy Linux is ideally for those that are looking for an inherently fast experience through and through. Without necessarily being exclusive to low-end systems, Puppy Linux is meant to thrive on high-end hardware as well.
With a theoretically small memory footprint, Puppy Linux is threading the path of righteousness considering the punch it packs in terms of flexibility that goes beyond what other distros are offering.
If you are constantly in need of packages outside of your current main distro, then you’d be pleased to know that you can very well get away with having Puppy Linux as your single permanent distro that commands respect across the board due to its ability to support packages from different system bases.
Takeaway
When it comes to user-oriented systems, Puppy Linux is absolutely one of the unsung heroes that have earned a badge of honor amongst enthusiasts in the Linux realm.
It satisfies many use cases, one of which is that of the most important when it comes to the general public. In this case, is lightweight and ready to go anytime. Added with the familiar-looking logo of a puppy’s face, Puppy Linux has certainly earned our treats.