Samba is an open-source and most popular widely used program that enables end-users to access Linux shared directory from any Windows machine on the same network.
Samba is also named as a network file system and can be installed on Linux/Unix operating systems. Samba itself is a client/server protocol of SMB (Server Message Block) and CIFS (Common Internet File System).
Using Windows smbclient (GUI) or file explorer, end users can connect to the Samba server from any Windows workstations to access shared files and printers.
This tutorial explains how to install Samba Server (fileserver) on RHEL, CentOS Stream, and Fedora systems, and also we will learn how to configure it to share files over the network using SMB protocol, as well as we will see how to create and add system users on samba user’s database.
[ You might also like: How to Setup Samba Server in RHEL, Rocky Linux and AlmaLinux ]
For demonstration, we are using RHEL 8 system with hostname tecmint with IP address 192.168.43.121.
Install and Configure Samba in RHEL
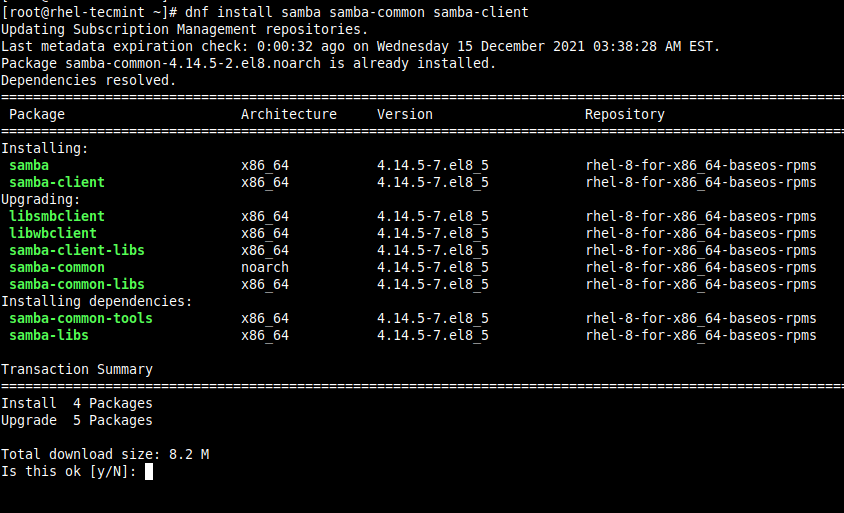
To get started with samba, you need to install the samba core packages and samba-client package as shown:
# dnf install samba samba-common samba-client
After all the samba is installed, you need to configure the samba share directory with proper permissions and ownership, so that it is going to be shared with all client machines in the same local network.
# mkdir -p /srv/tecmint/data
# chmod -R 755 /srv/tecmint/data
# chown -R  nobody:nobody /srv/tecmint/data
# chcon -t samba_share_t /srv/tecmint/data

Next, we are going to configure the Samba share directory in the smb.conf file, which is the main configuration file for Samba.
# mv /etc/samba/smb.conf /etc/samba/smb.conf.bak
# vim /etc/samba/smb.conf
Add the following configuration lines, which define the policies on who can access the samba share on the network.
[global]
workgroup = WORKGROUP
server string = Samba Server %v
netbios name = rocky-8
security = user
map to guest = bad user
dns proxy = no
ntlm auth = true


[Public]
path =  /srv/tecmint/data
browsable =yes
writable = yes
guest ok = yes
read only = no
Save and exit the configuration file.
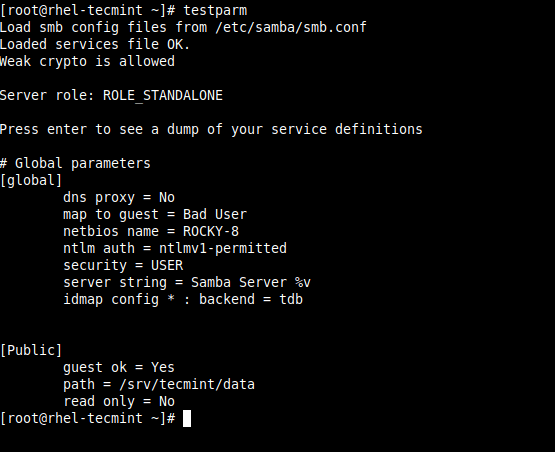
Next, verify the samba configuration for errors.
# testparm
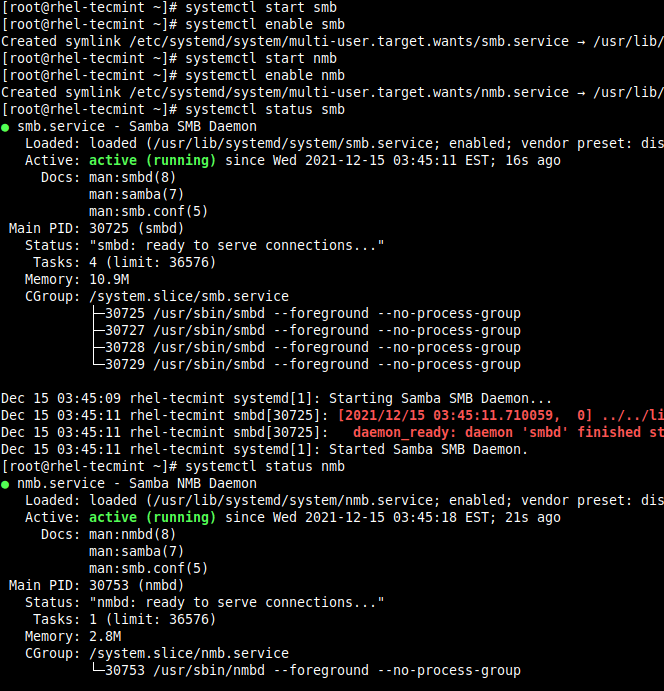
If everything looks okay, make sure to start, enable and verify the status of the Samba daemons.
# systemctl start smb
# systemctl enable smb
# systemctl start nmb
# systemctl enable nmb
# systemctl status smb
# systemctl status nmb
Accessing Samba Share from Windows
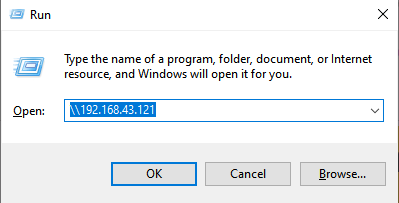
To access Samba share from the Windows machine, press the Windows logo key + R to launch the Run dialog and enter the IP address of the samba server as shown.
Once you connected, you will be presented with the ‘Public’ directory of our samba share from the /srv/tecmint/data directory.
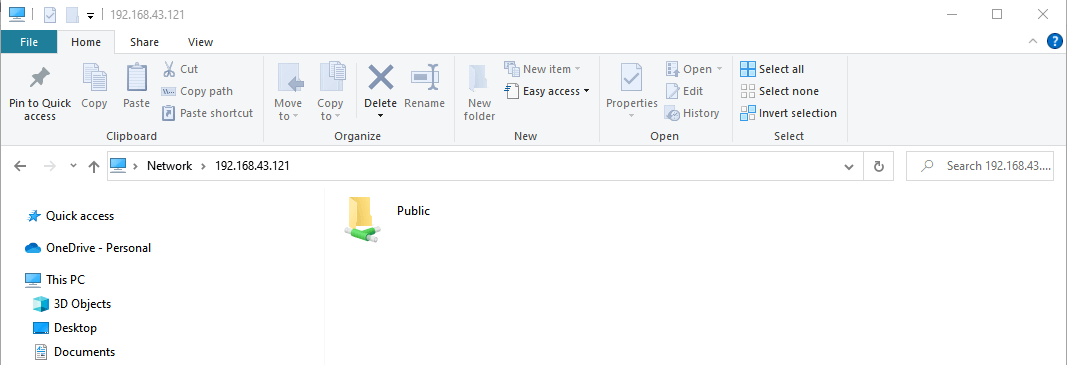
The ‘Public’ directory is empty, as we don’t have created any files in the Samba share, let’s create a few files with the following command.
# cd /srv/tecmint/data
# touch file{1..3}.txt
Once you have created files, try accessing the Samba ‘Public‘ folder to view the files.
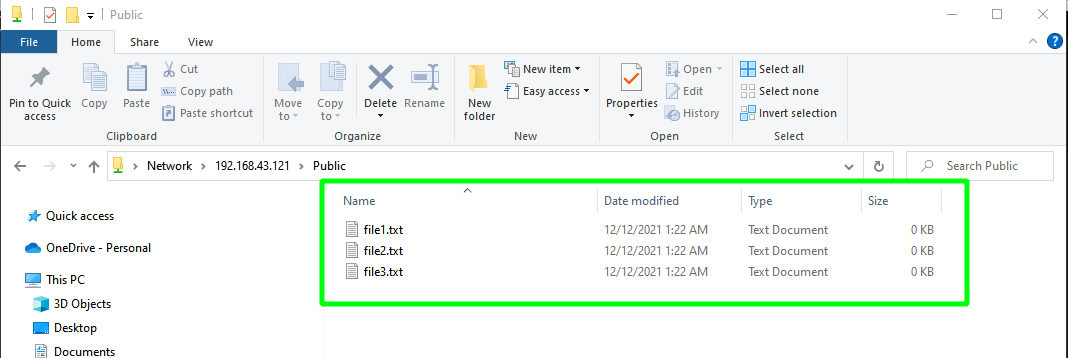
We have successfully configured and accessed our samba share from Windows, However, our directory is accessible to anyone with the permissions to edit and delete files, which is not recommended when you are hosting important files.
In the next section, you will learn how to secure your samba share directory.
Secure Samba Share Directory in RHEL
To secure our Samba share, we need to create a new samba user.
# useradd smbuser
# smbpasswd -a smbuser
Next, create a new group and add the new samba user to this group.
# sudo groupadd smb_group
# sudo usermod -g smb_group smbuser
Thereafter, create another secure samba share directory for accessing files securely by samba users.
# mkdir -p /srv/tecmint/private
# chmod -R 770 /srv/tecmint/private
# chcon -t samba_share_t /srv/tecmint/private
# chown -R root:smb_group /srv/tecmint/private
Once again, access the Samba configuration file.
# vi /etc/samba/smb.conf
Add these lines to define to secure samba share.
[Private]
path = /srv/tecmint/private
valid users = @smb_group
guest ok = no
writable = no
browsable = yes
Save the changes and exit.
Finally, restart all the samba daemons as shown.
$ sudo systemctl restart smb
$ sudo systemctl restart nmb
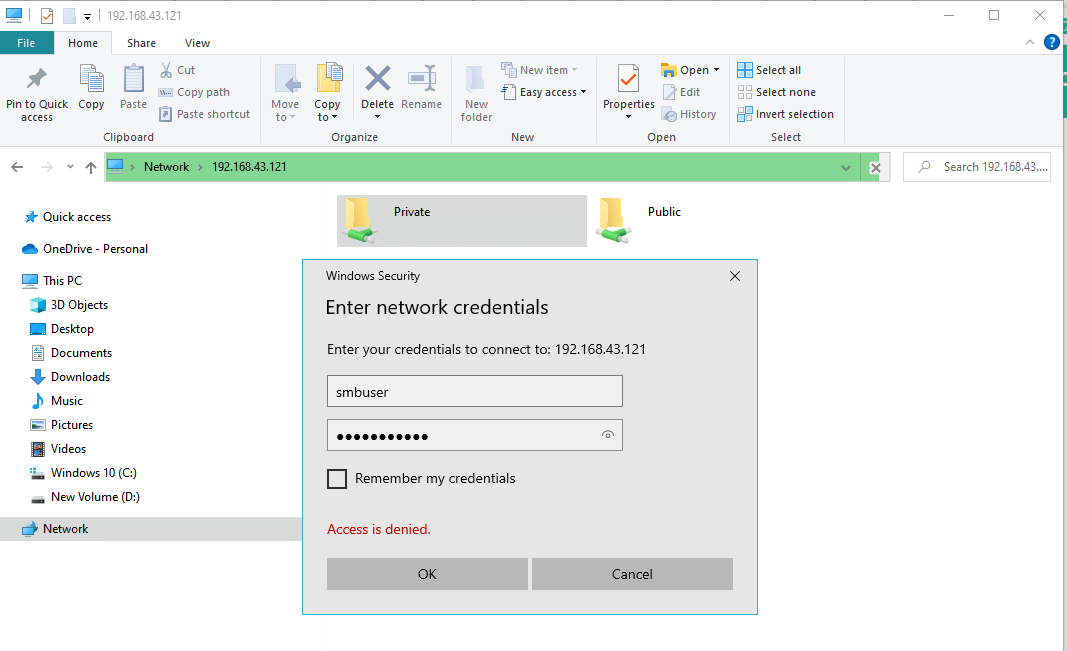
Now try to access the Samba share, this time you will see an additional ‘Private‘ directory. To access this directory, you will be required to authenticate with the Samba user’s credentials as shown.
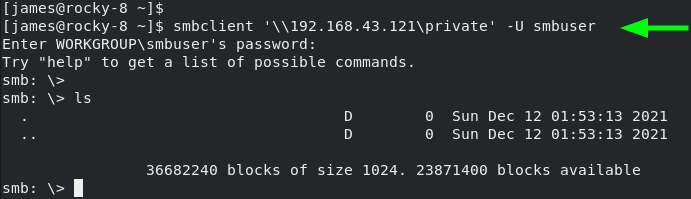
To access the samba share from a Linux machine, first, install the samba-client package and try to connect.
# dnf install samba-client
# smbclient ‘\2.168.43.121\private’ -U smbuser
And this concludes this article on installing and configuring up Samba on RHEL, CentOS Stream, and Fedora. Your feedback on this article will be highly appreciated.


smbclient -L tecmint
Enter user’s password:
Connection to tecmint failed (Error NT_STATUS_UNSUCCESSFUL)
am I missing something?
Actually I have configure the samba server but i enter the command smbclient -L //tecmint/tecmintusers -U tecmint then a error message show
Error NT_STATUS_BAD_NETWORK_NAME
I really think you should not disable Selinux, at most, put it in “permissive” mode, it won’t enforce security, but still log any issue!
I am trying to install samba directory to use between my host CentOS 6.5 and VM Windows 7 enterprise. How do i connect to each machine through the virtual adapter?
The purpose of that command is to change the context of file (i.e chcon) and samba_share_t is used to allow the given path required authority to be shared up via samba server (i.e between windows & linux)
what is the use of #chcon -R -t samba_share_t /home/sambashares/tecmintusers. can you explain please ?
i am using oracle linux server 6.0 santigo
i haveinstalled printer working in server, but could not print from windows pc and if printer connected to windows pc then also could not print. but i can exchange files (copy. paste delete) both in windows and linux.
please help me
Please follow below article to setup Samba as a printer server.
https://wiki.samba.org/index.php/Samba_as_a_print_server
# enforcing – SELinux security policy is enforced.
# permissive – SELinux prints warnings instead of enforcing.
# disabled – No SELinux policy is loaded.
Why use disabled over permissive? Disabled means that SE security contexts are not created and that you cannot easily turn SE linux back on.
Ideally we should have the SE contexts posted above, for those that want to turn it on (ie you have a server exposed to the web OR you care about security.
k yar, Thanks. I could able to access from windows machine. But every day the first access to the share take 40-45 seconds delay, after that there is no more delay for that day. The next day again the same thing happens.
yar, I got the error ‘Connection to bhshare failed (Error NT_STATUS_BAD_NETWORK_NAME)’ when executing ‘smbclient -L bhshare’
Don’t worry about that error, even I got the same while writing up this article. Try whether Samba is accessible from Windows machine.
Hi all you need to make port forwarding this example is for Centos
-A INPUT -m state –state NEW -m tcp -p tcp –dport 139 -j ACCEPT
HI All,
Just a question, how can you access through domain name?
the example you provide is an IP
\\172.16.25.126\tecmintusers
i want know how in domain name
example:
\\PC-1\techmintusers
how or where do you configure this kind of adjustment
No need of any extra configuration, if your domain resolves locally, you can access it by domain name.
Hi Ravi,
Needed your help in AD domain joining on RHEL 6.3 imaged desktops.
We have multiple system imaged with RHEL v6.3 & want to join them in windows domain. Please help us.