Hi fellow Linux readers, I’m bringing you yet another great article from our Linux Tips and Tricks series, this time we will be using two lesser known Linux utilities that you should must know about.
This article will explain how do you transfer files between two Linux computers using nc (networking utility) and pv (pipe viewer) commands, before moving further let me explain what are these two commands.
nc stands for Netcat and often point out as “Swiss Army knife” is a networking tool used for network debugging and investigation and also it is used for creating network connections using TCP or UDP, port scanning, file transfer and more. It is created to be a dependable back-end and specially used in programs and scripts, since it can generate almost any kind of network connection and has a number of built-in features.
pv in short Pipe Viewer is a terminal based tool for monitoring progress of data send through a pipeline, it allows a user to see the progress of data with progress bar, shows time elapsed, percentage completed, current throughput rate, total data transferred, and Estimated Time to complete the process.
How to Monitor Progress of Data Using pv (Pipe Viewer) Command
Let’s now move further and see how we can combine both commands to transfer files between two Linux computers, for the purpose of this article we will be using two Linux machines as follows:
Machine A with IP : 192.168.0.4
Machine B with IP : 192.168.0.7
Note: I strongly advise not to use netcat to send and receive data over pubic network, as it doesn’t use any logins or authentication, the only requirement is the client IP and listening port number and the data send over network is not secured, thus, it always reserved for advanced Linux users and preferred to use on protected local network.
Situations where security of data is more important, then always use rsync over SSH or scp over SSH.
Now let’s start with some real easy example of nc and pv commands, but before doing that both utilities must installed on the system, if not install them using your respective distribution package manager tool as suggested:
# yum install netcat pv        [On RedHat based systems]
# dnf install netcat pv        [On Fedora 22+ versions]
# apt-get install netcat pv    [On Debian and its derivatives]
How to Transfer Files Between Two Linux Machines?
Let’s assume that you want to send one large file called CentOS-7-x86_64-DVD-1503.iso from computer A to B over network, the quickest way to achieve this using nc a network utility used to send files over TCP network, pv to monitor the progress of data and tar utility to compress data to improve transfer speed.
On Linux Machine A
First login into the machine ‘A‘ with IP address 192.168.0.4 and run the following command.
# tar -zcf - CentOS-7-x86_64-DVD-1503.iso | pv | nc -l -p 5555 -q 5
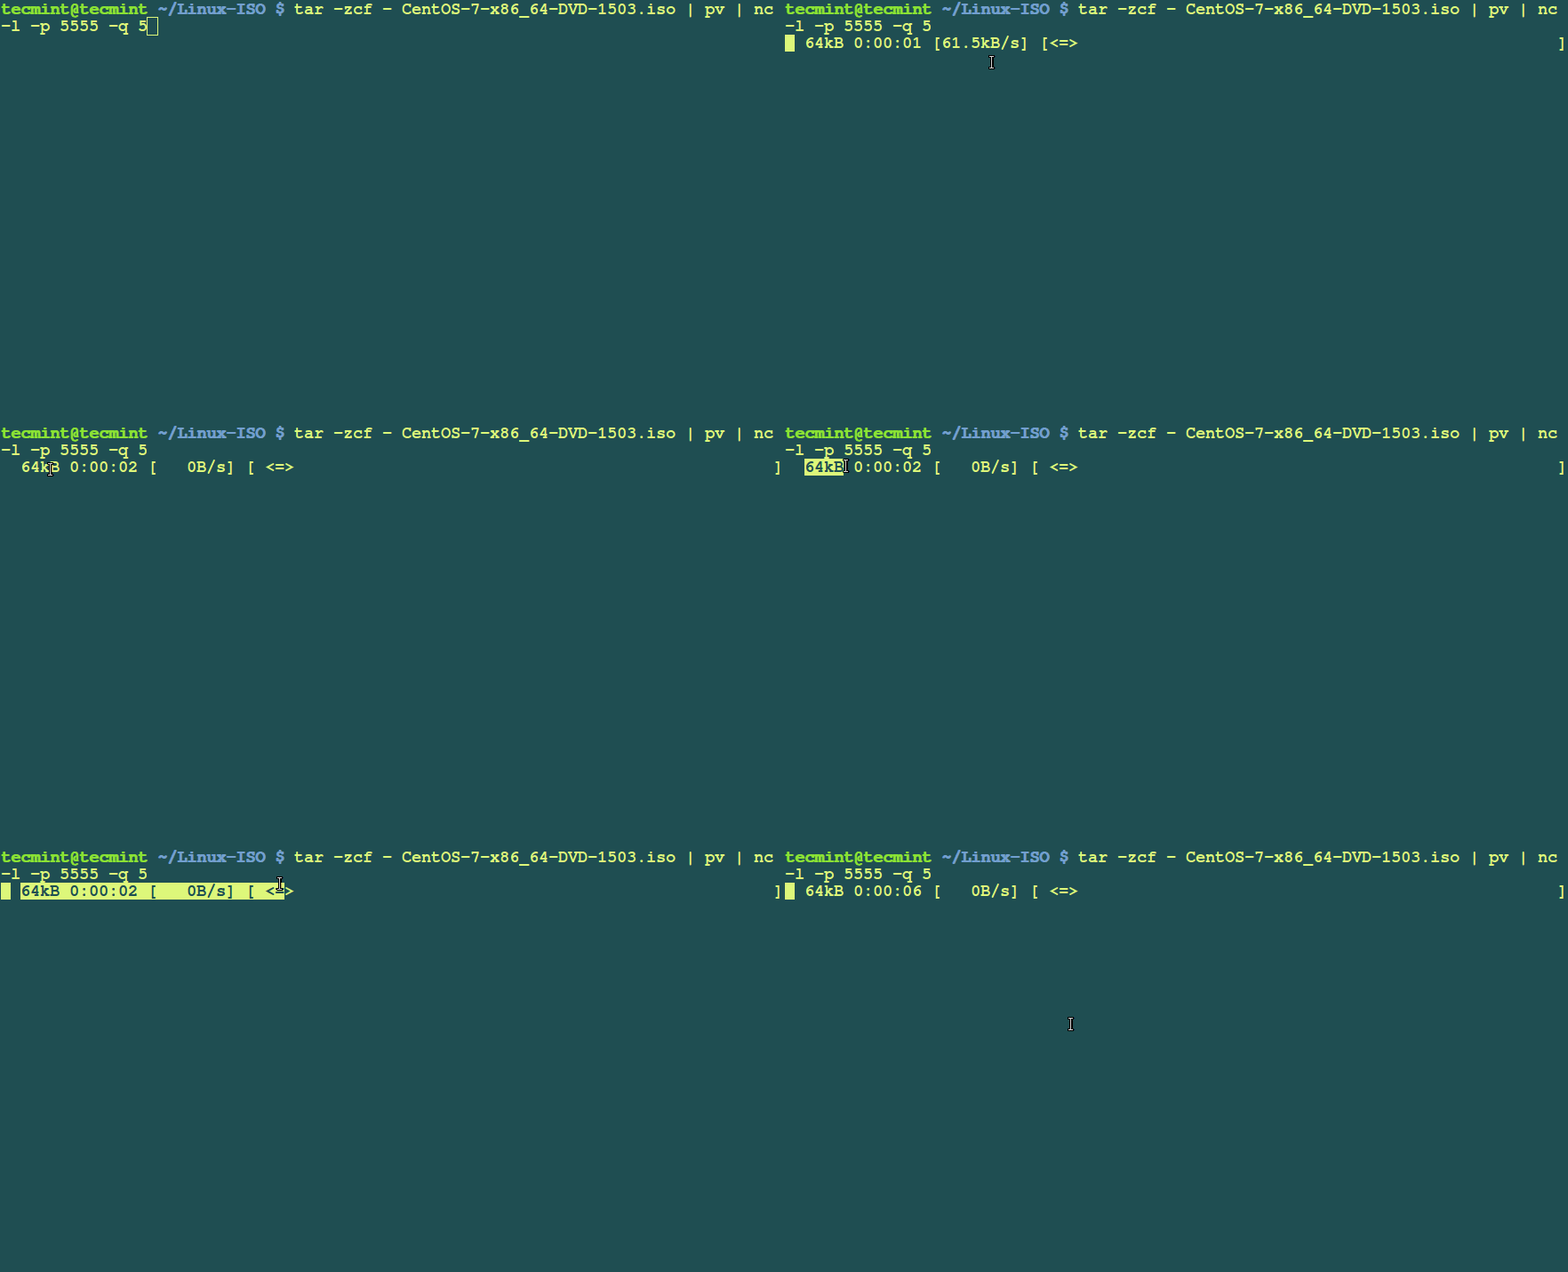
Let me explain the options used in above command:
- tar -zcf = tar is a tape archive utility used to compress/uncompress archive files and arguments -c creates a new .tar archive file, -f specify type of the archive file and -z filter archive through gzip.
- CentOS-7-x86_64-DVD-1503.iso = Specify the file name to send over network, it can be file or path to a directory.
- pv = Pipe Viewer to monitor progress of data.
- nc -l -p 5555 -q 5 = Networking tool used for send and receive data over tcp and arguments -l used to listen for an incoming connection, -p 555 specifies the source port to use and -q 5 waits the number of seconds and then quit.
On Linux Machine B
Now login into machine ‘B‘ with IP address 192.168.0.7 and run the following command.
# nc 192.168.1.4 5555 | pv | tar -zxf -
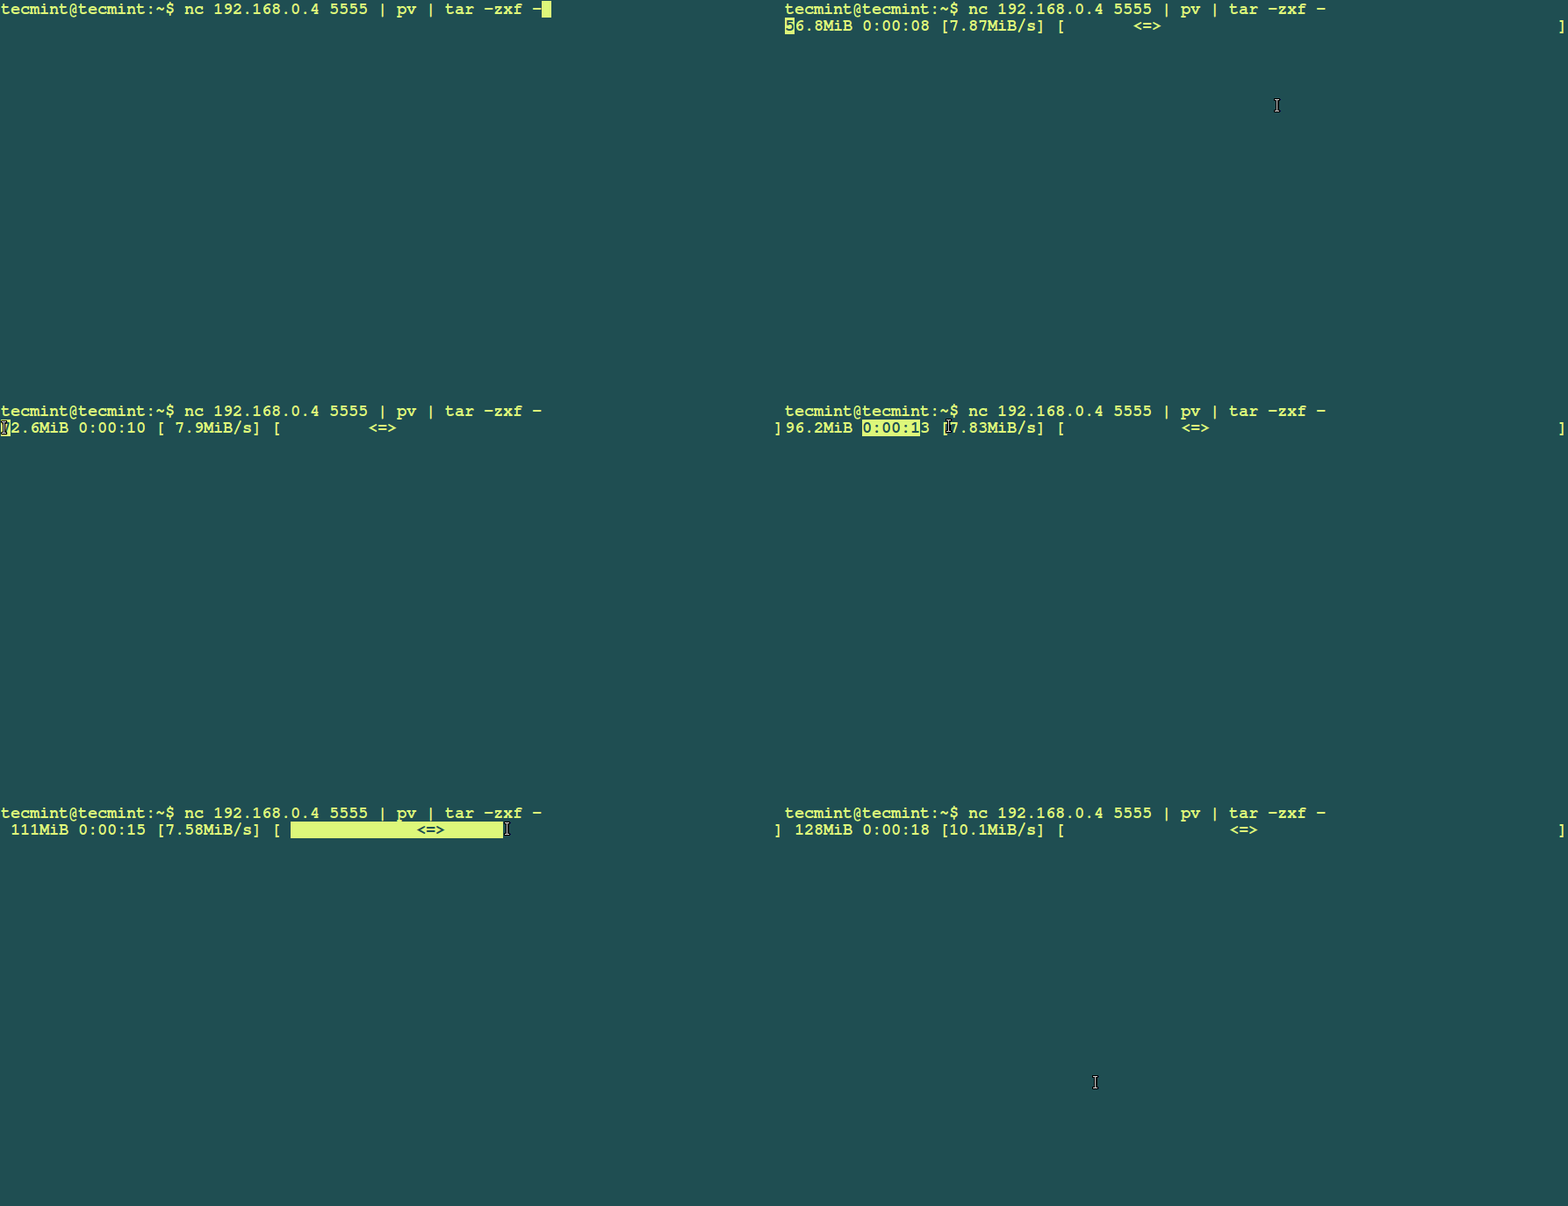
That’s it, the file gets transferred to computer B, and you’ll be able to watch how quick the operation was performing. There are tons of more other great usage of nc (not covered yet, but will write about it soon) and pv (we already covered a detail article on this here) commands, if you know any example, please let us know via comments!



Thank you Ravi for useful info. However while I am trying to install nc on CentOS, I receive the following message – ‘No package netcat available’
@Rizwan,
You should install and enable epel repository to install netcat package as shown:
Sweet,
On Ubuntu I use woof which enables the client to use the browser to download the file, but since I can’t get woof to work on Fedora this is a excellent workaround. Thanks!
Any idea how to put netcat to background via nohup ? I was trying to achieve this but without sucess.
@David,
Please read this article, that will help you out on how to put commands in background even after session logout https://www.tecmint.com/keep-remote-ssh-sessions-running-after-disconnection/
Excellent, thanks for the link, I think the screen is way to go in this case.
@David,
Yes, screen is best tool for such case, I always use screen to do my remote jobs…
yeah, I was using mainly nohup… but there is a problem of the STDOUT when you using pipe to tar during the transfer via nc… so screen wil do the job right.
From man pages:
-l Used to specify that nc should listen for an incoming connection rather than initiate a connection to a remote host. It is an error
to use this option in conjunction with the -p, -s, or -z options. Additionally, any timeouts specified with the -w option are
ignored.
In fact, trying nc command with -l -p, it respond with an error.
@Daniel,
I always use -l switch with nc command to initiate a connection to remote host but I never received any error, could you please share the error that you received so that I can have better solution to this..
@Ravi
why is this any better than scp?
@David,
As I stated it’s not recommended over public network as the data transfer is insecure, it’s best suits for internal network only and there isn’t any good feature other than transfer speed..
Any good feature? remote does not need to have configured ssh.. No logins no passwords.. You can stream only one file for your colleague in office very quick just tell him ip and port… In the office this approach has more advantages than sharing your whole /home with ssh :)
@Jj,
Yes, no need of SSH configured on client nor any username/password its just works on TCP port, and yes it is very useful in sharing files in no time without any clients..
Great tutorial. One question though, what if I don’t want to compress. I would use cat filename at sending machine. what will I put on recieving end?
@Kamran,
Just omit the tar and its switches on receiving machine end..