Before the Internet became a massive, world-wide phenomenon, teams of developers used to be confined to a reduced physical space. Collaboration with people from the other side of the world was very expensive or almost an impossible dream if a company did not have the funds to support such a venture.
Fortunately, that is not the case anymore. The Internet gave birth to web-based solutions that allow companies to put together collaborative groups that consist of people thousands of miles apart from each other.
Since its initial launch in 2008, Bitbucket has become an increasingly popular choice among professional teams of developers using the Mercurial or Git version control systems (VCS).
It offers both free accounts with an unlimited number of private repositories (with a maximum of 5 users each) and multiple paid plans that allow to have more users per account. Additionally, repositories marked as public do not have a limit on the number of people who can edit or read their contents.
Signing Up with Bitbucket
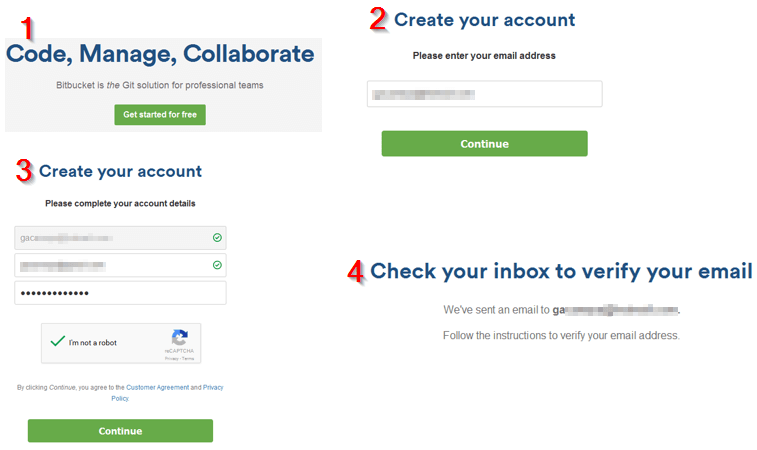
To use Bitbucket, you will need to set up a free account. To do so, go to https://bitbucket.org/ and click the Get started for free button.
To begin, you will need to enter a valid email address and click Continue. Your email account will then be validated and if everything goes as expected you will be prompted to type your desired password. When you’re done, click Continue again and check your email Inbox to confirm the creation of your account:
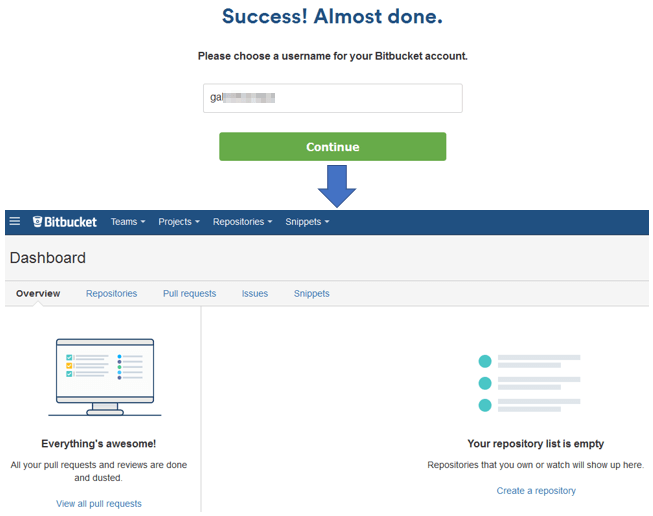
Once you have verified your email address, you will be asked to choose a username. Your account will then be created and you will be taken to the Bitbucket dashboard where you will be able to start creating teams, projects, and repositories:
As you can see, you can sign up with Bitbucket in a matter of minutes. The folks at Atlassian have simplified this process so that you can use your time to actually start working on Bitbucket – which is what we will explain next.
Getting started with Bitbucket
Let’s review the must-do actions after you’ve successfully signed up with Bitbucket. They are all available at the top menu:
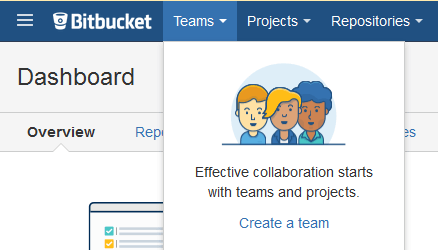
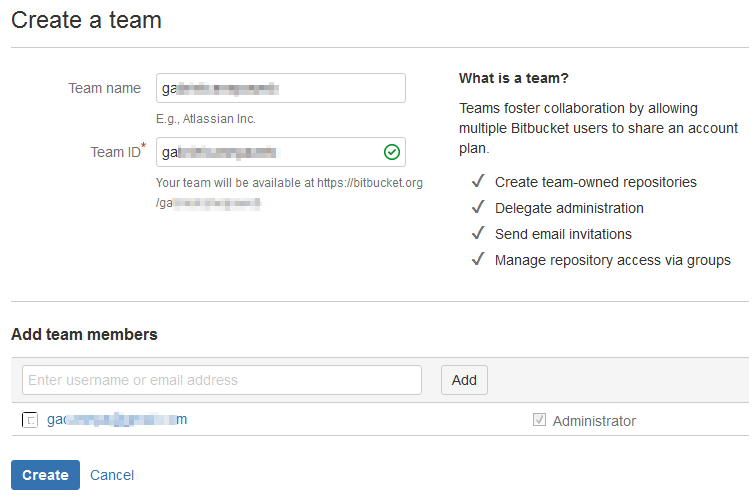
1). Create a team to encourage collaboration by allowing multiple Bitbucket users to share an account plan.
This will allow them to easily manage repositories owned by the team. To create a team, enter the desired name and make sure the team identification does not exist. Next, enter the email addresses of the people you want to add to the group and indicate if you want to make them Administrators. Finally, click Create:
2) Create a repository or import an existing one.
If you have already been working with a Git-based solution, you can easily import your repositories into Bitbucket. Otherwise, you can create one from scratch. Let’s see what you need to do in each case.
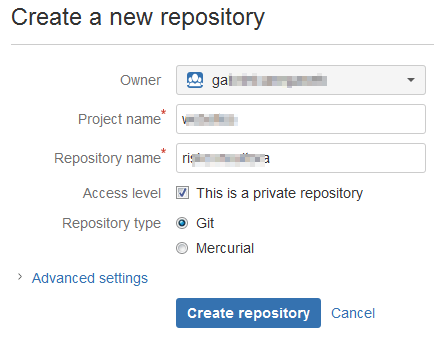
To create a new repository, click the Create repository option from the Repositories menu. Choose a name for the new repository and the project it will be group into. Next, indicate if you want to make it private and the type (Git or Mercurial). Finally, click Create repository:
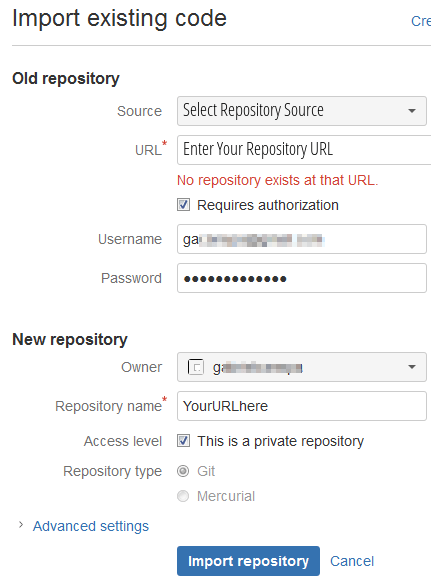
To import an existing repository, choose Import repository from the Repositories dropdown menu. To begin, indicate the source, enter the URL and the required login credentials (if needed).
Finally, choose the new repository settings and click Import repository. Disregard the warning about a repository not found at the specified URL since it is a dummy one and intended for demonstration purposes only:
And that’s it. Simple as that.
Working with Repositories at Bitbucket
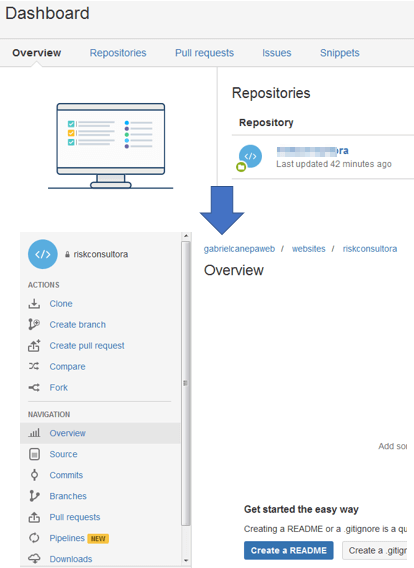
After you have created a new repository or imported an existing one, it will be listed in your dashboard. At this point you can perform the usual actions such as cloning it, creating branches and pull requests, committing changes, adding a README file, and more:
If you want to learn how to work with repositories, or feel like you need to brush up your git skills you can always refer to the Bitbucket official documentation.
Summary
As you can see, Bitbucket makes it easy whether you’re new to version control or an experienced user. Don’t hesitate to let us know if you have any questions or comments about this article. We look forward to hearing from you!