In this article, we will cover the installation process of the latest version of NetBeans IDE 8.2 in CentOS, Red Hat and Fedora based Linux distributions.
NetBeans IDE (Integrated Development Environment) is a free and open source, cross platform IDE that works on Linux, Windows and Mac OSX, and is now the official IDE for Java 8.
It offers remarkable support for latest Java technologies, supports multiple languages, allows for fast and smart code editing. It also helps users to easily and efficiently manage their projects, with powerful editors, code analyzers, and converters plus so much more.
It is intended for developing Java desktop, mobile, and web applications, and HTML5 applications with HTML, JavaScript, and CSS. NetBeans IDE is also among the best IDEs for C/C++ programming, and also it provides vital tools for PHP programmers.
NetBeans IDE 8.2 Features:
- ECMAScript 6 and Experimental ECMAScript 7 support.
- Oracle JET (JavaScript Extension Toolkit) support enhancements.
- PHP 7 and Docker support.
- Support for Node.js 4.0 and newer.
- Offers editor multicarets.
- Provides pinnable watches.
- Comes with SQL profiling improvements.
- C/C++ enhancements.
Requirements:
- A Desktop machine with minimum 2GB of RAM.
- The Java SE Development Kit (JDK) 8 is required to install NetBeans IDE (NetBeans 8.2 does not run on JDK9).
Read Also: How to Install NetBeans IDE in Debian, Ubuntu and Linux Mint
Install Java JDK 8 in CentOS, RHEL and Fedora
1. To install Java 8 JDK in your Desktop machine, open a browser and navigate to Java SE official download page and grab the latest .rpm binary package in your system.
For reference, we have provided the rpm file-name, please select the below mentioned file only.
jdk-8u161-linux-i586.rpm  [On 32-bit]
jdk-8u161-linux-x64.rpm   [On 64-bit]
Alternatively, you may use wget utility to download Java 8 RPM package by issuing the below commands
-------- For 32-bit OS --------
# wget --no-cookies --no-check-certificate --header "Cookie: oraclelicense=accept-securebackup-cookie" http://download.oracle.com/otn-pub/java/jdk/8u161-b12/2f38c3b165be4555a1fa6e98c45e0808/jdk-8u161-linux-i586.rpm

-------- For 64-bit OS --------
# wget --no-cookies --no-check-certificate --header "Cookie: oraclelicense=accept-securebackup-cookie" http://download.oracle.com/otn-pub/java/jdk/8u161-b12/2f38c3b165be4555a1fa6e98c45e0808/jdk-8u161-linux-x64.rpm
2. After Java .rpm file download completes, navigate to the directory where Java package has been downloaded and install Java 8 JDK by issuing the below command. Answer with “y” (yes) when prompted in order to accept the package installation process made by system installer.
# yum install jdk-8u161-linux-i586.rpm  [On 32-bit]
# yum install jdk-8u161-linux-x64.rpm   [On 64-bit]
Install NetBeans IDE in CentOS, RHEL and Fedora
3. Now oen a browser, navigate to NetBeans IDE download page and download the latest NetBeans IDE installer script for your installed Linux distribution.
Alternatively, you can also download NetBeans IDE installer script in your system via wget utility, by issuing the below command.
# wget -c http://download.netbeans.org/netbeans/8.2/final/bundles/netbeans-8.2-linux.sh
4. After the download completes, navigate to the directory where the NetBeans IDE installer has been downloaded and issue the below command to make the installer script executable and start installing it.
# chmod +x netbeans-8.2-linux.sh
# ./netbeans-8.2-linux.sh
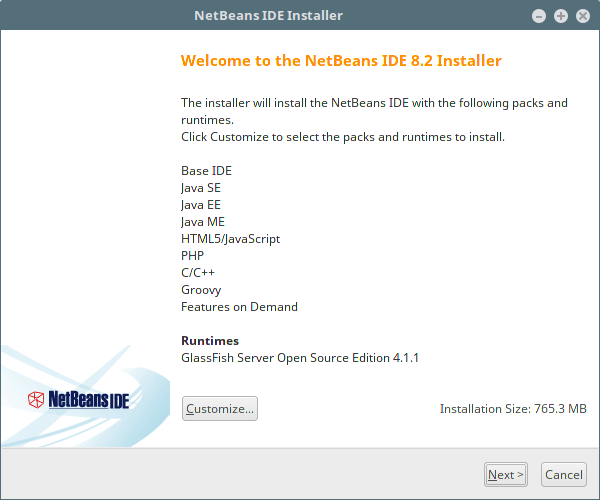
5. After running the installer script above, the installer “Welcome page” will show up as follows, click Next to continue (or customize your installation by clicking on Customize) to follow the installation wizard.
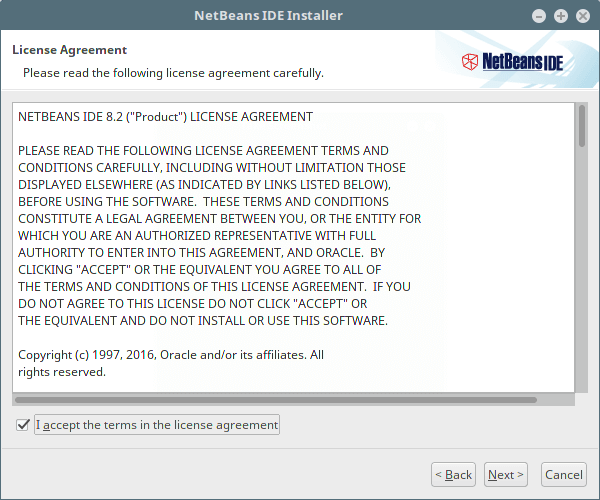
6. Then read and accept the terms in the license agreement, and click on Next to continue.
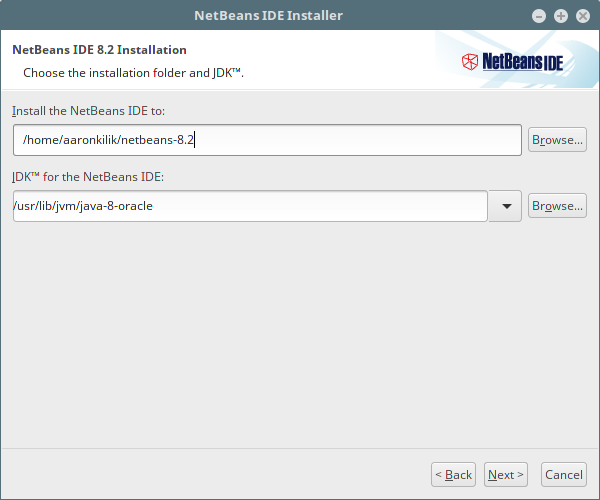
7. Next, select the NetBeans IDE 8.2 installation folder from the following interface, then click Next to continue.
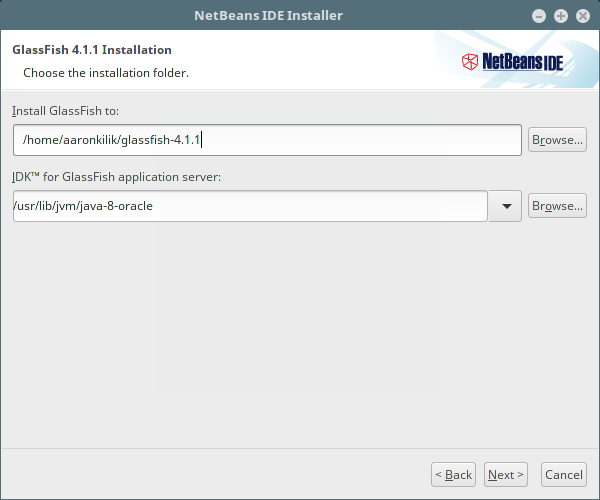
8. Also select the GlassFish server installation folder from the following interface, then click Next to proceed.
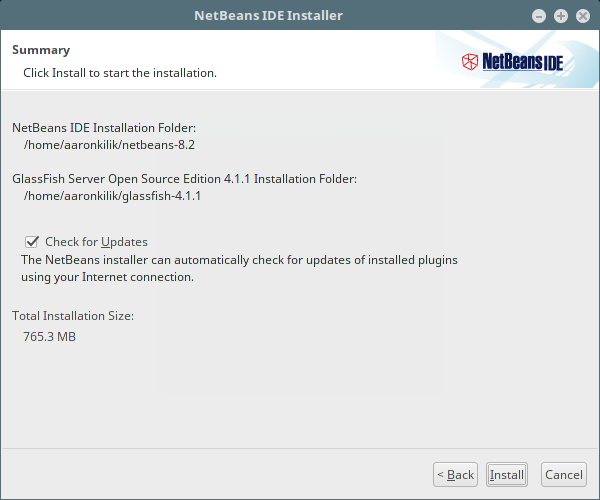
9. Next enable auto updates updates for installed plugins via the check box in the following screen which shows the installation summary, and click Install to install the NetBeans IDE and runtimes.
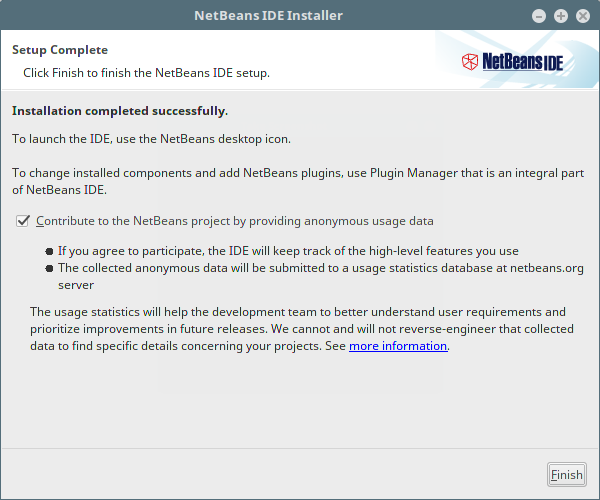
10. When the installation is complete, click on Finish and restart machine to enjoy NetBeans IDE.
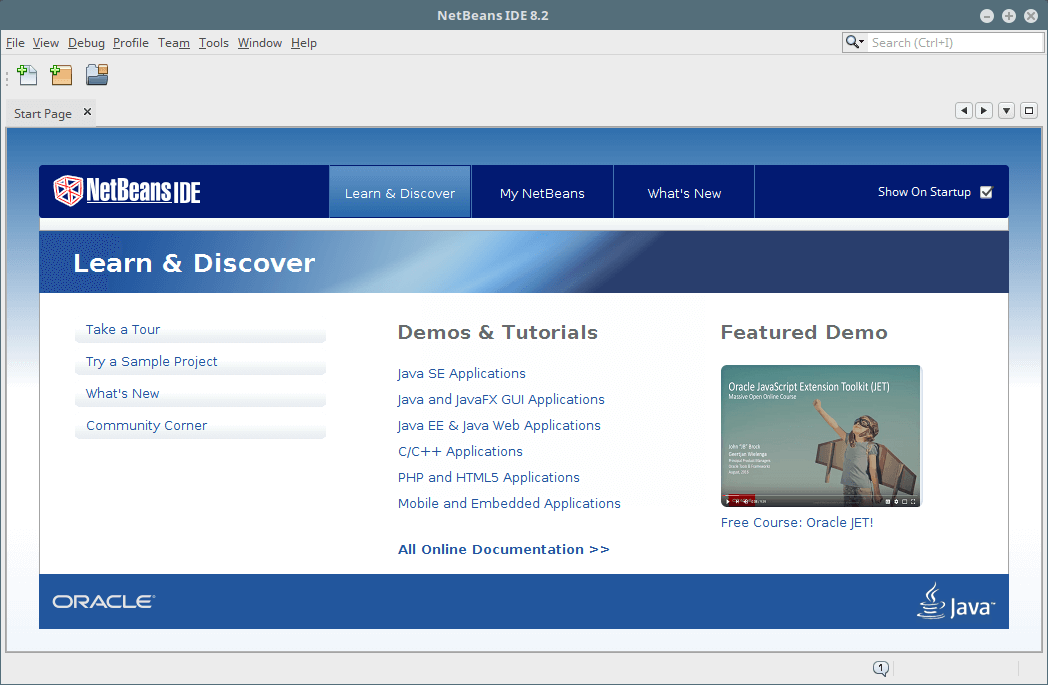
Congratulations! You’ve successfully installed the latest version of NetBeans IDE 8.2 in your Red Hat Linux based system. If you have queries use the comment form below to ask any questions or share your thoughts with us.


Hello guys, help us about the following.
I had a problem when the fedora system was updated, and some packages were updates too, may be some Java packages I don’t remember exactly, but the point is that after that update Netbeans was refusing to start.
@Christian,
Did you see any errors while starting up Netbeans? If yes, please share the error with us, so that we can give solution to the problem.
Please either delete or update this site. Mentioning earlier Fedora versions such as 18 and 12 is misleading.
We have Fedora 20 and soon Fedora 21.
Thanks
Yes, I know that articles wasn’t updated since long time, sorry for the trouble will update the article soon with latest version..
Great!.
Very usefull.. Thanks!