Due to its Rolling Release model which embraces cutting-edge software Arch Linux was not designed and developed to run as a server to provide reliable network services because it requires extra time for maintenance, constant upgrades, and sensible file configurations.
But, still, because Arch Linux comes with a core installation with minimal software pre-installed, it can represent a solid base start-up point to install most of the popular network services these days, including LEMP or LAMP, Apache Web Server, Nginx, PHP, SQL databases, Samba, FTP servers, BIND and others, many of them being provided from Arch Linux official repositories and others from AUR.
This tutorial will guide installing and configuring the LEMP stack (Nginx, PHP, MySQL with MariaDB engine and PhpMyAdmin) remotely using SSH, which can provide a strong foundation to build Web Server Applications.
Step 1: Assign a Static IP Address to Arch Linux Network Interface
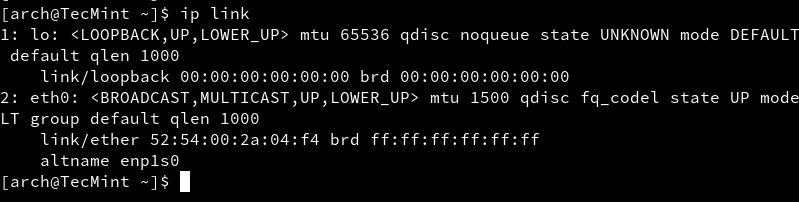
1. After minimal Arch Linux core installation reboot your server, log in with the root account or equivalent administrative sudo account, and identify your system NIC device names using ip link command.
ip link
2. To assign static network configurations we are going to use the netctl package to manage network connections. After you have successfully identified your Network Interfaces names copy the ethernet-static file template to the netctl system path and change its name to a descriptive naming scheme ( try to use the “static” string combined with NIC’s name), by issuing the following command.
sudo pacman -S netctl
sudo cp /etc/netctl/examples/ethernet-static /etc/netctl/my-static-profile
3. The next step is to edit this new template file by changing the file’s directives and providing your actual network settings (Interface, IP/Netmask, Gateway, Broadcast, DNS) like in the below excerpt.
sudo nano /etc/netctl/my-static-profile
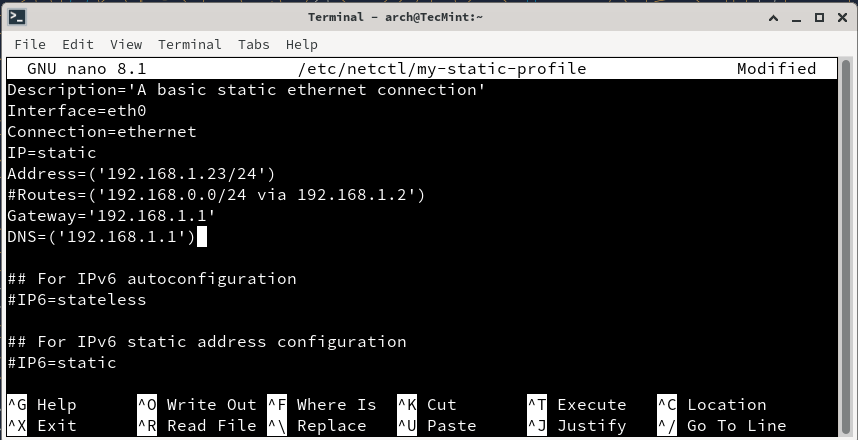
Modify the file with your network settings:
Description='A basic static ethernet connection'
Interface=eth0  # Replace with your network interface name
Connection=ethernet
IP=static
Address=('192.168.1.100/24')  # Replace with your desired IP address
Gateway='192.168.1.1'         # Replace with your gateway address
DNS=('192.168.1.1')           # Replace with your DNS server, if needed
4. The next step is to start your network connection through the netctl system tool and verify your system connectivity by issuing the following commands.
sudo netctl start my-static-profile
sudo netctl status my-static-profile
5. If you get an active green exit status you have successfully configured your Network Interface and it’s time to automatically enable it on system-wide services.
sudo netctl enable my-static-profile
Also test your network by running a ping command against a domain name and also, install the net-tools package (the most well-known feature of this package is ifconfig command which Arch developers considered to be kind of deprecated and replaced with iproute2).
sudo pacman -S net-tools
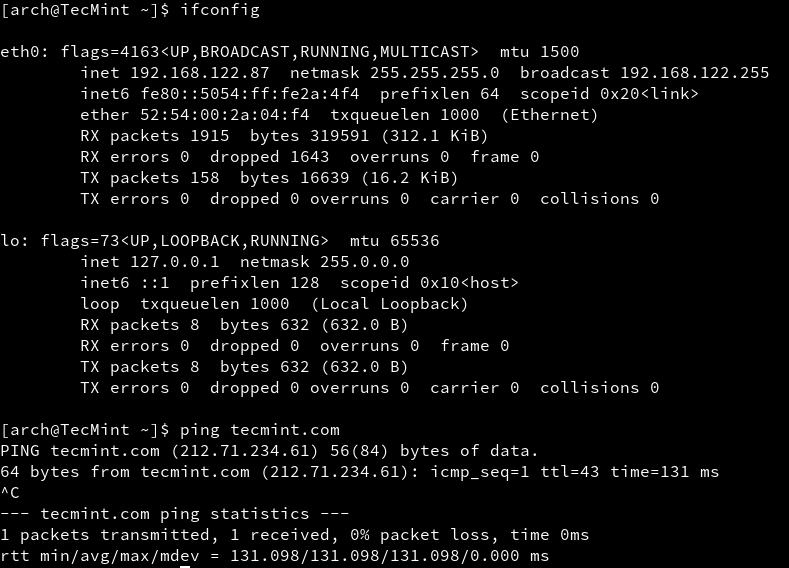
6. Now you can run the ifconfig command to verify your Network Interfaces settings and check if everything is correctly displayed, then reboot your system to make sure everything is in place and properly configured.
ifconfig
ping tecmint.com
Step 2: Install LEMP Software on Arch Linux
As pointed out in this article’s introduction LEMP stands for Linux, Nginx, PHP/PhpMyAdmin, and MySQL/MariaDB which is one of the most widely spread web application platforms today after LAMP (the same stack with Apache in equation).
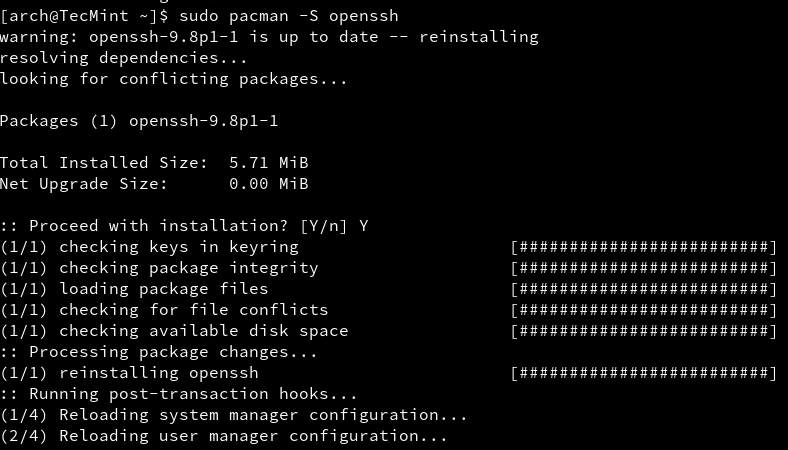
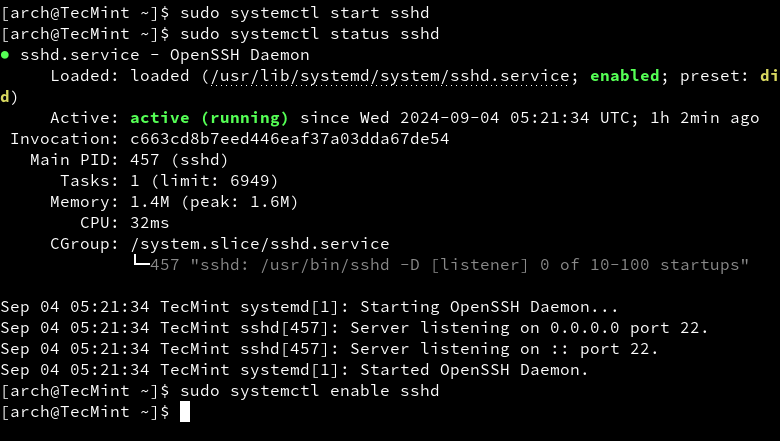
7. Before installing the LEMP stack we need to update the system and then gain remote control to the Arch Linux server. As you probably know OpenSSH is the main candidate for this job so go ahead and install it, start SSH daemon, and enable it system-wide.
sudo pacman -Syu
sudo pacman -S openssh
sudo systemctl start sshd
sudo systemctl status sshd
sudo systemctl enable sshd
Now is the time to proceed with LEMP installation. Because this tutorial is meant to be a comprehensive guide I will divide LEMP stack installation into small pieces, step by step.
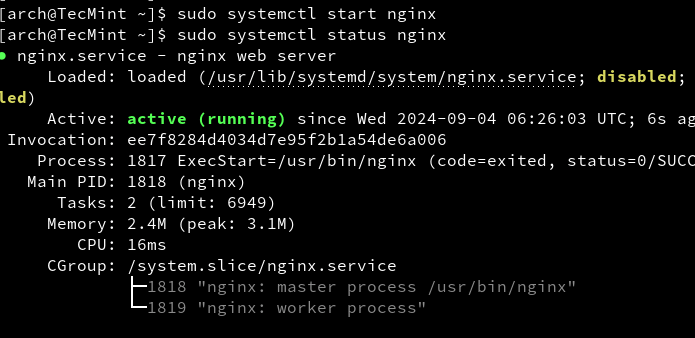
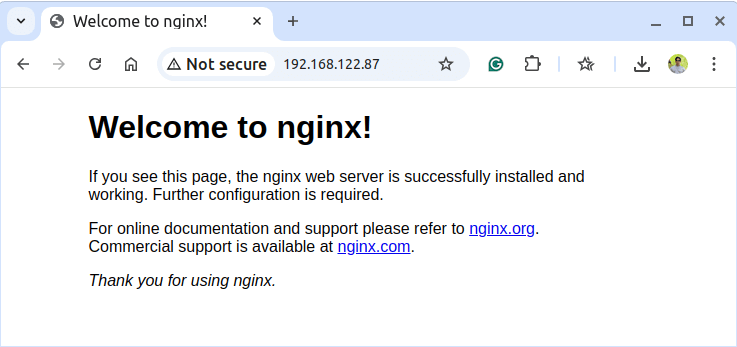
8. First install the Nginx Web Server, then start it and verify its status by issuing the following commands.
sudo pacman -S nginx
sudo systemctl start nginx
sudo systemctl status nginx

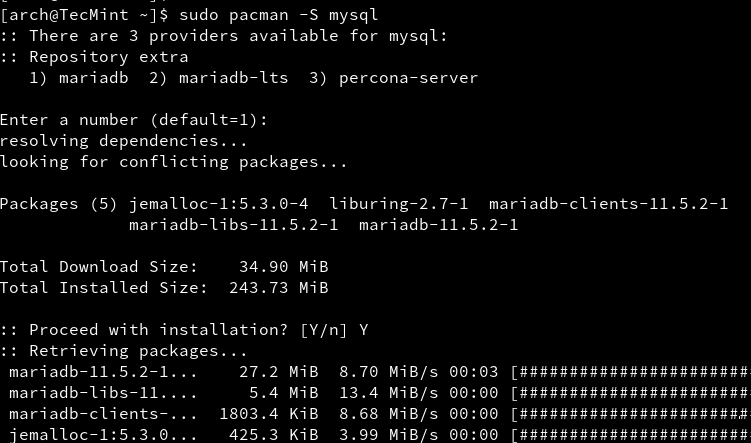
9. The next service to be installed is the MySQL database. Issue the following command to install the MySQL database server and choose the MariaDB engine, then start and verify the daemon status.
sudo pacman -S mysql
sudo systemctl start mysqld
sudo systemctl status mysqld
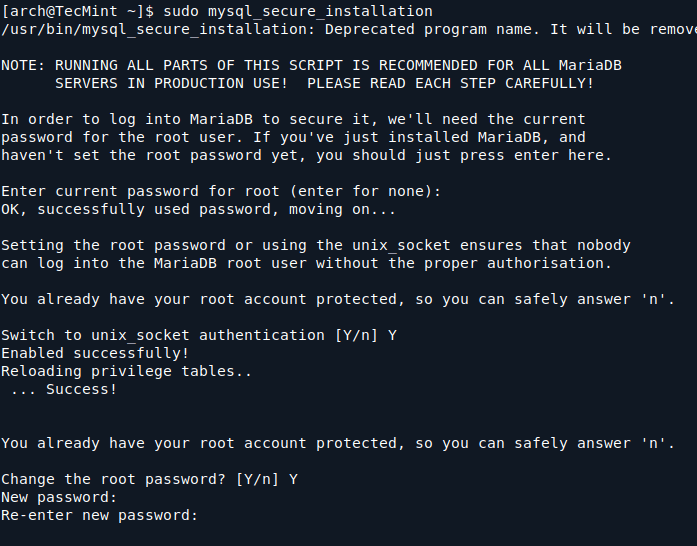
10. The next step is to provide a highly safe environment for MySQL databases by providing a password for the MySQL root account, removing an anonymous user account, remove the test database and root accounts that are accessible from outside localhost.
Run the following command to improve MySQL security, press [Enter] for the current root account password, then answer Yes to all questions ( also set up your root account password).
sudo mysql_secure_installation
Note: By any means do not confuse MySQL root account with Linux system root account – they are two different things – not so different but they run on different levels.
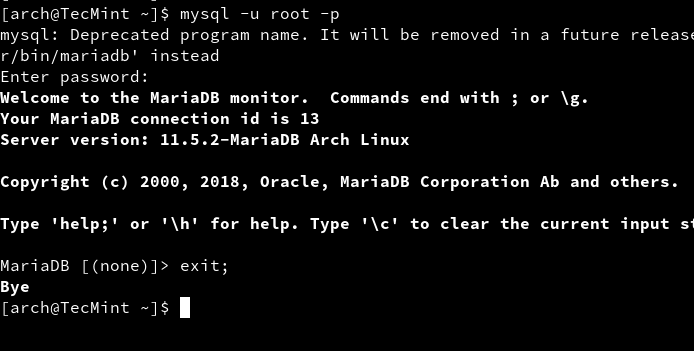
To verify MySQL security login into the database using mysql -u root -p command syntax, provide your root password then leave the database with exit; command.
mysql -u root -p
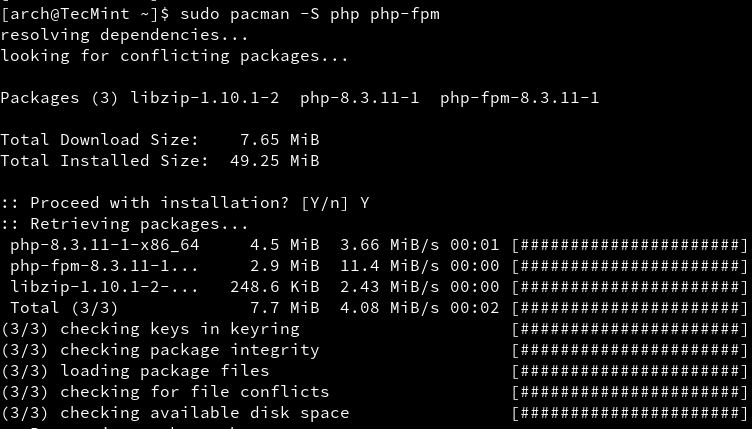
11. Now it’s time to install PHP server-side scripting language to be able to develop and run complex dynamic web applications, not just serve HTML/CSS code.
Because we are using Nginx as a web server we need to install a PHP-FPM-backed module to communicate through Fast Common Gateway and change dynamic content generated by PHP scripts.
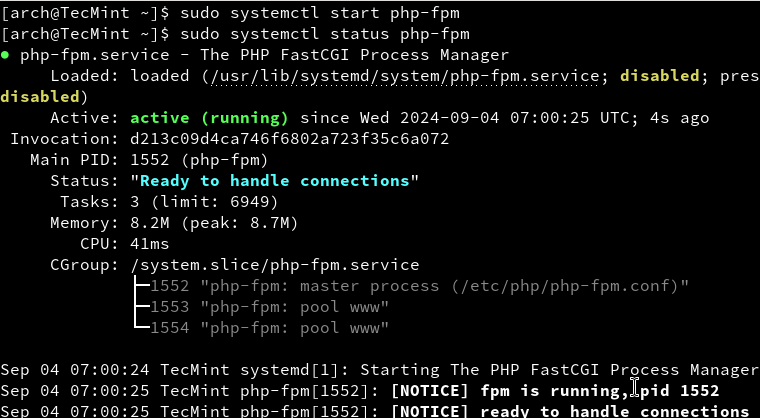
Issue the following command line to install the PHP-FPM service, then start the daemon and verify the status.
sudo pacman -S php php-fpm
sudo systemctl start php-fpm
sudo systemctl status php-fpm
sudo systemctl enable php-fpm
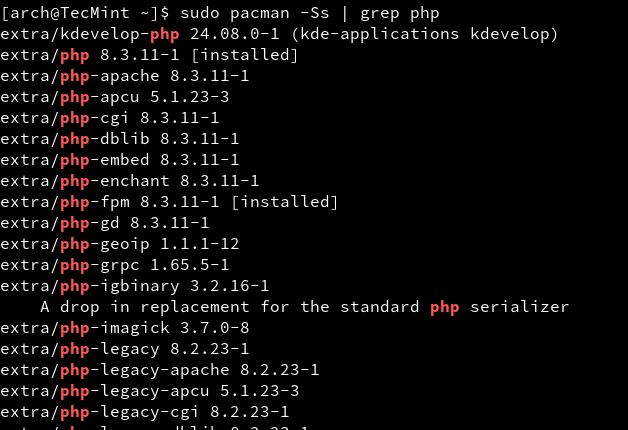
To list all available PHP module issues the following commands.
sudo pacman -Ss | grep php
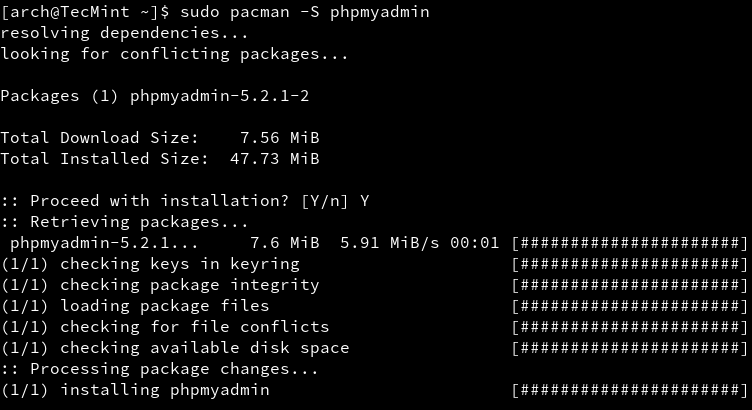
12. One of the last steps is to install the PhpMyAdmin Web Interface for the MySQL database. Issue the following command to install PhpMyAdmin along with its PHP-needed module then create a symbolic link for the PhpMyaAdmin system path to the Nginx default root path.
sudo pacman -S phpmyadmin
sudo ln -s /usr/share/webapps/phpMyAdmin  /usr/share/nginx/html
13. Then configure the php.ini file to include the necessary extensions needed by the PhpMyAdmin application.
sudo nano /etc/php/php.ini
Locate with [CTRL+W] keys and uncomment (remove ; at the line beginning) the following lines.
extension=mysqli.so
extension=mysqli
mysqli.allow_local_infile = On
On the same file locate and edit open_basedir directive to resemble the following included directories.
open_basedir = /srv/http/:/home/:/tmp/:/usr/share/pear/:/usr/share/webapps/:/etc/webapps/
14. The next step is to enable PHP-FPM FastCGI on the localhost Nginx directive. Issue the next command to backup nginx.conf web server file configuration then replace it with the following content.
sudo mv /etc/nginx/nginx.conf /etc/nginx/nginx.conf.bak
sudo nano /etc/nginx/nginx.conf
Add the whole following content on nginx.conf.
#user html;
worker_processes  2;

#error_log  logs/error.log;
#error_log  logs/error.log  notice;
#error_log  logs/error.log  info;

#pid        logs/nginx.pid;

events {
    worker_connections  1024;
}

http {
    include       mime.types;
    default_type  application/octet-stream;
    sendfile        on;
    #tcp_nopush     on;
    keepalive_timeout  65;
    gzip  on;

    server {
        listen       80;
        server_name  localhost;
        root         /usr/share/nginx/html;
        charset      koi8-r;

        location / {
            index  index.php index.html index.htm;
            autoindex on;
            autoindex_exact_size off;
            autoindex_localtime on;
        }

        location /phpmyadmin {
            rewrite ^/* /phpMyAdmin last;
        }

        error_page  404              /404.html;

        # redirect server error pages to the static page /50x.html
        error_page   500 502 503 504  /50x.html;
        location = /50x.html {
            root   /usr/share/nginx/html;
        }

        location ~ \.php$ {
            #fastcgi_pass 127.0.0.1:9000; (depending on your php-fpm socket configuration)
            fastcgi_pass unix:/run/php-fpm/php-fpm.sock;
            fastcgi_index index.php;
            include fastcgi.conf;
        }

        location ~ /\.ht {
            deny  all;
        }
    }
}
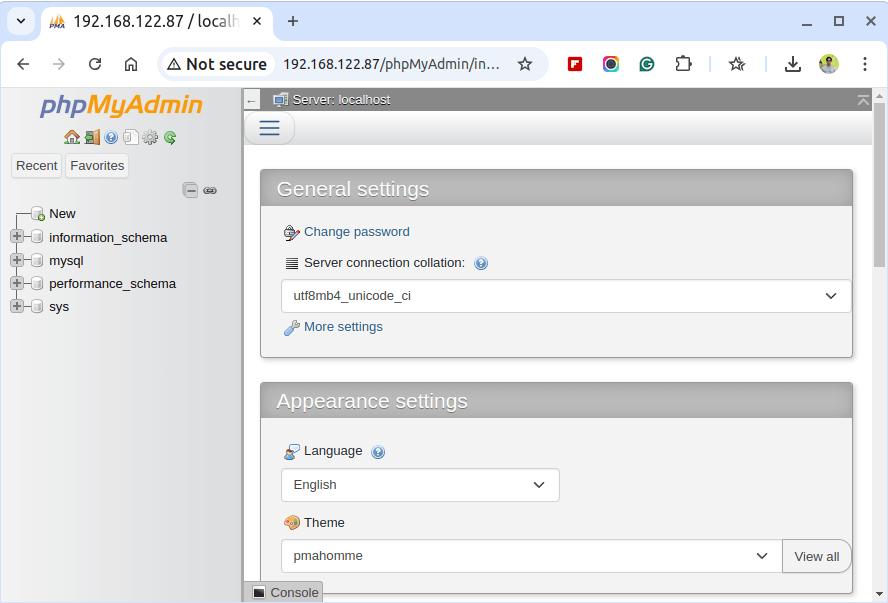
15. After all file configurations have been made, all you need to do is to restart Nginx and PHP-FPM services and point your browser to http://localhost/phpmyadmin URL from local node or http://arch_IP/phpmyadmin form another computer.
sudo systemctl restart php-fpm
sudo systemctl restart nginx
16. If everything runs as intended the final step is to enable LEMP system-wide with the following commands.
sudo systemctl enable php-fpm
sudo systemctl enable nginx
sudo systemctl enable mysqld
Congratulations! You have installed and configured LEMP on Arch Linux and, now, you have a full dynamic interface to begin and develop web applications.
Although Arch Linux is not the most very-best suited system to run on production servers due to its community-orientated rolling release model it can be a very fast and reliable source for small non-critical production environments.


Thanks a lot man!
But what’s the main different between apache server and nginx server?
@Loyalty,
Nginx is faster than the Apache web server for handling high traffic..
This is a whopping tutorial. I love it!!
But one problem mcrypt is now an AUR package. Even worse, it doesn’t quite work. MyPhpAdmin is broken somehow. Probably because it needs that package to work. I don’t know specifically what to do. Otherwise this tutorial is brilliant!
hi ,
Thank u for the awesome tutorial.
I wud like to suggest a small change:
mysql.so is deprecated now so can u change it to pdo_mysql.so
Thanks for this excellent guide!