RHEL/CentOS 7 minimal installation for servers comes with some default pre-installed services, such as Postfix Mail Transfer Agent daemon, Avahi mdns daemon (multicast Domain Name System) and Chrony service, which is responsible to maintain system clock.
Now comes to the question.. Why wed need to disable all these services. if they are pre-installed? One of the main reason would be to increase system security level degree, the second reason is system final destination and the third is system resources.
Requirements
If you are planning to use your newly installed RHEL/CentOS 7 to host, let’s say, a small website which runs on Apache or Nginx, or to provide network services like DNS, DHCP, PXE boot, FTP server, etc or other services that don’t require to run Postifx MTA daemon, Chrony or Avahi daemon, then why we should keep all these unnecessary daemons installed or even running on your server.
The main external services that your server truly requires to run after you perform a minimal installation would be just a SSH daemon, in order to allow remote logins on system, and, in some cases, NTP service, to accurately synchronize your server internal clock with external NTP servers.
Disable/Remove Postfix MTA, Avahi and Chrony Services
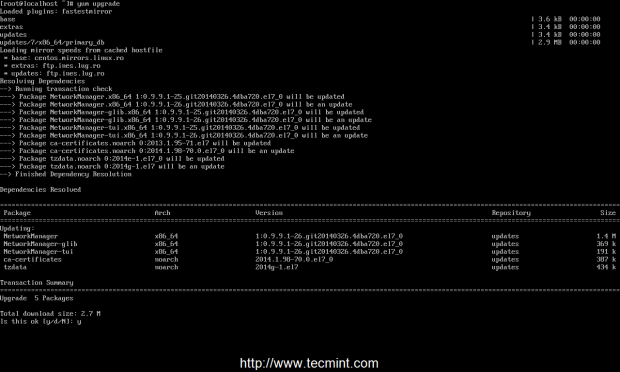
1. After the installation finishes, login on your server with root account or a user with root privileges and perform a system update, to make sure that your system is up-to-date with all packages and security patches.
# yum upgrade
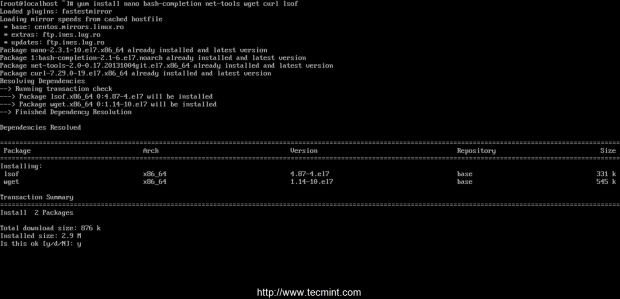
2. The next step would be to install some useful system utilities using YUM Package Manager, such as net-tools (this package provides the older
but good ifconfig command), nano text editor, wget and curl for URL transfers, lsof (to list your open files) and bash-completion, which auto completes typed commands.
# yum install nano bash-completion net-tools wget curl lsof
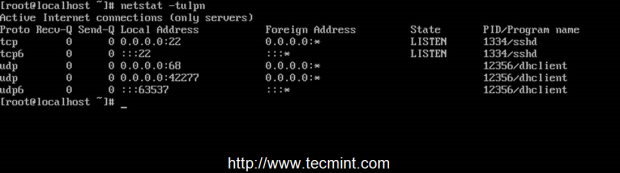
3. Now you can start disabling and remove pre-installed unwanted services. First of all get a list of all your enabled and running services by running netstat command against TCP, UDP and Listen state network sockets.
# netstat -tulpn  	## To output numerical service sockets

# netstat -tulp      	## To output literal service sockets
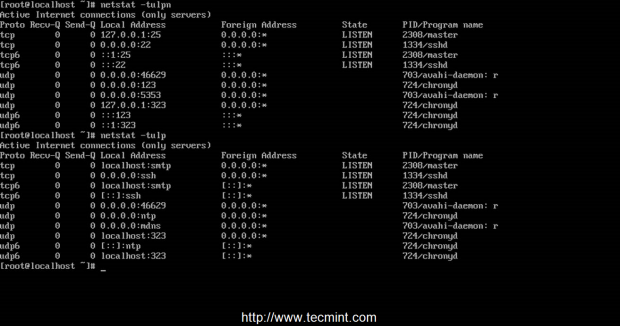
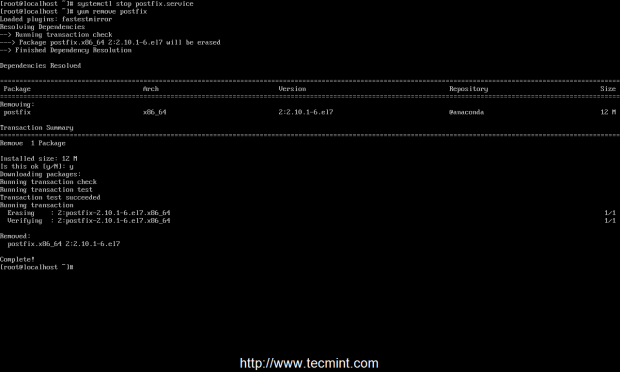
4. As you can see Postfix is started and listens on localhost on port 25, Avahi daemon binds on all network Interfaces and Chronyd service binds on localhost and all network interfaces on different ports. Proceed with Postfix MTA service removal by issuing the following commands.
# systemctl stop postfix
# yum remove postfix
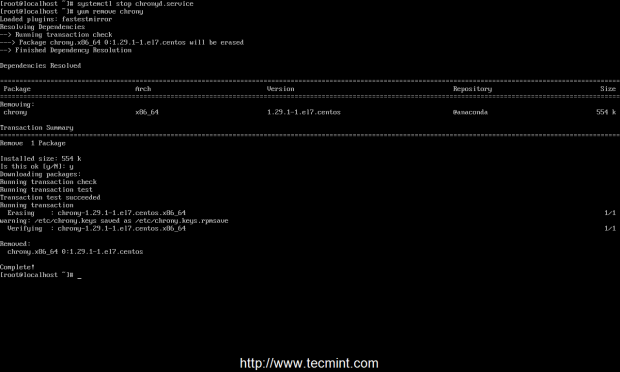
5. Next remove Chronyd service, which will be replaced by NTP server, by issuing the following commands.
# systemctl stop chronyd
# yum remove chrony
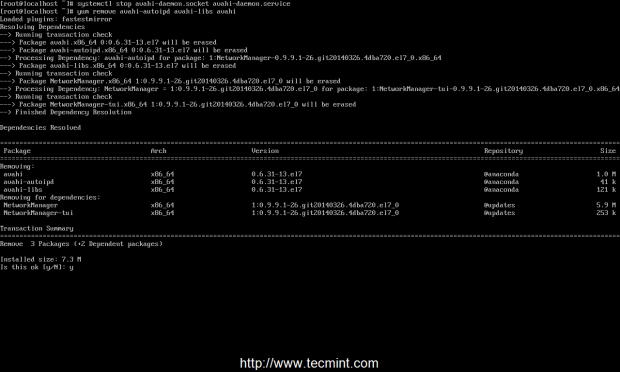
6. Now it’s time to remove Avahi daemon. Looks like in RHEL/CentOS 7 Avahi daemon is strongly tight and depends on Network Manager service. Performing Avahi daemon removal can leave your system without any network connections.
So, pay extra attention to this step. If you really need automatic network configuration provided by Network Manager or you need to edit your interfaces
through nmtui network and interface utility, then you should only stop and disable Avahi daemon and perform no removal at all.
If you still want to completely remove this service then you must manually edit network configuration files located in /etc/sysconfig/network-scripts/ifcfg-interface_name, then start and enable networking service.
Issue the following commands to remove Avahi mdns daemon. Caution: Do not attempt to remove Avahi daemon if you connected through SSH.
# systemctl stop avahi-daemon.socket avahi-daemon.service
# systemctl disable avahi-daemon.socket avahi-daemon.service
--------- Stop here if you don't want removal ---------

# yum remove avahi-autoipd avahi-libs avahi
7. This step is required only if you removed Avahi daemon and your network connections crashed and you need to manually configure Network Interface Card again.
To edit your NIC to use IPv6 and static IP Address, go to /etc/sysconfig/network-scripts/ path, open NIC interface file (usually the first card is named ifcfg-eno1677776 and is already configured by Network Manager) and use the following excerpt as a guide in case your
network interface has no configuration.
IPV6INIT=no
IPV6_AUTOCONF=yes
BOOTPROTO=none
DEVICE=eno16777736
ONBOOT=yes
UUID=c3f0dc21-d2eb-48eb-aadf-10a520b13df0
TYPE=Ethernet
#DEFROUTE=no
IPV4_FAILURE_FATAL=no
IPV6_DEFROUTE=no
IPV6_FAILURE_FATAL=no
NAME="System eno16777736"
IPV6_PEERDNS=yes
IPV6_PEERROUTES=yes
HWADDR=00:0C:29:E2:06:E9
                IPADDR=192.168.1.25
                NETMASK=255.255.255.0
                GATEWAY=192.168.1.1
                DNS1=192.168.1.1
                DNS2=8.8.8.8
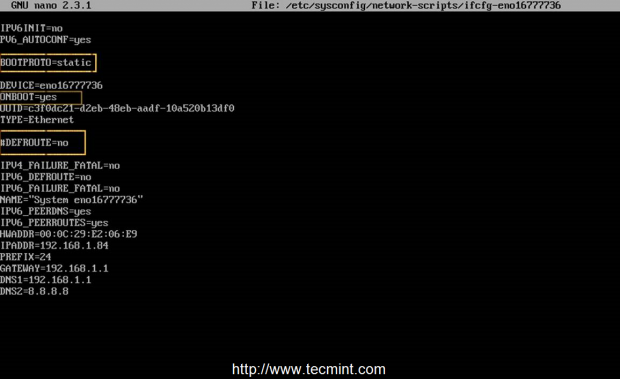
The most important settings here you should take into consideration are:
- BOOTPROTO – Set to none or static – for static IP Address.
- ONBOOT – Set to yes – to bring up your interface after reboot.
- DEFROUTE – Statement commented with a # or completely removed – do not use default route (If you use it here you should add “DEFROUTE: no” to all network interfaces, not used as the default route).
8. If your infrastructure has an DHCP Server that automatically assigns IP Addresses, use the following excerpt for Network Interfaces Configuration.
IPV6INIT=no
IPV6_AUTOCONF=yes
BOOTPROTO=dhcp
DEVICE=eno16777736
ONBOOT=yes
UUID=c3f0dc21-d2eb-48eb-aadf-10a520b13df0
TYPE=Ethernet
##DEFROUTE=no
IPV4_FAILURE_FATAL=no
IPV6_DEFROUTE=no
IPV6_FAILURE_FATAL=no
NAME="System eno16777736"
IPV6_PEERDNS=yes
IPV6_PEERROUTES=yes
HWADDR=00:0C:29:E2:06:E9
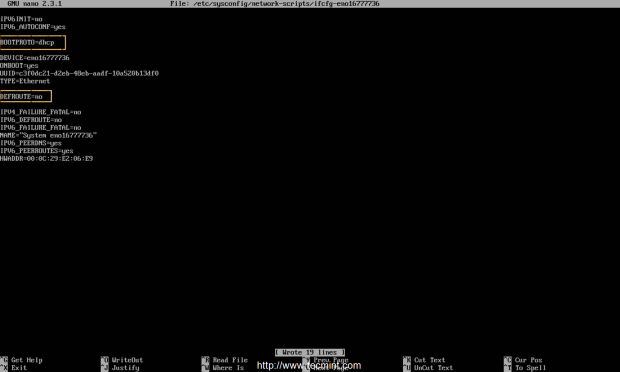
Same as the configuration with Static IP Address, assure that BOOTPROTO is set to dhcp, DEFROUTE statement is commented or removed and the device is configured to automatically start on boot. If you don’t use IPv6 just remove or comment all the lines containing IPV6.
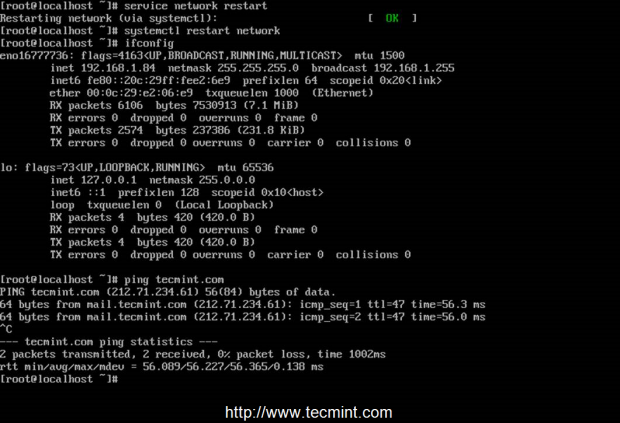
9. In order to apply the new configurations for your network interfaces you must restart network service. After you restart network daemon use ifconfig
or ip addr show command to get your interface settings and try to ping a domain name to see if network is functional.
# service network restart	## Use this command before systemctl
# chkconfig network on
# systemctl restart network
# ifconfig
# ping domain.tld
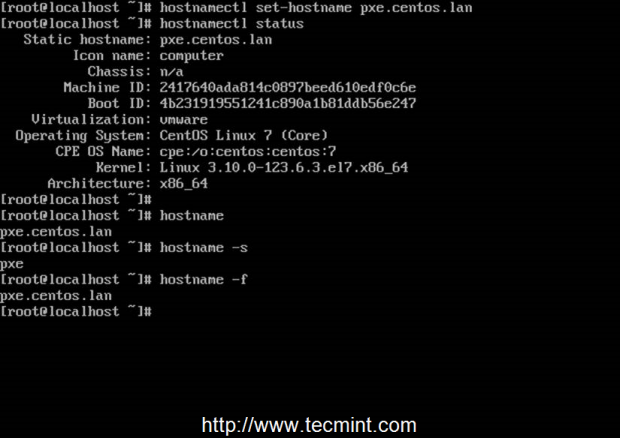
10. As a final setting make sure you set up a name for system hostname using hostnamectl utility and review your configuration with hostname command.
# hostnamectl set-hostname FQDN_system_name
# hostnamectl status
# hostname
# hostname -s   	## Short name
# hostname -f   	## FQDN name
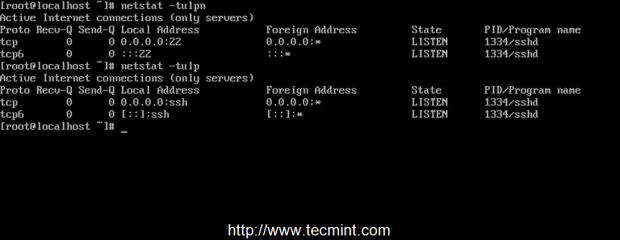
11. That’s all! As a final test run netstat command again to get a look of what services are running on your system.
# netstat -tulpn
# netstat -tulp
12. Besides SSH server, if your network uses DHCP to pull dynamic IP configurations, a DHCP Client should run and be active on UDP ports.
# netstat -tulpn
13. As an alternative to netstat utility you can output your running network sockets with the help of Sockets Statistics command.
# ss -tulpn

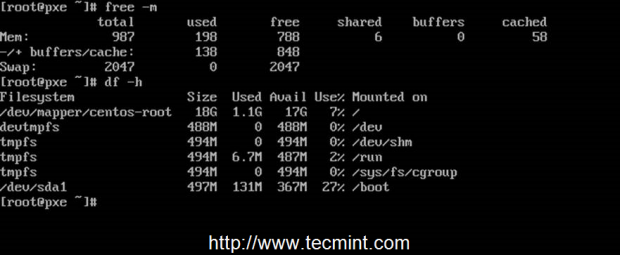
14. Reboot your server and run systemd-analize command to determine your system boot-up time performance and, also, use free and Disk
Free command to display RAM and HDD statistics and top command to see a top of the most used system resources.
# free -h
# df -h
# top

Congratulations! Now you have a clean minimal RHEL/CentOS 7 system environment with less services installed and running and more resources available for future configurations.


Thank you for your time – excellent tuts on this site!
I was also able to disable and remove the Avahi daemon with no issues. IS there something that I should keep an eye on just in case? Why are you using ntp instead of chrony?
If you are running a server, removing Avahi daemon is a good security practice. Using ntp instead of crony is a personal choice, anyway if you just want to sync time with upstream ntp servers you can use ntpdate command from crontab.
Well, I just removed the Avahi daemon from a fresh Centos 7 install while connected with SSH, and there was no problem at all. Did a netinstall with a minimal software configuration, maybe that makes a difference. Chrony was not installed, also. Anyway, thanks for the article, very informative. Am just getting my feet wet on Centos 7 and it helped me quite a bit.
Why are you using ntp instead of chrony ???
ps: happy new year :)
sorry for the redundant and unnecessary absolutely word :)
Hi Cezar , nice article, for a minmal install,
very handy even for virtual box,vmware labs when you can clone a base vm with absolutely minimal ,then create a handful of nodes and work on those nodes necessary for your network topology/service requirements(for example internal and external network router dmz scenario ), no need to clone a bloated system with huge ram requirements(given that if your host machine suffers from it)
I have two question what is the absolutely minimal ram for your minimal installation will be? and what is absolutely minimal ram for server with gui with no package selected installation
Thanks
@Joseph Bloe: you are wrong…if you remove Avahi daemon you can lose SSH connectivity because Avahi daemon removes NetworkManager also…so no Network Manager no connection…that’s the point!
What is the top -M alternative in EL7?? I need to see the memory usage in Megabytes when I run top.
LMFAO @ “Caution: Do not attempt to remove Avahi daemon if you connected through SSH.”
That’s not even close to being realistic, since Avahi isn’t required for SSH to function.