Suricata is a powerful, versatile, and open-source threat detection engine that provides functionalities for intrusion detection (IDS), intrusion prevention (IPS), and network security monitoring. It performs deep packet inspection along with pattern matching a blend that is incredibly powerful in threat detection.
At the time of writing this guide, the latest version of Suricata is 6.0.5.
Suricata Features
- IDS/IPS – Suricata is a rule-based Intrusion Detection and Prevention engine that leverages externally developed rulesets such as Talos Ruleset and Emerging Threats Suricata ruleset to monitor network traffic for any malicious activity, policy violations, and threats.
- Automatic Protocol Detection – Suricata engine automatically detects protocols such as HTTP and HTTPS. FTP and SMB on any port and apply the proper detection and logging logic. This comes in handy in detecting malware and CnC channels.
- Lua Scripting – Suricata can invoke Lua scripts which provide advanced malware detection to detect and decode malware traffic that is otherwise difficult to detect.
- Multi-threading – Suricata provides speed and importance in network traffic determination. The engine is developed to apply the increased processing power offered by modern multi-core hardware chipsets.
Installing Suricata Intrusion Detection Tool in Linux
In this section, we will demonstrate how to install Suricata on Debian-based and RHEL-based distributions.
Install Suricata on Debian/Ubuntu & Mint
Suricata is provided by Debian / Ubuntu repositories and can easily be installed using the apt package manager. However, it’s worth noting that this does not install the latest version of Suricata. To install the latest version, you need to install it from a source which we shall cover later on in this guide.
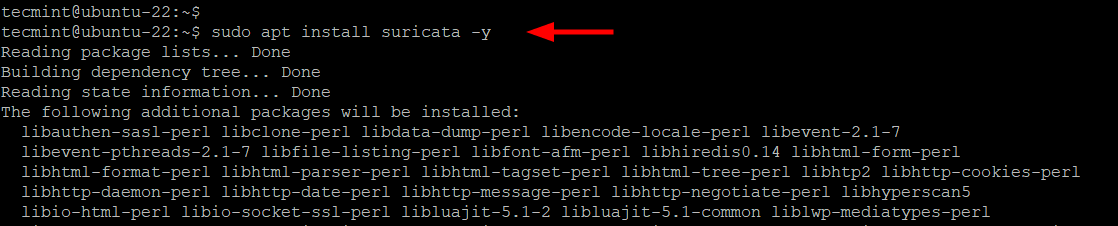
To install Suricata using the apt package manager, run the command:
$ sudo apt install suricata -y
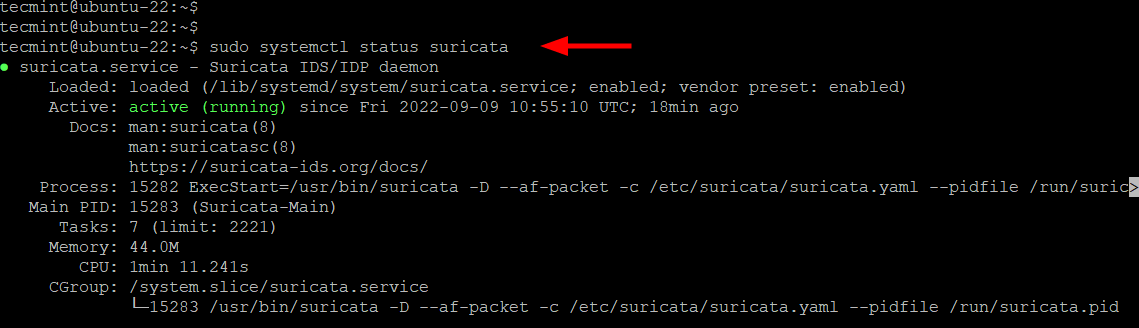
Suricata starts automatically once installed. You can confirm this as follows.
$ sudo systemctl status suricata
Install Suricata on RHEL, Rocky, Almalinux & Fedora
To install Suricata on RHEL distributions such as CentOS Stream, Rocky Linux, AlmaLinux, Fedora, and RHEL, you need to enable the EPEL repository first.
$ dnf install https://dl.fedoraproject.org/pub/epel/epel-release-latest-9.noarch.rpm  [RHEL 9]
$ dnf install https://dl.fedoraproject.org/pub/epel/epel-release-latest-8.noarch.rpm  [RHEL 8]
$ yum install https://dl.fedoraproject.org/pub/epel/epel-release-latest-8.noarch.rpm  [RHEL 7]
Once EPEL is enabled, install the following requisite packages and add the OISF repository to your system.
----------- On Fedora Systems -----------
$ sudo dnf install dnf-plugins-core
$ sudo  dnf copr enable @oisf/suricata-6.0

----------- On RHEL Systems -----------
$ sudo dnf install yum-plugin-copr
$ sudo dnf copr enable @oisf/suricata-6.0
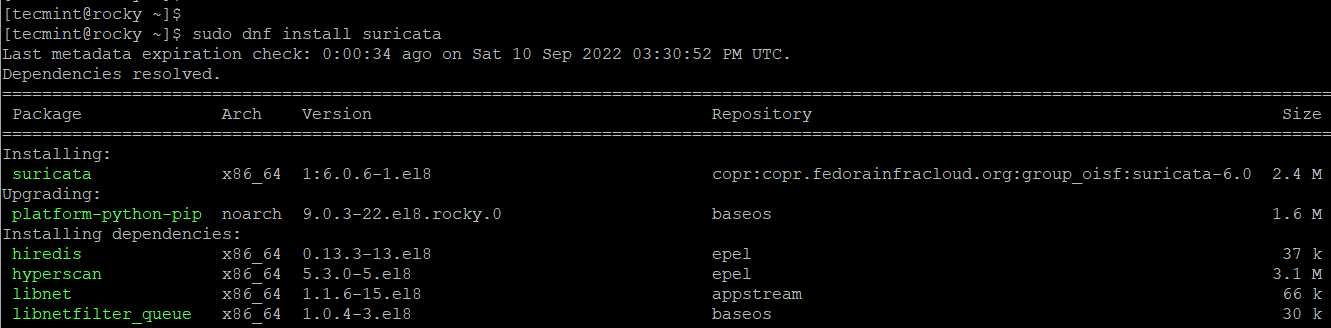
Next, install Suricata using the dnf package manager or yum package manager as shown.
$ sudo dnf install suricata -y
Or
$ sudo yum install suricata -y
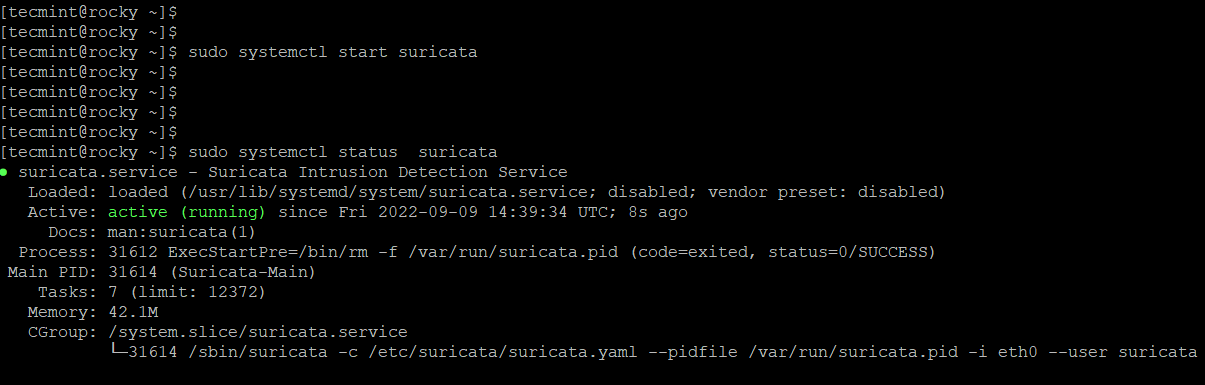
Once Suricata is installed, start and verify its status.
$ sudo systemctl start suricata
$ sudo systemctl status suricata
Install Suricata from Source in Linux
The default OS repositories do not provide the latest version of Suricata. If your goal is to install the latest version of Suricata, then you need to install it from the source.
At the time of writing this guide, the latest version of Suricata is 6.0.5. To install Suricata from the source on Ubuntu/Debian and RHEL distributions, install the following libraries, compilation tools, and dependencies.
----------- On Debian Systems -----------
$ sudo apt install rustc build-essential cargo libpcre3 libpcre3-dbg libpcre3-dev make autoconf automake libtool libcap-ng0 make libmagic-dev libjansson-dev libjansson4 libpcap-dev libnet1-dev libyaml-0-2 libyaml-dev zlib1g zlib1g-dev libcap-ng-dev pkg-config libnetfilter-queue1 libnfnetlink0 libnetfilter-queue-dev libnfnetlink-dev -y

----------- On RHEL Systems -----------
$ sudo yum install gcc libpcap-devel pcre-devel libyaml-devel file-devel zlib-devel jansson-devel nss-devel libcap-ng-devel libnet-devel tar make libnetfilter_queue-devel lua-devel PyYAML libmaxminddb-devel rustc cargo lz4-devel -y
Next, install the suricata-update tool to update the Suricata rules.
$ sudo apt install python3-pip           [On Debian]
$ sudo yum install python3-pip           [On RHEL]
$ pip3 install --upgrade suricata-update
Then create a symbolic link to /usr/bin/suricata-update.
$ sudo ln -s /usr/local/bin/suricata-update /usr/bin/suricata-update
Now head over to the Official Suricata download page and download the latest tarball file for Linux using the wget command.
$ wget https://www.openinfosecfoundation.org/download/suricata-6.0.6.tar.gz
Once downloaded, extract the tarball file and install it.
$ sudo tar -xvf suricata-6.0.6.tar.gz
$ cd suricata-6.0.6
$ ./configure --enable-nfqueue --prefix=/usr --sysconfdir=/etc --localstatedir=/var
$ make
$ make install-full
Configuring Suricata in Linux
To start configuring Suricata, we need to specify the internal IP and external network. To do this, access the configuration file.
$ sudo vim /etc/suricata/suricata.yaml
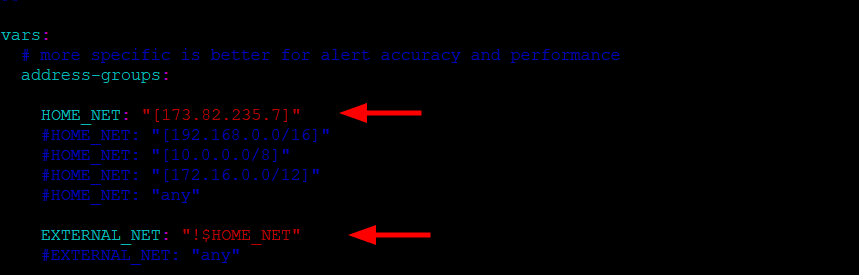
For the HOME_NET directive, specify the IP address of your Linux system.
HOME_NET: "[173.82.235.7]"
Next, set the EXTERNAL_NET directive to “!$HOME_NET“.
EXTERNAL_NET: "!$HOME_NET"
Next, specify the network interface on which Suricata will inspect network traffic. In our case, this is the eth0 interface.
You can verify your active network interface using the ip command:
$ ip a
In the configuration file, update the interface directive with the name of the network interface.
- interface: eth0

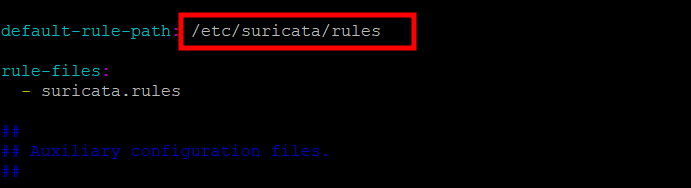
Next, ensure that the default-rule-path attribute is set to /etc/suricata/rules.
Then save the changes and close the configuration file. Then restart Suricata for the changes to apply.
$ sudo systemctl status suricata
Updating Suricata Rulesets in Linux
By default, Suricata ships with a limited set of detection rules located in the /etc/suricata/rules directory. However, these are considered weak and ineffective in detecting intrusions. You need to load the Emerging Threat (ET) rules which are considered the most comprehensive rule sets for Suricata.
Suricata provides a tool known as suricata-update that fetches rulesets from external providers. To get an up-to-date ruleset for your server, run the following command.
$ sudo suricata-update -o /etc/suricata/rules


From the output, you can see the suricata-update fetching the free Emerging Threats ET Open Rules and saving them to Suricata’s /etc/suricata/rules/suricata rules file. In addition, It indicates the number of rules processed. In this example, a total of 35941 were added. Of those, 28221 were enabled, 18 were removed, and 1249 were modified.
Adding Suricata Rulesets in Linux
The suricata-update tool allows you to fetch rules from ruleset providers. Some are free such as the ET Open set, while others require a paid subscription.
To list the default set of rule providers, run the suricata-update command as shown.
$ sudo suricata-update list-sources

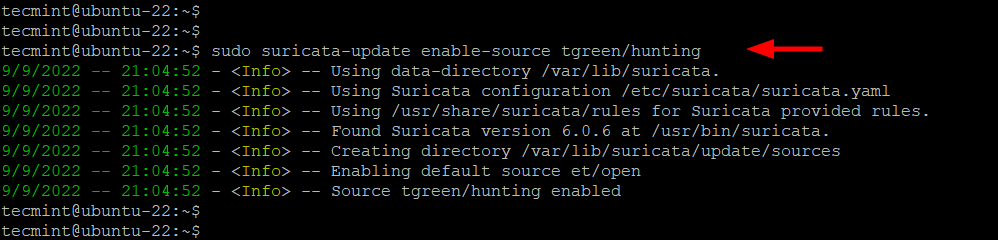
To add a ruleset, for example, the tgreen/hunting ruleset, run the following command.
$ sudo suricata-update enable-source tgreen/hunting
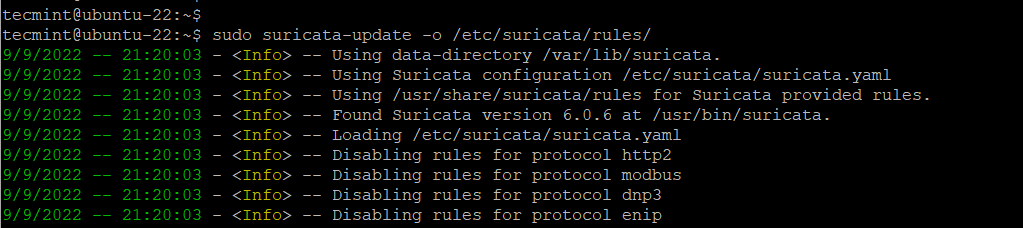
Once you have added the ruleset, run the suricata-update command once more with the -o /etc/suricata/rules flag.
$ sudo suricata-update -o /etc/suricata/rules
Testing Suricata Rules in Linux
Before you start testing Suricata, it’s recommended to test if the configuration is okay. To do so, run the following command:
$ sudo suricata -T -c /etc/suricata/suricata.yaml -v
Ensure that no errors are reported. If you are running RHEL, CentOS Stream, Fedora, and Rocky Linux start and enable Suricata.
$ sudo systemctl start suricata
$ sudo systemctl enable suricata
So far, we have successfully installed, and configured Suricata and updated the rulesets. The ET Open Rule Set contains over 30,000 rules for detecting malicious traffic. In this section, we will put Suricata to the test and check if it can detect suspicious network traffic.
We will test the ET Open ruleset by simulating an intrusion as recommended by Suricata’s Quickstart guide.
The IDS functionality will be tested with a signature ID of 2100498 by sending an HTTP request to the testmynids.org website which is a NIDS (Network Intrusion and Detection System) framework.
$ curl http://testmynids.org/uid/index.html
You should get the following output.
uid=0(root) gid=0(root) groups=0(root)
The HTTP request sent is designed to trigger an alert by mimicking the output of the id command which might run on a compromised remote system via a shell.
Now let’s sift through Suricata’s logs for a corresponding alert. Suricata ships with two log files which come enabled by default.
/var/log/suricata/fast.log
/var/log/suricata/eve.log
We will check for a log entry in the /var/log/suricata/fast.log log file that corresponds to the curl request using the grep command. We will search for the log entries using the 2100498 rule identifier from the Quickstart documentation.
$ grep 2100948 /var/log/suricata/fast.log
You will get the following output which signifies an intrusion. Here, 173.82.235.7 is the public IP address of the server.
09/09/2022-22:17:06.796434 [**] [1:2100498:7] GPL ATTACK_RESPONSE id check returned root [**] [Classification: Potentially Bad Traffic] [Priority: 2] {TCP} 13.226.210.123:80 -> 173.82.235.7:33822

Alternatively, you can check the /var/log/suricata/eve.log log file for the signature ID of 2100498 as shown.
$ jq 'select(.alert .signature_id==2100498)' /var/log/suricata/eve.json

This was a comprehensive guide on how to install and configure Suricata on Linux. We have looked at various installation methods, how to configure Suricata and update Suricata rules as well as how to manage Suricata systemd service and perform network intrusion tests.
It is our hope that you can now comfortably install and use Suricata to safeguard your system from network intrusions or malicious traffic.


Hello,
Do we have GUI to operate Suricata totally with monitoring/configuring?
Thank you.
@Tri,
Yes, IDSTower, which is a Web GUI for Suricata.
How close are the instructions for building on OEL or Oracle RAC DB appliance? I’m running into an issue where the install seizes during
makeor I get this error:Hi there,
Can you shed some light on the suricata rules update, below are the following doubts.
1. I want to configure VRT rules with suricata.
2. whenever I download the rules, do I need to update the suricata file with the rule name?
Thanks
@Rishi,
I think yes, you should update the suricata.yaml file after every change you make..never tried this, but you should try and update us…
Hi Sir,
Please tell me that can I install suricata on RHEL.
Regards
Anil
How to get rid of this issue?
22/9/2014 — 10:57:49 – – [ERRCODE: SC_ERR_OPENING_RULE_FILE(41)] – opening rule file /etc/suricata/rules/dns-events.rules: No such file or directory.
22/9/2014 — 10:57:56 – – [ERRCODE: SC_ERR_NOT_SUPPORTED(225)] – Eve-log support not compiled in. Reconfigure/recompile with libjansson and its development files installed to add eve-log support.
22/9/2014 — 10:57:56 – – [ERRCODE: SC_ERR_PCAP_CREATE(21)] – Using Pcap capture with GRO or LRO activated can lead to capture problems.
ERRCODE 41 copy dns-events.rules from the extracted suricata source to /etc/suricata/rules/.
ERRCODE 225 compile libjansson from source before you install suricata:
compile libjansson from source:
ERRCODE 21 to fix GRO & LRO warnings:
Corrections:
Hi,
The suricata run command gives an undefined symbol:
What is missing, please?:
Hi Dude,
You mentioned email alerts but there is no configuration given. Can you please tell me how to configure alerts.
Thanks,
Pavan
Suricata installation fail
The file retrieval fails with “no such file or directory” error in this section:
rpm -Uvh http://rules.emergingthreatspro.com/projects/emergingrepo/x86_64/libnetfilter_queue-0.0.15-1.x86_64.rpm \
http://rules.emergingthreatspro.com/projects/emergingrepo/x86_64/libnetfilter_queue-devel-0.0.15-1.x86_64.rpm \
http://rules.emergingthreatspro.com/projects/emergingrepo/x86_64/libnfnetlink-0.0.30-1.x86_64.rpm \
http://rules.emergingthreatspro.com/projects/emergingrepo/x86_64/libnfnetlink-devel-0.0.30-1.x86_64.rpm
It appears the path is not correct.
Please help.
I’ve checked dude, links are working correctly, can you download them manually using the wget command and then install it?