RAID is Redundant Array of Inexpensive disks, used for high availability and reliability in large scale environments, where data need to be protected than normal use. Raid is just a collection of disks in a pool to become a logical volume and contains an array. A combine drivers makes an array or called as set of (group).
RAID can be created, if there are minimum 2 number of disk connected to a raid controller and make a logical volume or more drives can be added in an array according to defined RAID Levels. Software Raid are available without using Physical hardware those are called as software raid. Software Raid will be named as Poor man raid.
Main concept of using RAID is to save data from Single point of failure, means if we using a single disk to store the data and if it’s failed, then there is no chance of getting our data back, to stop the data loss we need a fault tolerance method. So, that we can use some collection of disk to form a RAID set.
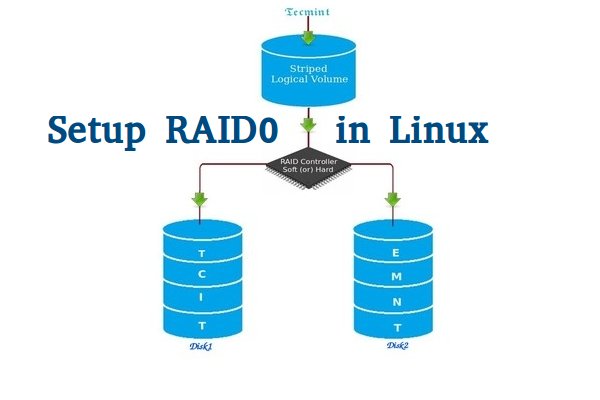
What is Stripe in RAID 0?
Stripe is striping data across multiple disk at the same time by dividing the contents. Assume we have two disks and if we save content to logical volume it will be saved under both two physical disks by dividing the content. For better performance RAID 0 will be used, but we can’t get the data if one of the drive fails. So, it isn’t a good practice to use RAID 0. The only solution is to install operating system with RAID0 applied logical volumes to safe your important files.
- RAID 0 has High Performance.
- Zero Capacity Loss in RAID 0. No Space will be wasted.
- Zero Fault Tolerance ( Can’t get back the data if any one of disk fails).
- Write and Reading will be Excellent.
Requirements
Minimum number of disks are allowed to create RAID 0 is 2, but you can add more disk but the order should be twice as 2, 4, 6, 8. If you have a Physical RAID card with enough ports, you can add more disks.
Here we are not using a Hardware raid, this setup depends only on Software RAID. If we have a physical hardware raid card we can access it from it’s utility UI. Some motherboard by default in-build with RAID feature, there UI can be accessed using Ctrl+I keys.
If you’re new to RAID setups, please read our earlier article, where we’ve covered some basic introduction of about RAID.
My Server Setup
Operating System :	CentOS 6.5 Final
IP Address	 :	192.168.0.225
Two Disks	 :	20 GB each
This article is Part 2 of a 9-tutorial RAID series, here in this part, we are going to see how we can create and setup Software RAID0 or striping in Linux systems or servers using two 20GB disks named sdb and sdc.
Step 1: Updating System and Installing mdadm for Managing RAID
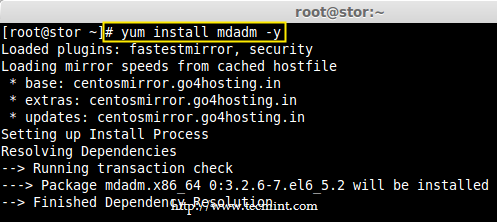
1. Before setting up RAID0 in Linux, let’s do a system update and then install ‘mdadm‘ package. The mdadm is a small program, which will allow us to configure and manage RAID devices in Linux.
# yum clean all && yum update
# yum install mdadm -y
Step 2: Verify Attached Two 20GB Drives
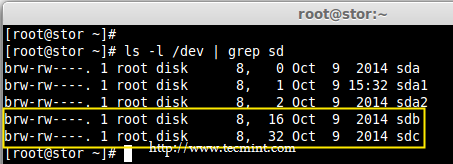
2. Before creating RAID 0, make sure to verify that the attached two hard drives are detected or not, using the following command.
# ls -l /dev | grep sd
3. Once the new hard drives detected, it’s time to check whether the attached drives are already using any existing raid with the help of following ‘mdadm’ command.
# mdadm --examine /dev/sd[b-c]
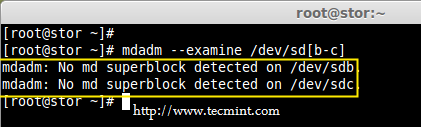
In the above output, we come to know that none of the RAID have been applied to these two sdb and sdc drives.
Step 3: Creating Partitions for RAID
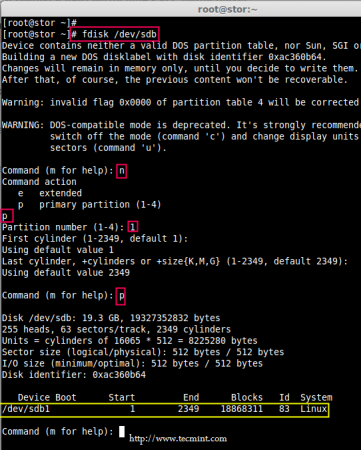
4. Now create sdb and sdc partitions for raid, with the help of following fdisk command. Here, I will show how to create partition on sdb drive.
# fdisk /dev/sdb
Follow below instructions for creating partitions.
- Press ‘n‘ for creating new partition.
- Then choose ‘P‘ for Primary partition.
- Next select the partition number as 1.
- Give the default value by just pressing two times Enter key.
- Next press ‘P‘ to print the defined partition.
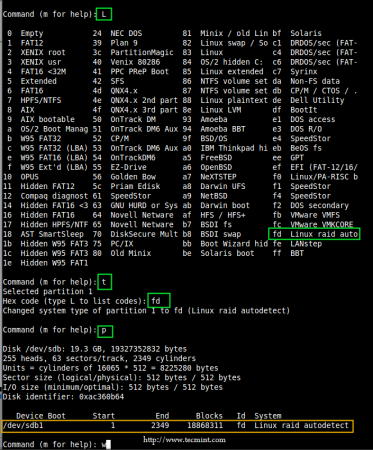
Follow below instructions for creating Linux raid auto on partitions.
- Press ‘L‘ to list all available types.
- Type ‘t‘to choose the partitions.
- Choose ‘fd‘ for Linux raid auto and press Enter to apply.
- Then again use ‘P‘ to print the changes what we have made.
- Use ‘w‘ to write the changes.
Note: Please follow same above instructions to create partition on sdc drive now.
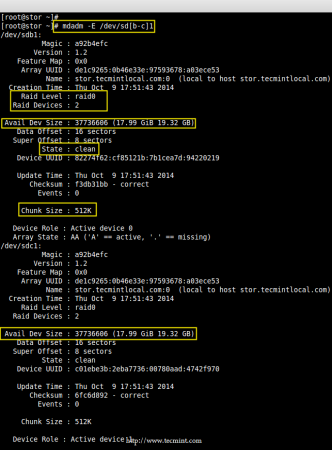
5. After creating partitions, verify both the drivers are correctly defined for RAID using following command.
# mdadm --examine /dev/sd[b-c]
# mdadm --examine /dev/sd[b-c]1

Step 4: Creating RAID md Devices
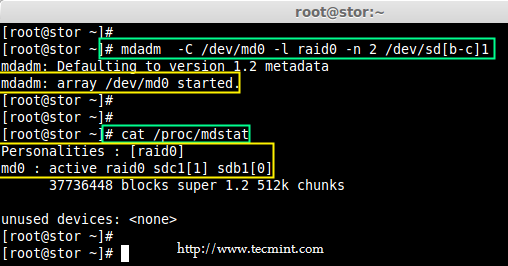
6. Now create md device (i.e. /dev/md0) and apply raid level using below command.
# mdadm -C /dev/md0 -l raid0 -n 2 /dev/sd[b-c]1
# mdadm --create /dev/md0 --level=stripe --raid-devices=2 /dev/sd[b-c]1
- -C – create
- -l – level
- -n – No of raid-devices
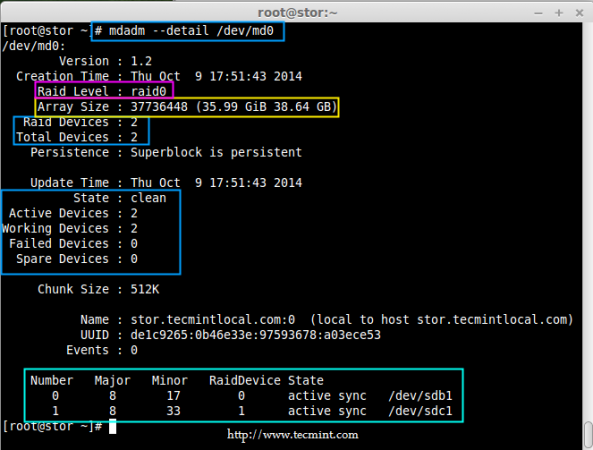
7. Once md device has been created, now verify the status of RAID Level, Devices and Array used, with the help of following series of commands as shown.
# cat /proc/mdstat
# mdadm -E /dev/sd[b-c]1
# mdadm --detail /dev/md0
Step 5: Assiging RAID Devices to Filesystem
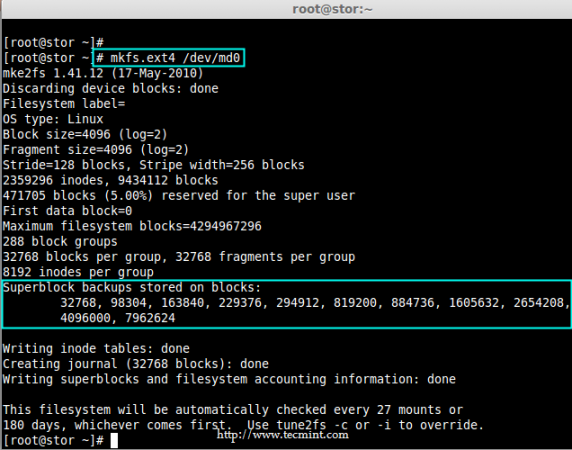
8. Create a ext4 filesystem for a RAID device /dev/md0 and mount it under /dev/raid0.
# mkfs.ext4 /dev/md0
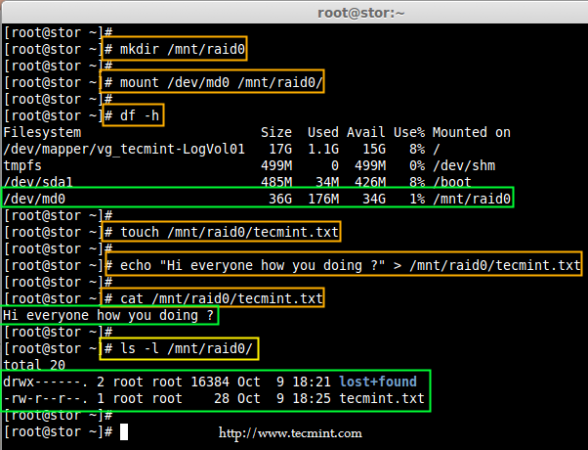
9. Once ext4 filesystem has been created for Raid device, now create a mount point directory (i.e. /mnt/raid0) and mount the device /dev/md0 under it.
# mkdir /mnt/raid0
# mount /dev/md0 /mnt/raid0/
10. Next, verify that the device /dev/md0 is mounted under /mnt/raid0 directory using df command.
# df -h
11. Next, create a file called ‘tecmint.txt‘ under the mount point /mnt/raid0, add some content to the created file and view the content of a file and directory.
# touch /mnt/raid0/tecmint.txt
# echo "Hi everyone how you doing ?" > /mnt/raid0/tecmint.txt
# cat /mnt/raid0/tecmint.txt
# ls -l /mnt/raid0/
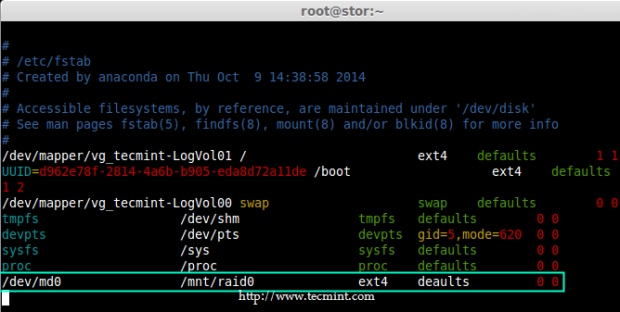
12. Once you’ve verified mount points, it’s time to create an fstab entry in /etc/fstab file.
# vim /etc/fstab
Add the following entry as described. May vary according to your mount location and filesystem you using.
/dev/md0 /mnt/raid0 ext4 defaults 0 0
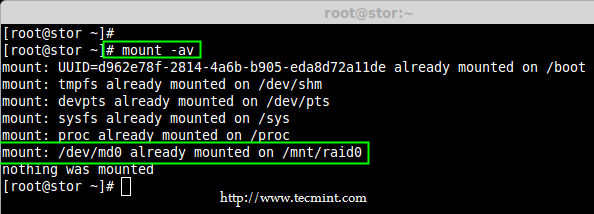
13. Run mount ‘-a‘ to check if there is any error in fstab entry.
# mount -av
Step 6: Saving RAID Configurations
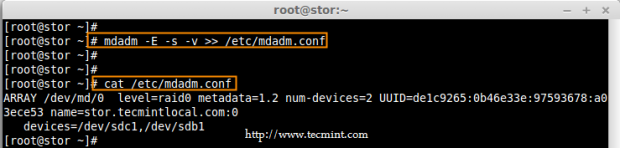
14. Finally, save the raid configuration to one of the file to keep the configurations for future use. Again we use ‘mdadm’ command with ‘-s‘ (scan) and ‘-v‘ (verbose) options as shown.
# mdadm -E -s -v >> /etc/mdadm.conf
# mdadm --detail --scan --verbose >> /etc/mdadm.conf
# cat /etc/mdadm.conf
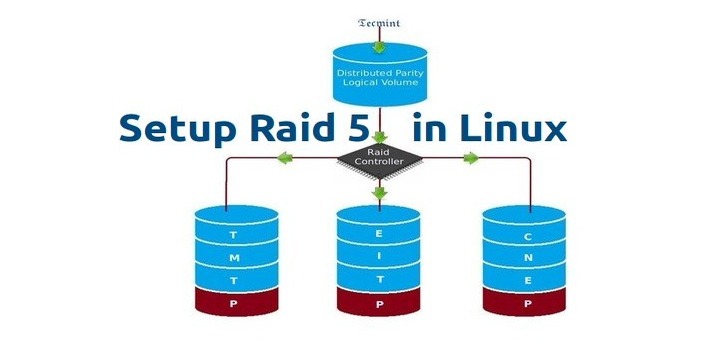
That’s it, we have seen here, how to configure RAID0 striping with raid levels by using two hard disks. In next article, we will see how to setup RAID5.